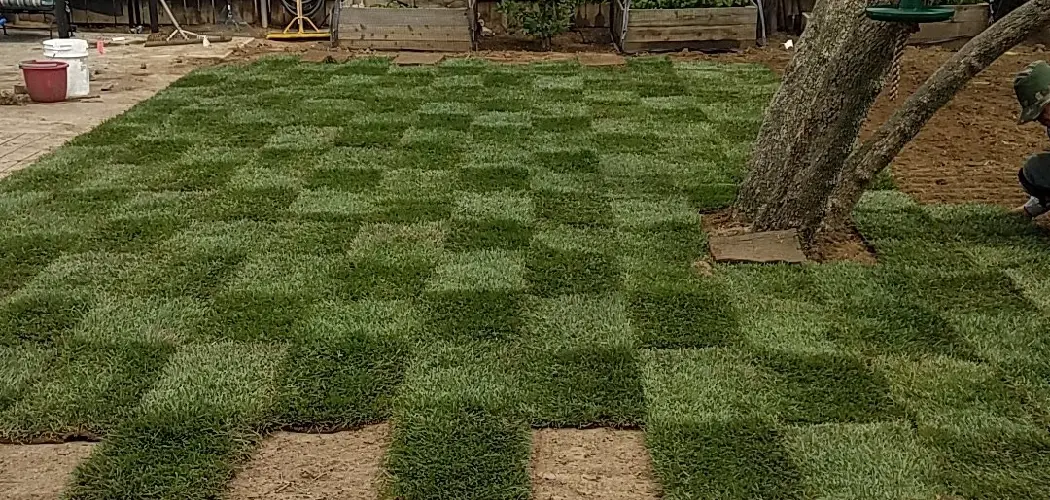
Most people want to improve the outdoor features of their homes, and installing sod is one way to do just that. Sod can provide your yard with a vibrant and natural look in a fraction of the time it takes to grow grass from seed. But before you can reap the benefits of freshly cut lawn turf, you first need to prepare your soil for laying down your new luxurious garden carpeting.
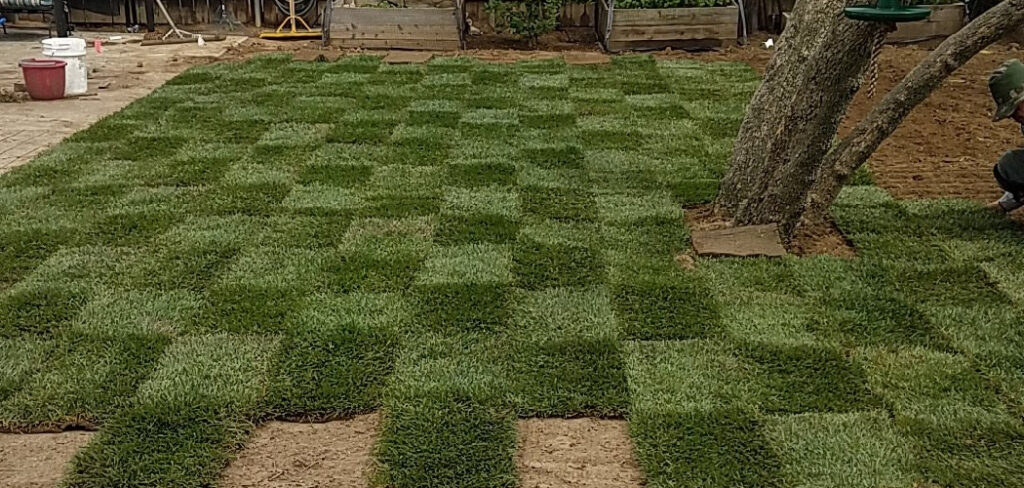
In this blog post, we’ll guide you through the practices for how to prepare yard for sod and give helpful advice on how to create an ideal setting for maximum growth potential. So if you’re ready to get started on transforming your dull yard into a plush landscape masterpiece – let’s dive right in!
Importance of Proper Yard Preparation
Proper yard preparation is essential for a successful sod installation. If the proper steps are not taken, the sod will not take root and could die prematurely.
The soil preparation should include the following: tilling to loosen existing soil and mix in nutrients, grading to create an even surface, fertilizing to provide nutrient-rich soil, and adding topsoil or compost to create the desired depth.
The yard should remain moist during the preparation process and throughout the installation process for optimal results. Once your soil is properly prepped, you can then lay down your sod and begin enjoying a beautiful, lush lawn!
Properly preparing your yard before installing sod will help ensure that it is successful in taking root and growing well over time. By taking the time and effort to prepare your yard properly, you can enjoy a lush, healthy lawn for many years to come!
Benefits of Installing Sod
Installing sod in your yard has many benefits. Sod is a quick and easy way to get green grass in your yard, as it can be installed within days. Sod also helps protect the soil from erosion and keeps weeds away.
Additionally, sodding a lawn requires less water than other methods of planting grass seed because sod is already mature grass with an established root system.
This means that you won’t need to water your newly sodded lawn as much as one seeded with traditional grass seeds.
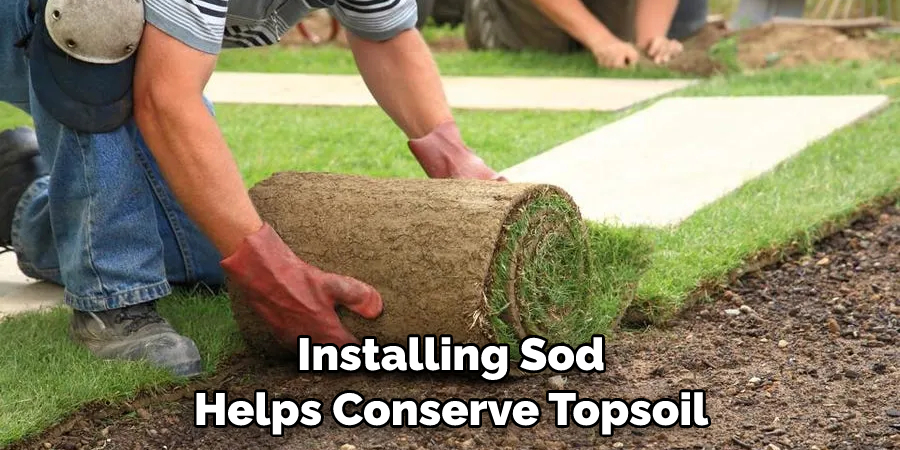
As an additional bonus, leaving the existing soil undisturbed while installing sod helps conserve topsoil and reduces run-off into nearby bodies of water. Installing sod also gives you more control over what type of grass you have in your yard, as you can choose from a variety of grass varieties that will work best for your region and climate.
Evaluating Soil Quality and Ph Levels
Before you install sod, it is important to evaluate the soil quality and pH levels. Test your soil’s pH levels so you can determine what kind of sod will work best with your particular type of soil. If the pH level is too low, you may need to add lime or fertilizer to increase it before installing the new sod.
You should also check for drainage problems and assess how much organic matter is in the soil. Additionally, perform a basic evaluation of the existing grass to make sure that it can support the newly added sod.
The more information you have about your soil before installation, the better prepared you are for success when laying down the new turf!
Finally, it is important to make sure that the soil is well-tilled and loose before you install sod.Loose soil ensures that your sod will take root quickly and easily.
Use a rake or tiller to break up any clumps and remove debris before laying down the new sod. Once your soil is prepped, you’re ready to install the new turf!
Identifying Any Existing Weeds or Pests
Before laying sod, you should also take a look at your yard to identify any existing weeds or pests. You may need to address these issues before laying new sod. Weeds can be pulled manually if there are only a few, but for larger numbers of weeds, it is best to use an herbicide or weed killer that is safe for use in your lawn area. For pests, you can use an insecticide or a natural pest deterrent such as diatomaceous earth.

Take care when using these products and always read the safety instructions and follow them closely. Also, make sure to keep pets and children away from treated areas until the product has been completely removed according to the manufacturer’s instructions. Once your existing weeds and pests have been taken care of, you are ready to move on to the next step in preparing your yard for sod.
Next, you will need to test the pH of your soil. Testing the pH of your soil is essential because sod needs a certain level in order to thrive. If your soil does not have the right pH balance, it can lead to problems with nutrient deficiency and poor growth.
You can purchase a soil testing kit at most garden centers or online. Follow the instructions on the package to get an accurate reading. Once you have your soil’s pH results, you can adjust the soil as needed before laying sod.
After testing and adjusting the pH of your soil, it is now time to prepare the ground for sod installation. This includes removing any rocks or debris from the area, tilling the soil to a depth of four to six inches, and then raking the soil to create a level surface.
10 Methods How to Prepare Yard for Sod
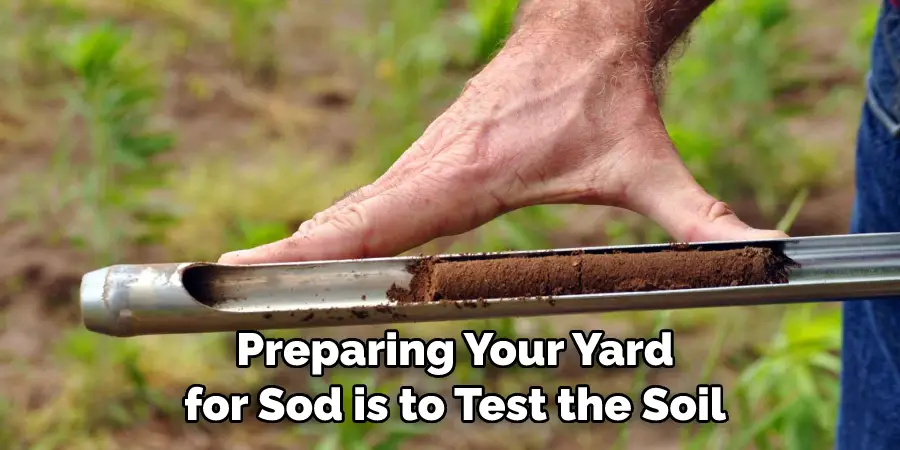
1. Test the Soil
The first step in preparing your yard for sod is to test the soil. This will help you to determine what type of sod will work best for your yard and what amendments you may need to add to the soil to improve its quality.
You can purchase a soil testing kit from your local garden center or nursery, or you can send a sample of your soil to a testing laboratory. While testing your soil, you’ll want to make sure that it has a pH level between 6.0 and 7.0, as well as the right amount of minerals and nutrients for your grass to grow.
2. Clear the Area
Once you have determined what type of sod you will be using, you need to clear the area where it will be installed. This means removing all existing vegetation, including grass, weeds, and any other plants. You will also need to remove any rocks, stones, or other debris that could interfere with the sod’s roots.
Dig down at least four inches and use a garden rake to level the soil. Make sure there are no hard or raised spots, as these will not allow the sod to root properly and could cause it to die. Once you have leveled the area, add a layer of fertilizer or compost before laying the sod. This will give the soil the nutrients it needs for better root growth.
3. till the Soil
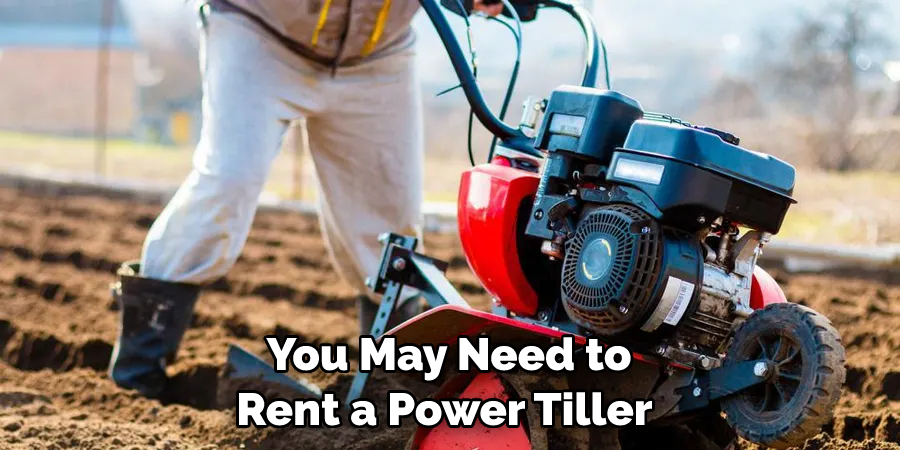
After you have cleared the area, you need to till the soil. This helps to loosen compacted soils and allows the roots of the sod to more easily penetrate the ground. If you have a small area to sod, you can till the soil by hand using a garden hoe or rake. For larger areas, you may need to rent a power tiller from your local home improvement store.
Work the soil to a depth of 6-8 inches, making sure there are no large clumps or stones left behind. When you’re done tilling, use a lawn roller to level the soil and remove any air pockets. This will help ensure that the new sod is properly supported when it is laid down.
4. Amend the Soil
Once you have tilled the soil, it is time to amend it with organic matter such as compost or manure. This helps to improve the drainage and fertility of the soil and provides essential nutrients for the new sod. Spread a 3-inch layer of organic matter over the entire area and then till it into the top 6 inches of soil.
Although not necessary, you can also add a layer of sand over the organic matter before tilling it into the soil. This will further improve drainage in heavy clay soils.
5. Level the Area
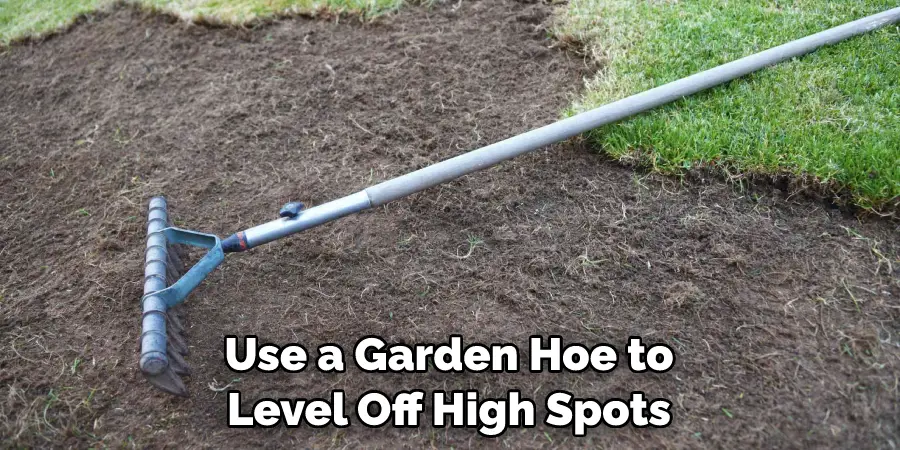
After amending the soil, you need to level it out so that there are no high or low spots. This ensures that water will drain evenly across the lawn and prevents pooling in low-lying areas. Use a rake or garden hoe to level off any high spots and fill in any low spots with additional amendment material. Make sure that the yard is as level as possible before laying down the sod. Once it is in place, you won’t be able to make any major adjustments.
6. Rake Away Debris
Once you have leveled off the area, use a rake to remove any remaining debris such as sticks, leaves, or stones. Be sure to remove any large pieces of debris that could damage your lawn mower or other equipment when you start mowing your new lawn.
Once you have removed all the debris, use a hard broom to smooth out the surface of the soil. This will help ensure that your sod has a flat, even surface to lay on. If you’re using a sand base, rake it until it’s smooth and level. This will also make sure that your sod has the best chance of taking root in the soil.
7. Install Edging
Installing edging around your lawn helps to give it a clean, finished look and also prevents grass from spreading into flower beds or other areas where it is not wanted. You can purchase plastic edging at your local home improvement store or use bricks, pavers, or stones to create a more permanent border around your lawn. To install edging, dig a shallow trench around the perimeter of where you want to place your lawn. Place the edging into the trench and use a rubber mallet to firmly secure it.
8. Water Thoroughly
After installing edging around your lawn, water it thoroughly so that the roots of the sod are moistened before installation begins. It is best to water early in the day so that the Sod has time to dry out before nightfall when moisture can lead to fungal growth on newly installed Sod. For best results, use a sprinkler to evenly distribute and saturate the soil. If possible, water the area twice before laying sod.
9. Install the Sod
Now it is time to install the sod. Start at one corner of your yard and unroll each piece so that the edges fit tightly together without overlapping. Once the sod has been laid out, use a roller to roll over the newly installed sod to ensure it is firmly in place. The roller should be filled with a mixture of soil and water to help the sod make contact with the ground below it. Finally, use a sharp knife to cut the sod to fit around any obstacles or edges in your yard.
10. Water Regularly
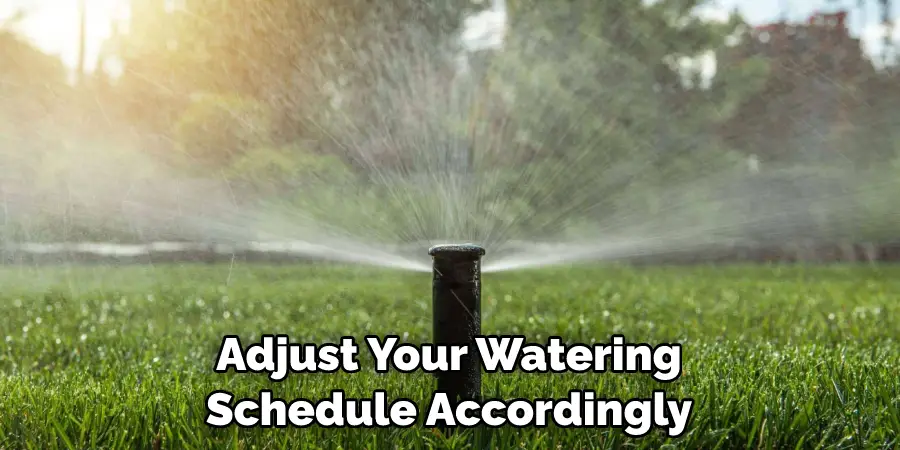
Once your sod is installed, it is essential to keep it well watered. Newly planted sod needs approximately 1 inch of water per week to stay healthy and green. Be sure to water deeply rather than frequently, as this allows the roots of the sod to reach down further into the soil. Check the sod regularly for signs of drying or wilting and adjust your watering schedule accordingly.
Conclusion
Everyone can have the lush, green lawn of their dreams with a few simple steps and some time and effort. Analyzing your yard is the most important step to ensure that all the necessary steps are taken in preparation for sod installation. You must consider soil composition, drainage, irrigation, and any potential obstructions beforehand to prevent any problems from occurring once the sod is laid.
With these guidelines in mind, it’s time to start planning how you will prepare your yard for sod installation. Be sure to follow all instructions on how to prepare yard for sod carefully, and always consult an expert when in doubt.
About
Outdoor Fixes is a distinguished figure in the world of Diy design, with a decade of expertise creating innovative and sustainable Diy solutions.
His professional focus lies in merging traditional craftsmanship with modern manufacturing techniques,
fostering designs that are both practical and environmentally conscious. As the author of diy,
outdoorfixes delves into the art and science of outdoorfixes-making, inspiring artisans and industry professionals alike.
Education RMIT University
(Melbourne, Australia) Associate Degree in Design (Outdoor Fixes) Focus on sustainable design, industry-driven projects,
and practical craftsmanship. Gained hands-on experience with traditional and digital manufacturing tools, such as CAD and CNC software.
Nottingham Trent University
(United Kingdom) Bachelor’s in outdoorfixes.com and Product Design (Honors) Specialized in product design with a focus on blending creativity with production
techniques. Participated in industry projects, working with companies like John Lewis and Vitsoe to gain real-world insights.
Publications and Impact
In diy, Outdoor Fixes his insights on indoor design processes, materials, and strategies for efficient production.
His writing bridges the gap between artisan knowledge and modern industry needs, making it a must-read for both budding designers and seasoned professionals.