Are you looking for a way to keep your rubber mulch in place? If so, there are plenty of strategies you can use to make sure it stays put. Here are a few tips on how to keep rubber mulch in place.

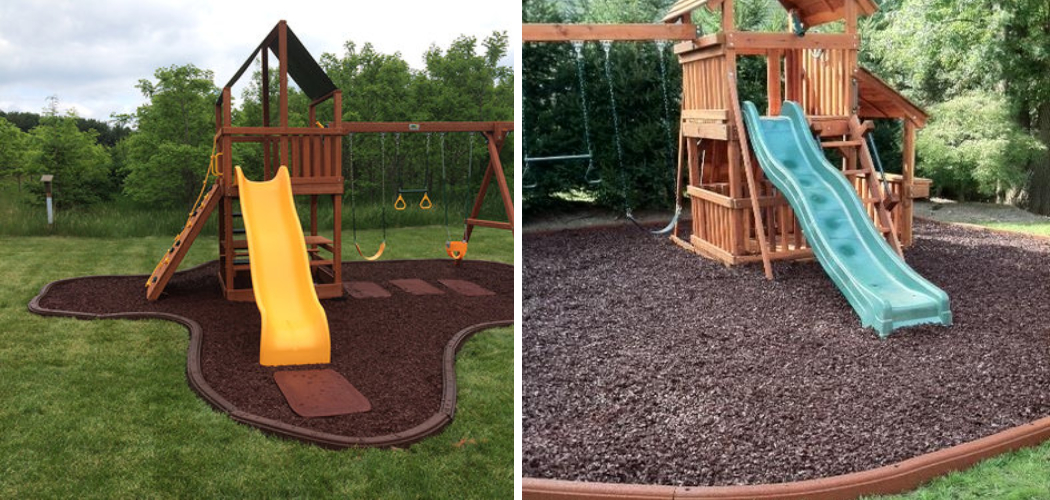
If you’re looking to add a pop of color and texture to your garden or landscape, rubber mulch is an excellent choice. Not only does it provide durable cushioning around plants and pathways, but its striking visual appeal adds some real drama!
Rubber mulch can enhance any outdoor space for years with the proper installation and maintenance.But first things first—rubber mulch must be installed correctly to stay firmly in place.
In this blog post, we’ll give you all the tips to ensure that your rubber mulch remains where it should be, so read on if you want to know more!
What Will You Need?
Before getting started, you’ll need a few materials on hand. They include:
- Rubber mulch
- Weed barrier fabric
- U-shaped landscape staples (or similar)
- Landscape edging (optional)
Now that you have the required materials, it’s time to start preparing your area.
10 Easy Steps on How to Keep Rubber Mulch in Place
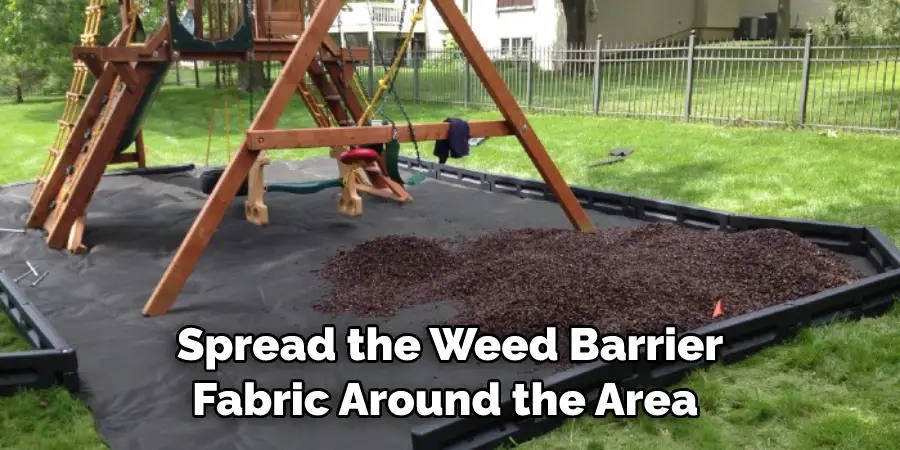
Step 1. Spread the Weed Barrier Fabric:
Spread the weed barrier fabric around the area you plan to mulch. This will help to prevent weeds from growing up through your rubber mulch. If you’re unsure what weed barrier fabric is, it’s a special type of non-degradable membrane material that blocks weeds.
Step 2. Secure the Edges:
Use U-shaped landscape staples to secure the edges of your weed barrier fabric into the ground. Make sure to press them deep enough into the soil to ensure they stay in place. If you have landscape edging, use it instead of the staples for an even more secure hold!
Step 3. Place Your Mulch:
Once your area is prepared, lay down your rubber mulch and spread it evenly across the surface with a rake or shovel. It should be around two inches thick all over. Avoid leaving gaps between the pieces, as this can create an avenue for weeds to grow.
Step 4. Stake Down the Mulch:
If your area is prone to windy weather, you may want to stake down your rubber mulch to make sure it stays in place. Use U-shaped landscape staples again and press them into the ground around two feet apart. Keep them as deep as you want the mulch to stay on top of the ground.
Step 5. Add an Edging Border:
Adding an edging border will provide a neat finish and keep your rubber mulch securely contained within its designated area. You can use plastic or timber borders for this purpose—whichever suits the style of your outdoor space better! This will also help to prevent the rubber mulch from being blown or washed away in rainy weather.
Step 6. Top It Up Regularly:
Rubber mulch tends to settle over time, so plan on topping up your every few years or so as necessary. This will help to keep it looking fresh and vibrant. You can also use a light raking every now and then to keep it evenly spread across the surface.
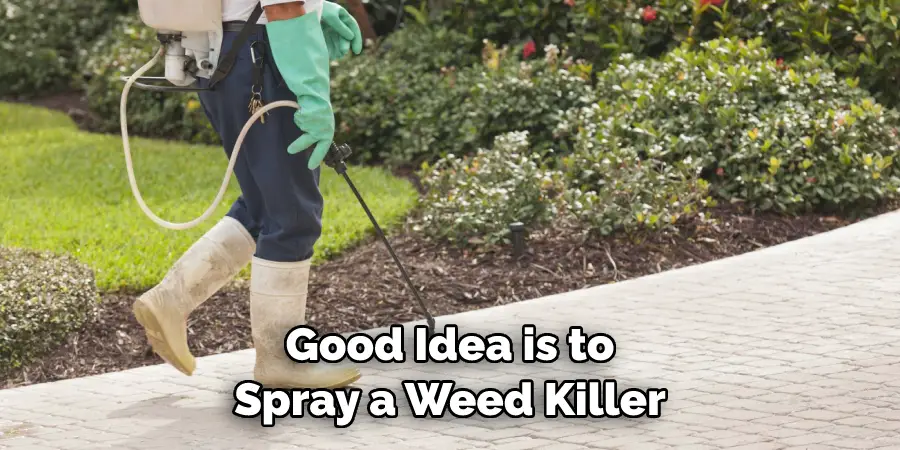
Step 7. Pull Out Any Weeds:
If you notice any weeds sprouting up, pull them out as soon as possible before they spread throughout your rubber mulch bed. This is especially important if you didn’t use a weed barrier fabric during installation. Another good idea is to use an organic weed killer as a preventative measure.
Step 8. Rinse With Water:
Give the surface of the rubber mulch an occasional rinse with water to remove any dirt or debris that may have built up over time. This will also help to prevent weeds from taking hold in the area! Another good idea is to spray a weed killer in the area once or twice a year.
Step 9. Check for Insect Infestations:
Pay close attention to your rubber mulch for signs of insect infestation, such as ants or grubs, and treat the area with an insecticide if necessary. Try to do this as soon as possible before the problem gets out of control. Otherwise, you may end up having to replace your mulch altogether!
Step 10. Monitor for Erosion:
Monitor your rubber mulch bed for signs of erosion, as this can cause it to move around or even wash away in heavy rains or strong winds. If you notice any sections of your rubber mulch starting to erode, add more mulch or use landscape edging to keep it in place. Remember, prevention is always better than a cure!
These ten easy steps will help you keep your rubber mulch looking great and firmly in place for years to come! As long as you follow them closely and stay on top of maintenance tasks like weeding and rinsing, you’ll have no trouble enjoying a beautiful rubber mulched area all year round.
5 Additional Tips and Tricks
1. Use an Edging Material: Use an edging material such as plastic or metal to create a perimeter around the rubber mulch. This will help keep it in place and prevent it from spreading.
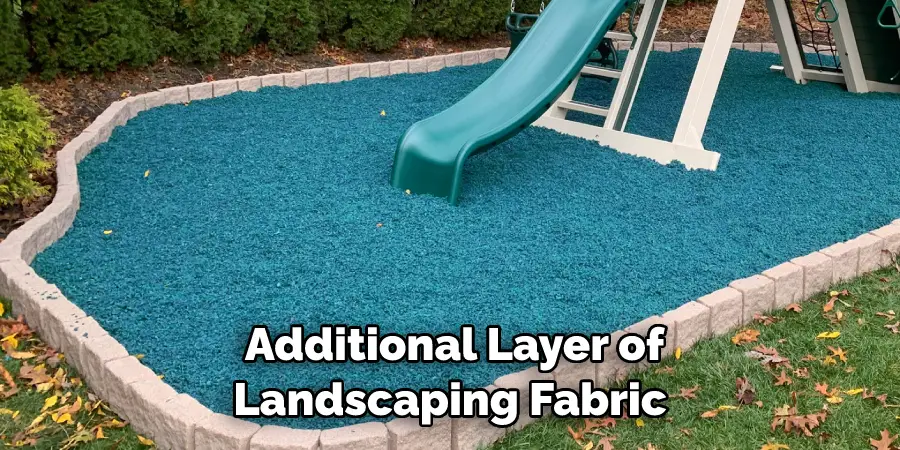
2. Add a Layer of Landscaping Fabric: An additional layer of landscaping fabric over the rubber mulch can help keep it in place and prevent weeds from growing through it.
3. Use Larger Pieces of Mulch: Avoid using too many small pieces of rubber mulch, as they are more likely to move around or be blown away by strong winds. Larger chunks will stay put better.
4. Secure With Stakes: Stakes or spikes can secure the rubber mulch to the ground and help keep it in place if you live in a windy area or have pets that frequently run on your lawn.
5. Install a Border: Installing a border around your rubber mulch helps to keep it contained and in place. You can use a variety of materials, such as stones, bricks, or concrete pavers, to create the border.
By following these tips and tricks, you will be able to ensure that your rubber mulch stays in place and looks great for a long time. With proper installation and maintenance, rubber mulch can be an excellent way to give your landscaping a beautiful finished look.
6 Things You Should Avoid
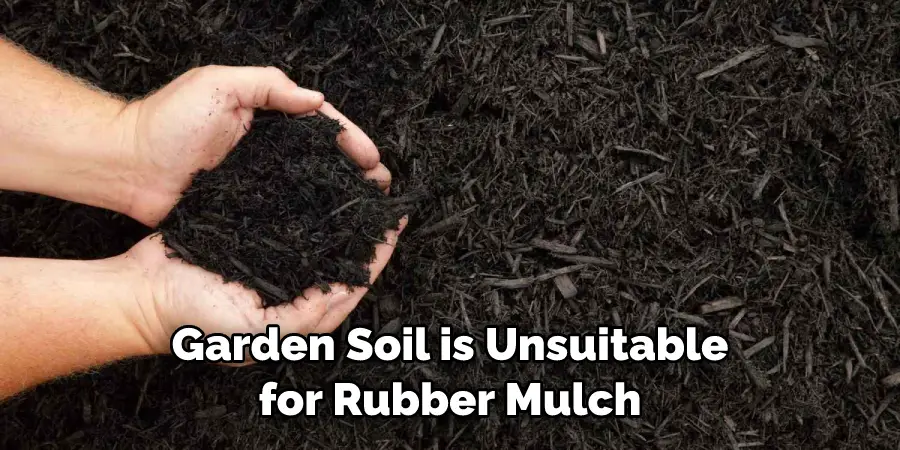
1. Avoid Using Ordinary Garden Soil: Garden soil is unsuitable for use underneath rubber mulch as it can shift the mulch and become uneven.
2. Avoid Using Too Much Water: Too much water can cause the rubber mulch to become soggy and start to move around or slide away.
3. Avoid Over-packing: Overpacking or compacting the rubber mulch can make it difficult for plants to grow through, leading to an unnatural look.
4. Avoid Ammonia-based Cleaners: Ammonia-based cleaners will damage the rubber material of your mulch, so avoid using them near it.
5. Avoid Walking on Wet Rubbery Mulch: Rubber mulch can be slippery when wet, so avoid walking on it when it’s damp.
6. Avoid Leaving Holes: Be sure to fill in any empty spaces or holes that may appear in your rubber mulch over time, as these can cause the rubber pieces to move around.
By following these tips and tricks, you will be able to keep your rubber mulch looking great for years to come! With proper installation and maintenance, rubber mulch is an excellent choice for a beautiful and low-maintenance landscaping solution.
What Are the Disadvantages of Rubber Mulch?
Rubber mulch has some notable disadvantages that should be taken into account before installing it. These include:
1. Heat Retention: Rubber mulch has the potential to retain more heat than natural mulches, so plant roots may not get the same level of protection from extreme temperatures.
2. Cost: While rubber mulch is generally less expensive than other types of landscape materials, overall installation costs are typically higher due to the need for edging and other extra supplies.
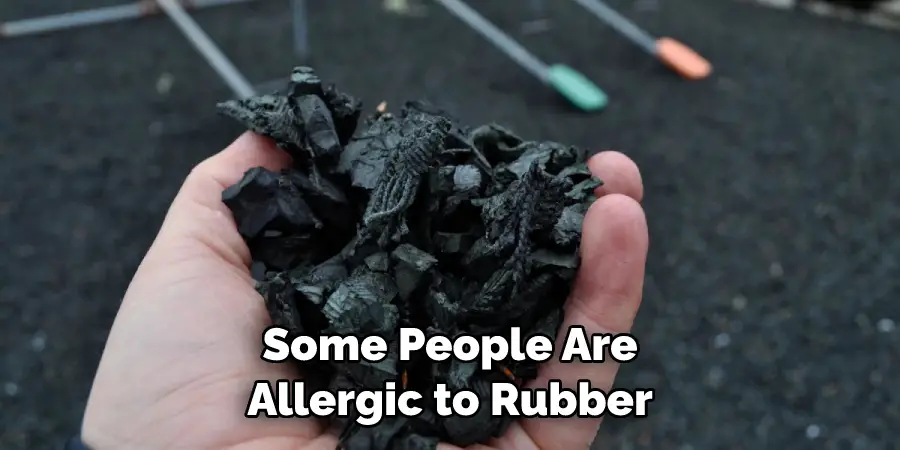
3. Allergies: Some people are allergic to rubber, so it’s important to take this into consideration before using it in your landscaping design.
4. Environmental Concerns: As rubber is a synthetic material, some people worry about its environmental impact. It’s important to research the available sources and products before choosing a rubber mulch for your landscape.
5. Appearance: While rubber mulch is easier to maintain than natural options, it can look artificial, which may not be what you want in landscaping.
Ultimately, rubber mulch has advantages and disadvantages that should be weighed carefully before deciding whether or not it is the right choice for your needs. However, rubber mulch can provide many benefits to your landscaping design with proper installation and maintenance.
Is Rubber Mulch Waterproof?
No, rubber mulch is not waterproof. It can resist water for some time, but eventually, it will absorb the moisture and degrade over time. This means it isn’t suitable for areas frequently exposed to large amounts of water or moisture.
It’s best used in areas that don’t experience heavy downpours or floods. Additionally, if your rubber mulch does become wet, you should remove as much of the excess water as possible so that it doesn’t become too soggy or slippery.
In conclusion, rubber mulch offers many advantages, such as low maintenance costs and being resistant to pests, however, if you need something completely waterproof, then it may not be the right choice for your landscaping needs. Be sure to weigh all the pros and cons before deciding.
Does Rubber Mulch Sink?
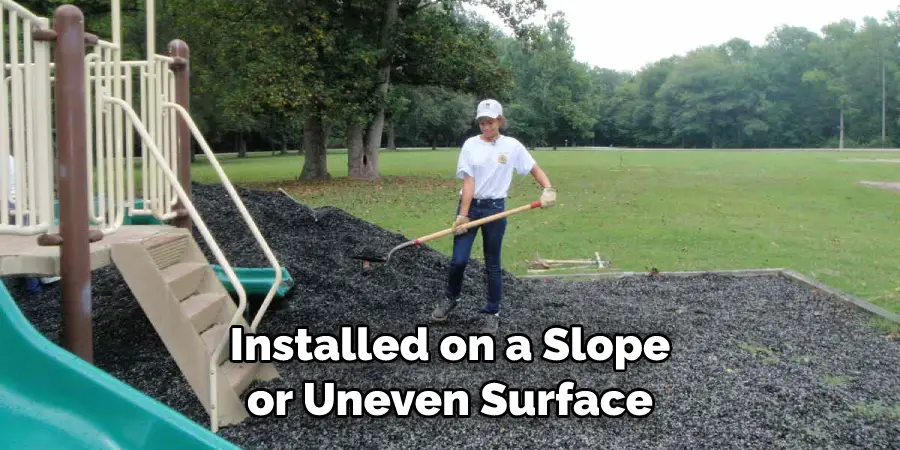
Yes, rubber mulch does sink over time due to the weight of the material and its tendency to compact. You may need to add extra material periodically to keep it at the desired level. Additionally, if your rubber mulch is installed on a slope or uneven surface, it may not settle evenly and require manual adjustment to ensure even distribution.
If this occurs, be sure to check your mulch regularly for any signs of settling or movement.
Ultimately, proper installation and maintenance will help ensure that your rubber mulch stays in place and looks great year after year! With these tips in mind, you’re well on your way to enjoying a beautiful outdoor space filled with lush, vibrant mulch.
Conclusion
Keeping rubber mulch in place is a great way to reduce hassle and increase the longevity of any playground or landscaping project. To make this happen, success relies on quality installation as well as ongoing maintenance to ensure the rubber mulch doesn’t start shifting and create potential safety risks.
With the various tips and reliable solutions outlined in this blog post, you can maintain a beautiful and safe environment for kids to play in. Be sure to properly invest your time and resources today, ensuring your rubber mulch stays firmly within its designated area tomorrow! Now that you know how to keep rubber mulch in place, take your playgrounds and landscapes to new heights with just a few simple steps.
Hopefully, this blog has provided you with the information needed to install and maintain your rubber mulch properly, so start putting these tips into practice today! With the right setup and maintenance, your outdoor spaces can become more visually appealing while ensuring maximum safety for all. Good luck!
About
Outdoor Fixes is a distinguished figure in the world of Diy design, with a decade of expertise creating innovative and sustainable Diy solutions.
His professional focus lies in merging traditional craftsmanship with modern manufacturing techniques,
fostering designs that are both practical and environmentally conscious. As the author of diy,
outdoorfixes delves into the art and science of outdoorfixes-making, inspiring artisans and industry professionals alike.
Education RMIT University
(Melbourne, Australia) Associate Degree in Design (Outdoor Fixes) Focus on sustainable design, industry-driven projects,
and practical craftsmanship. Gained hands-on experience with traditional and digital manufacturing tools, such as CAD and CNC software.
Nottingham Trent University
(United Kingdom) Bachelor’s in outdoorfixes.com and Product Design (Honors) Specialized in product design with a focus on blending creativity with production
techniques. Participated in industry projects, working with companies like John Lewis and Vitsoe to gain real-world insights.
Publications and Impact
In diy, Outdoor Fixes his insights on indoor design processes, materials, and strategies for efficient production.
His writing bridges the gap between artisan knowledge and modern industry needs, making it a must-read for both budding designers and seasoned professionals.