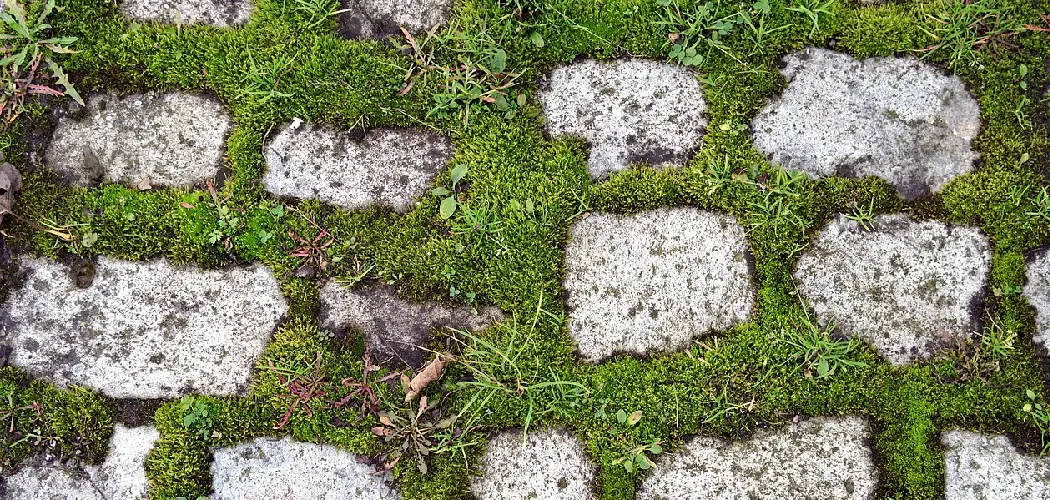
Nothing says “home sweet home” quite like a beautiful outdoor patio area with pavers made from natural stones, bricks, or concrete. But unfortunately, homeowners often find themselves dealing with pesky moss patches that take away from the look of their patio.
Fortunately, removing moss is easy and can be done in just a few simple steps. So let’s take a closer look at how to remove moss from patio pavers!
Can You Remove Moss from The Patio Pavers?
Patio pavers can be attractive and help boost the value of any home, but keeping them looking their best can be difficult with moss growth. It’s almost inevitable in a moist climate, so it is important to know how to remove moss from pavers.
Thankfully, it’s not terribly difficult – the tough part may simply involve getting down on your hands and knees to scrub away the moss! A solution of water and bleach or vinegar can help loosen its grip before you put some elbow grease into it.
Afterward, it is a good idea to gently brush or spray an anti-fungal or anti-moss solution over the area to inhibit further growth – just be sure to check that it won’t discolor or damage your pavers first. Then, you can make your patio look new again with effort and care!
Why Should You Remove Moss from Patio Pavers?
Removing moss from patio pavers is an important part of homeownership. Not only does it create a more aesthetically pleasing landscape, but it also reduces the threat of damaging your pavers from moss and mold buildup. Moss will accumulate moisture that can weaken the strength of bricks and tiles over time.
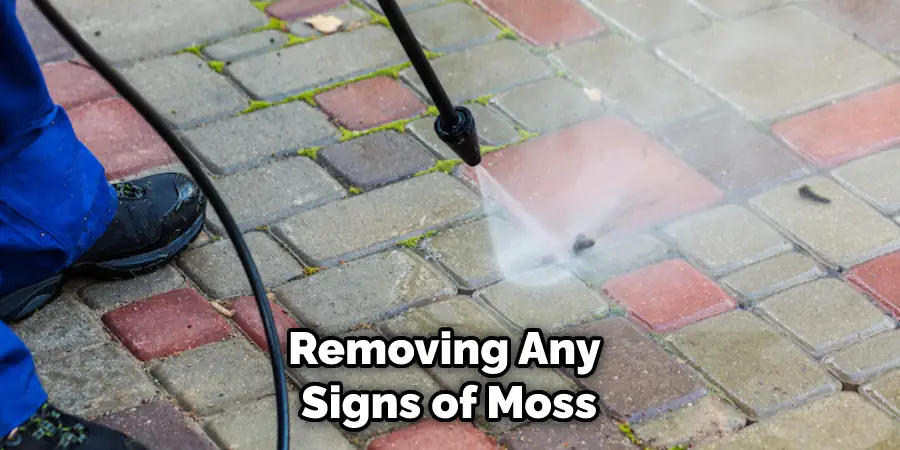
Removing any signs of moss or appearing water stains as soon as possible will help to protect the pavers and ensure that they don’t start to buckle, crack or chip away due to excessive weight being put on them.
Taking the time to remove standing water and debris left behind by moss will help preserve the appearance of your patio pavers for years to come.
7 Steps to Follow on How to Remove Moss from Patio Pavers
Step 1: Identify the Problem Areas
The first step in removing moss from patio pavers is identifying the problem areas. Start by inspecting the surface of your pavers for any signs of discoloration or wetness.
Moisture is typically a key factor in moss growth, so if you notice any moisture on your paver surface, then that is likely an area where you will need to focus on removal. Additionally, look for discolored spots or greenish-gray patches that indicate moss’s presence.
Step 2: Clean & Scrub
Once you have identified your problem areas, it’s time to get cleaning! First, begin using a wire brush or other stiff-bristled brush to scrub away any visible moss patches on your pavers.
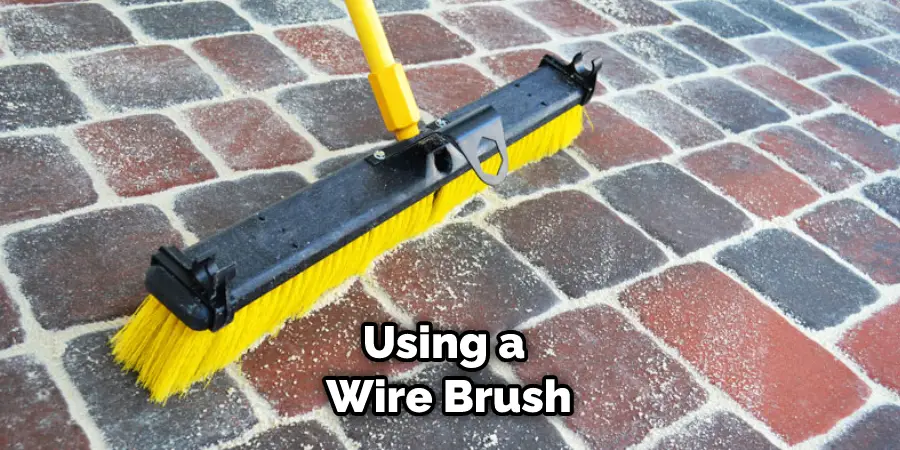
You may also want to use some soap or detergent depending on how big of an area needs cleaning, as this will help break down any oils or dirt that may be stuck in between paver crevices, making it easier to remove stubborn moss buildup.
Step 3: Apply a Moss Remover
If scrubbing doesn’t do the trick, you might need to apply a specialized chemical solution to remove moss from concrete and stone surfaces, such as those found on patios or walkways.
Be sure to read up on the product instructions before getting started, and always wear protective gear when applying chemicals around your home, as they can be dangerous if not handled properly.
Step 4: Rinse & Repeat
After applying your chosen chemical solution, let it sit for about 15 minutes before rinsing off with water using either a hose or a power washer (if available).
Depending on how much moss has accumulated over time, it may take several applications before all signs are gone, so don’t be discouraged if you don’t see results immediately!
Step 5: Seal the Paver Surface
Once all visible moss has been removed, it’s important to seal the surface of your pavers so that further growth is prevented. Sealing products designed for outdoor use can be found at most hardware stores and will help protect against future water damage and moss buildup.
Step 6: Inspect & Reapply
Make sure to regularly inspect the surface of your pavers for any signs of moss regrowth since prevention is the best way to keep your patio looking its best. If you notice any new growth, just repeat the steps above, starting with cleaning and scrubbing until all signs are gone.
Step 7: Enjoy!
Now that your patio pavers are free of moss, you can sit back, relax and enjoy the results of your hard work. With regular maintenance, proper cleaning habits, and a quality sealant, your pavers should look great for years to come.
That’s it! You’ve now learned how to remove moss from patio pavers. You can keep your outdoor space looking great and free of pesky moss buildup with a few simple steps. So get out there, grab some supplies and start cleaning!
Things You Need to Know Before Removing Moss from Patio Pavers
Before attempting to remove moss from your patio pavers, it is essential to understand the various methods available and which are best for your specific situation.
Each method of removing moss has varying levels of difficulty, required supplies, and amounts of labor; therefore, it is important to properly evaluate which approach will work best for your individual needs.
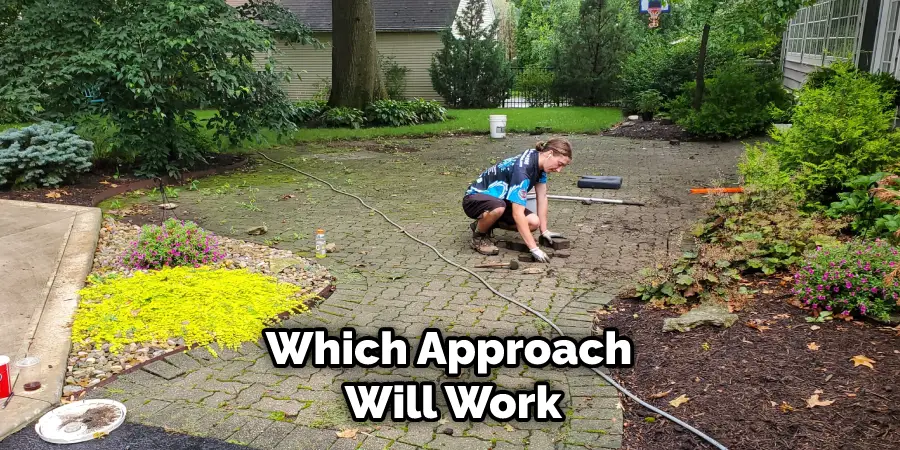
Additionally, knowing how weather conditions can affect treatment times is critical; depending on the selected method, cloudy or wet days may be recommended as they are better suited for certain products/applications than dry days.
Considering all of these factors before starting can help ensure a successful endeavor.
Benefits of Removing Moss from Patio Pavers
Removing moss from patio pavers is a great way to keep your outdoor living space looking beautiful.
Not only will it prevent the spread of grime and dirt between stones, but it will also reduce the chance of slippery surfaces. Taking steps to clean the patio pavers regularly can also extend their life of them, as moss quickly corrodes stone if not treated early on.
In addition, moss removal ensures that your paver patio remains safe for guests, as unsightly patches can easily make an otherwise flat surface tricky to walk on.
With these reasons in mind, it’s clear that properly removed moss from patio pavers should be a top priority when it comes to keeping your outdoor living space looking its best.
6 Common Mistakes People Make When Trying to Removing Moss from Patio Pavers
1. Not Preparing the Area
One of the most common mistakes people make when trying to remove moss from patio pavers is not preparing the area properly. If you do not take the time to clear the area of debris and loosen the moss, you will likely have a much more difficult time removing it.
2. Not Using the Right Tools
Another mistake people make is not using the right tools for the job. For example, when removing moss from patio pavers, you will need a stiff brush, a putty knife, and a garden hose with a spray nozzle.
3. Scrubbing Too Hard
Scrubbing too hard is another mistake people make when removing moss from patio pavers. If you scrub too hard, you risk damaging the pavers. Instead, scrub gently until the moss comes loose.
4. Not Rinsing Thoroughly
After you have removed the moss from the patio pavers, it is important that you rinse them thoroughly. If you do not rinse off all of the residues, it could lead to staining or discoloration.
You Can Check It Out to Remove Rust from Natural Stone Patio
5. Not Applying a Sealant
Once you have removed the moss and cleaned the patio pavers, applying a sealant is important. This will help to prevent future growth and make it easier to clean in the future.
6. Waiting Too Long to Clean
One of the most common mistakes people make is waiting too long to clean their patio pavers.
Moss can begin to grow within just a few days, so it is important to clean your pavers regularly to prevent further growth.

By following these steps and avoiding common mistakes, you can easily remove moss from your patio pavers and keep them looking their best!
With a bit of time and effort, you can transform your outdoor living space into an inviting place for family and friends to gather. So don’t wait – get out there and start cleaning those patio pavers today!
Conclusion
Removing pesky moss from patio pavers doesn’t have to be difficult! All it takes is some elbow grease and maybe some extra help in the form of specialized chemicals designed specifically for removing stubborn patches of moss growth from stone surfaces such as patios and pathways!
Don’t forget safety precautions when handling chemicals, and remember that it may take several applications before all signs are gone – but with patience, you’ll soon have your patio looking good as new! Happy cleaning! Thanks for reading our post about how to remove moss from patio pavers.
You Can Check It Out to Extend Patio With Pavers
About
Outdoor Fixes is a distinguished figure in the world of Diy design, with a decade of expertise creating innovative and sustainable Diy solutions.
His professional focus lies in merging traditional craftsmanship with modern manufacturing techniques,
fostering designs that are both practical and environmentally conscious. As the author of diy,
outdoorfixes delves into the art and science of outdoorfixes-making, inspiring artisans and industry professionals alike.
Education RMIT University
(Melbourne, Australia) Associate Degree in Design (Outdoor Fixes) Focus on sustainable design, industry-driven projects,
and practical craftsmanship. Gained hands-on experience with traditional and digital manufacturing tools, such as CAD and CNC software.
Nottingham Trent University
(United Kingdom) Bachelor’s in outdoorfixes.com and Product Design (Honors) Specialized in product design with a focus on blending creativity with production
techniques. Participated in industry projects, working with companies like John Lewis and Vitsoe to gain real-world insights.
Publications and Impact
In diy, Outdoor Fixes his insights on indoor design processes, materials, and strategies for efficient production.
His writing bridges the gap between artisan knowledge and modern industry needs, making it a must-read for both budding designers and seasoned professionals.

