
Do you have a pond in your backyard that’s in need of some repairs? If so, then it might be time to take the plunge and learn how to repair your pond liner. Repairing your pond liner yourself is not only more cost-effective than hiring someone else to do it but also offers an empowering experience where you can make sure everything is done the way you want it.
In this blog post, we’ll explain exactly how to repair pond liner successfully on your own—from patching up holes and tears, sealing leaks, and reapplying protective coatings. So if you’re ready to tackle this DIY project head-on, let’s get started!
What is a Pond Liner?
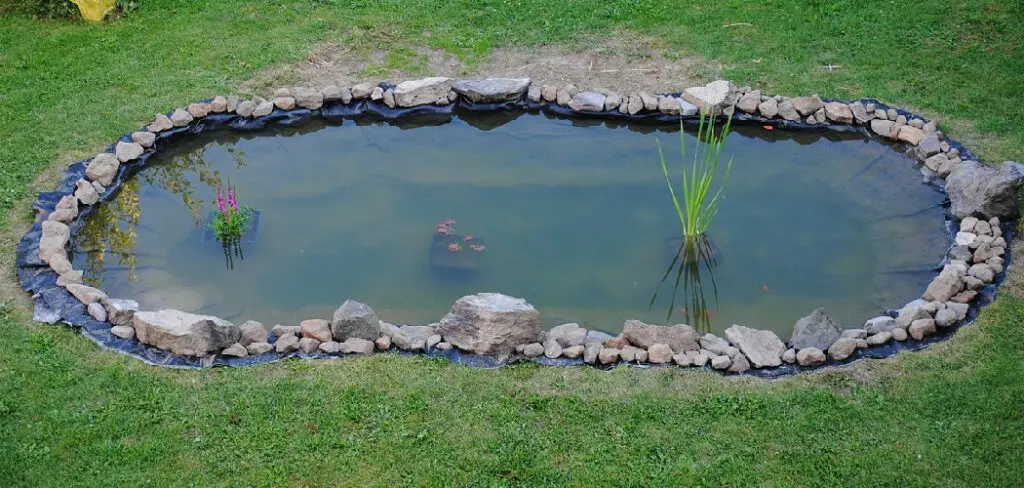
A pond liner is a flexible material that’s used to line the walls and bottom of your pond. It’s typically made out of rubber, PVC, or EPDM (ethylene propylene diene monomer). The purpose of the liner is to contain water, prevent leakage and provide an attractive look for your pond.
Pond liners can become damaged over time from factors such as extreme weather, UV rays, pond creatures, and even physical contact with sharp objects. If left unchecked, this damage can lead to leaks or, worse—complete failure of the liner.
Why Do You Need to Repair Pond Liner?
Repairing your pond liner is important because it will help to protect it from further damage and keep it functional for years to come. Without regular maintenance, the liner can become weak and brittle, leading to the possibility of tears or holes.
These damages can result in an uneven water level, leaks that erode the soil around your pond, and even damage to the surrounding plants or structures. Unfortunately, repairing a damaged liner isn’t always easy—but it’s still worth doing if you want to keep your pond in good condition.
Needed Tools and Materials
Before you get started with the repair, you’ll need to assemble a few tools and materials. Here’s what you’ll need:
- Pond liner patch kit (or PVC patching tape)
- Utility knife or scissors
- PVC glue
- Protective gloves
- Wire brush or sandpaper
- Protective goggles
- Bucket
Once you’ve gathered all the necessary items, it’s time to start the repair process.
10 Tips on How to Repair Pond Liner
1. Inspect the Damaged Area
The first step is to identify where the damage has occurred and assess what kind of repairs are needed. If there are any tears or holes, you’ll need to patch them up. If there are any larger areas where the liner is weak or discolored, you’ll need to apply a protective coating.
2. Clean the Damaged Area
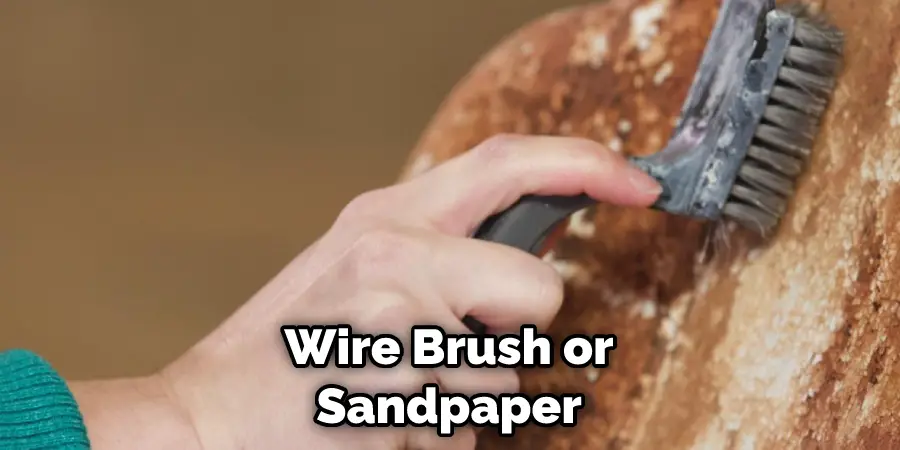
The next step is to make sure that the damaged area is properly cleaned before beginning repairs. Use a wire brush or sandpaper to scrub away any dirt or debris. You can also use a vacuum cleaner to remove any sediment that might have accumulated around the area.
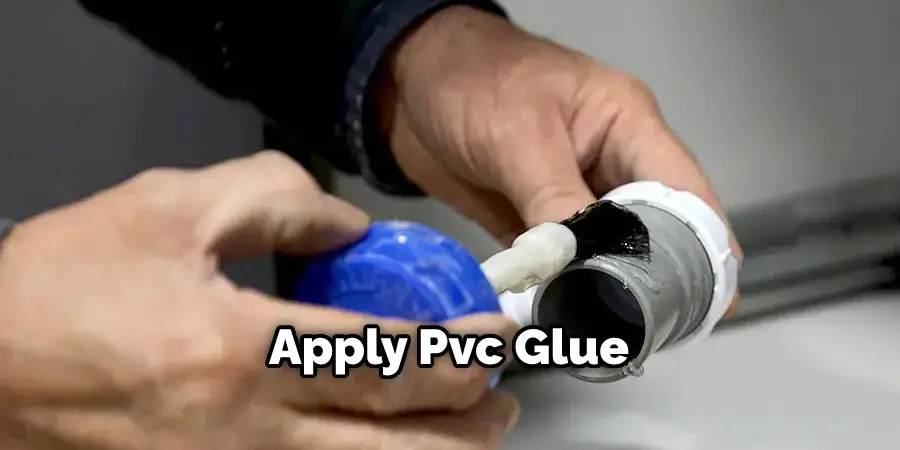
3. Apply PVC Glue
Once the area is cleaned, you’ll need to apply some PVC glue to the inner side of the liner and let it dry completely before proceeding with repairs. Dry times will vary depending on the type of glue used, so make sure you check the product instructions before proceeding.
4. Patch Up Tears and Holes
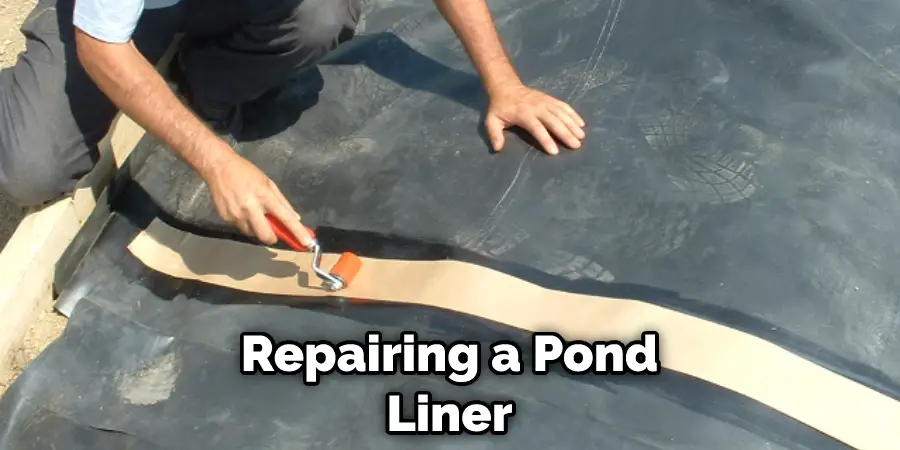
If there are any holes or tears in the liner, you’ll need to patch them up with a pond liner patch kit or PVC patching tape. Make sure that the edges of the repair are sealed tightly and that the patch is firmly secured to the liner.
5. Reapply Protective Coating
If the damaged area is larger, then you may need to reapply a protective coating such as epoxy or rubberized paint. This will help to strengthen the area of damage and protect it from further wear and tear.
6. Let the Repairs Cure
Once all repairs are complete, you’ll need to let them cure for at least 24 hours before filling up your pond. This will give the adhesive and other materials enough time to set properly so that the repair is secure.
7. Fill Up Your Pond
Once the repairs have cured, it’s time to fill up your pond and test the seal. Fill the pond with water slowly, making sure to keep an eye on any potential leaks or weak areas in the repair. Don’t make the mistake of overfilling your pond, as this can cause the pressure to exceed what the liner is designed to handle.
8. Monitor the Repairs Regularly
After filling up your pond, it’s important to monitor the repairs regularly. Check for any signs of wear and tear or possible leaks. If you notice anything amiss, then you may need to repeat the repair process and make sure that everything is in good working order.
9. Replace the Damaged Liner
If the damage to your liner is too severe, then you may need to replace it altogether. This can be a costly endeavor, so it’s important to properly assess the area of damage before making any decisions.
10. Maintain Your Pond
Finally, it’s important to maintain your pond in order to prevent further damage from occurring. Make sure that the liner is always clean and free of debris, and inspect it regularly for signs of wear and tear. Furthermore, make sure that the water level is kept at a consistent level so as not to put too much strain on the liner.
By following these tips, you can ensure that your pond liner will remain in good condition and provide years of enjoyment. With a bit of care and attention, you can keep your pond looking its best for many years to come.
8 Safety Measures to Take
- Wear protective clothing and equipment. Always wear closed-toed shoes, long pants, and sleeves, as well as eye protection when repairing the pond liner. The protective wear will guard you against any potential hazards.
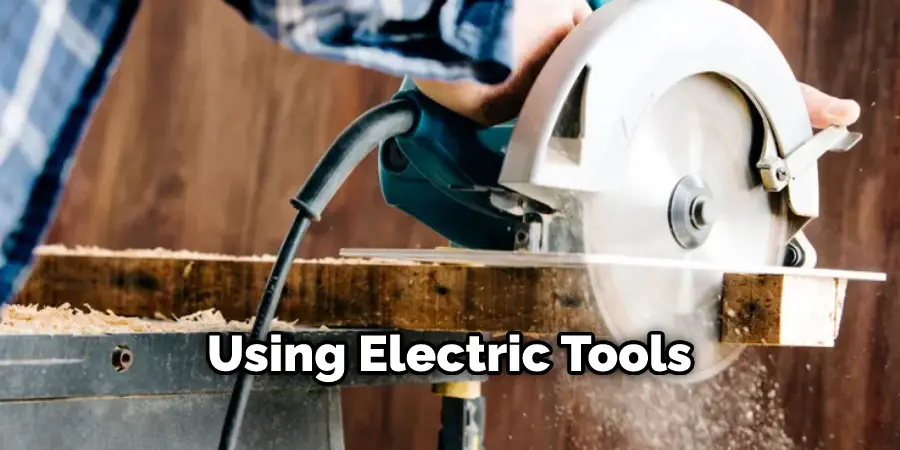
- Make sure never to work around the pond when it’s wet or damp. Standing water increases your risk of slipping, as well as a potential electric shock if using electricity-powered tools in the area. Be careful when using electric tools near water.
- Make sure to familiarize yourself with the pond liner material you’re working with, as it will impact the tools and supplies you use for repair. If you’re unsure, always err on the side of caution and consult with a professional.
- If repairing a tear or hole in the liner, start by cleaning the area around the damage. This will ensure that the repair area is free of debris and dirt that could potentially cause problems down the road.
- Once the area is clean, it’s time to apply repair material. This could be something like a vinyl patch kit or pond liner sealant. How the material is applied will depend on the type of damage that needs repairing.
- Place a heavy object over the newly-repaired area to ensure it takes shape properly. Leave this in place for at least 24 hours before removing it. Otherwise, the patch may not adhere properly.
- Once the area is dry and free of debris, cover it with a protective layer like pond liner underlayment. This will help keep water from seeping into your repaired area and extend the life of your repair.
- Finally, check for any potential leaks around the area where you fixed the pond liner. This can be done by filling a bucket with water and inspecting it for any unusual water spots or wetness. If you find any, make sure to fix them immediately.
By following these steps, you can ensure that the repair job is done correctly and your pond liner remains in perfect condition. Remember to always take safety measures when working with pond liners. It’s better to be safe than sorry.
How Much Will It Cost to Complete the Project?
The cost of repairing a pond liner can vary greatly depending on the extent of the damage, the supplies needed, and the type of materials used. Make sure to consult with a professional for an accurate estimate. Regardless of the cost, it’s important to make sure the job is done correctly, so your pond remains in good condition and safe to use.
You can also save money in the long run by making sure your repairs are done correctly and with high-quality materials. In the end, it’ll be worth the investment.
Conclusion
Caring for and repairing your pond liner is an essential part of maintaining a healthy aquatic environment. Making small repairs now and then can help you avoid larger and more costly repairs later down the line. Knowing how to repair pond liner properly could mean the difference between a healthy fish population in your pond or having to repopulate them again down the road.
It’s important for everyone with an interest in ponds to get familiar by doing research and following instructions that come with any product. Pond owners should take note of what type of pond environment they have so they can prevent future problems from occurring.
A little patience and careful planning will help you immensely when it comes to repairing your pond liner correctly and maintaining its integrity for years.
You can check it out to Store Patio Furniture in Garage
About
Outdoor Fixes is a distinguished figure in the world of Diy design, with a decade of expertise creating innovative and sustainable Diy solutions.
His professional focus lies in merging traditional craftsmanship with modern manufacturing techniques,
fostering designs that are both practical and environmentally conscious. As the author of diy,
outdoorfixes delves into the art and science of outdoorfixes-making, inspiring artisans and industry professionals alike.
Education RMIT University
(Melbourne, Australia) Associate Degree in Design (Outdoor Fixes) Focus on sustainable design, industry-driven projects,
and practical craftsmanship. Gained hands-on experience with traditional and digital manufacturing tools, such as CAD and CNC software.
Nottingham Trent University
(United Kingdom) Bachelor’s in outdoorfixes.com and Product Design (Honors) Specialized in product design with a focus on blending creativity with production
techniques. Participated in industry projects, working with companies like John Lewis and Vitsoe to gain real-world insights.
Publications and Impact
In diy, Outdoor Fixes his insights on indoor design processes, materials, and strategies for efficient production.
His writing bridges the gap between artisan knowledge and modern industry needs, making it a must-read for both budding designers and seasoned professionals.