Are you looking to restore your rotted wood retaining wall? If so, you’ve come to the right place. This guide will discuss how to repair rotted wood retaining wall.
If you’re looking for a way to spruce up your outdoor living space and create an eye-catching feature, then look no further than a wood retaining wall. Wood retaining walls add the perfect aesthetic to any backyard or garden while also providing essential structure and helping to control soil erosion.
Unfortunately, they are susceptible to rot over time and need regular maintenance if they are going to stay in good condition – but don’t worry – with some know-how, it’s possible for even novice DIYers to make simple repairs that can transform a tired-looking wall back into its former glory! Keep reading to find out how you can repair rotted wood in your retaining wall!
What are the Reasons for Rot in Wood Retaining Walls?
Typically, rot occurs when excessive amounts of moisture come into contact with wooden structures. Just like with any other wood material, if water is left sitting on a piece of lumber for too long, it has the potential to start rotting.
Common causes of rot in wooden retaining walls include:
1. Poor drainage: If your wall is not properly draining rainwater away, there will be too much moisture near your wall, which can lead to rot.
3. Low-quality materials: Low-grade materials won’t hold up to moisture as well as higher-quality lumber does.
4. Poor Installation: If the wall was poorly installed or wasn’t mounted securely enough, then it may be more susceptible to damage from the elements.
5. Leaking Water: If there are any leaks in the wall, then this can also lead to rot.
6. Termites and Other Insects: These critters can also cause damage to a wood retaining wall.
Now that you know the common causes of rot in wood retaining walls, let’s look at how you can actually repair them.
What Will You Need?
Before you start any repairs on your rotted wood retaining wall, make sure to gather the following items:
- Hammer and chisel
- Wood screws
- Nails
- Replacement wood (for any severely rotted wood)
- Sandpaper
- Protective gear, such as gloves and eye protection
- Exterior wood sealant or paint (depending on the look you want to achieve).
10 Easy Steps on How to Repair Rotted Wood Retaining Wall
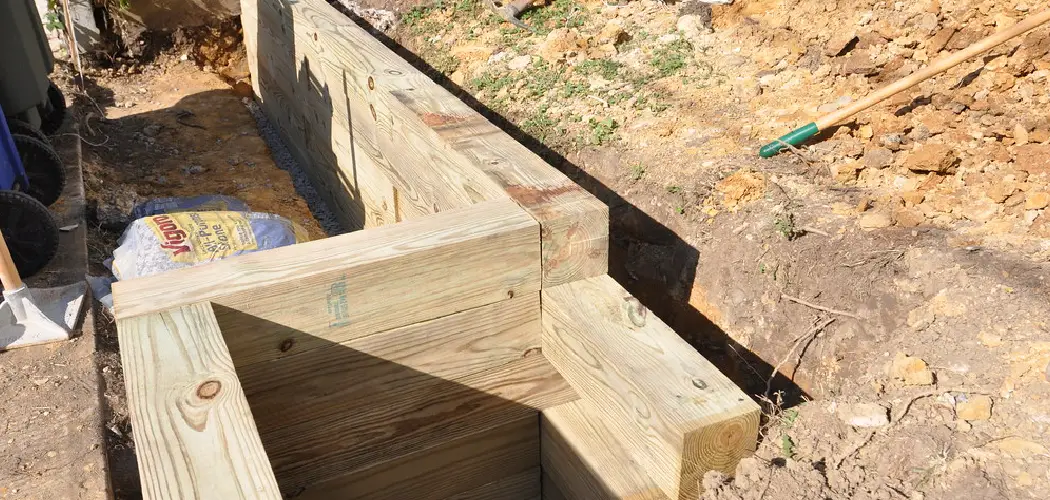
Step 1. Examine the Wall:
Start by examining the wall, looking for signs of rot or decay in the timber – this will tell you where repairs need to be made and how extensive they may need to be. If the damage is severe, you may need to replace some of the timber altogether; if not, then minor repairs should suffice!
Step 2. Remove Rotted Wood:
Using a hammer and chisel, begin to remove any rotted wood from the wall carefully. Take care not to cause further damage while doing this – be sure to wear gloves and eye protection for safety. It’s also important to note that chisels can be sharp, so use caution and keep your hands away from any exposed blades.
Step 3. Cut Replacement Wood Pieces:
If there are large pieces of wood that need to be replaced entirely, then use your replacement wood pieces to do so. Be sure to cut them into shapes that will fit exactly into the space you’re replacing! Don’t forget to sand the edges of these pieces down so they fit snugly.
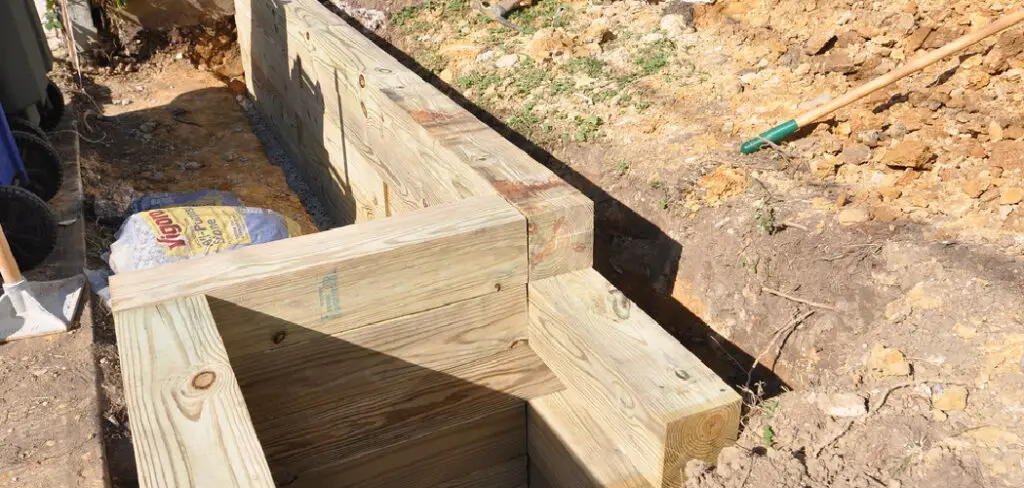
Step 4. Secure Replacement Wood Pieces:
Once your replacement pieces are in place, secure them with nails or screws. Make sure they’re firmly attached and won’t come loose in the future. Additionally, you can use a wood sealant or paint for added protection.
Step 5. Sand Down Wall:
Once your new pieces are, you can begin to sand down the entire wall. This will help create a smooth surface and ensure that the wood is even and level. Ensure that you wear gloves and safety glasses for protection against any debris.
Step 6. Check for:
Once the wall is sanded down, check it again for any signs of rot or damage – if there’s anything that needs replacing, then steps 2-5! Try to be as thorough as possible and make sure that any holes or cracks are filled in with wood fillers. As a final precaution, you can use a wood sealant or paint to protect the wall from further damage.
Step 7. Clean:
Using a cloth and warm water, give your wall one final clean to remove any dust or debris from sanding. Be sure to let it dry completely before moving on to the next step! Otherwise, the sealant or paint won’t adhere correctly.

Step 8. Apply Sealant or Paint:
You can now apply a wood sealant or paint to the wall for added protection. This will help to protect it from water damage and other elements that may cause rot in the future. Moreover, it can give the wall a beautiful finish, adding to its aesthetic appeal.
Step 9. Re-attach Any Items:
If any plants, decorations, or other items were attached to the wall before, re-attach them now! Ensure they are firmly attached and won’t come loose in weather conditions. You can also use additional nails or screws for added security.
Step 10. Enjoy Your Wall:
You’ve done a great job – your rotted wood retaining wall is now repaired and looking as good as new! Sit back and enjoy your renovated outdoor feature! Remember, regular maintenance and upkeep should help to prevent any future damage.
By following these simple steps, you can easily repair rotted wood in your retaining wall without the need for professional help. With a few basic tools and some elbow grease, you’ll be able to restore your wood retaining wall to its former glory!
5 Additional Tips and Tricks
- If the rotted wood is not too extensively damaged, you can try to repair it by covering it with a thick coat of waterproof sealant. This will help to prevent further damage while also helping to maintain the wall’s overall stability.
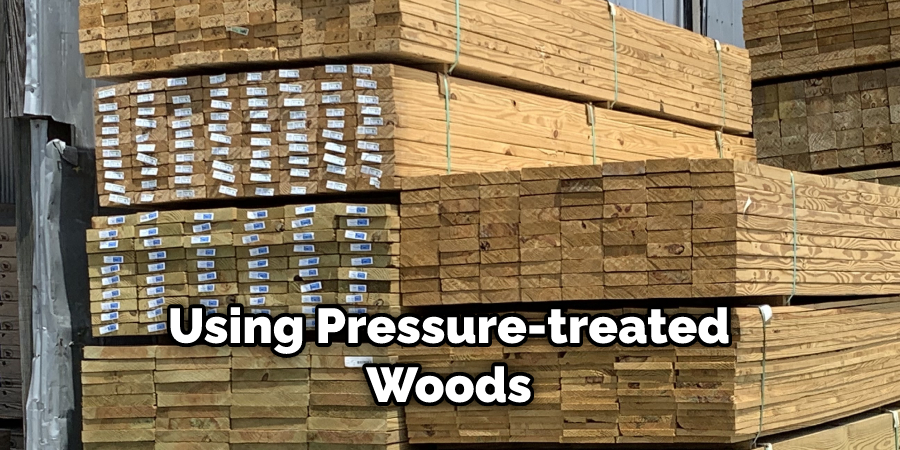
- Consider replacing any damaged boards with pressure-treated lumber, as this type of wood is much less likely to become rotted and weakened over time. Pressure-treated lumber will last longer and require less maintenance in the long run.
- If you are dealing with larger areas of rotted wood, getting some assistance from a professional contractor may be necessary. A pro can help ensure that the repair job is done correctly and safely so that your retaining wall remains strong and functional for years to come.
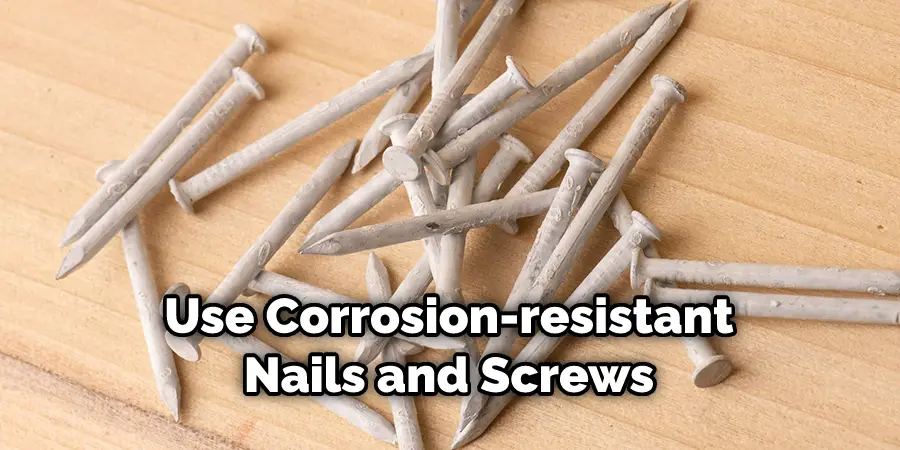
- Make sure you use corrosion-resistant nails or screws when repairing or replacing rotted wood on a retaining wall, as these will last much longer than standard nails or screws.
- Keep an eye on the weather, and make sure to repair any rotted wood on your retaining wall as soon as possible. If left unchecked for too long, the damage can spread quickly, leading to instability and potential collapse of your retaining wall. Taking care of it right away is the best way to ensure you don’t have more extensive problems down the line.
By following these tips and tricks, you’ll be able to effectively and safely repair a rotted wood retaining wall in no time!
5 Things You Should Avoid
- Don’t use regular plywood to repair rotted wood on a retaining wall. Plywood is not designed to support the weight of soil and other materials that can be placed against a retaining wall, so it will eventually break down and leave your structure vulnerable to further damage.
- Avoid using pressure-treated woods without first checking their chemical composition. If the chemicals used to treat the wood are incompatible with whatever sealant or paint you may be using, they can cause corrosion and weaken the entire structure.
- Never use cheap nails or screws when repairing rotted wood on a retaining wall – these are likely to corrode quickly and could cause major structural issues if left unchecked for too long.
- Don’t try fixing rotted wood without inspecting the entire retaining wall. If you only repair a small section, it could create an imbalance that puts pressure on other parts of the structure.
- Avoid attempting any repairs unless you have the right tools and supplies for the job – trying to do it yourself with insufficient materials can result in injury or further damage to your retaining wall.
By following these tips, you’ll be able to effectively and safely repair a rotted wood retaining wall without causing any additional harm!
How Do You Replace a Rotten Retaining Wall?
- Start by removing any damaged boards from the retaining wall and disposing of them safely.
- Measure the length, width, and depth of the remaining area to determine what type and size of board you need to use for replacement.
- If necessary, fill in any gaps with concrete or aggregate before proceeding with the installation.
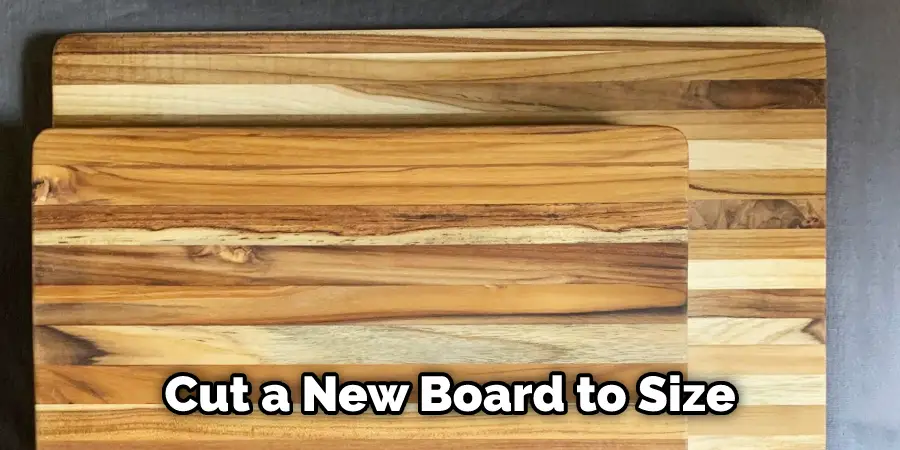
- Cut a new board to size using a saw or other tool designed for cutting wood, then secure it into place with nails or screws (use corrosion-resistant materials when possible).
- Once the new board is secured, apply waterproof sealant around its edges to ensure it won’t become rotted again over time.
- Finally, inspect your work to make sure everything is secure and working properly.
By following these steps, you’ll be able to replace a rotten retaining wall quickly and effectively! With the right materials and equipment, your retaining wall will look great in no time. And with proper maintenance, it should last for years to come.
What is the Best Treated Wood for Retaining Walls?
The best treated wood for retaining walls is pressure-treated lumber. Pressure-treated lumber has been specially treated to resist rot and decay, making it ideal for outdoor applications like retaining walls. It’s also more resistant to insect damage than other types of wood.
Additionally, pressure-treated lumber comes in various sizes, so you’re sure to find the right fit for your needs. Just make sure that you check the chemical composition of the wood before using it with any sealant or paint – certain chemicals can cause corrosion and weaken the structure if not compatible.
Always opt for a corrosion-resistant nail or screw when attaching boards to your retaining wall as well! With these tips in mind, you’ll be able to find the perfect treated wood for your retaining wall in no time.
By following these tips, you can easily and safely repair a rotted wood retaining wall and ensure it will last for years to come! With the right materials and tools, you’ll be able to have your new wall looking great in no time. Just remember to inspect your work regularly for any signs of damage or decay, and make sure to use corrosion-resistant nails and screws when necessary. With these simple steps, you’ll be well on your way to having a beautiful and durable retaining wall!
Conclusion
Repairing a rotted wood retaining wall is a big job, but with the right supplies and some determination, you can get it done! Be sure to wear appropriate safety gear and take your time. If the damage is severe, you may want to consider replacing the entire wall, as this will save you money in the long run. Before beginning any repairs, contact the city or state where your home resides and make sure all permits are in order.
Lastly, be aware that rotted wood must often be replaced before any additional modifications can take place. Doing so will help keep your new retaining wall safe and secure for years to come. Even if fixing or replacing a rotted wood retaining wall seems daunting at first, don’t hesitate to tackle it head on. With a little effort and perseverance, you’ll find that restoring your wall’s integrity is easy!
Hopefully, the article on how to repair rotted wood retaining wall was helpful. You now have the knowledge to repair your rotted retaining wall. With the right supplies, some patience, and a bit of elbow grease, you’ll be able to have your retaining wall looking great in no time. Best of luck and happy repair!
About
Outdoor Fixes is a distinguished figure in the world of Diy design, with a decade of expertise creating innovative and sustainable Diy solutions.
His professional focus lies in merging traditional craftsmanship with modern manufacturing techniques,
fostering designs that are both practical and environmentally conscious. As the author of diy,
outdoorfixes delves into the art and science of outdoorfixes-making, inspiring artisans and industry professionals alike.
Education RMIT University
(Melbourne, Australia) Associate Degree in Design (Outdoor Fixes) Focus on sustainable design, industry-driven projects,
and practical craftsmanship. Gained hands-on experience with traditional and digital manufacturing tools, such as CAD and CNC software.
Nottingham Trent University
(United Kingdom) Bachelor’s in outdoorfixes.com and Product Design (Honors) Specialized in product design with a focus on blending creativity with production
techniques. Participated in industry projects, working with companies like John Lewis and Vitsoe to gain real-world insights.
Publications and Impact
In diy, Outdoor Fixes his insights on indoor design processes, materials, and strategies for efficient production.
His writing bridges the gap between artisan knowledge and modern industry needs, making it a must-read for both budding designers and seasoned professionals.