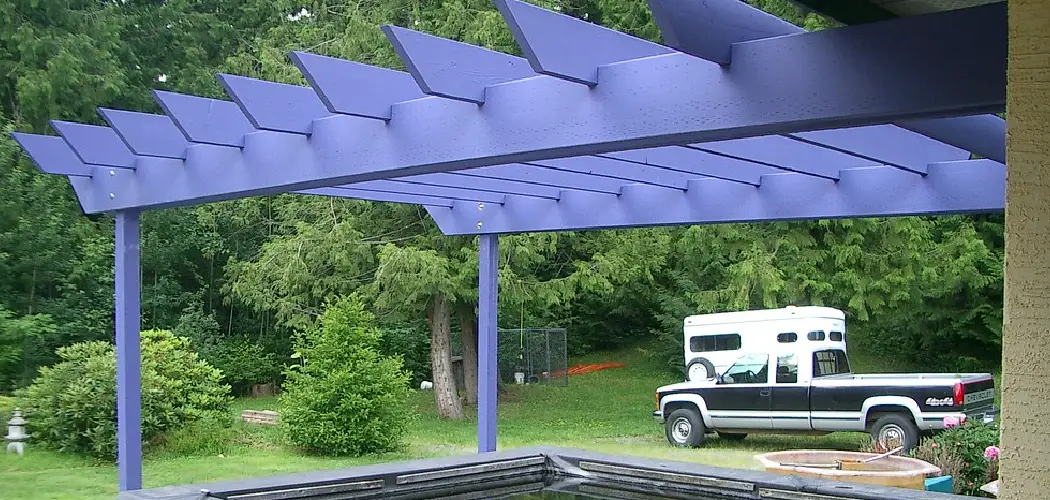
Are you looking for an easy, eye-catching way to spice up your outdoor living space? Painting a pergola is a great way of adding personality and charm to otherwise dull spaces. Whether used as an integral part of the garden design or simply as a structure to cover or decorate other items, painting a pergola can be surprisingly straightforward with just a few simple techniques.

In this blog post, we’ll provide you with all the information you need to decide whether this is something worth tackling yourself – from understanding what materials are best suited for painting pergolas and choosing colors that will compliment your existing surroundings to practical tips on how to carry out the task itself.
So grab some colour swatches and read on how to paint a pergola; in no time at all, you could have transformed your outdoor area!
What Will You Need?
Before you start, you must ensure you have all the required equipment. This will help to ensure that painting your pergola is as stress-free and efficient as possible.
You’ll need the following:
- A good quality primer – this helps the paint stick better and create a more durable finish;
- An exterior paint – preferably one that is designed for outdoor use;
- A roller, brushes, or sprayers for applying the paint;
- Paint trays and painter’s tape to protect surfaces from any accidental splashes or spills.
You should also ensure you have plenty of old rags or newspapers to cover areas where you don’t want the paint to go. It’s a good idea to wear safety glasses during the painting process too, just in case of any unexpected splashes!
10 Easy Steps on How to Paint a Pergola
Step 1. Choosing Your Colour Scheme
When it comes to choosing colors, there are two main approaches: either pick colors that will blend into your existing surroundings or create a bold contrast with bright shades that will make your pergola stand out. Think about what will complement (or clash) with the color of any nearby walls, furniture, and any other staff.
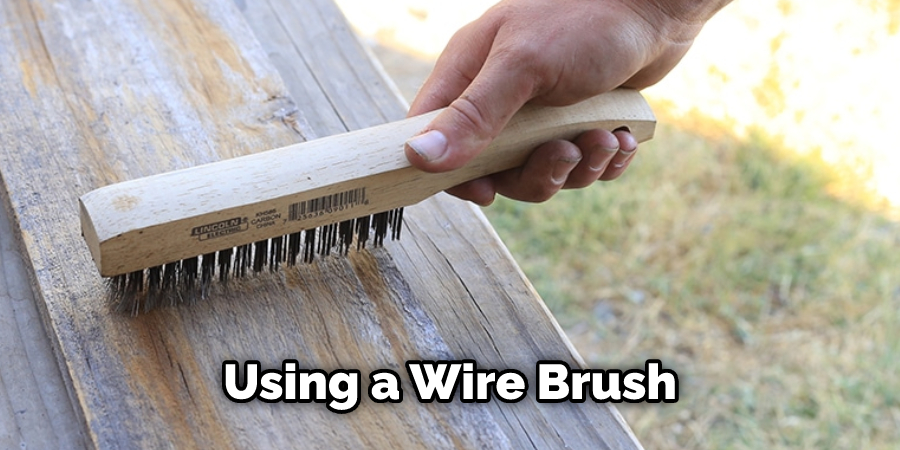
Step 2. Cleaning
Clean all surfaces to paint and make sure they are completely dry before you start painting. Use a wire brush or sandpaper to remove any flakes of paint from previous coats, then use a damp cloth or powerful jet wash to get rid of dirt and debris that may affect the finish. Use a wood cleaner to ensure the surface is completely clean before you start painting.
Step 3. Masking
Cover any areas you don’t want paint on with newspaper or masking tape – don’t forget to cover over gaps between beams too! Check carefully for drips and spills, as these can easily ruin the look of your finished job. Ensure that your ground is properly protected with a drop cloth or plastic sheeting.
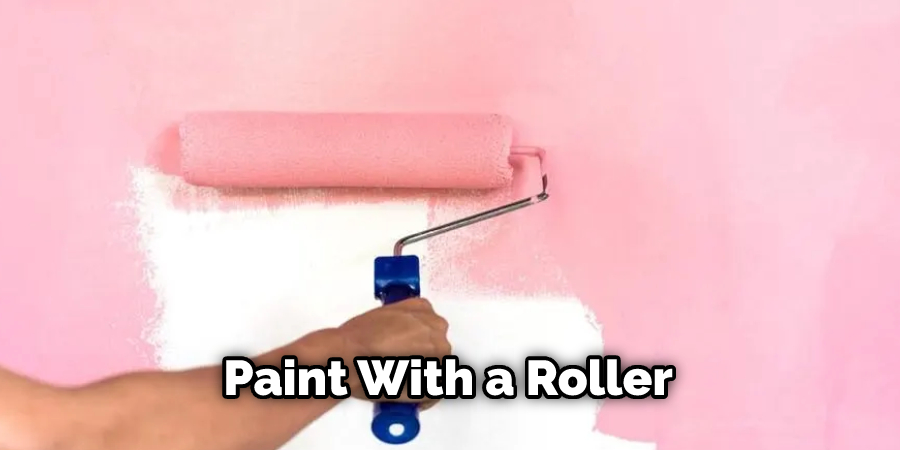
Step 4. Priming
Using a good quality primer, apply one coat of paint to all surfaces that you need to paint with a roller or sprayer. This will help ensure the paint sticks better and provides a more durable finish. Make sure to allow sufficient time for it to dry before moving on to the next step – usually, around an hour or two should do the trick!
Step 5. Painting
Once your primer is completely dry, use a brush or roller to apply your chosen exterior paint in even strokes. Allow each coat of paint to dry fully before adding additional coats (if required). A minimum of two coats are generally recommended for pergolas that are exposed to the elements, but you may want to add a third if you are looking for a really long lasting finish.
Step 6. Finishing Touches
Once your paint is dry, take time to neaten up any areas where the brush or roller hasn’t quite reached (e.g., around edges or corners). You can also use painter’s tape and other masking materials to create patterns such as stripes – just be sure to remove it before the paint has dried! Additionally, if you want to add a glossy finish, use an exterior varnish or lacquer.
Step 7. Cleanup
Clean all tools and surfaces immediately after painting – this will help prevent accidental paint spills in your garden or neighboring properties. And don’t forget to dispose of all debris according to local regulations safely. Don’t forget to give your paint trays a good clean out as well – otherwise, it can be very difficult to get the dried paint off.
Step 8. Final Inspection
Once you’re finished, take a few steps back and look at your handiwork. If you’re happy with the results, it’s time to sit back and see your beautiful new pergola! Just remember to inspect it every now and then to ensure the paint is still holding up.
Step 9. Maintenance
To keep your pergola looking great over time, make sure to inspect it periodically for chipping or peeling paint. Should this occur, simply apply an additional coat of paint as needed to restore the original color and finish. Try to do this once a year if possible or more often in particularly harsh weather conditions.
Step 10: Enjoy Your New Look
Now that you’re done painting, it’s time to take a step back and admire your handy! With the right preparation and technique, you can create an amazing new look for any outdoor pergola. Just remember to practice safety at all times. Enjoy your freshly painted pergola – you’ve earned it!
By following these ten steps, you’ll be sure to have a beautiful looking pergola in no time. With the right preparation, tools, and paint, you can create a stunning transformation that will last for years to come.
5 Additional Tips and Tricks
- Make sure to use paint specifically designed for outdoor surfaces to withstand the elements.
- Before beginning, sand down the wood to make sure the new coat of paint adheres properly, and fill in any cracks or holes.
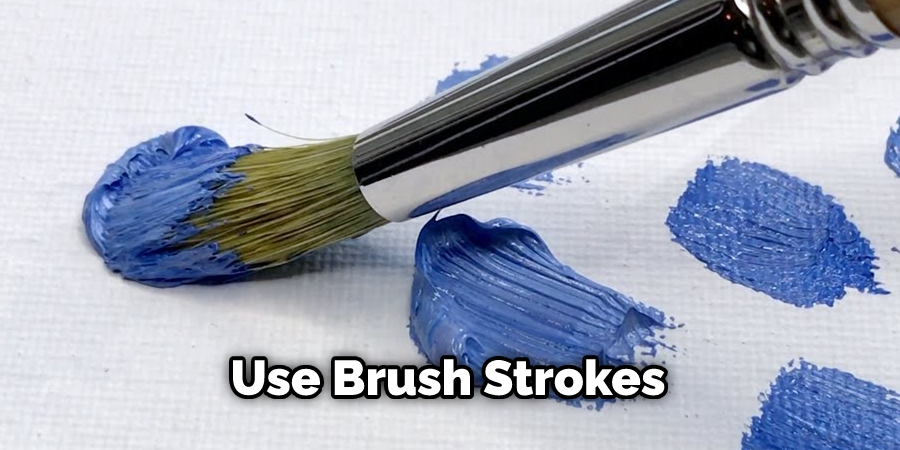
- To get the best results, use brush strokes in the same direction as the grain of the wood.
- After painting your first coat, allow it to dry completely before applying a second one for additional protection from moisture and weathering damage.
- If you want a different look for your pergola, consider using a stain instead of traditional paint to give it an aged and distressed appearance. Doing this will also help protect against UV rays and water damage over time.
With the above tips, you can paint your pergola with ease and confidence. With these tried and true tricks, you will surely get the best outdoor space results!
5 Things You Should Avoid
- Avoid using a roller to paint your pergola; it will not provide adequate coverage.
- Do not start painting without pre the wood first; sanding and filling in any cracks is essential for a finish.
- Steer clear of using regular indoor paint on an outdoor structure, as it won’t be able to stand up to the elements.
- Avoid painting in humid conditions, as it can cause the paint to bubble or blister.
- Don’t forget to wear protective gear when painting, such as a face mask and gloves, to avoid potential hazards from fumes and chemicals.
By following these tips and tricks for how to paint a pergola, you’ll get the best results for your project with minimal fuss and mess! With just a bit of extra preparation and care, you’ll have a beautiful outdoor structure that will last for years!
What Kind of Paint Do You Use on a Pergola?
The best paint type on a pergola is exterior acrylic paint. Acrylic paints are durable and water resistant, making them ideal for outdoor structures that are exposed to the elements. They come in a variety of colors, so you can pick the one that best suits your tastes. It’s important to make sure the paint you select has UV protection added, as this will help keep it looking fresh for longer than regular paints.
Additionally, avoid using oil-based paints as these may cause wood rot due to their thickness and slow drying time. If you’re looking for an alternative finish, consider staining your pergola instead – this will give it an aged look and also provide additional protection against moisture damage over time.
Conclusion
Painting a pergola may seem like a daunting task, but with the right equipment, paint, and preparation, it doesn’t need to be. The trick is to take your time and give attention to detail; each layer of paint should be carefully applied and dried fully before moving on to the next. The outcome can be rewarding and revitalize your outdoor space with an updated look!
With these tips in mind and adequate preparation, you can take on this project with confidence knowing all the hard work will pay off for years of enjoyment with friends and family in the great outdoors.
Hopefully, the article on how to paint a pergola has been helpful for you in getting ready for your DIY project. And who knows? You may even find a passion for painting and become inspired to delve into other projects around the house.
About
Outdoor Fixes is a distinguished figure in the world of Diy design, with a decade of expertise creating innovative and sustainable Diy solutions.
His professional focus lies in merging traditional craftsmanship with modern manufacturing techniques,
fostering designs that are both practical and environmentally conscious. As the author of diy,
outdoorfixes delves into the art and science of outdoorfixes-making, inspiring artisans and industry professionals alike.
Education RMIT University
(Melbourne, Australia) Associate Degree in Design (Outdoor Fixes) Focus on sustainable design, industry-driven projects,
and practical craftsmanship. Gained hands-on experience with traditional and digital manufacturing tools, such as CAD and CNC software.
Nottingham Trent University
(United Kingdom) Bachelor’s in outdoorfixes.com and Product Design (Honors) Specialized in product design with a focus on blending creativity with production
techniques. Participated in industry projects, working with companies like John Lewis and Vitsoe to gain real-world insights.
Publications and Impact
In diy, Outdoor Fixes his insights on indoor design processes, materials, and strategies for efficient production.
His writing bridges the gap between artisan knowledge and modern industry needs, making it a must-read for both budding designers and seasoned professionals.