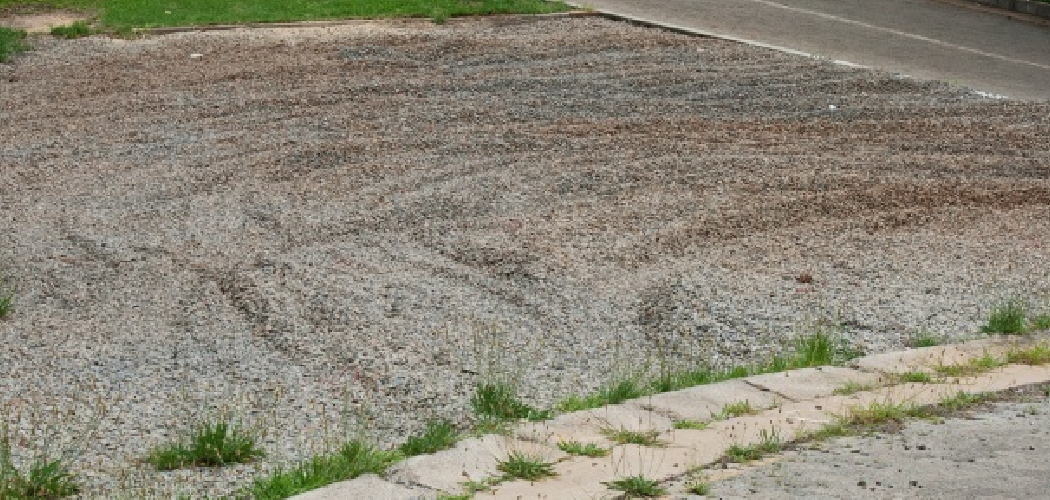
Are you looking for a quick and easy way to compact gravel without a compactor? It may seem impossible, but it can be done with the right tools. Here are some helpful tips on how to compact gravel without a compactor.
If you’ve ever struggled with getting crushed gravel for your patio, walkway, or driveway without having to rent or purchase an expensive compactor and machinery, then this blog post is just what you need!
Learn all the tips and tricks to compact gravel successfully in no time and with minimal effort. This is the perfect solution if you’re looking for a durable yet inexpensive material to cover up problem areas or dress up planters and gardens.

So read on – we’ll take you through all the necessary steps so that by the end, anyone can be their own gravel compaction pro!
What Will You Need?
The first step in compacting gravel without a compactor is to gather the necessary materials. You’ll need the followings:
- A heavy-duty rake
- A hand tamper
- A garden hose or pressure washer
- Waterproof gloves (optional)
- Safety goggles (optional)
Now, let’s get to the steps of how to compact gravel without a compactor.
10 Easy Steps on How to Compact Gravel Without a Compactor
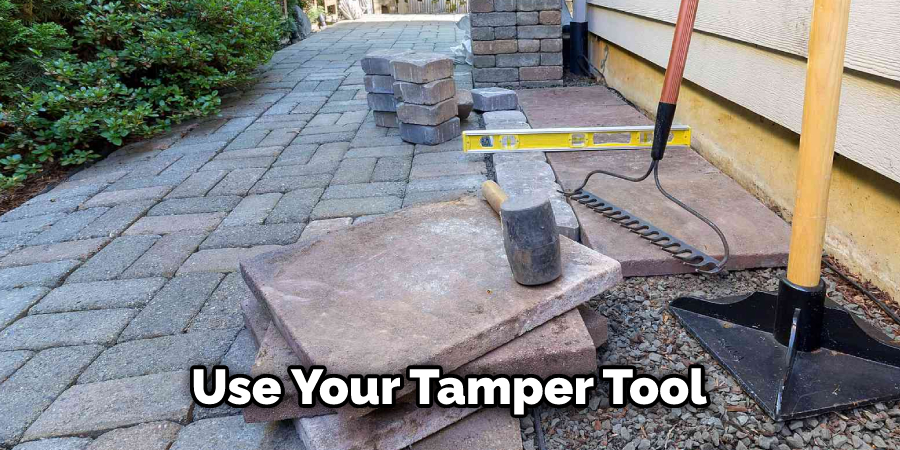
Step 1. Use a Tamper Tool:
This is one of the most effective and popular ways to compact gravel without a compactor. A tamper tool, usually made of metal or hard plastic, is perfect for the job. If you don’t have a tamper, you can use any heavy object, such as a brick or a large rock.
Step 2. Spread Out the Gravel:
Once you’ve got your tamper tool in, spread out the gravel evenly over the area you want to compact. Make sure it’s level and free from any large stones or debris. As you spread out the gravel, use a rake to make sure it’s evenly distributed.
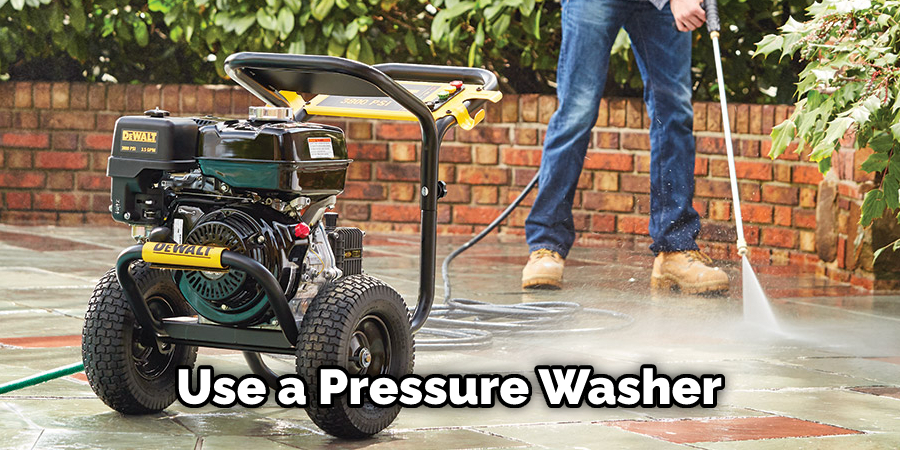
Step 3. Moisten the Area:
Using a garden hose or pressure washer, lightly wet the area before tamping it down. This will help keep dust levels low and make tamping easier overall. Don’t saturate the area. Just make sure it’s damp.
Step 4. Tamp Down:
Once everything is ready, start tamping down on each section of gravel with your tamper tool until it’s firmly packed into place. Use your tamper tool in a circular motion for the best results. Keep tamping down each section until the desired level of compaction is achieved. Don’t forget to use your rake in-between tamping sections to ensure an even spread of gravel.
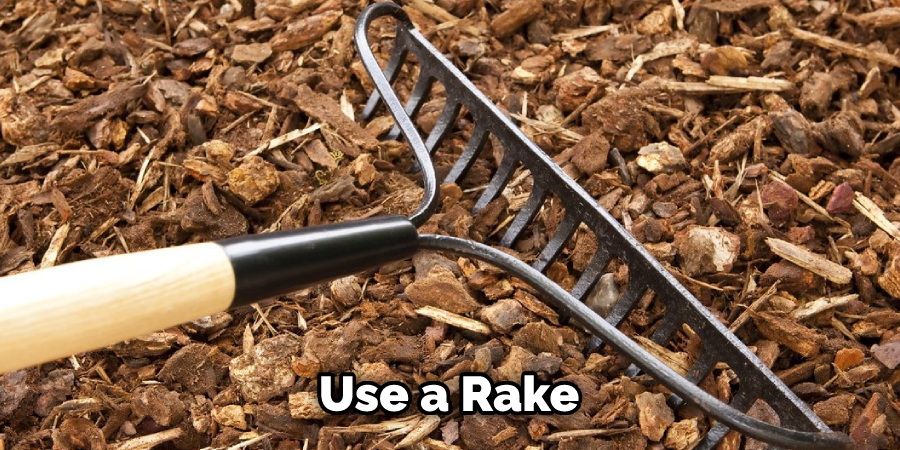
Step 5. Rake Over the Surface:
Once you’re done tamping, use a large heavy-duty rake to level out the surface and remove any lumps or bumps that may have been created during the process. Be careful not to rake too hard, or you may damage the gravel beneath. Ensure the surface is even and flat before moving on to the next step.
Step 6. Add More Water:
Add more water to help compact down any remaining loose gravel pieces if necessary. This can be hard to judge, so take your time and assess the area. If you find any areas that still need more compacting, add a bit more water and tamp them down again.
Step 7. Let Things Dry Out:
Finally, once everything is firmly packed down into place, let the surface dry out naturally before adding additional materials or anything else on top of it. The soil should be completely dry before continuing with construction work or anything else related to this project. Depending on the weather and local conditions, it will take several hours to days for the area to dry out completely.
Step 8. Keep It Clean:
To keep your gravel in top condition for a longer period of time, make sure to clean the surface regularly. This is especially important if you live in a region with high humidity or rainfall. Use a pressure washer to clear away any dirt and debris that may have accumulated on the surface.
Step 9. Re-compact Regularly:
It’s important to re-compact your gravel surface every few months, especially in areas with heavy foot traffic or water drainage issues. This will help keep the material firmly packed and prevent it from shifting or sinking over time. Moreover, it will also help maintain the integrity of the underlying soil and prevent erosion.
Step 10. Enjoy Your Handiwork:
Once you’ve followed all the steps above, take a step back and admire your handiwork! Not only did you save money by compacting gravel without a compactor, but you also put in some serious effort that will pay off for years to come. Enjoy the view of your newly compacted gravel surface—you earned it!
Following the steps above, you know compact gravel without a compactor. With a little bit of effort and practice, you’ll be able to save money and get the job done right. So don’t hesitate to try compacting gravel yourself next time—you may just surprise yourself!
5 Additional Tips and Tricks
- If you don’t have a compactor, use the power of gravity to your advantage. Place a large rock or heavy object on top of the gravel and let it settle over time.
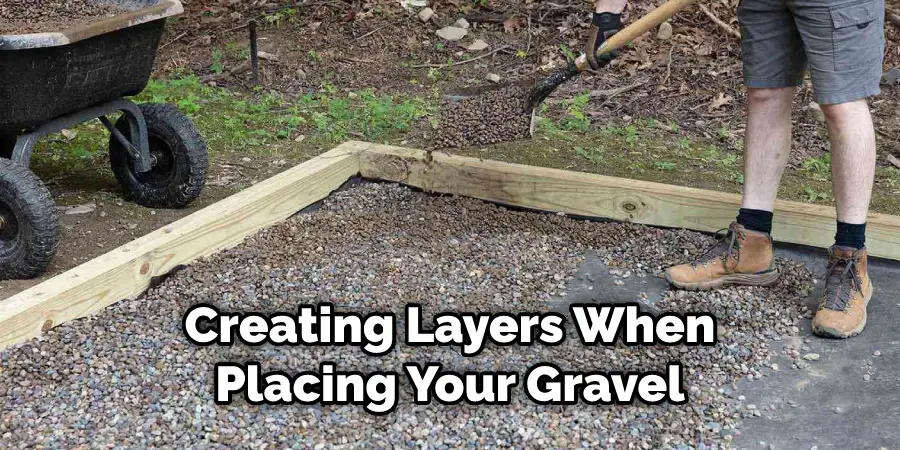
- If possible, consider creating layers when placing your gravel. This allows for more even pressure distribution on the underlying layer as you add additional gravel above it.
- Consider renting or purchasing a vibratory plate compactor if you are installing a long stretch of gravel. This is designed specifically to create a flat, consistent surface with minimal effort compared to manual labor on larger jobs.
- For smaller areas, use hand tools like shovels or rakes to spread out and level out the area before adding new gravel material.
- Wetting the gravel before and after compaction can help provide a stronger and more even surface. This will help ensure that your driveway or walkway stays in place without shifting over time, making it last longer.
Using these tips and tricks, you should be able to achieve great results when compacting gravel without a compactor! With some patience, dedication, and careful planning, you can make sure that your project looks fantastic for years to come!
5 Things You Should Avoid
- Avoid trying to compact gravel by walking on it. This often ends up causing more damage than and can cause the gravel to shift unevenly, creating unfortunate bumps or dips in your surface.
- Do not add too much water when wetting the gravel before compaction. Too much water will create a muddy mess instead of a solid foundation.
- Do not neglect to pull out any weeds that may be growing in the area prior to adding new material. Weeds can work their way through and create an uneven surface if not removed beforehand.
- If possible, avoid using shovels or rakes for larger areas. These are not designed for use on larger jobs and require far more effort to get the job done properly.
- Do not attempt to compact gravel on a steep incline or decline without the proper equipment. This can be dangerous, and it is best to contact a professional for help in these cases.
Following these tips should help you avoid any mishaps when attempting to compact gravel without a compactor and ensure that your project turns out just as you had hoped!
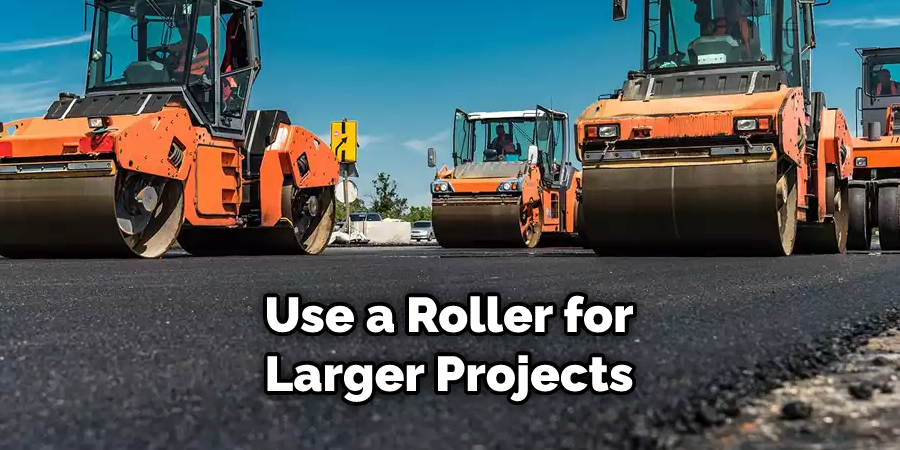
Can You Use a Roller Instead of a Compactor?
In some cases, you may be able to use a roller instead of a compactor when compacting gravel. However, this should only be done if the area is relatively flat and has no dramatic inclines or declines.
Rollers are great for creating an even surface but can cause displacement on more uneven surfaces. It is always best to consult with a professional before attempting to use a roller for larger projects.
Overall, it is possible to compact gravel without the need for a compactor. By following these tips and tricks, you can achieve great results and ensure that your project looks fantastic for years to come! The key is planning your project ahead of time and using the right tools and techniques for the job.
Conclusion
Working with gravel will always involve some hard work and effort, no matter how you go about it. But with a little bit of know-how and the right tools, compacting gravel can be made much easier. As we have learned, there are a few different ways you can compact gravel without purchasing or renting a compactor.
From using a hand tamper or raking in layers to even just driving over the area several times in succession, plenty of options are available that get the job done without any extra equipment required.
Hopefully, the article on how to compact gravel without a compactor has given you an idea of what techniques and tools to use for your next project. So the next time you have an area with gravel that needs to be compacted, now you know what to do!
About
Outdoor Fixes is a distinguished figure in the world of Diy design, with a decade of expertise creating innovative and sustainable Diy solutions.
His professional focus lies in merging traditional craftsmanship with modern manufacturing techniques,
fostering designs that are both practical and environmentally conscious. As the author of diy,
outdoorfixes delves into the art and science of outdoorfixes-making, inspiring artisans and industry professionals alike.
Education RMIT University
(Melbourne, Australia) Associate Degree in Design (Outdoor Fixes) Focus on sustainable design, industry-driven projects,
and practical craftsmanship. Gained hands-on experience with traditional and digital manufacturing tools, such as CAD and CNC software.
Nottingham Trent University
(United Kingdom) Bachelor’s in outdoorfixes.com and Product Design (Honors) Specialized in product design with a focus on blending creativity with production
techniques. Participated in industry projects, working with companies like John Lewis and Vitsoe to gain real-world insights.
Publications and Impact
In diy, Outdoor Fixes his insights on indoor design processes, materials, and strategies for efficient production.
His writing bridges the gap between artisan knowledge and modern industry needs, making it a must-read for both budding designers and seasoned professionals.