
Are you worried about Parvo in your yard? Parvovirus, also known as parvo, is a highly contagious virus that can be deadly for dogs. To protect your pets and prevent the spread of parvo, it’s important to test your yard periodically for the virus.
Parvo is a potentially fatal virus that can spread to your pets, no matter how careful you are in the care and sanitation of their environment. While vaccinations against this virus exist and are strongly recommended, even vaccinated animals can still come down with it if precautions aren’t taken. Testing your yard for parvovirus is an important step in protecting your pet from being exposed to the virus or passing it on to another animal you may bring into your home through adoption.
In this blog post, we’ll explore how to test your yard for parvo. Read on as we answer all of your questions here!
What are the Benefits of Testing for Parvo?
Testing your yard for parvo can give you peace of mind and help protect your pets. If parvovirus is detected early, you can take steps to contain the virus and protect your pet from getting sick. Testing for parvo also helps you identify any areas of contamination in your yard so that you can address them as soon as possible.
Additionally, parvo testing can be beneficial if you plan on adopting a new pet. By testing your yard before bringing any other animals home, you can make sure that your new pet won’t be exposed to the virus as soon as they arrive.
What Will You Need?
To test your yard for parvo, you’ll need a few supplies.
If you plan on testing the soil in your yard for parvo, you’ll need the followings:
- A soil sample kit
- Disposable gloves
- An approved testing facility
- A waterproof container or bag to store the soil samples in
- Labels to label the samples
If you plan on having your pet tested for parvo, you’ll need the following:
- A fecal sample from your pet
- An approved testing facility
- A sterile collection container with a lid
- Labels for labeling the sample containers
Once you have all of the necessary supplies, it’s time to start testing! Here are the steps for testing your yard and pet for parvovirus.
10 Easy Steps on How to Test Your Yard for Parvo
Step 1. Wear Safety Gear:
Make sure to wear protective gear such as gloves and a face mask when testing for parvo. You can also wear a lab coat if you have one available. If you are collecting a sample from your pet, make sure to wear protective gear such as gloves and a face mask.
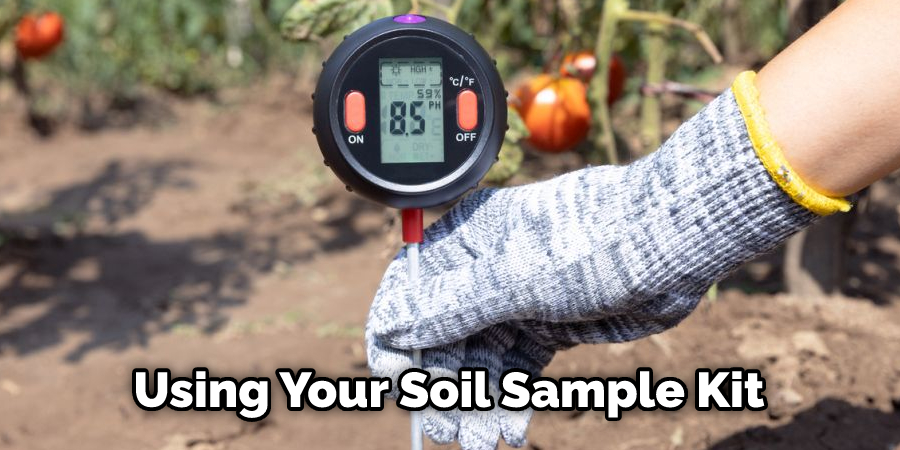
Step 2. Collect a Soil Sample:
Using your soil sample kit, take a sample of the soil from your yard. Collect samples from different areas of your yard, such as around the fence line, near any animal waste, or anywhere else that you think may be contaminated with parvo.
Step 3. Label the Sample Containers:
Label each container with its sample location and date of collection. Make sure to label clearly and accurately so your results can be easily identified in case you need to refer back to them later on. Don’t forget to label any pet sample containers as well.
Step 4. Place Samples in Appropriate Container:
Before being tested, place all soil samples into an appropriate containment, such as a waterproof bag or container. It will also help keep the samples from getting contaminated. Just make sure to keep the samples in a cool, dry place until you’re ready to send them out.
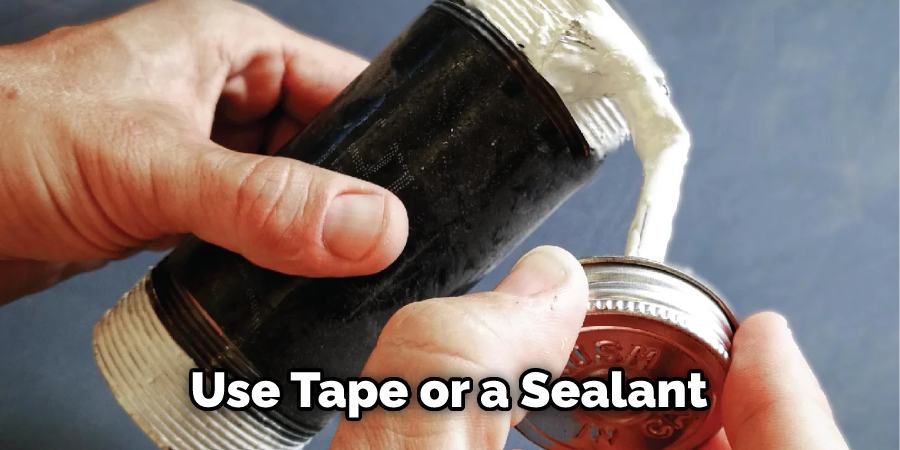
Step 5. Seal Containers Properly:
Make sure to seal all containers properly before sending them off for testing. You can use tape or a sealant to ensure the containers stay closed and do not get opened during transport. Labeling the containers in case they get misplaced while they are being shipped is also important.
Step 6. Send Samples to an Approved Testing Facility:
You can find an approved testing facility by doing a quick online search or asking your veterinarian for more information on where to send samples for testing. There may be a fee for the testing, so make sure to look into that ahead of time.
Step 7. Collect Fecal Sample From Your Pet (if applicable):
If you plan on having your pet tested for parvo, you’ll need to collect a fresh fecal sample from them and place it in the sterile collection container provided by the laboratory. Make sure to label this container with your pet’s name and date of collection as well. Additionally, the sample should be kept refrigerated or frozen until it is ready to send off for testing.
Step 8. Prepare Packaging For Shipping:
Ensure both containers are properly sealed before preparing them for shipping according to the laboratory’s instructions. If you plan on shipping the samples, make sure to use an overnight courier service so that the specimens arrive fresh and undamaged.
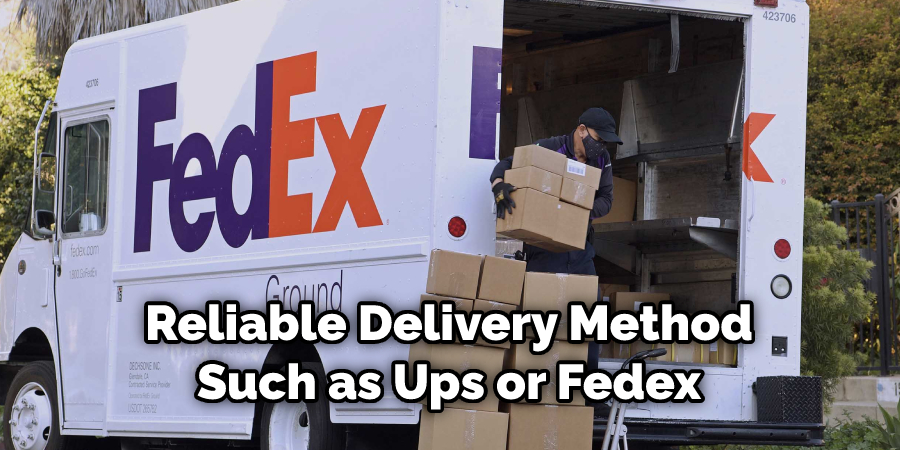
Step 9. Ship Samples To The Lab:
Once everything is prepared for shipping, you can ship your samples to the lab for testing. Make sure to use a secure and reliable delivery method such as UPS or FedEx so that your samples arrive safely and on time. Remember, the results may take up to two weeks to be returned.
Step 10. Wait For The Results:
Once the laboratory receives your sample, they will begin processing it and providing you with results within a few days or weeks, depending on the type of test performed. Once you receive your results, make sure to follow any specific instructions provided by the laboratory regarding how to address any areas of contamination found in your yard or pet.
By following these steps, you can easily complete parvo testing for your yard or pet. Remember always to wear protective gear when collecting samples, label all samples clearly, and choose a reliable shipping method before sending your samples off for testing. Most importantly, follow the instructions provided by the laboratory after you receive your results in order to properly address any areas of contamination found in your yard or pet.
5 Additional Tips and Tricks
- Always change your shoes and wash your hands before entering or leaving an area that may be contaminated with parvo.
- Consider using a test kit to easily and accurately test for parvo in your yard.
- Dispose of pet waste appropriately and regularly, as it can become a breeding ground for parvovirus.
- Make to vaccinate all pets against the virus on the recommended schedule.
- Clean up vomit, urine, or fecal matter immediately with an appropriate cleaning solution, such as bleach and water, to reduce the risk of spread.
By following these steps and tips, you can properly test for parvo in your yard and take preventive measures to help protect both your pets and yourself from this dangerous virus. If you have any questions or concerns about how to test your yard for parvo, contact your veterinarian or local health department for more information.
6 Things You Should Avoid
- Avoid contact with contaminated soil or objects in your yard.
- Do not mix pet waste with other household trash, as this can spread the virus to other areas.
- Avoid sharing bowls, toys, or bedding between infected and uninfected pets.
- Do not let pets drink from puddles or stagnate water sources, as these can contain the virus.
- Finally, do not allow unvaccinated animals into your yard or home, as this poses a high risk of spreading the virus.
- Do not ignore any signs of illness in your pets. Contact your veterinarian immediately if you notice anything out of the ordinary.
By following these steps and avoiding potentially dangerous situations, you can keep yourself and your pet safe from parvovirus contamination in your yard. With proper testing and prevention methods, you can ensure that both you and your pet remain healthy and happy!
Conclusion
In conclusion, how to test your yard for parvo is not complicated or time-consuming. All it requires are some supplies and careful consideration on how to prepare the area best so that any visible traces of parvo will be clear. Not only will being proactive in testing your yard help protect your pets, but it is also important to take preventative measures to ensure other animals remain safe.
Remember, if you suspect that your pet has contracted parvo, visit a vet immediately, as this disease can quickly become fatal if not treated properly. If signs of parvo are found after testing your yard, then contact a licensed domestic animal control officer for assistance – they have the expertise and experience necessary to manage the situation appropriately.
Finally, take standard precautions such as thoroughly washing hands with warm soapy water and cleaning objects with a bleach solution to avoid cross-contamination and the spread of the virus. By taking these small steps, we can work together to reduce the risk of dogs contracting this serious canine disease.
About
Outdoor Fixes is a distinguished figure in the world of Diy design, with a decade of expertise creating innovative and sustainable Diy solutions.
His professional focus lies in merging traditional craftsmanship with modern manufacturing techniques,
fostering designs that are both practical and environmentally conscious. As the author of diy,
outdoorfixes delves into the art and science of outdoorfixes-making, inspiring artisans and industry professionals alike.
Education RMIT University
(Melbourne, Australia) Associate Degree in Design (Outdoor Fixes) Focus on sustainable design, industry-driven projects,
and practical craftsmanship. Gained hands-on experience with traditional and digital manufacturing tools, such as CAD and CNC software.
Nottingham Trent University
(United Kingdom) Bachelor’s in outdoorfixes.com and Product Design (Honors) Specialized in product design with a focus on blending creativity with production
techniques. Participated in industry projects, working with companies like John Lewis and Vitsoe to gain real-world insights.
Publications and Impact
In diy, Outdoor Fixes his insights on indoor design processes, materials, and strategies for efficient production.
His writing bridges the gap between artisan knowledge and modern industry needs, making it a must-read for both budding designers and seasoned professionals.