
Are you tired of your old, decaying wood deck? Are you looking to upgrade its look and quality without all the time-consuming maintenance required by traditional wooden decks? Well, if so, then it’s time to consider composite decking!
Composite decking is the perfect solution! It offers a more aesthetically pleasing appearance than standard wood decking, as well as superior durability that requires minimal upkeep. This increasingly popular outdoor infrastructure choice is an ideal replacement for many worn-out or damaged wooden decks.
With its durability and low maintenance requirements, composite decking can transform the way you enjoy your outdoor space without having to invest too much time and money. In this blog post, we’ll discuss the steps involved in replacing a wood deck with composite material.
From choosing the suitable materials to understanding how much it will cost – we’ll provide all the information on How to Replace a Wood Deck With Composite you need to make an informed decision about upgrading your outdoor living space. So grab some tools, and let’s start – it’s time for a DIY adventure!
Necessary Items
Before we dive into replacing a wood deck with composite material, let’s review the necessary items to get started. These include:
- Measuring tape and level: To accurately measure the size of your deck and ensure it is level before installing new materials.
- Protective gear: Safety glasses, gloves, and dust mask for protection during demolition and construction.
- Pry bar: For removing old deck boards and nails.
- Circular saw or jigsaw: For cutting composite decking to the desired size.
- Power drill and screws: To secure new materials in place.
- Composite decking: Be sure to choose a high-quality, weather-resistant brand for optimal durability and longevity.
10 Steps on How to Replace a Wood Deck With Composite
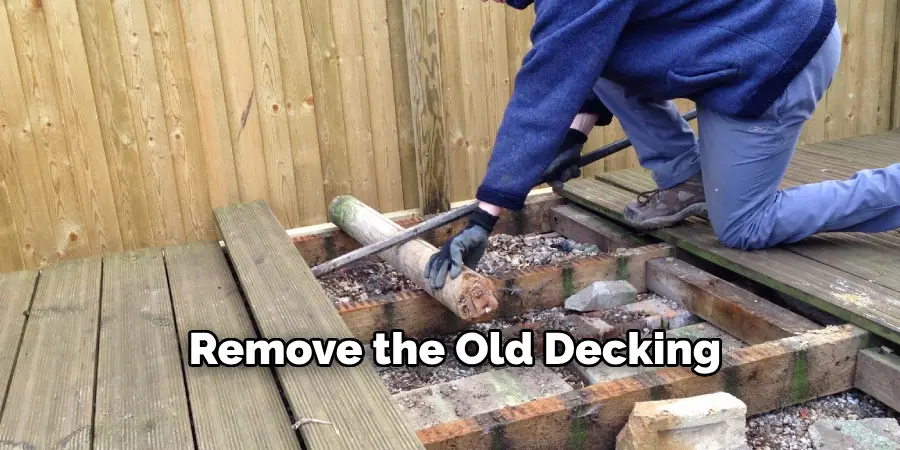
Step 1: Remove Old Decking
The first step in replacing a wood deck with composite material is to remove the old decking. This process may vary depending on the type of decking you have but generally involves using a pry bar to remove old deck boards and nails. Be sure to wear protective gear during this step.
Step 2: Inspect Deck Frame
After removing the old decking, it’s essential to inspect the deck frame for any signs of damage or rot. If you notice any issues, address them before moving on with the installation process. It’s essential to have a sturdy and stable frame for your new composite decking.
Step 3: Measure and Level the Deck
Using a measuring tape and level, measure the size of your deck to determine how much composite decking you’ll need. Make sure also to check that the deck is level before proceeding with installation.
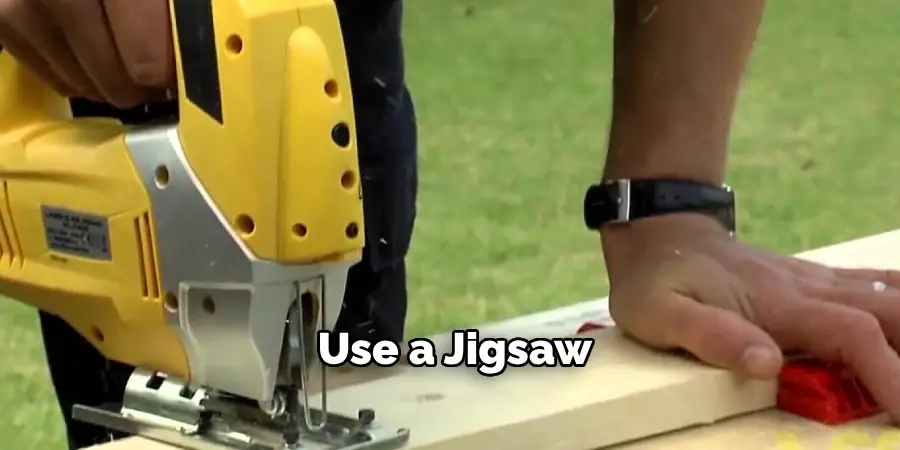
Step 4: Cut Composite Decking to Size
Using a circular saw or jigsaw, cut the composite decking boards to the desired size. Be sure to follow manufacturer instructions for the best cutting practices.
Step 5: Pre-drill Holes
Before securing the composite decking in place, it’s essential to pre-drill holes using a power drill. This will prevent any splitting or cracking of the material.

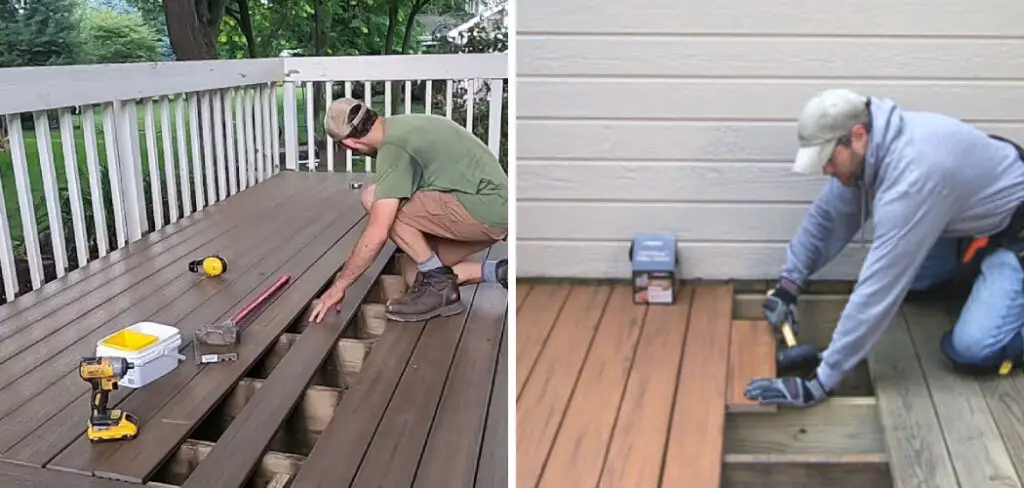
Step 6: Install the First Row of Decking
Starting at the edge of your deck, install the first row of composite decking boards by attaching them to the deck frame with screws. Make sure they are evenly spaced and secured in place.
Step 7: Continue Installing Rows of Decking
Continue installing rows of composite decking until you have covered the entire surface of your deck. Be sure to use spacers between each board for proper spacing and allow for water drainage.
Step 8: Cut Boards Around Obstacles
If your deck has any obstacles, such as posts or corners, you may need to cut the composite boards to fit around them. Use a jigsaw or circular saw for precise cuts.
Step 9: Add Finishing Touches
Once all the decking is in place, you can add finishing touches such as railing, stairs, and any other decorative elements you desire.
Step 10: Regular Maintenance
To ensure the longevity of your new composite deck, it’s essential to perform regular maintenance. This includes keeping the surface clean and debris-free, checking for potential damage or rot, and sealing the deck every few years.
Replacing a wood deck with composite material is a great way to upgrade your outdoor living space. With its durability, low maintenance requirements, and attractive appearance – it’s an easy choice for those looking to improve their deck.
Follow these ten steps on replacing a wood deck with composite, and you’ll have a new, beautiful one in no time! Always prioritize safety and proper installation techniques when working on any DIY project.
8 Care Tips for Your Composite Deck
Now that you have a beautiful new composite deck, it’s essential to take proper care of it to ensure its longevity. Here are eight tips for maintaining your composite decking:
1. Regularly Sweep or Hose Off Your Deck
Debris can build up on your deck, causing discoloration and potential damage. Sweep or hose off your deck regularly to keep it clean.
2. Use Mild Detergent and Soft Brush for Tough Stains
For more stubborn stains, use a mild detergent and a gentle brush to scrub them away. Avoid harsh chemicals or abrasive cleaning tools.

3. Remove Snow with Plastic Shovel
Avoid using metal shovels to remove snow from your deck, as they can cause scratches and damage to the material. Instead, use a plastic shovel to remove snow gently.
4. Avoid Using Heat Sources on Deck Surface
Avoid placing hot items such as grills or fire pits directly on your deck surface as this can cause damage. Use a protective mat or stand to prevent any burns or marks.
5. Clean Spills Immediately
If anything spills on your deck, clean it up immediately to prevent staining or damage.
6. Check for Mold and Mildew Growth
Regularly check for any signs of mold or mildew growth on your deck, especially in areas with high moisture. Use a mild cleaner specifically designed for composite decking to remove any growth.

7. Trim Nearby Plants and Trees
Plants and trees can cause damage to your deck if they are too close or overhanging. Be sure to trim them regularly to avoid any potential issues.
8. Seal Your Deck Every Few Years
To protect your composite deck from the elements and maintain its appearance, it’s recommended to seal it every few years. Consult with the manufacturer for the best sealing practices for your specific decking brand.
By following these care tips, you can ensure that your composite decking will stay in top condition for many years. Enjoy your new, low-maintenance outdoor space! So, don’t wait any longer and start replacing that old wood deck with a beautiful and durable composite one today. Your future self will thank you for it!
8 Things to Avoid When Installing Composite Decking
While installing composite decking may seem straightforward, some common mistakes can lead to issues. Here are eight things to avoid when installing your new deck:
1. Not Prepping the Deck Frame
Failing to properly inspect and prep the deck frame before installation can result in an unstable and unsafe structure. Check for damage or rot and address any issues before installing.
2. Not Measuring Properly
It’s essential to accurately measure your deck before purchasing and cutting your composite decking boards. This will ensure that you have enough material and avoid any unnecessary waste.
3. Using Improper Cutting Tools
Using the correct type of saw or following manufacturer instructions can result in better cut boards and potential damage to the material. Always use a proper cutting tool and follow guidelines for the best results.
4. Not Pre-drilling Holes
Skipping this step can lead to splitting or cracking of the decking boards during installation. Take the time to pre-drill holes before securing them in place with screws.
5. Incorrectly Spacing Boards
Proper spacing between boards is essential for the overall integrity and appearance of your deck. Use spacers to ensure even and appropriate gaps between each board.
6. Not Allowing for Water Drainage
Composite decking needs proper drainage to prevent water from pooling on the surface, which can lead to mold or mildew growth and potential damage. Make sure to follow manufacturer recommendations for proper water drainage techniques.
7. Neglecting End Caps
End caps are essential for preventing moisture from seeping into the ends of your composite decking boards, which can cause swelling and warping over time. Be sure to install end caps properly according to manufacturer instructions.
8. Rushing the Installation Process
Installing a composite deck takes time and precision. Rushing the process can result in mistakes or an unstable structure, so take your time and follow all instructions on how to replace a wood deck with composite carefully for a successful installation. Remember, proper installation is critical to enjoying your new deck for years. So take your time and avoid these common errors for a beautiful and durable outdoor space.
Frequently Asked Questions
How Long Does Composite Decking Last?
Quality composite decking can last 25-30 years with proper care and maintenance. This is significantly longer than traditional wood decking, making it a worthwhile investment for homeowners.
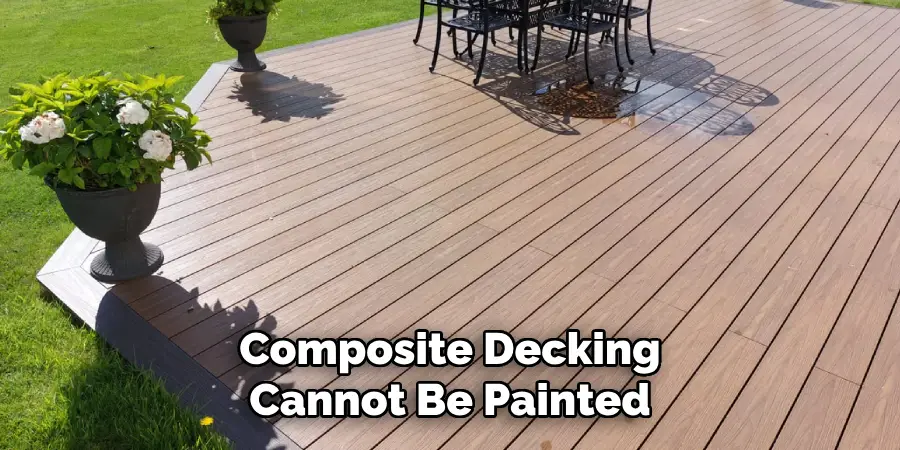
Can I Paint or Stain My Composite Decking?
No, composite decking cannot be painted or stained as it comes in various colors and does not absorb paint or stain like wood.
Is Composite Decking More Expensive Than Wood?
While the upfront cost of composite decking may be higher than wood, it requires less maintenance and lasts longer, making it a more cost-effective option in the long run.
Can I Install Composite Decking Myself?
Yes, composite decking can be installed by homeowners with some DIY experience. However, for best results and to avoid common mistakes, it’s recommended to hire a professional for installation.
Can I Install Composite Decking Over an Existing Wood Deck?
No, composite decking should not be installed over an existing wood deck as it can cause structural issues and potentially void the warranty. It’s best to remove the old deck and start with a clean slate for your new composite deck.
Overall, proper care and maintenance are essential for keeping your composite decking looking and functioning at its best. By avoiding common mistakes during installation and following the care tips, you can enjoy a beautiful and durable outdoor space for years.
Conclusion
From our discussion on how to replace a wood deck with composite material, it’s easy to see that the advantages of composite decking far outweigh the time and money investment.
If you’re looking for an affordable, durable, and beautiful addition to your outdoor space, then composite is the perfect choice for you. Not only that, but opting for a composite deck means significantly less maintenance than its wooden counterpart.
There’s no paint or staining required – all you need is regular cleaning with a garden hose and some mild detergent. Finally, remember that investing in a composite deck can add substantial resale value to your home if you decide to sell. It’s time for you to take action. Make the right decision now and install a composite deck in your backyard so that you can enjoy it for years to come!
About
Outdoor Fixes is a distinguished figure in the world of Diy design, with a decade of expertise creating innovative and sustainable Diy solutions.
His professional focus lies in merging traditional craftsmanship with modern manufacturing techniques,
fostering designs that are both practical and environmentally conscious. As the author of diy,
outdoorfixes delves into the art and science of outdoorfixes-making, inspiring artisans and industry professionals alike.
Education RMIT University
(Melbourne, Australia) Associate Degree in Design (Outdoor Fixes) Focus on sustainable design, industry-driven projects,
and practical craftsmanship. Gained hands-on experience with traditional and digital manufacturing tools, such as CAD and CNC software.
Nottingham Trent University
(United Kingdom) Bachelor’s in outdoorfixes.com and Product Design (Honors) Specialized in product design with a focus on blending creativity with production
techniques. Participated in industry projects, working with companies like John Lewis and Vitsoe to gain real-world insights.
Publications and Impact
In diy, Outdoor Fixes his insights on indoor design processes, materials, and strategies for efficient production.
His writing bridges the gap between artisan knowledge and modern industry needs, making it a must-read for both budding designers and seasoned professionals.