Are you looking for an easy and affordable way to replace a porch post? If the answer is yes, you’re in luck! There are several steps involved in replacing a porch post that may seem daunting at first; however, with patience and caution it can easily be accomplished.

In this blog post, we will walk through each step of the process so you’ll have the confidence to tackle this project yourself. You don’t have to wait any longer – let’s get started!
If you have an old porch post that is in need of replacement, then look no further! Replacing a porch post can be intimidating for many homeowners who are not familiar with building and carpentry projects. However, with the right tools and know-how, it’s a job that anyone can accomplish.
Here, we will walk you through all the steps about how to replace porch post – from choosing the material needed to getting started on construction.
Why May You Want to Replace Porch Post?
1. To Repair Structural Damage
Porch posts may become damaged over time due to wear and tear, extreme weather conditions or insects. This can lead to a weakened structure that could cause injury if not addressed. If you notice structural damage, it is important to assess the area and determine if replacing the porch post is necessary for safety reasons.
2. To Upgrade the Aesthetic of Your Porch
Replacing your old porch post is a great way to give the front of your home an updated look. Choosing a new post with a different design or material can make the whole space look fresher and more inviting.

3. To Match Existing Posts
If you need to replace one or more posts due to damage, it is important to find a product that matches the existing posts. This will ensure that your porch looks uniform and well-maintained.
Also, if you plan to replace a porch post that is part of a larger structure (like a pergola or gazebo), make sure the new post matches the other posts in terms of design and material.
How to Replace Porch Post in 6 Easy Steps
Step 1: Gather All The Tools You Will Need
The very first step is to gather all of the tools you will need. You’ll need a cordless drill, a Sawzall, a hammer, nails, wood screws, post-mount brackets, and 2×4 lumber. Also make sure you have safety goggles, gloves, and a dust mask.
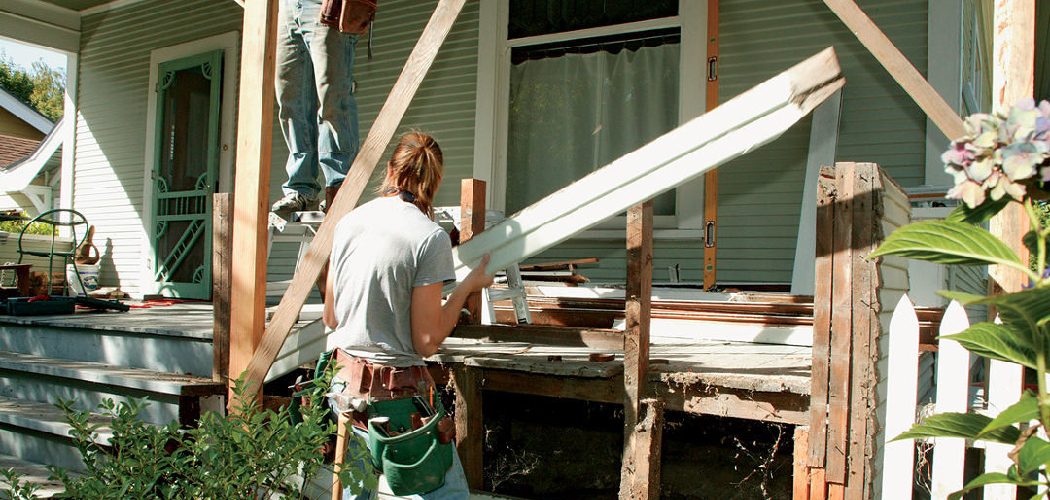
Step 2: Cut Away the Old Post
Once all of your tools are ready to go, it’s time to cut away the old post. Using your Sawzall, make sure you’re cutting at least 6 inches below ground level so the new post has enough anchoring support.
Step 3: Measure and Cut Your 2×4 Lumber
Once the post is out, measure and cut your 2×4 lumber to be used as the anchoring support for the new post. Make sure you’re cutting it to size and that all of your pieces are level before moving on to the next step.
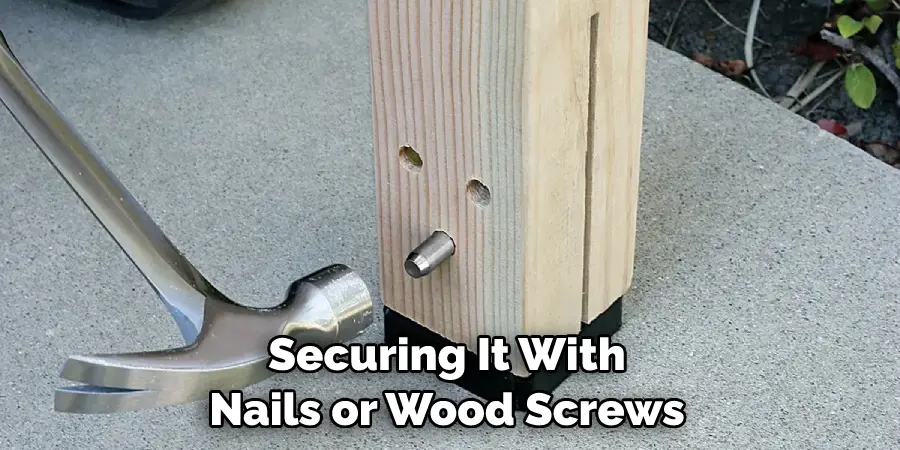
Step 4: Secure the New Post
Using your drill, secure the post-mount brackets to your new post. Then place the post in its hole and make sure it’s level before securing it with nails or wood screws. Also make sure that the post is firmly secured in place.
Step 5: Secure the 2×4 Lumber
Once the post is secure, use your nails or wood screws to secure the 2×4 lumber around it as anchoring support. Make sure it’s level before moving on to the next step.
Step 6: Fill in Around The Post
Once the post and 2×4 lumber are secure, it’s time to fill in around them with dirt or concrete. Make sure there is enough space for water drainage and that everything is level before finishing up.
And there you have it! You just successfully replaced your porch post in 6 easy steps. Be sure to wear safety gear when working on your project and to double-check all of your measurements before you begin. With these easy steps, you’ll be able to replace porch posts in no time!
Some Extra Tips to Replace Porch Post
1. Do Not Over Tighten Bolts
When installing the new porch post, do not over-tighten the bolts. Doing so can cause them to break and create a weak joint that may eventually fail. Also, make sure to fill any gaps between the post and wall with caulk or foam insulation for an airtight seal.
2. Allow Post to Set Properly
Once you have installed the new porch post, make sure to give it enough time to set properly before placing any weight on it. This will ensure that the post is able to withstand any movement or stress that the porch may experience.
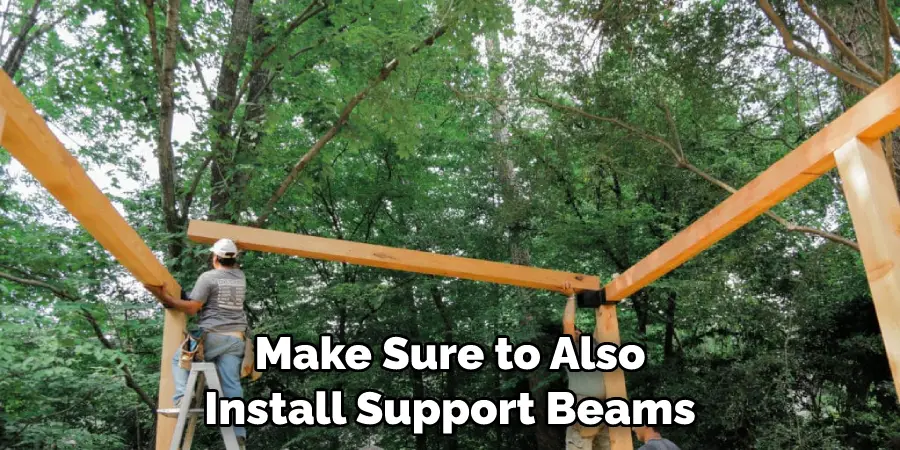
3. Install Support Beams
If you are installing a new porch post, make sure to also install support beams. This will help prevent any sagging or unevenness in the structure of the post and ensure that it remains strong and stable for many years to come.
4. Use Pressure-Treated Lumber
To ensure the longevity of your new porch post, make sure to use pressure-treated lumber. This type of wood is designed to withstand moisture and decay better than other types of lumber, making it a great option for outdoor projects.
5. Follow Instructions Carefully
Finally, when replacing a porch post, make sure to follow the instructions carefully and double-check that all connections are secure and tight. Doing this will ensure that your new porch post is installed correctly and will last for many years to come.
By following these tips, you can make sure that the job of replacing a porch post goes smoothly and quickly, resulting in a strong and beautiful porch that will stand the test of time. Good luck!
Frequently Asked Questions
What Precautions Should I Take Before Starting?
Before starting your project, it is important to be aware of any potential risks. Ensure that the area is adequately ventilated and wear protective clothing such as gloves and safety glasses. It is also important to closely follow all instructions mentioned in this article or those provided with your materials for the best results.
What Tools Do I Need?
A range of tools and materials may be necessary for replacing a porch post, depending on the type of porch post you are installing. Generally speaking, you will need a drill, saw, screwdriver, tape measure, stapler or brad nailer, wood screws and nails, shims (if needed) and the replacement post.
Can I Replace A Porch Post On My Own?
Yes, replacing a porch post is a relatively simple project that most DIYers are capable of completing with the right tools and guidance. If you’re unsure of your abilities or have questions about the process, it may be best to contact a professional for assistance.
Can I Paint The Replacement Post?
Yes! Painting the replacement post is a great way to add an extra layer of protection and can help to make your porch look more aesthetically pleasing. Before painting, it is important to ensure that the post is clean and free from dirt or debris. After the paint has dried, you can apply a clear sealer for added durability.
What Should I Do If My New Porch Post Warps?
If your porch post-warps after installation, you may need to replace it or make necessary adjustments. Make sure that the post is properly affixed to the existing structure and check for signs of rotting wood. If necessary, use shims or additional screws to help secure the post in place.
Can I Use Pressure-Treated Lumber For My Porch Post?
Yes, pressure-treated lumber is a great option for porch posts as it can withstand the elements better than other types of wood. However, it is important to use appropriate screws and fasteners when attaching the post to minimize corrosion.
What Is The Best Way To Secure The Porch Post?
The best way to secure a porch post is by using galvanized lag screws. This will help to ensure that the post is properly anchored and does not become loose after time. Additionally, you can use wood shims or additional fasteners to help secure the post in place if necessary.
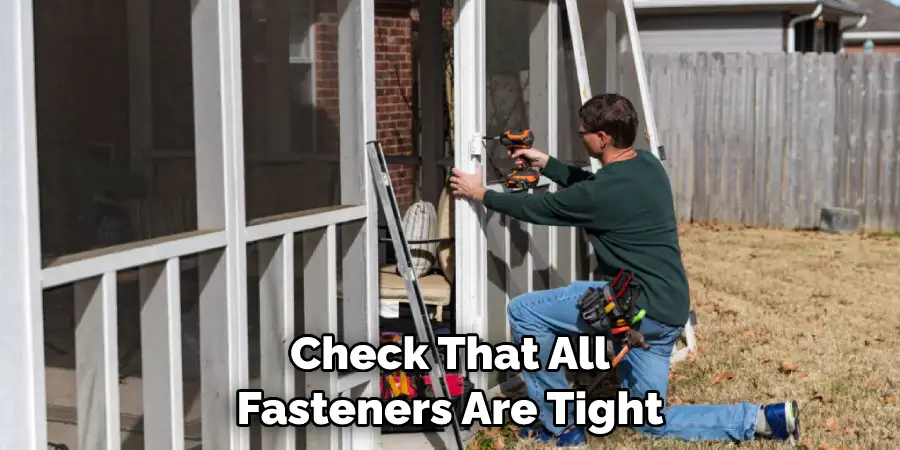
Is There Anything Else I Should Consider Before Installing A Porch Post?
It is important to make sure that the post is level and secure before moving forward. Additionally, you should check that all fasteners are tight and secure. Following these steps will help to ensure that your porch post is properly installed and looks great for years to come.
By taking the time to familiarize yourself with the steps involved in replacing a porch post, you can complete this project on your own with ease. With the right tools and materials, you can have a beautiful porch post that adds charm and style to your home in no time!
Conclusion
In conclusion, porch posts are essential in creating a strong and finished look to any outdoor deck or porch. When tackling this project, it’s important to make sure the post is properly measured and leveled before completing the job. Once the measurements and leveling are complete, it’s just a matter of removing the existing post and replacing it with one of equal strength, size, and durability.
Now you know how to replace porch post! When done correctly, this project can be completed without assistance from a professional while saving money in the process. It’s also crucial to take your time with this project as hurrying can lead to mistakes being made or serious injury occurring.
With the right supplies on hand and taking extra precise care when measuring and leveling, you can ensure that your new post is set securely into place.
You Can Check It Out to Build a Covered Porch on a Mobile Home
About
Outdoor Fixes is a distinguished figure in the world of Diy design, with a decade of expertise creating innovative and sustainable Diy solutions.
His professional focus lies in merging traditional craftsmanship with modern manufacturing techniques,
fostering designs that are both practical and environmentally conscious. As the author of diy,
outdoorfixes delves into the art and science of outdoorfixes-making, inspiring artisans and industry professionals alike.
Education RMIT University
(Melbourne, Australia) Associate Degree in Design (Outdoor Fixes) Focus on sustainable design, industry-driven projects,
and practical craftsmanship. Gained hands-on experience with traditional and digital manufacturing tools, such as CAD and CNC software.
Nottingham Trent University
(United Kingdom) Bachelor’s in outdoorfixes.com and Product Design (Honors) Specialized in product design with a focus on blending creativity with production
techniques. Participated in industry projects, working with companies like John Lewis and Vitsoe to gain real-world insights.
Publications and Impact
In diy, Outdoor Fixes his insights on indoor design processes, materials, and strategies for efficient production.
His writing bridges the gap between artisan knowledge and modern industry needs, making it a must-read for both budding designers and seasoned professionals.