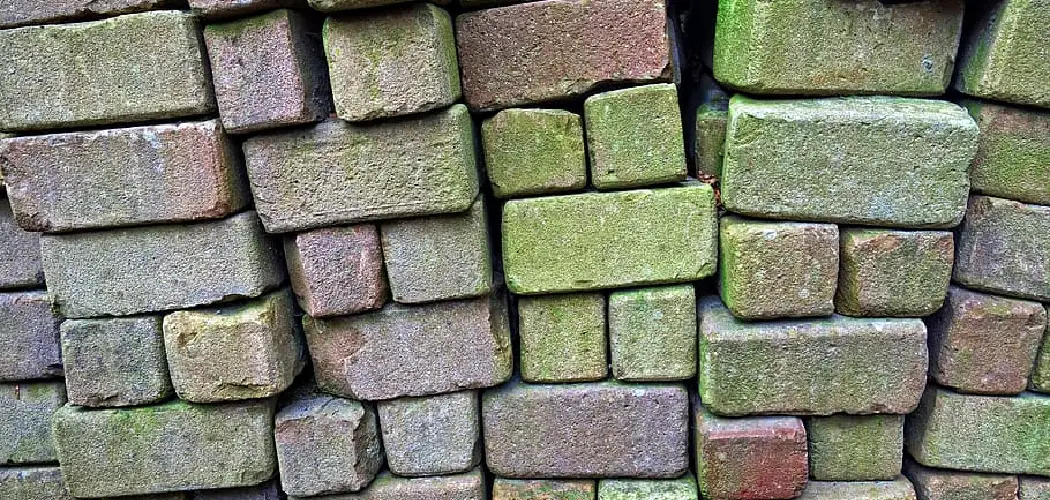
Do you want to learn how to stack bricks like a professional? With the right techniques and tools, it’s easy and fun! Stacking bricks is for more than just experienced builders or construction workers; anyone can learn how to do this.

Whether you are building a home addition or just a stone wall, here are some tips on doing it like an expert. Always start with a level surface. This will ensure that the bricks are stacked correctly and securely.
In this blog post, we’ll discuss everything you need to know about stacking bricks, from the types of mortar used to the best approach to get great results. So grab your building gloves, and let’s start understanding all about correctly stacking brick foundations!
Why is Stacking Used?
Stacking is a great way of creating sturdy, strong foundations. It’s used to build walls, pathways, and other structures like patios and gardens. When done correctly, it produces an attractive surface lasting many years.
The process of stacking bricks involves laying them in courses on top of each other with the use of mortar to bind them together while they dry. The mortar keeps the bricks from shifting or wobbling as they’re stacked.
Overall, stacking aims to create a strong foundation that will last for many years.
What Will You Need?
Before you start on your journey of brick stacking, you’ll need to have some supplies. These can be bought at your local hardware store. These are as follows:
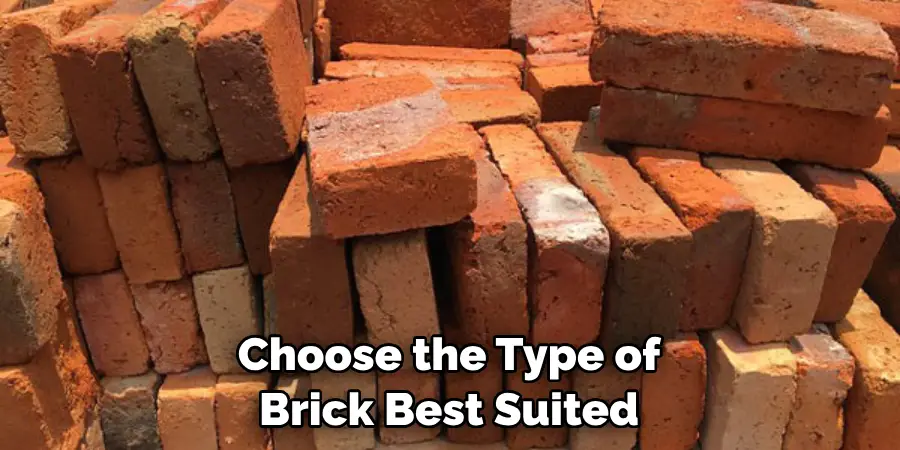
1. Bricks: Choose the type of brick best suited for your project.
2. Mortar Mix: This is used to bind the bricks together and give them strength
3. Trowel: A trowel is a must-have tool when it comes to placing bricks correctly
4. Level: It’s important to make sure each layer of bricks is level before you move on to the next one
5. Hammer: Sometimes it’s necessary to chip away at mortar that did not come out evenly or needs additional adjustment
6. Masonry Sealant: This will help protect your finished project from water damage
7. Dust Mask: Wear one while working with brick dust, masonry cement, and other
Once you’ve got the necessary materials, you are ready to start stacking!
10 Easy Steps on How to Stack Bricks
Step 1: Measure your Project Area & Prepare the Bricks
Measure out the area that needs to be filled with bricks; make sure you leave enough room for mortar between each one. Next, take a look at any irregularities in the ground or walls of your project area, as these will affect how well your bricks stick together. Finally, prepare the bricks by washing them off to remove dirt and debris on their surfaces.
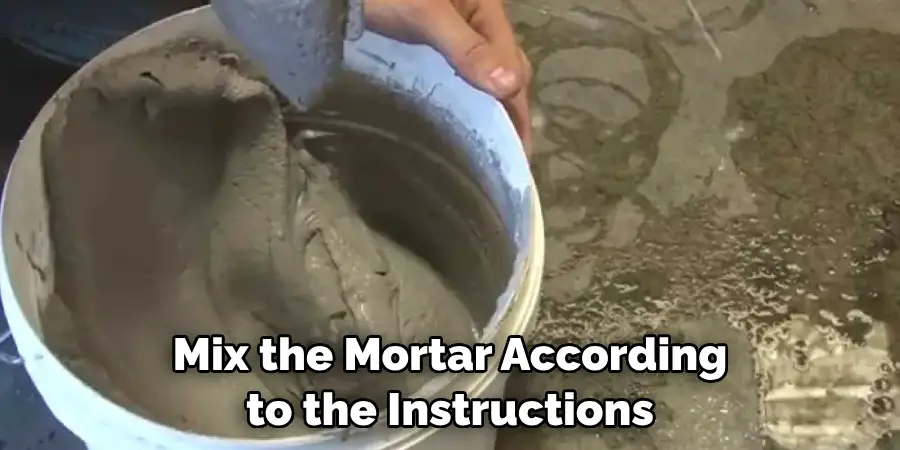
Step 2: Mix Your Mortar
Mix the mortar according to the instructions on the package. Make sure that you use enough water so that it has a spreading consistency, not too runny or too thick. As you mix, take out any lumps that may appear in the mortar.
Step 3: Apply Mortar to Bricks & Place Them
Using your trowel, spread about an inch of mortar onto one side of each brick and place them in their locations. Use the level to make sure each row is even. You can also use a rubber mallet to help adjust the brick.
Step 4: Continue Building & Check Your Work with a Level
Continue building up your wall by repeating steps 2 and 3 until you reach the desired height. Then use your level one last time to double-check your work before moving on to the next step. Keep in mind that mortar dries quickly, so work quickly and efficiently.
Step 5: Add Reinforcement if Necessary
If necessary, add reinforcement in the form of metal pins or plastic ties to ensure that your wall is secure and stable. It will also provide extra stability in an earthquake or other natural disaster. Try to space the reinforcement out evenly throughout your wall.
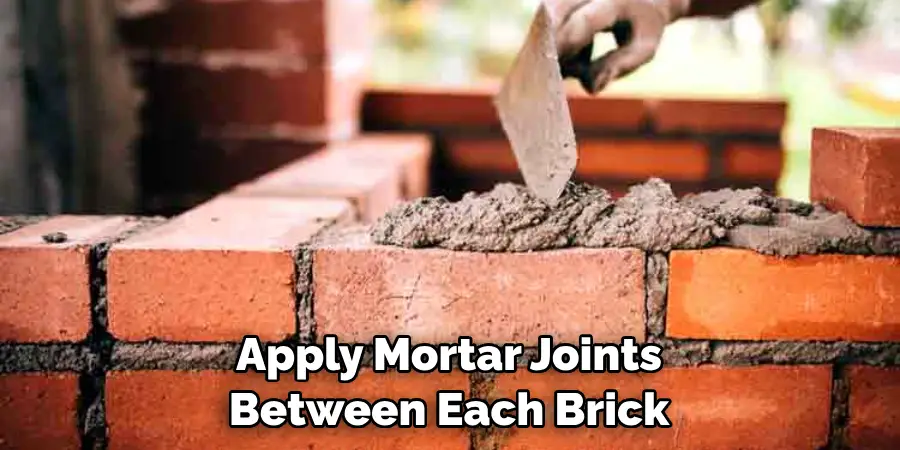
Step 6: Apply Mortar Joints & Screed the Wall
Apply mortar joints between each brick and use a trowel to screed the surface of your newly constructed wall. This will create a smooth finish and keep all of the bricks even. Moreover, it will help the wall last longer and look better.
Step 7: Let it Dry for 24 Hours
After you’ve finished applying mortar joints, let your project sit for at least 24 hours before continuing to work on it. This will help make sure that everything is set properly before moving on. Don’t forget to cover your project with a tarp or plastic sheeting to protect it from rain.
Step 8: Clean Surfaces & Apply Masonry Sealant
Once the mortar has had time to set, it’s time to clean off all of the excess mortar that may have been applied. Afterward, apply a masonry sealant to protect your wall from moisture and weather damage. Use a large brush to spread the sealant over the entire area evenly.
Step 9: Fill Gaps & Re-Trowel
Next, use a trowel to fill gaps between bricks with additional mortar if needed. Once this is done, you can re-trowel everything for a smooth finish. Check your work with a level one last time before moving on to the next step.
Step 10: Enjoy Your Newly Constructed Wall!
Finally, enjoy your newly constructed wall! With all of these steps followed correctly, you should now have a beautiful brick wall that will last for years. Remember, regular maintenance and inspection are important to ensure your wall is in good condition.
By following these simple steps, anyone can learn how to stack bricks like a professional. With the right tools, materials and techniques you can easily create your own brick structures with ease!
5 Additional Tips and Tricks
1. Stacking bricks, start from the corners and work your way in. This will give you a strong foundation to build upon.
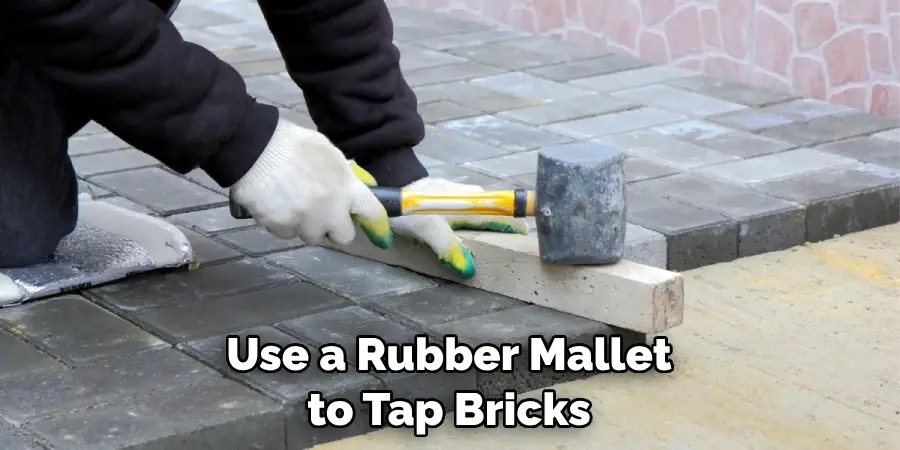
2. Use a rubber mallet to tap bricks into place. This will help ensure they are properly aligned and prevent them from slipping out of place.
3. Place mortar between each brick to secure it in place and avoid gaps that may impact the stability of your brick stack.
4. Mark off sections as you lay bricks to ensure even stacking and well-defined edges.
5. leave space for expansion joints between layers of bricks. This will help keep the wall from cracking over time due to weathering or settling.
Following these tips and tricks can ensure a secure and solid brick stack!
5 Things You Should Avoid
- Stack bricks slowly. Take the time to set each one in place, double-check alignment and secure it with mortar.
- Avoid stacking bricks without spacing between them. This can lead to cracking and instability over time.
- Stack up to two courses of bricks without using a brick tie or other support system for stability.
- Never leave any gaps between layers of mortar, as this will weaken the structure of your brick stack over time.
- Make sure you don’t skip steps or take shortcuts while stacking bricks, as this could lead to a dangerous situation later on, such as collapse or structural failure due to improper installation methods.
- By avoiding these common mistakes while stacking your bricks, you can ensure your wall is built to last!
What Are Examples of Stacking?
Examples of stacking include brick walls, stone walls, and retaining walls. Brick walls are most common in residential settings as they provide a strong visual appeal and are relatively easy to install. Stone walls offer a rustic look but require more skill to build. Retaining walls are typically used for landscape purposes such as creating terraces or hillsides that need extra support.
Regardless of your type, proper planning and installation methods will ensure your wall lasts for years to come!
By following these steps and tips on stack bricks, you can easily create any type of structure confidently! Whether it’s a brick, stone, or retaining wall, the right technique and materials are key to building something that will stand the test of time. Your brick structures will surely last through the years with proper care and maintenance.
Conclusion
Congratulations on finishing your brickwork project and becoming a skilled bricklayer! You should now feel confident about tackling any project that involves stacking bricks. Installing a new walkway, reinforcing walls, or renovating an outdoor area can all be done quicker and easier if you approach it with the knowledge you’ve gained from this blog post
. Remember to take regular breaks for safety purposes, and make sure the bricks are aligned properly to ensure maximum stability.
Finally, don’t neglect the importance of properly mixing cement with sand and other materials according to instructions – it is an integral part of the bricklaying process. With these tips in mind, there’s no limit to what you can do with stacks of bricks!
Hopefully, the article on how to stack bricks has provided you with the knowledge and tools to tackle any brickwork project. Good luck and happy building!
