A deck can be a beautiful addition to your home, but it also requires proper maintenance. Staining your deck is one of the best ways to protect it from the harsh elements and keep it looking great. Staining your deck may seem daunting, but with the right tools and techniques, it can be done quickly and efficiently.

In this post, we will guide you through the steps on how to stain a deck with a roller.
Can You Stain a Deck with A Roller?
Staining a deck is a great way to protect the wood from outdoor elements and add beauty to your outdoor living space. However, the task can seem daunting for some. One question often asked is whether you can stain a deck with a roller.
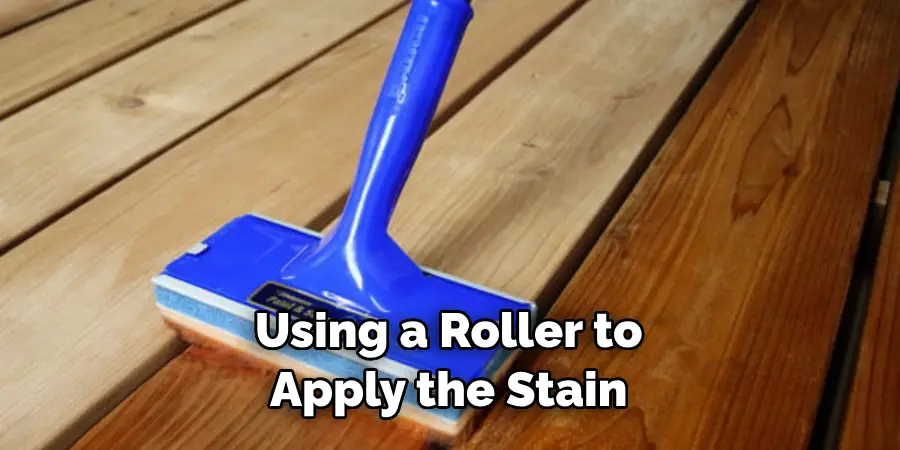
The answer is yes, you can! Using a roller can be an efficient and practical way to apply stain to your deck. The key is to choose the right roller and technique for your specific deck and stain type. With some preparation and patience, you can achieve a beautiful, evenly stained deck with a roller. So, go ahead and grab that roller; it may surprise you just how easy the staining process can be!
Why Should You Stain a Deck with A Roller?
Staining a deck is a crucial aspect of maintaining its longevity. When it comes to staining your deck, using a roller is the way to go. While some may opt for brushes or sprayers, using a roller has been proven to give better results. A roller can ensure that the stain is applied evenly and thoroughly, ensuring that every nook and cranny is covered.
Plus, it’s a much faster way to apply stain, saving you time and effort. Using a roller, you’ll get a professional-looking finish to help your deck stand up to the test of time. So, if you want to keep your deck looking great for years to come, grab a roller and start staining!
How to Stain a Deck with a Roller – Step-by-Step Guide
Step 1: Prepare Your Deck
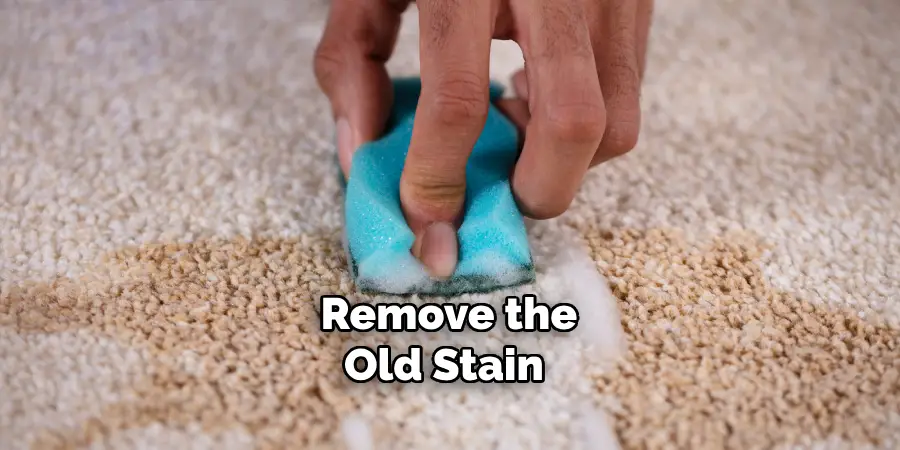
Before starting the staining process, make sure to prepare your deck. Remove any dirt, debris, or old stains. You can use a pressure washer or a deck cleaner to remove the old stain. It is essential to allow your deck to dry properly before applying the new stain. It may take an entire day, depending on the weather conditions, but you cannot start staining your deck before it is completely dry.

Step 2: Choose the Right Tools and Stain
Choosing the right tools and stains is crucial to the success of your staining project. You can choose either a solid or a semi-transparent stain. A solid stain gives more coverage, while a semi-transparent stain provides a more natural look that allows the wood grain to show through. Choose the right roller; a 9-inch roller with an ¾ inch nap is perfect for staining decks.
Step 3: Start Staining
Begin staining the deck by applying a thin, even coat of stain to one section at a time using a roller. Roll the stain toward the wood grain to ensure the best coverage. You can use a small brush to apply the stain along the edges and corners the roller cannot reach. One important thing to remember is to stain two or three boards at a time to avoid lap marks.
Step 4: Apply the Second Coat
Once you finish applying the first coat, let it dry for at least 24 hours, and then apply a second coat. The second coat will give your deck a more saturated and uniform look. Apply the stain with the roller in the same direction of the wood grain as before, and use a small brush to touch up any missed spots.
Step 5: Clean Up
After finishing the last coat, let the stain dry for at least 24 hours before using the deck. Clean up your tools thoroughly so they are ready for the next use. The products used for staining may be tough to clean and harmful to the environment, so it is important to follow the manufacturer’s instructions for disposal.
Step 6: Regular Maintenance

To keep your deck looking fresh and vibrant, regular maintenance is necessary. It is recommended to stain your deck every 2-3 years, depending on the wear and tear. Regularly inspect your deck for any signs of damage or fading, and clean it before applying a new coat of stain.
Step 7: Consider Professional Help
If you are not confident in your staining skills or do not have the time to do it yourself, consider hiring a professional. A professional will have the experience and knowledge to ensure that your deck is stained correctly and will provide you with a beautiful end result.
Now that you know the steps to follow, it’s time to start staining your deck with a roller. Remember to prepare your deck, choose the right tools and stain, apply thin and even coats, clean up properly, and maintain your deck regularly for long-lasting results. If you need help or want a professional finish, do not hesitate to seek assistance from an expert.
Some Considerations Things When You Need to Stain a Deck With A Roller
Staining a deck can be a labor-intensive process, but the results are well worth the effort. Using a roller to apply the stain is a popular method, but there are a few key considerations to remember. Firstly, it’s essential to choose the right roller for the job. A roller with a thick nap will hold more stain, while a thinner nap will produce a smoother finish.

It’s also important to work quickly and methodically to avoid overlapping and streaking. Additionally, you’ll want to ensure the deck is clean and dry before beginning the staining process, as dirt or moisture can affect the final result. With a little attention to detail, your deck will look brand new after a fresh coat of stain.
5 Benefits of Staining a Deck With A Roller
1. Cost Effective
Staining a deck with a roller is an incredibly cost-effective way to make your outdoor space look great. Compared to other methods of staining, such as using a sprayer or brush, using a roller is much less expensive and can save you money in the long run. Additionally, because rollers are easy to use, there is no need for professional help, and you can do the job yourself.
2. Quick and Easy Process
Using a roller to stain your deck is also a quick and easy process that anyone can do. All you need is the right roller for the job, some paint or stain, and some protective gear such as gloves and goggles. Once you have everything ready, you just need to apply the paint or stain in even strokes until your entire deck has been covered.
3. Long Lasting Finish
Another great benefit of staining your deck with a roller is that it provides a long-lasting finish that protects it from weathering and wear and tear over time. The thick layer of paint or stain that is applied with a roller will keep moisture out, which helps prevent wood rot and other types of damage caused by water exposure.
4. Even Coverage
A big advantage of using a roller when staining your deck is that it ensures even coverage throughout the entire surface area of your deck. This means that all areas are protected equally from the elements, so there won’t be any weak spots on your deck where water could seep in and cause damage over time.
5. Less Messy than Other Methods
Finally, using a roller to stain your deck is much less messy than other methods, such as brushing or spraying on paint or stain. Rollers don’t produce any overspray as sprayers do, so there won’t be any mess left behind after you’re done staining your deck – just clean up any excess paint or stain quickly before it dries!
Some Common Mistakes People Make When Trying to Stain a Deck With A Roller
Staining a deck can be a daunting task, especially when you are doing it for the first time. While a roller can be a great tool to help you with the job, it has its pitfalls. One of the most common mistakes people make when using a roller to stain their deck is overloading it with too much stain. This can lead to the stain drying unevenly or even pooling, which can ruin the look of your deck. Additionally, it is important to ensure you are applying the stain evenly and not rushing the process.

Taking your time and paying attention to the details can go a long way in ensuring your deck looks stunning when the job is done. It may take a little extra effort, but the end result will be well worth it.
Conclusion
Now that you know how to stain a deck with a roller, you can protect and beautify your outdoor space. Remember to choose the right tools and stain, prepare the deck properly, apply the stain in a thin, even coat, and put at least two coats to achieve the desired look. Just a bit of patience and the right technique will give you a beautiful-looking deck that will last for many years. Thanks for reading our post about how to stain a deck with a roller. So get started and enjoy!
About
Outdoor Fixes is a distinguished figure in the world of Diy design, with a decade of expertise creating innovative and sustainable Diy solutions.
His professional focus lies in merging traditional craftsmanship with modern manufacturing techniques,
fostering designs that are both practical and environmentally conscious. As the author of diy,
outdoorfixes delves into the art and science of outdoorfixes-making, inspiring artisans and industry professionals alike.
Education RMIT University
(Melbourne, Australia) Associate Degree in Design (Outdoor Fixes) Focus on sustainable design, industry-driven projects,
and practical craftsmanship. Gained hands-on experience with traditional and digital manufacturing tools, such as CAD and CNC software.
Nottingham Trent University
(United Kingdom) Bachelor’s in outdoorfixes.com and Product Design (Honors) Specialized in product design with a focus on blending creativity with production
techniques. Participated in industry projects, working with companies like John Lewis and Vitsoe to gain real-world insights.
Publications and Impact
In diy, Outdoor Fixes his insights on indoor design processes, materials, and strategies for efficient production.
His writing bridges the gap between artisan knowledge and modern industry needs, making it a must-read for both budding designers and seasoned professionals.

