The sun is shining, the temperature is rising, and the water is finally warm enough for that first swim of the season. Opening your pool is an exciting annual ritual that signals the start of summer fun. In the rush to dive in, however, many pool owners make a critical mistake that costs them dearly down the road. They hurriedly pull off the winter cover, ball it up into a messy heap, and shove it into the corner of a shed or garage, intending to “deal with it later.”

Unfortunately, “later” often becomes “never,” and that neglected cover sits festering for months. When autumn returns, and it is time to close the pool again, these homeowners are greeted by a nasty surprise: a stiff cover, stained with mildew, chewed by mice, or smelling like a swamp. A high-quality pool cover is a significant financial investment, often costing thousands of dollars. Protecting that investment requires more than just dragging it off the water. Learning how to store pool cover material correctly is essential to ensuring it remains durable, clean, and safe for years to come.
Why Proper Pool Cover Storage is Crucial
It is easy to view the pool cover as just a heavy tarp, but it is actually a sophisticated piece of engineering designed to withstand harsh elements. Treating it poorly during the off-season compromises its integrity.
Avoiding Damage from Pests and Rodents
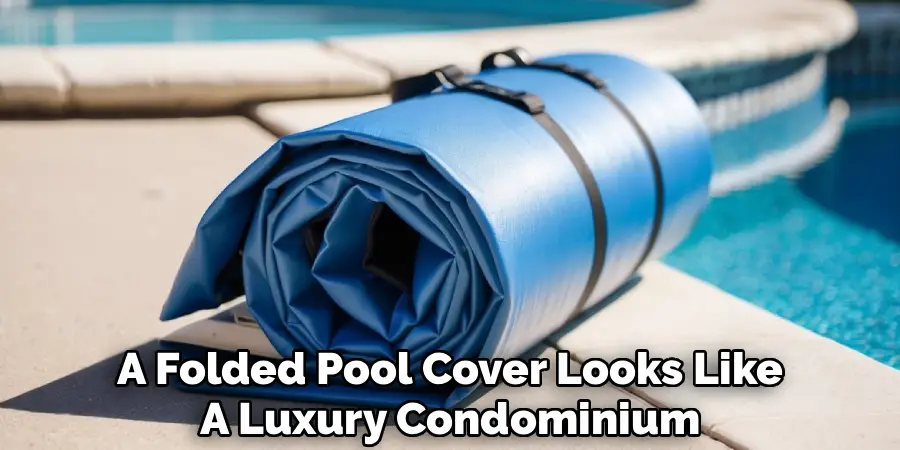
To a mouse or a squirrel, a folded pool cover looks like a luxury condominium. It provides warmth, shelter, and security. If a cover is stored loosely in a shed or left on the floor, rodents will inevitably find their way inside to build nests.
The damage they cause goes far beyond just nesting material. Rodents chew through vinyl and mesh to create tunnels, often destroying the cover in a single season. The urine and waste they leave behind are not only unsanitary but also acidic enough to chemically damage the cover material. Once a mouse has chewed a hole through the many-folded layers of your cover, you end up with a pattern of holes resembling a paper snowflake, rendering the safety features of the cover useless.
Extending the Lifespan of Your Investment
A high-quality safety cover should last anywhere from 10 to 15 years, while standard winter covers usually last 3 to 5 years. However, improper storage can cut that lifespan in half. The material becomes brittle if exposed to extreme heat or chemical residues left on the surface.
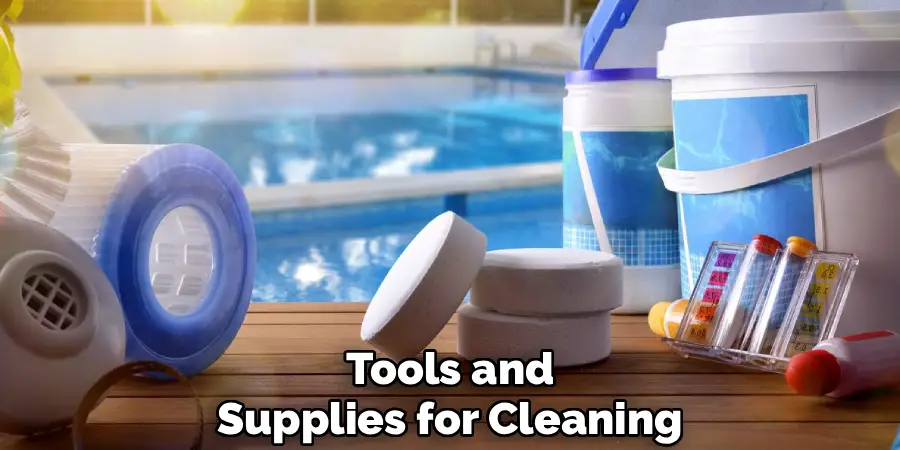
Tools and Supplies for Cleaning and Storage
Before you wrestle that heavy cover off the pool, it helps to have your station set up. You don’t need expensive equipment, just the right supplies to do the job thoroughly.
Cleaning Agents
While water alone can rinse off loose leaves, it won’t remove the chemical residues, fine silt, or grease that accumulate over winter. You will need a cleaning agent. A mild car wash soap or dish detergent works well for general cleaning. However, for the best results, consider purchasing a specialized pool cover cleaner. These products are formulated to break down organic buildup and often contain conditioning agents that keep the vinyl supple. You will also need a long-handled, soft-bristled deck brush to scrub the surface without scratching it, and a garden hose with a high-pressure nozzle.
Storage Materials
Do not rely on the flimsy bag the cover came in if it has holes or broken zippers. You need a secure, pest-proof container. A heavy-duty, large plastic storage bin (often 30 to 50 gallons) with a latching lid is the gold standard for pool cover storage. These “totes” are impervious to mice and keep moisture out. If you must use a bag, ensure it is a heavy canvas storage bag that can be hung up off the floor. Additionally, having a bottle of talcum powder or non-stick cover conditioner on hand can prevent the folded layers from fusing in the summer heat.
Finding the Right Location for Storage
Where you put the cover is just as important as how you pack it. You need to find a “Goldilocks” zone in your home or property.
Ideal Storage Conditions
The perfect storage environment is cool, dry, and dark. Basement shelves, climate-controlled garages, or well-ventilated sheds are excellent choices. The goal is to keep the temperature relatively stable. Extreme fluctuations can cause condensation to form inside the storage container, reintroducing moisture to your perfectly dried cover.
Locations to Avoid
Avoid storing your cover in an attic. Attics get incredibly hot in the summer—often exceeding 120 degrees Fahrenheit. This intense heat can “bake” the plasticizers out of vinyl covers, making them brittle and prone to cracking. Conversely, avoid damp crawlspaces where humidity is constantly high. Never leave the cover outdoors, even in a container, as UV rays can degrade plastic bins, and determined wildlife is more likely to breach the container outside.
6 Step-by-Step Guide on How to Store Pool Cover
Once the cover is off the pool, resist the urge to rush. Dedicate an hour or two to this process. It is hard work, but doing it right now saves you a massive headache in the autumn.
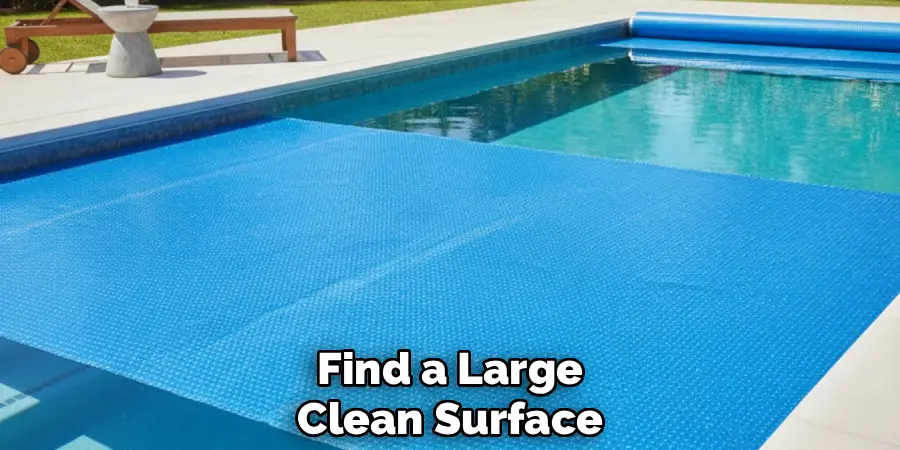
Step 1: Find a Large, Clean Surface
You need a workspace large enough to spread the cover out flat. A sloped driveway is ideal because it allows rinse water to drain away quickly. A clean section of lawn can also work, though it makes drying the underside slightly harder due to ground moisture. Before laying the cover down, sweep the driveway thoroughly to remove sharp stones, sticks, or glass that could puncture the material when you walk on it to scrub.
Step 2: Thoroughly Clean the Cover
Spread the cover out completely. Wet the entire surface with your hose. Pour your cleaning solution or diluted soap onto the cover. Using your soft-bristled brush, scrub the cover in sections. Pay special attention to the areas where water pooled during the winter, as this is where fine silt and algae spores are ground into the fabric. Don’t forget to scrub the perimeter straps and springs, as debris often gets trapped in the hardware.
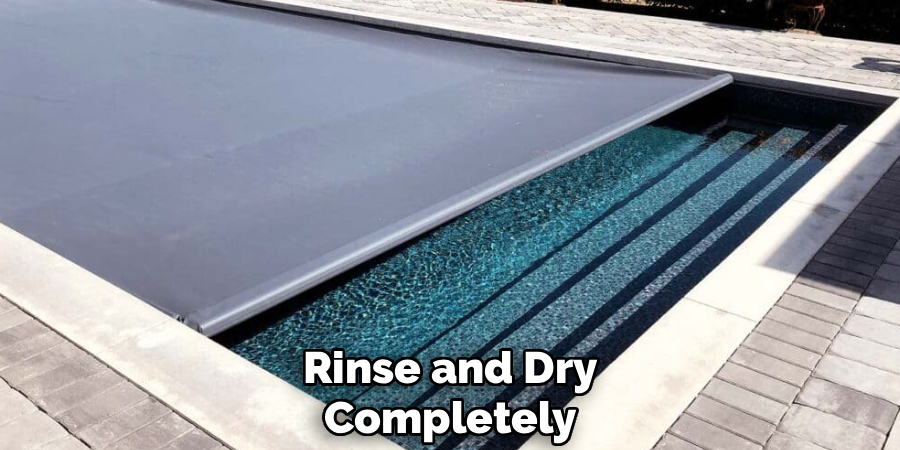
Step 3: Rinse and Dry Completely
This is the most critical step in the entire process. Rinse the cover until there are absolutely no suds remaining. Soap residue can dry into a sticky film that attracts dirt later. Once rinsed, you must let it dry. A leaf blower can speed up this process significantly by pushing the bulk of the water off the surface.
Once the top is dry to the touch, you must flip the cover over. This usually requires two people. Dragging it can cause tears, so lift and flip it carefully. Clean and rinse the underside just as you did the top, and then let that side dry completely. Do not fold the cover if there is even a single wet patch.
Step 4: Apply Talcum Powder (Optional)
If you have a solid vinyl cover, applying a light dusting of talcum powder (baby powder) before folding is a professional trick worth knowing. Sprinkle the powder over the dry surface. This fine layer acts as a dry lubricant, preventing the vinyl surfaces from sticking to each other as they sit pressed together for months. It makes unfolding the cover in the fall significantly easier and prevents the material from peeling or tearing if it gets too hot.
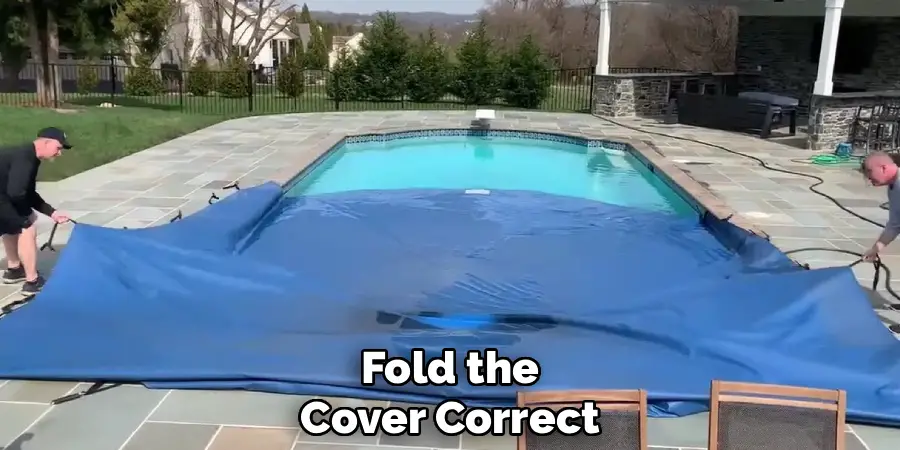
Step 5: Fold the Cover Correctly
Folding a pool cover is an art form. Do not just wad it up. The most efficient method is the “fan fold” or “accordion fold.” Working with a partner on opposite sides of the cover, fold a section about two to three feet wide over onto itself. Then, walk that section forward and fold it back the other way. Repeat this back-and-forth motion until you have a long, narrow strip of cover material.
This accordion style is superior because it allows you to deploy the cover easily in the fall. You simply place the strip at one end of the pool and walk it down the length of the deck; it unfolds itself without tangling.
Step 6: Place in Proper Storage Container
Once you have your long strip, start at one end and roll it up tightly, like a sleeping bag. Alternatively, you can fan-fold the strip into a square shape. Lift the bundled cover and place it gently into your heavy-duty plastic bin or hanging bag. Do not force it or stomp on it to make it fit, as this can damage the fibers or crack the vinyl coating. Toss in a few cedar blocks or dryer sheets to discourage pests and keep it smelling fresh, then seal the lid tight.
Storing Different Types of Pool Covers
Different materials behave differently in storage, and understanding the nuances of your specific cover type can prevent damage.
Solid Vinyl and Safety Covers
Solid safety covers are heavy and dense. They trap moisture easily and are the most susceptible to “blocking” (sticking together) in the heat. For these covers, the heavy-duty plastic tote is almost mandatory. Soft bags simply do not offer enough protection against the weight of the cover itself or the intrusion of rodents. Ensure the hardware (springs and buckles) is folded into the center of the bundle so the metal parts don’t scrape against the outer layers of the vinyl during storage.
Mesh Winter Covers
Mesh covers are lighter and more forgiving because they breathe. They dry much faster than solid covers. However, their weave acts like a filter, trapping microscopic grit and silt. If you store a mesh cover without deep cleaning it, that grit acts like sandpaper, slowly wearing down the fibers from the inside out. Be extra diligent about scrubbing mesh covers to dislodge these particles before packing them away.
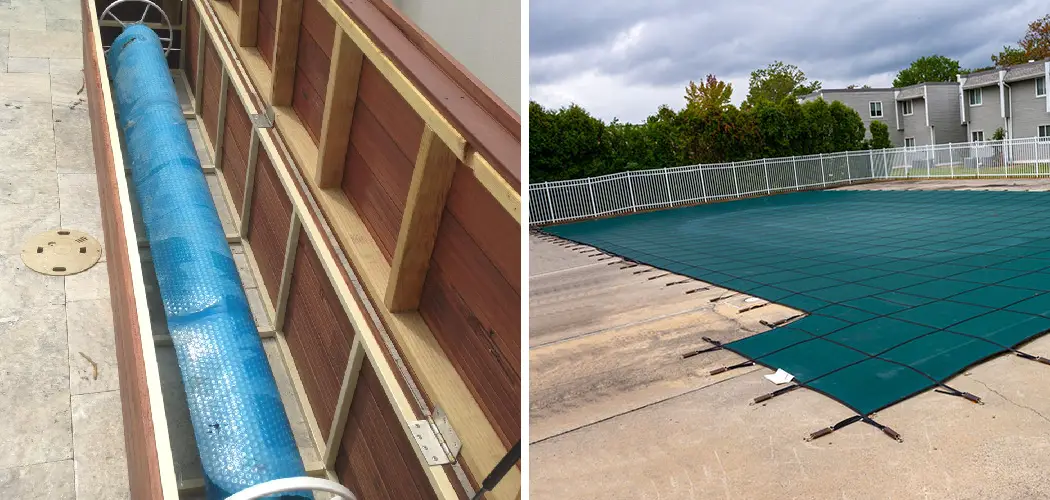
Storing a Solar Cover (Bubble Cover)
Solar covers are a different beast entirely. They are generally made of polyethylene with UV inhibitors, but they are fragile when not floating on water. You should never leave a folded or rolled solar cover in direct sunlight on your pool deck. The layers of bubbles act like magnifying glasses, intensifying the heat and melting the plastic layers together in a process called severe heat damage. Always clean them with fresh water (chlorine residue destroys the bubbles), roll them up, and store them in a shaded area or cover them with a reflective white protective sheet if kept on a reel.
Dealing with Water Bags and Springs
The cover itself isn’t the only thing you need to put away. The accessories that hold it down are just as important.
Cleaning and Storing Water Bags
If you use a tarp-style winter cover held down by water tubes, you know they can get slimy and gross. Drain the water completely and rinse the outside of the bags. Hang them over a fence or a clothesline to dry inside and out. Sprinkling talcum powder on the plastic helps prevent it from fusing. Store them in a separate bin from the cover to prevent any residual mildew on the bags from transferring to the clean cover.
Organizing Springs and Hardware
For safety covers, the stainless steel springs and brass anchors are expensive to replace. As you remove the cover, check each spring. If any are stretched out or bent, discard them now and order replacements so you are ready for fall. Place all the springs, the installation rod, and the hex key into a sturdy canvas bag or a small bucket. Store this hardware bucket inside the large bin with the cover so everything stays together. There is nothing worse than having the cover ready in October but realizing you lost the bag of springs.
Common Storage Mistakes to Avoid
Even with good intentions, homeowners often stumble on a few common pitfalls.
Folding a Wet or Dirty Cover
It bears repeating because it is the number one cause of cover failure. Impatience is your enemy. If a sudden rainstorm hits while you are letting the cover dry, do not just fold it up to get it inside. Drag it into the garage or drape it over a fence to finish drying. Storing a wet cover is a guarantee that you will be buying a new one much sooner than necessary.

Storing Directly on a Concrete Floor
Concrete is porous and tends to wick moisture from the ground. Storing your cover bag directly on a basement or garage floor can lead to moisture seeping into the bag from the bottom up. Even if the room feels dry, the floor may be damp. Always place your storage bin or bag on a shelf, a wooden pallet, or even a couple of 2x4s to create an air gap between your investment and the cold, damp concrete.
Conclusion
The end of the swimming season feels far away when you are opening your pool, but the work you do now dictates how smoothly that future closing will go. Taking the time to scrub, dry, and properly pack your cover is an act of preservation. By mastering how to store pool cover equipment, you protect your pool from the elements, save money on premature replacements, and ensure that your backyard oasis stays safe and secure through every season. Treat your cover with care, and it will return the favor by keeping your pool crystal clear for years to come.
About
Outdoor Fixes is a distinguished figure in the world of Diy design, with a decade of expertise creating innovative and sustainable Diy solutions.
His professional focus lies in merging traditional craftsmanship with modern manufacturing techniques,
fostering designs that are both practical and environmentally conscious. As the author of diy,
outdoorfixes delves into the art and science of outdoorfixes-making, inspiring artisans and industry professionals alike.
Education RMIT University
(Melbourne, Australia) Associate Degree in Design (Outdoor Fixes) Focus on sustainable design, industry-driven projects,
and practical craftsmanship. Gained hands-on experience with traditional and digital manufacturing tools, such as CAD and CNC software.
Nottingham Trent University
(United Kingdom) Bachelor’s in outdoorfixes.com and Product Design (Honors) Specialized in product design with a focus on blending creativity with production
techniques. Participated in industry projects, working with companies like John Lewis and Vitsoe to gain real-world insights.
Publications and Impact
In diy, Outdoor Fixes his insights on indoor design processes, materials, and strategies for efficient production.
His writing bridges the gap between artisan knowledge and modern industry needs, making it a must-read for both budding designers and seasoned professionals.