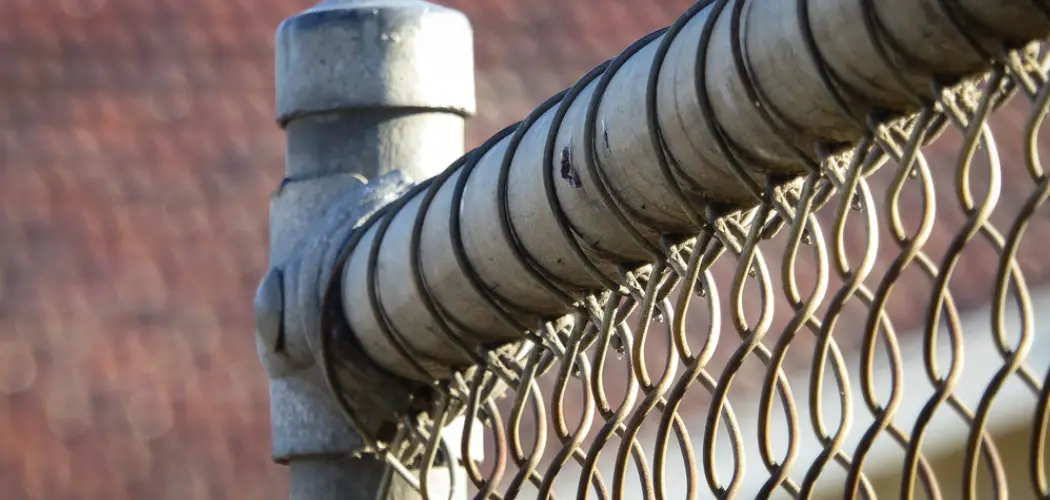
Are you tired of your chain link fence being loose and sagging? Do you want to learn how to tighten the tension wire independently without calling a professional? Look no further because this guide will provide you with step-by-step instructions on how to tighten tension wire on chain link fence.

Tightening the tension wire on a chain-link fence is a crucial step to ensure its security, stability, and visual appeal. Over time, fences can sag or become loose due to various factors, such as weather conditions, physical stress, or the natural settling of the ground.
By properly adjusting the tension wire, you can maintain the integrity and functionality of your barrier, preventing gaps and keeping the fence taut against potential intruders or escaping pets.
What are the Benefits of Tightening Tension Wire?
There are many benefits to tightening the tension wire on your chain link fence, including:
- Improved Security: A taut fence is more difficult for intruders to climb over or push through.
- Enhanced Aesthetics: A loose and sagging fence can be an eyesore, but tightening the tension wire will give it a neater and more professional appearance.
- Increased Durability: Tension wire acts as a support system for the fence fabric, and if it is too loose, it can cause strain on the posts and weaken the overall structure. Properly tightened tension wire will help prolong the lifespan of your fence.
These are just a few of the benefits of tightening tension wire on your chain link fence. So, let’s get started!
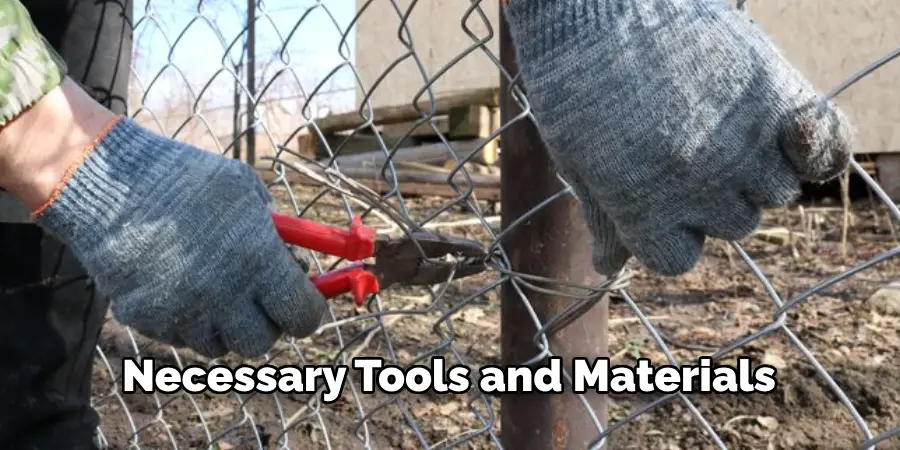
What You Will Need
Before you begin tightening the tension wire, it is essential to gather all the necessary tools and materials. Here’s a list of what you’ll need:
- Wire Cutters or Pliers: These will be used to cut and manipulate the tension wire.
- Tension Bands: These are used to secure the tension wire to the fence posts.
- Wire Clamps: These will help tighten and secure the tension wire at the end of your fence line.
- Turnbuckle: This will be used for adjusting the tension in the middle of your fence line.
- Measuring Tape: This will help ensure the tension wire is evenly tightened.
- Ladder: If your fence is taller than you, a ladder will be needed to reach the top.
Now that you have all the necessary tools and materials, let’s dive into the process of tightening the tension wire on the chain link fence.
10 Easy Steps on How to Tighten Tension Wire on Chain Link Fence
Step 1. Inspect the Entire Fence:
Begin by walking around your chain link fence to inspect the overall condition, specifically looking for areas where the tension wire appears loose or sagging the most. This initial inspection will help you identify where to focus your tightening efforts. Additionally, check for any damage to the fence fabric, such as holes or tears, as these may need to be repaired before tightening the tension wire.
Step 2. Remove Old Tension Bands:
Start by carefully removing any old or damaged tension bands currently attached to your fence. These bands typically secure the tension wire to the posts along your chain link fence. If they’re too tight or rusted to be reused, you can use wire cutters or pliers to cut them.
Ensure you do this carefully to avoid damaging the fence posts or the tension wire. Removing old tension bands is necessary to provide a clean start for re-tightening the wire with new hardware, ensuring maximum efficiency and support.
Step 3. Attach New Tension Bands:
Once all old tension bands have been removed, it’s time to install new ones. Position a new tension band around each post where the old ones were removed. Ensure that the bands are placed at the same height on each post for uniform tension wire support.
The flat side of each band should face outward, with the open end pointing downwards. This positioning facilitates easier attachment and adjustment of the tension wire throughout the fence’s length. Tighten each tension band loosely at this stage, as you’ll need some flexibility when you thread and tension the wire.
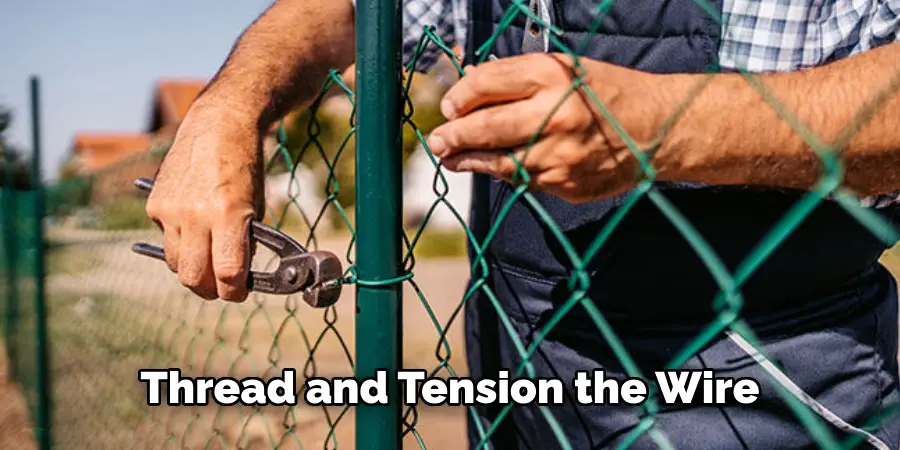
Step 4. Thread the Tension Wire:
Begin at one end of your fence, attaching the end of the tension wire to the first post using a tension band. Make sure the wire is looped through the tension band and secured in place. Now, unroll the tension wire alongside the fence, ensuring it lies at the bottom of the fence fabric, and thread it through each tension band attached to the posts.
It’s important to keep the tension wire on the inside of the fence to prevent it from being tampered with from the outside. When you reach the end of the fence, cut the wire, leaving enough length to secure it to the final post.
Step 5. Secure the Wire at the End Post:
At the final post, secure the end of the tension wire using a wire clamp. Loop the wire through the tension band on the last post and then back through the wire clamp. Pull the wire tight to ensure there is minimal slack. Once the wire is taut, tighten the clamp to secure the wire in place.
This step is critical for maintaining the tension throughout the entire length of the fence, ensuring that the wire supports the fence fabric effectively and prevents sagging.
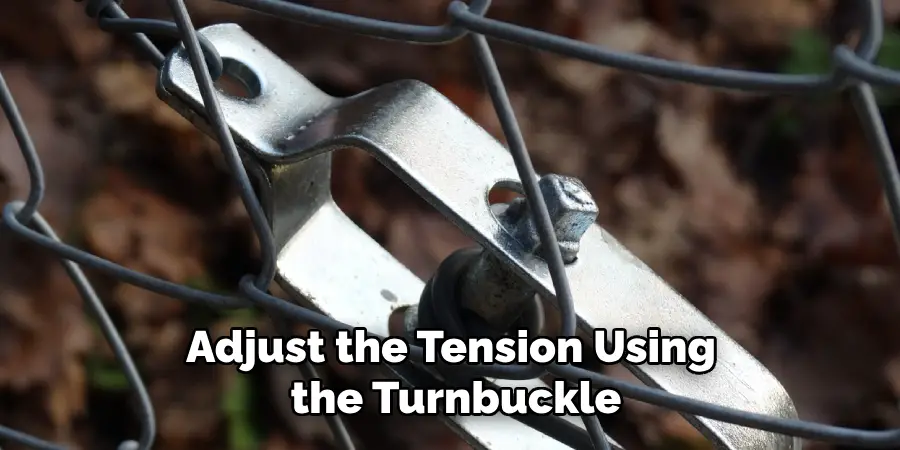
Step 6. Adjust the Turnbuckle for Tension:
Introduce a turnbuckle at a convenient point along the fence line, ideally in the middle, to manage the tension of the wire efficiently. Attach one end of the turnbuckle to the tension wire using another wire clamp. Then, connect the other end of the turnbuckle to a fixed point on the fence or another section of the tension wire.
By turning the turnbuckle, you can adjust the tightness of the tension wire. Ensure the tension is even throughout the length of the fence to prevent any part from being too tight or loose. This step is crucial for achieving optimal tension, contributing to the longevity and effectiveness of the fence.
Step 7. Check and Adjust Tension Wire Evenly Across the Fence:
Once the turnbuckle is in place and you’ve adjusted the tension wire to be fairly tight, walk along the fence line to check the tension wire’s tightness at various points. It’s important to ensure that the wire is evenly tight across the entire length of the fence to maintain uniformity and strength. If you notice any sections where the wire is too tight or loose, adjust the tension using the turnbuckle.
This step may require several adjustments to achieve the perfect balance of tension across the whole fence, ensuring it supports the fence fabric evenly and effectively.
Step 8. Reattach Fence Fabric:
After ensuring the tension wire is properly tightened and uniformly across the entire length of the fence, the next step involves reattaching or adjusting the chain link fence fabric as needed. Start at one end of the fence, securely fastening the fence fabric to the first post using suitable ties or fasteners.
Gradually stretch the fabric along the length of the fence, attaching it at several points to maintain tension. Ensure that the bottom of the fabric is properly aligned with the tension wire, providing additional support and stability to the fence structure. This process might require multiple adjustments to ensure that the fabric is neither too loose nor overly stretched, which could compromise the integrity and appearance of the fence.
Step 9. Final Inspection and Maintenance Tips:
After all tension wires are tightened and the fence fabric is secured, conduct a final inspection of your chain link fence. Walk around the fence to ensure everything is in proper order, with no loose tension wires or sagging sections of fence fabric.
Pay special attention to the tension bands, turnbuckles, and wire clamps to ensure they are tightened and secure.
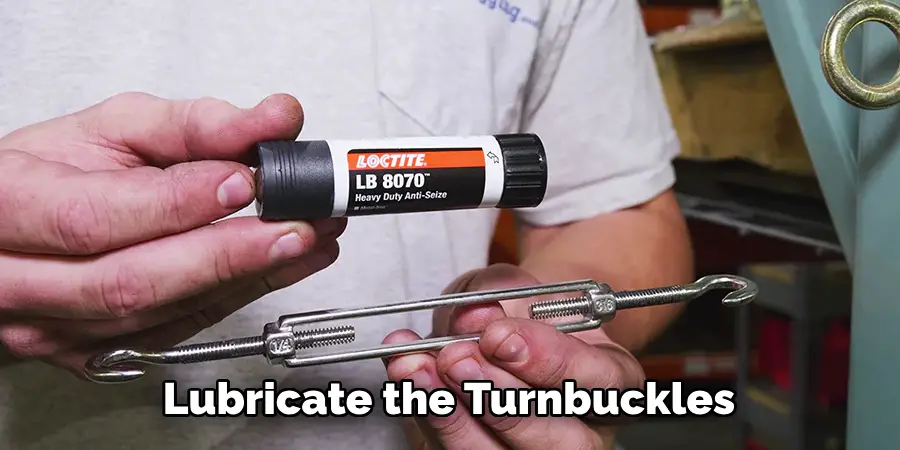
Regular maintenance is crucial for extending the life of your fence. Check the tension wire and fence fabric periodically, especially after severe weather conditions, to ensure they remain tight and intact. Lubricate the turnbuckles and wire clamps as needed to prevent rust and ensure smooth operations for future adjustments.
Step 10. Enjoy Your Refreshed Fence:
Finally, take a moment to step back and appreciate your hard work. Your chain link fence is now fully tensioned, with the fabric securely attached and all hardware in place. This refreshed fence looks better and provides improved security and durability. Remember, the lifespan of your fence can be significantly extended through regular checks and maintenance.
Keep an eye on the tension wire, fence fabric, and hardware condition to catch any issues early. Enjoy your chain link fence’s enhanced appearance and functionality, knowing it’s well-prepped to stand the test of time and weather.
By following these ten simple steps, you can efficiently tension a chain link fence without any professional assistance.
5 Additional Tips and Tricks
- Use the Right Tools: Ensure you have a fence stretcher or a come-along tool. These are essential for applying even tension across the wire without causing damage. Pliers and gloves are also important for safety and ease of manipulation.
- Apply Tension Evenly: When tightening the tension wire, ensure that you apply tension evenly across the length of the fence. Uneven tension can lead to sagging or warping of the chain link.
- Leverage Tension Bars: Insert tension bars through the links at regular intervals. They provide a solid anchor for the tension wire, making achieving an evenly tightened fence easier without sagging sections.
- Inspect and Replace Old Hardware: Before tightening the tension wire, inspect all clips, ties, and posts for signs of wear or damage. Replacing old or damaged hardware can prevent future sagging and ensure the tension holds effectively.
- Check for Gaps: After tightening the tension wire, check for any gaps between the fence and the ground. These can allow small animals to access your property or weaken the integrity of your fence. Use additional fencing material or dig a shallow trench to fill these gaps.
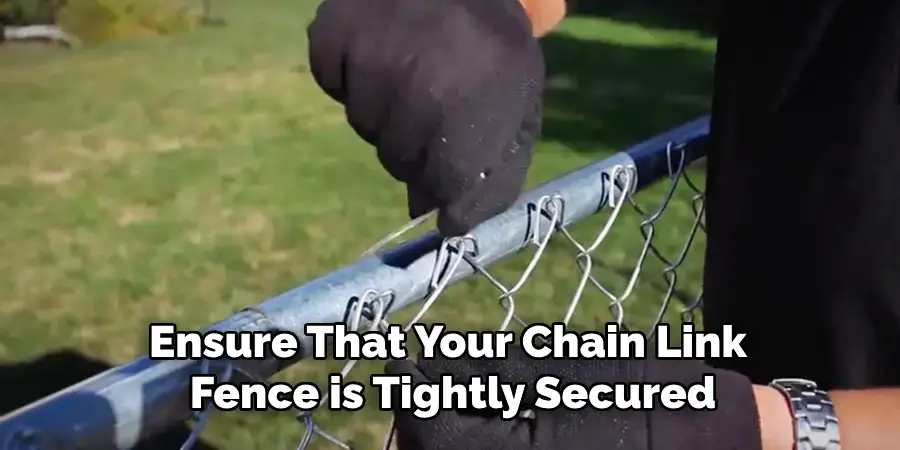
With these additional tips, you can ensure that your chain link fence is tightly secured and provides the necessary level of protection for your property.
5 Things You Should Avoid
- Ignoring Safety Gear: Before starting the process, always wear proper safety gear like gloves and goggles. Skipping this step can result in injuries from sharp wires or tools.
- Over-tightening the Wire: Applying too much tension can damage the fence or cause the wire to snap. Applying just enough tension to remove slack without straining the materials is crucial.
- Neglecting Environmental Factors: Be mindful of the weather and ground conditions around your fence. Expansion and contraction due to temperature changes can affect tension, and not accounting for these can lead to future sagging or tightness.
- Using Improper Tools: Using tools not designed for this job, like standard pliers instead of a fence stretcher, can make the task more difficult and potentially damage the fence.
- Forgetting to Regularly Maintain the Fence: Once the tension wire is tightened, regular maintenance is necessary to ensure the longevity of your fence. Failing to inspect and adjust the tension wire periodically can lead to issues down the road.
By avoiding these common mistakes, you can ensure your chain link fence’s proper installation and maintenance.
What are the Causes of Sagging Chain Link Fences?
There are several potential causes of sagging in a chain link fence, including:
- Age and Wear: Over time, the materials used in the fence can weaken and stretch, leading to sagging.
- Uneven Tension: As mentioned earlier, uneven tension across the length of the fence can cause it to sag or warp. This can result from not using proper tools or techniques during installation.
- Environmental Factors: Changes in temperature, rainfall, and even soil conditions can affect the tension in a chain link fence. It’s important to regularly check and adjust the tension to account for these factors.
- Lack of Maintenance: Neglecting regular maintenance, such as inspecting and tightening the tension wire, can lead to sagging over time.
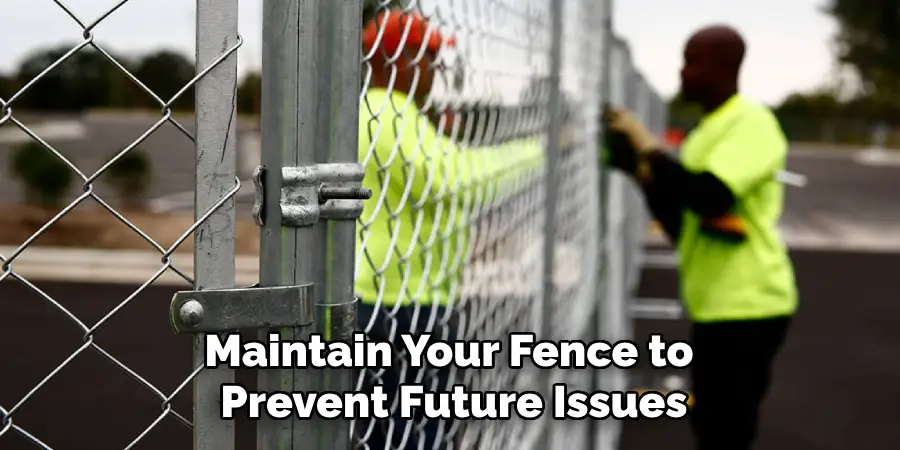
By understanding the causes of a sagging chain link fence, you can take necessary precautions and properly maintain your fence to prevent future issues.
How to Stretch Barbed Wire on a Chain Link Fence?
Stretching barbed wire on a chain link fence is a similar process to stretching tension wire. However, there are some key differences to keep in mind:
- Materials Needed: Besides the tools mentioned earlier, you will also need barbed wire and fencing pliers for this task.
- Attach Barbed Wire: Use fencing pliers to attach the barbed wire to the top of your fence. Make sure to leave enough slack for tensioning.
- Secure Tension Wire: Use a tension bar and clamps to secure the barbed wire in place along the length of the fence, similar to securing tension wire.
- Stretch Barbed Wire: Use a come-along tool or fence stretcher to apply tension to the barbed wire. Use caution and ensure you have a secure grip while pulling.
- Repeat Process: Repeat these steps for each row of barbed wire, ensuring even tension and proper connections along the way.
By following these steps, you can successfully stretch barbed wire on a chain link fence for added security and protection.
How to Stabilize a Fence Post?
If you notice a fence post starting to lean or become unstable, it’s important to stabilize it immediately to prevent further damage. Here are some steps to follow:
- Remove Excess Dirt: Use a shovel or hand trowel to remove any excess dirt around the base of the post.
- Add Gravel: Fill the bottom of the hole with gravel or small rocks. This will provide a stable base for the post.
- Insert Support: Use a metal or wooden stake to support the post while you work on stabilizing it.
- Use Braces: Depending on the severity of the lean, you may need to use braces made from wood or metal to secure the post in place.
- Pack in New Dirt: Fill the hole back up with dirt, compacting it as you go to secure the post in place.
- Add Concrete: For added stability, you can mix and pour concrete around the base of the post. For best results, follow proper mixing and curing instructions.
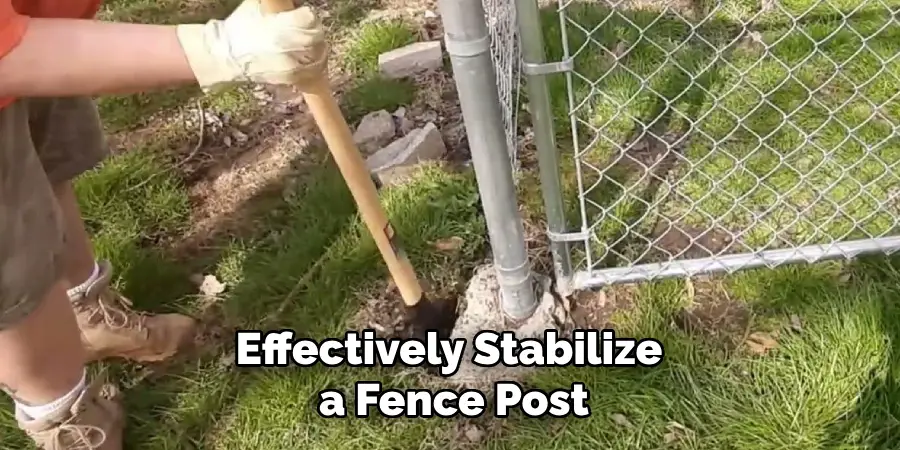
By following these steps, you can effectively stabilize a fence post and prevent further damage to your fence.
Conclusion
How to tighten tension wire on chain link fence is a critical step in ensuring the durability and effectiveness of your fencing solution. It enhances the fence’s structural integrity and deters potential breaches by making it more difficult for intruders or animals to enter your property.
From wearing the appropriate safety gear, using the correct tools, and applying even tension to conducting regular maintenance checks and adjustments, each step plays a vital role in the longevity and effectiveness of your fence. Remember, the goal is to balance removing slack and not over-straining the material.
By avoiding common pitfalls and following the guidelines in this document, you can ensure that your chain-link fence remains secure and serves its purpose for many years to come.
About
Outdoor Fixes is a distinguished figure in the world of Diy design, with a decade of expertise creating innovative and sustainable Diy solutions.
His professional focus lies in merging traditional craftsmanship with modern manufacturing techniques,
fostering designs that are both practical and environmentally conscious. As the author of diy,
outdoorfixes delves into the art and science of outdoorfixes-making, inspiring artisans and industry professionals alike.
Education RMIT University
(Melbourne, Australia) Associate Degree in Design (Outdoor Fixes) Focus on sustainable design, industry-driven projects,
and practical craftsmanship. Gained hands-on experience with traditional and digital manufacturing tools, such as CAD and CNC software.
Nottingham Trent University
(United Kingdom) Bachelor’s in outdoorfixes.com and Product Design (Honors) Specialized in product design with a focus on blending creativity with production
techniques. Participated in industry projects, working with companies like John Lewis and Vitsoe to gain real-world insights.
Publications and Impact
In diy, Outdoor Fixes his insights on indoor design processes, materials, and strategies for efficient production.
His writing bridges the gap between artisan knowledge and modern industry needs, making it a must-read for both budding designers and seasoned professionals.