
Are you looking for a way to set fence posts without using concrete? Look no further! This guide will go through the steps for setting fence posts without concrete.
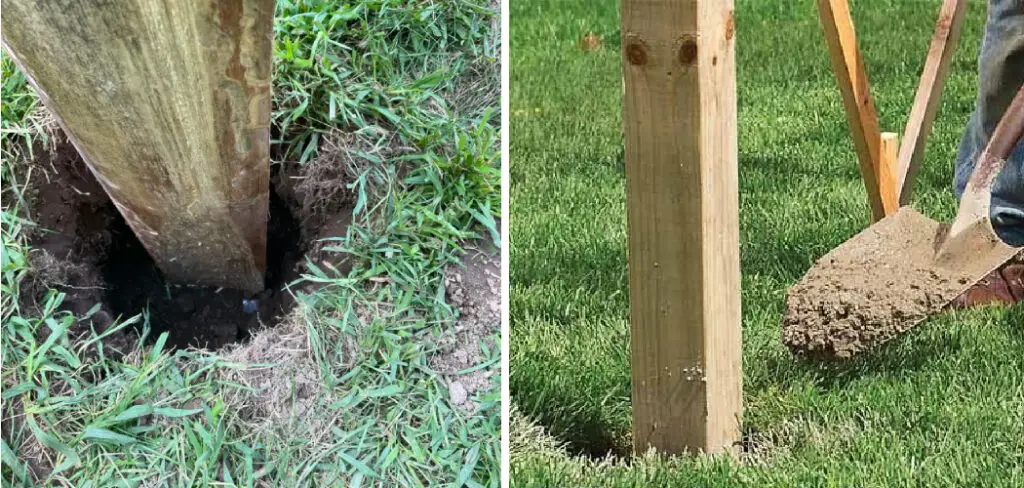
Setting fence posts is an essential part of any fencing project, and while many people assume that concrete must be used to secure the posts in place, this is only sometimes the case. Several viable alternatives can provide strong and stable support for your fence without cement.
In this blog post, we’ll discuss how to set fence posts without concrete and pouring of concrete. Using these easy methods, we’ll show you how to securely install your fencing quickly and with minimal effort!
What Will You Need
Before you start on this project, there are a few materials and tools you will need:
- Fence posts
- Gravel or crushed stone
- Tamping tool or post-driver
- Level
- Water
Once you have all your materials and tools ready, it’s time to start setting your fence posts.
10 Easy Steps on How to Set Fence Posts Without Concrete
Step 1: Preparing the Ground
Preparing the ground is the first step in setting fence posts without concrete. This includes removing any debris, rocks or roots where you will be setting your posts. Having a smooth and level surface for your fence posts is important.
Step 2: Digging the Holes
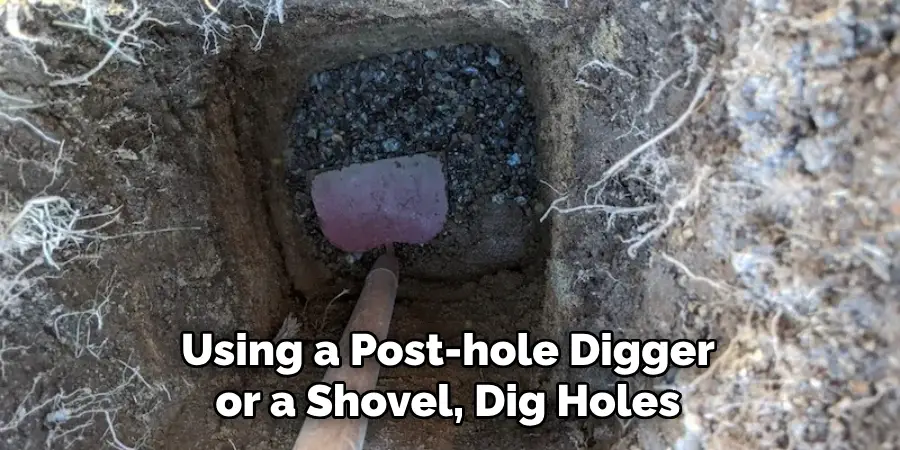
Begin by marking the exact locations where you want your fence posts to stand. Using a post-hole digger or a shovel, dig holes three times the width of your posts and about one-third to half of your fence post’s height deep. This depth ensures that your fence posts will stand firmly in the ground without the need for concrete. After digging, check the depth and width of the hole using a tape measure to ensure accuracy.
Step 3: Adding a Base Layer of Gravel
The next step in setting your fence posts without concrete is to add a base layer of gravel or crushed stone into the bottom of each hole. This layer provides drainage and prevents the wooden posts from directly contacting the soil, which can lead to rot. The layer should be about 6 inches deep. After adding the gravel, use a tamping tool or post-driver to compact it until it’s firm and level.
Step 4: Positioning the Post
After compacting the gravel, place your fence post into the hole. Make sure the post is standing straight upright. You can use a level to check if the post is plumb by placing it along the sides. Remember to regularly check the post’s position as you proceed to the next step. This is critical in learning to set fence posts without concrete.
Step 5: Filling the Hole with Gravel
The fifth step in setting fence posts without concrete is to fill the remainder of the hole with gravel or crushed stone. Pour the gravel into the hole around the post until it is filled to ground level. Use your shovel to help distribute the gravel evenly. The gravel will stabilize the post and help maintain its upright position.
As you add the gravel, periodically tamp it down with your tamping tool or post driver to ensure it is packed tightly and eliminate any air pockets. This step is crucial in understanding set fence posts without concrete, as the gravel effectively replaces the function of concrete in providing a secure base for the fence post.
Step 6: Checking for Level and Adjustment
Ensuring that your fence post is vertical and level as you proceed is pivotal. Use your level to check this. If the post seems off, adjust it and ensure it is straight. Then, continue adding and compacting the gravel until the hole is filled. The fence post should be stable and secure, demonstrating that setting a fence post without concrete can be efficient and effective.
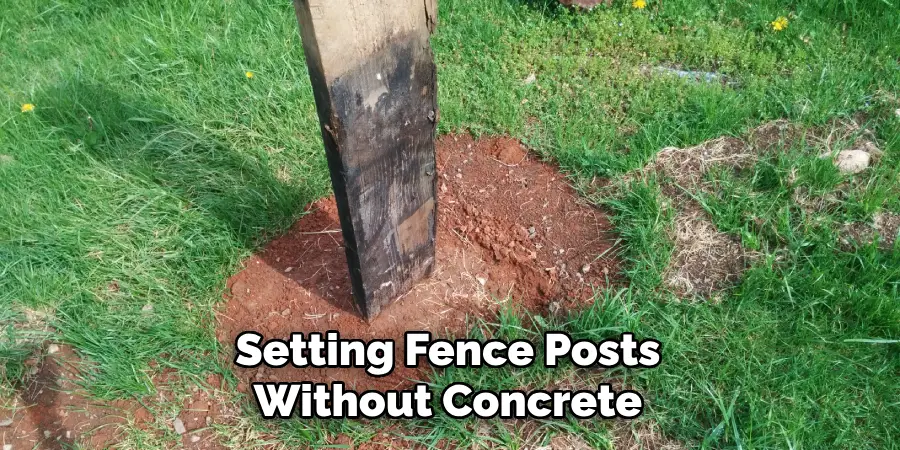
Step 7: Backfilling the Hole
Once the hole is entirely filled with gravel and your post stands firmly upright, it’s time to backfill the hole with the soil removed earlier. Distribute the soil evenly around the post and compact it using your foot or a shovel. This will give additional support and stability to the post and complete the process of setting it without concrete.
Step 8: Checking Alignment
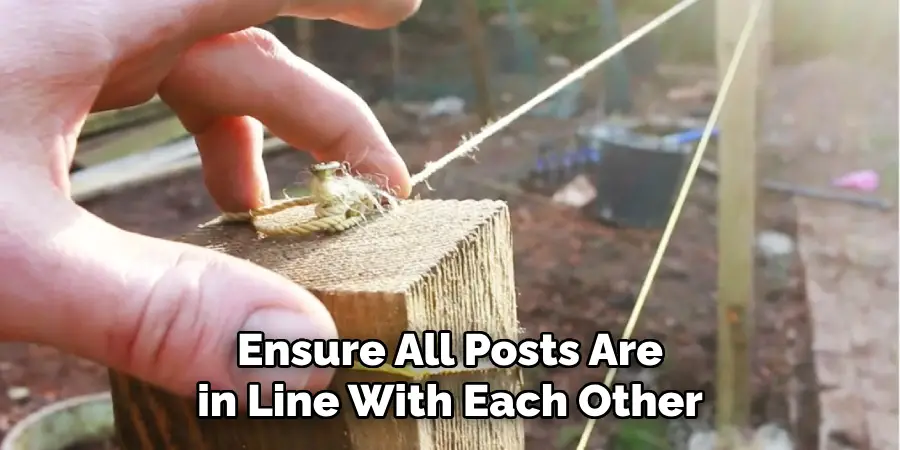
After setting the post, it’s crucial to check the alignment of the entire fence line. Use a string line or laser level to ensure all posts are in line with each other. Adjust as necessary before continuing to the next post. This step ensures that your fence will look professionally installed and will stand straight for years to come.
Step 9: Installing the Rest of Your Fence Posts
Repeat the above steps for each of the fence posts. Make sure to check the alignment of each post as you go along. The process may be time-consuming, but patience and care at this stage will result in a stable and long-lasting fence.
Step 10: Finishing Up
Once all your posts have been installed, give them a few hours to settle before attaching any rails or panels. Double-check the alignment one last time and make any necessary adjustments. You’ve now learned to set fence posts without concrete!
By following these steps, you’ll be able to set your fence posts securely without the need for concrete. This method saves time and money and allows for easier adjustments or replacements in the future.
5 Additional Tips and Tricks
- Choose the Right Material: Not all woods are created equal. Select pressure-treated wood or a wood variant known for its durability, like Cedar or Redwood, for your fence posts.
- Ensure Proper Depth: As a rule of thumb, a third of your fence post should be buried in the ground. This offers stable support and helps the post withstand strong winds and harsh weather.
- Use a Posthole Digger: A posthole digger will allow you to create narrow, deep holes, ideal for setting your fence posts securely without concrete.
- Compact the Soil: After placing the post in the hole, fill in with soil, compacting as you go. This provides a firm, stable base for your post.
- Double Check Alignment: Use a level to ensure your posts are straight. This is easier to correct before the soil has been fully compacted.
With these additional tips and tricks, you now have a solid foundation for setting your fence posts without concrete.
5 Things You Should Avoid
- Avoid Rushing: Patience is key when setting fence posts without concrete. Rushing the process can lead to mistakes such as uneven posts or insufficiently compacted soil.
- Don’t Skimp on Post Depth: Underestimating the depth needed for your fence posts can result in instability. Always adhere to the one-third rule for burying fence posts.
- Steer Clear of Low-Quality Materials: Cheap, untreated wood may seem like a bargain, but it won’t withstand the elements as well as cedar, redwood, or pressure-treated wood.
- Avoid Inconsistent Spacing: Uniformly spaced fence posts create a neat, structurally sound fence. Inconsistent spacing can lead to a wobbly, aesthetically displeasing fence.
- Don’t Neglect Maintenance: Even without concrete, your fence posts will need regular inspection and potential reinforcement to remain sturdy and secure. Avoiding maintenance can lead to a prematurely worn-out fence.
By avoiding these common mistakes, you can ensure that your fence posts will be set correctly and provide long-lasting support for your fence.
What Happens if You Just Mix Cement and Water
Mixing cement and water without any additional materials or aggregates will result in a paste-like substance. This mixture is known as cement paste and is used as a binding agent in concrete to hold together the other components, such as gravel and sand.
Cement has limited strength and durability, so it needs to be mixed with other materials to create concrete. Attempting to set fence posts using only cement and water will not provide enough stability and support for the posts, leading to a weak and potentially unsafe fence.
It is important to follow the proper techniques and use the necessary materials when setting fence posts without concrete. This will ensure a strong, durable fence that will stand the test of time. Remember to choose quality materials, properly space your posts, and regularly maintain your fence for optimal results.
Conclusion
You now have the desired fence posts without concrete! Installing a fence around your property can feel like an overwhelming task, especially when you know you have to use concrete – but luckily for us, there are ways to set fence posts without using concrete, and doing so can save you a lot of time and energy.
Setting fence posts without cement is also an environmentally friendly option as it does not involve mixing sand and water. With these easy steps, building sturdy structures on uneven terrain or soil that is too loose to hold traditional fencing with concrete is possible.
Hopefully, the article on how to set fence posts without concrete has helped you understand the process and provided some useful tips and tricks to make your project successful. Happy fencing!
About
Outdoor Fixes is a distinguished figure in the world of Diy design, with a decade of expertise creating innovative and sustainable Diy solutions.
His professional focus lies in merging traditional craftsmanship with modern manufacturing techniques,
fostering designs that are both practical and environmentally conscious. As the author of diy,
outdoorfixes delves into the art and science of outdoorfixes-making, inspiring artisans and industry professionals alike.
Education RMIT University
(Melbourne, Australia) Associate Degree in Design (Outdoor Fixes) Focus on sustainable design, industry-driven projects,
and practical craftsmanship. Gained hands-on experience with traditional and digital manufacturing tools, such as CAD and CNC software.
Nottingham Trent University
(United Kingdom) Bachelor’s in outdoorfixes.com and Product Design (Honors) Specialized in product design with a focus on blending creativity with production
techniques. Participated in industry projects, working with companies like John Lewis and Vitsoe to gain real-world insights.
Publications and Impact
In diy, Outdoor Fixes his insights on indoor design processes, materials, and strategies for efficient production.
His writing bridges the gap between artisan knowledge and modern industry needs, making it a must-read for both budding designers and seasoned professionals.