
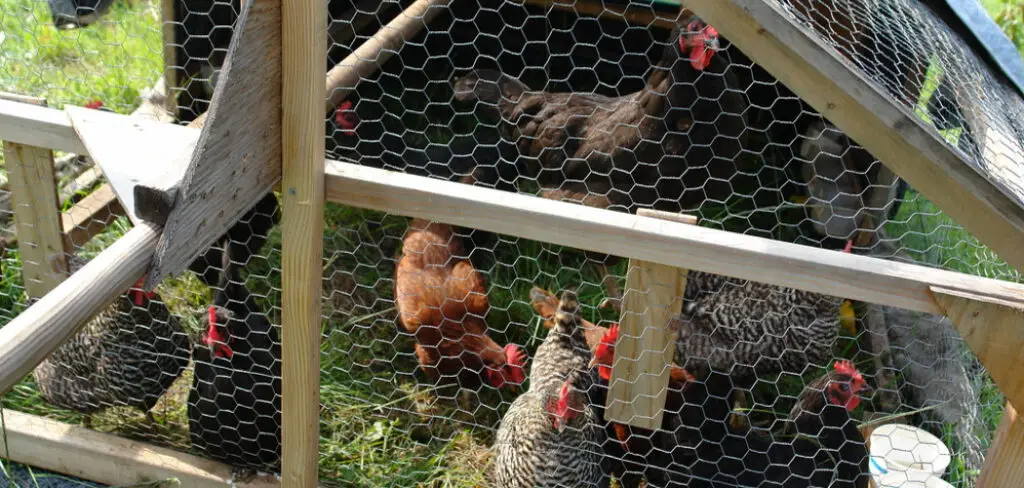
Are you looking for an affordable, flexible, and sturdy way to keep animals in or out of your property? Chicken wire may be the perfect solution! In this blog post, we will explore how to build a chicken wire fence that is functional and aesthetically pleasing.
We’ll cover everything from determining what type of material to buy, measuring your space, cutting the materials into usable lengths, assembling sections, and anchoring posts into place quickly and easily—all without breaking your budget!
With these helpful tips and easy-to-follow instructions for both beginner and intermediate levels, you’ll have a beautiful new chicken wire fence up in no time.
Needed Materials
- Chicken Wire
- Wooden or Metal Fence Posts
- Wire Cutters
- Measuring Tape
- Pliers
- Posthole Digger or Auger (Optional)
- Hammer or Mallet
- Level (Optional)
- Gloves and safety goggles
11 Step-by-step Guidelines on How to Build a Chicken Wire Fence
Step 1: Determine the Type of Material You Need
Before you start building your chicken wire fence, first decide what type of material is best for your needs. Chicken wire comes in different gauges (thickness), mesh sizes, and materials such as galvanized steel or PVC-coated wire. Consider your budget and the purpose of your fence when choosing the materials.
Step 2: Measure Your Space
Measure the perimeter of your desired fence area using a measuring tape. Make sure to add extra length for the corners, as they will require more material than straight sections.
It is also essential to measure the height of your desired fence and add a few inches for overlap. It is better to have extra material and trim it down later than not enough. But remember, the taller the fence, the more expensive it will be.

Step 3: Cut the Materials into Usable Lengths
Measure and cut the chicken wire into usable lengths according to your measurements. You can use wire cutters or pliers to trim the material carefully. You can also use a hammer or mallet to straighten out any bent wires.
You can also wear gloves and safety goggles for added protection while handling the sharp ends of the wire. You may also need to cut the fence posts to your desired height.
Step 4: Prepare Your Posts
If you are using wooden fence posts, make sure to treat them with a waterproof sealer to prevent rotting. If you are using metal posts, make sure they are galvanized to resist rust.
It is also a good idea to taper the ends of the posts for easier insertion into the ground. This step may take several days, so plan accordingly. It is also recommended to let the posts dry completely before using them.
Step 5: Dig Post Holes (Optional)
If you are burying your posts, use a posthole digger or auger to create holes at least 1/3 of the length of your posts. These holes should be evenly spaced along the perimeter of your fence.
You can also use a level to ensure the posts are straight. But if you are using portable or lightweight fencing, you can skip this step and move on to the next one. It is also advisable to call your local authorities for underground utility checks.
Step 6: Install Fence Posts
Place the wooden or metal fence posts into the ground, making sure they are level and sturdy. If necessary, use a hammer or mallet to secure them in place. It is also a good idea to check the posts’ alignment and make adjustments as needed before moving on. You can also use concrete to secure your posts if you live in an area with strong winds.
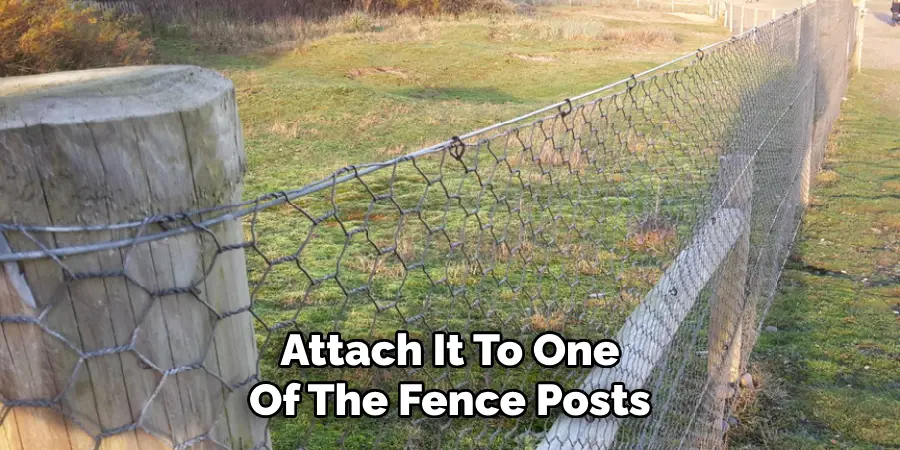
Step 7: Attach Chicken Wire to the First Post
Unroll the chicken wire and attach it to one of the fence posts using pliers or wire cutters. Make sure there is a few inches of overlap at the bottom of the post. But if you are using a gate, leave extra length to create the gate’s opening. Although chicken wire is flexible, it is essential to keep the wire taut as you attach it to the posts. If necessary, you can also use zip ties to secure the wire to the posts.
Step 8: Pull Chicken Wire Taut
Using pliers, pull the chicken wire tightly towards the next fence post and secure it in place. Repeat this process until you reach the end of your fence. It is crucial to keep the wire taut as you attach it to the posts. This step may require some patience and strength, so take breaks if needed. You can also use a level to ensure the wire is straight.
Step 9: Staple Chicken Wire to Posts
Once all sections are pulled taut, staple the chicken wire onto each post using fencing staples or galvanized nails. It is recommended to staple every 6 inches for added stability. It is also essential to staple the wire close to the edges of the posts for maximum support. You can also use zip ties or U-nails if you prefer. But remember, the wire should be taut but not too tight to avoid damaging it.
Step 10: Trim Excess Wire
Using wire cutters, trim any excess chicken wire from the top of the posts. This will give your fence a clean and polished look. This step may also require some strength and precision, so be careful not to cut too much or damage the wire.
It is also recommended to wear gloves while handling the sharp edges of the wire. It is also a good idea to trim any sharp or protruding wires along the bottom of your fence. It will prevent any injuries or damage to your property.
Step 11: Add Finishing Touches
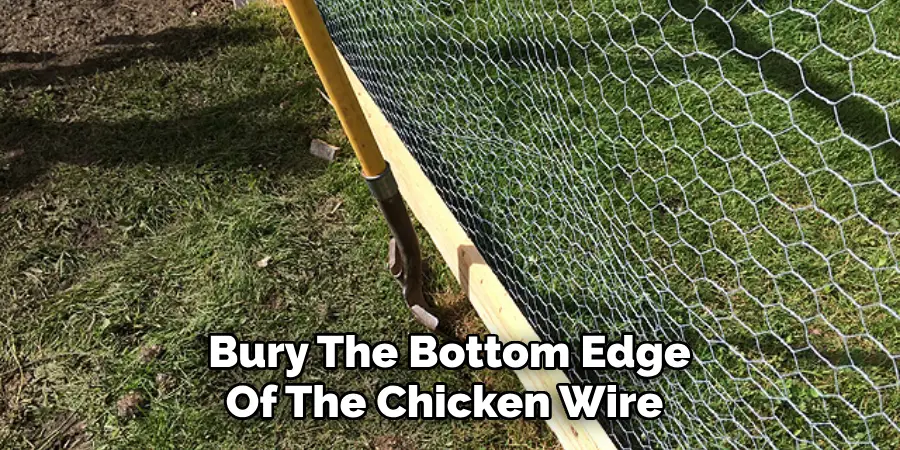
To prevent animals from digging under the fence, you can bury the bottom edge of the chicken wire or add a layer of rocks. You can also attach decorative elements to the top of your fence for added visual appeal. You can also paint the fence with a rust-resistant paint or PVC coating for added durability. Remember to maintain your chicken wire fence regularly to prevent any damage and ensure its longevity.
Now that you know how to build a chicken wire fence, you can confidently and easily create a functional and affordable solution for your property. Remember to take proper safety precautions when handling materials and always wear gloves and safety goggles. With some time and effort, you can have a beautiful and functional fence that will keep your property safe and secure for years to come. Don’t forget to regularly maintain your fence by checking for any damages or necessary repairs. Happy fencing!
Frequently Asked Questions
Q1) Can I Use Chicken Wire to Keep Larger Animals Out?
A1) Yes, chicken wire can be used to keep out a variety of animals, including dogs and rabbits. It is recommended to use a heavier gauge wire for larger animals. But keep in mind that some determined animals may still find a way through or under the fence.
Q2) Can I Use Chicken Wire for a Raised Garden Bed?
A2) Yes, chicken wire can be used to create a barrier around your raised garden bed to prevent critters from getting in and feasting on your plants. Just make sure to secure it firmly into the ground to prevent animals from digging underneath.
Q3) Is Chicken Wire an Effective Predator Deterrent for My Chickens?
A3) While chicken wire can keep out smaller predators, it may not be sufficient protection against larger predators like coyotes or foxes. Consider using a heavier gauge wire or adding additional layers of protection such as hardware cloth. It is also essential to check your fence regularly for any damages or breaches.
Q4) How Do I Remove a Chicken Wire Fence?
A4) To remove your chicken wire fence, simply reverse the installation process. Carefully remove the staples from the posts using pliers or wire cutters and then unwind the chicken wire from each post. Make sure to properly dispose of any hardware and recycle or repurpose the chicken wire if possible.
Conclusion
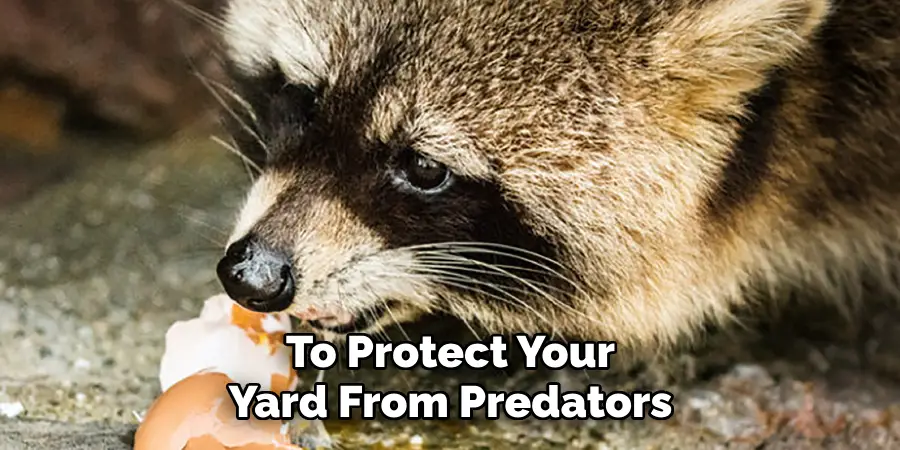
In conclusion on how to build a chicken wire fence, installing a chicken wire fence is relatively simple. The cost of the materials and labor won’t break the bank either; in fact, this type of fence may prove to be one of the most economical ways to protect your yard from predators. However, you should keep in mind that regular maintenance is required to maintain the integrity of your chicken wire fence.
Although it may seem like a daunting task at first, it’s actually quite easy; all you need to do is check for any rust or deterioration and clean off any debris or dirt on a regular basis.As long as you make sure to address any signs of wear and tear every so often, your chicken wire fence should provide you with years of effective protection. All-in-all the ease and affordability make installing a chicken wire fence a great choice.
About
Outdoor Fixes is a distinguished figure in the world of Diy design, with a decade of expertise creating innovative and sustainable Diy solutions.
His professional focus lies in merging traditional craftsmanship with modern manufacturing techniques,
fostering designs that are both practical and environmentally conscious. As the author of diy,
outdoorfixes delves into the art and science of outdoorfixes-making, inspiring artisans and industry professionals alike.
Education RMIT University
(Melbourne, Australia) Associate Degree in Design (Outdoor Fixes) Focus on sustainable design, industry-driven projects,
and practical craftsmanship. Gained hands-on experience with traditional and digital manufacturing tools, such as CAD and CNC software.
Nottingham Trent University
(United Kingdom) Bachelor’s in outdoorfixes.com and Product Design (Honors) Specialized in product design with a focus on blending creativity with production
techniques. Participated in industry projects, working with companies like John Lewis and Vitsoe to gain real-world insights.
Publications and Impact
In diy, Outdoor Fixes his insights on indoor design processes, materials, and strategies for efficient production.
His writing bridges the gap between artisan knowledge and modern industry needs, making it a must-read for both budding designers and seasoned professionals.