
Are you planning on paving your driveway or constructing a new patio? If so, having the right equipment for the job is essential for ensuring your project looks its best. A plate compactor is one of the most important machineries in your arsenal.
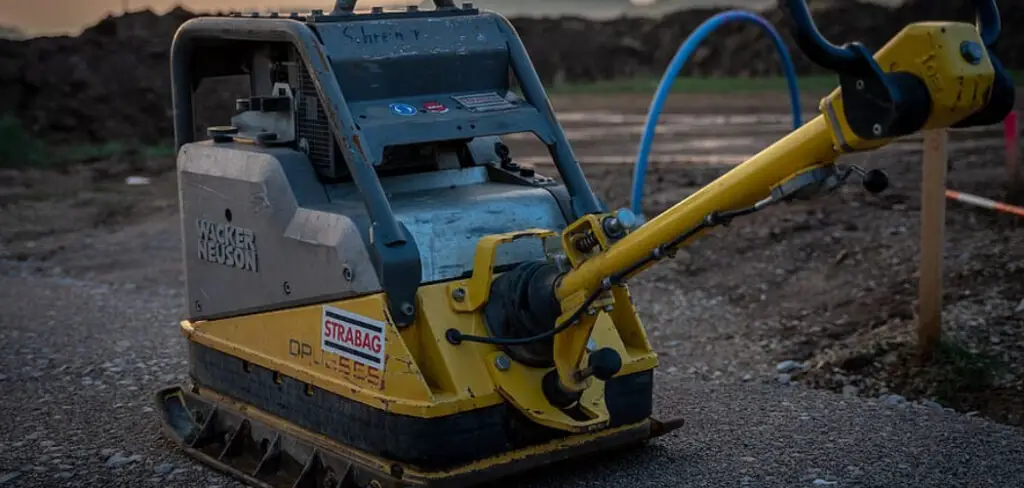
Plate compactors can help reduce future cracks and dips in the pavement surface due to ground settlement and provide much tighter packing of soil and aggregate around pavers during construction projects.
In this blog post, we’ll explore everything you need to know about how to use a plate compactor effectively. We’ll look at different types of plate compactors available, explain their function, and offer tips on how they should be used correctly when completing any task. Let’s get started!
What Will You Need?
First, you must ensure you have the right equipment for the job. They are readily available from most tool rental stores if you don’t own a plate compactor.
When it comes time to choose the right one, there are two main types of compactors that you should consider: Jumping Jack and Reversible plate compactors.
Jumping Jack Compactors are smaller and simpler than reversible models, making them ideal for residential use. They feature a single direction of travel, generally forward only, but can sometimes be reversed. The machine uses a weighted piston that jumps up and down to help pack the soil or gravel tightly together.
Reversible plate compactors, on the other hand, are more powerful and can handle heavier-duty projects such as paving driveways or building patios. They have two directions of travel: forward and reverse, making it much easier to maneuver around tight corners or awkward spaces. The machine uses a vibrating plate that shakes the soil or gravel for maximum compaction.
10 Easy Steps on How to Use a Plate Compactor
Now that you have the right equipment, it’s time to work! Here are a few tips on how to use your plate compactor correctly:
Step 1. Clean Debris or Obstructions
Before using the compactor, check for any debris or obstructions that could get caught in the machine. This will help prevent damage to the plate compactor and save you time in the long run. Try to sweep away any possible obstructions with a broom or other tool.
Step 2. Fill Area To Be Compacted
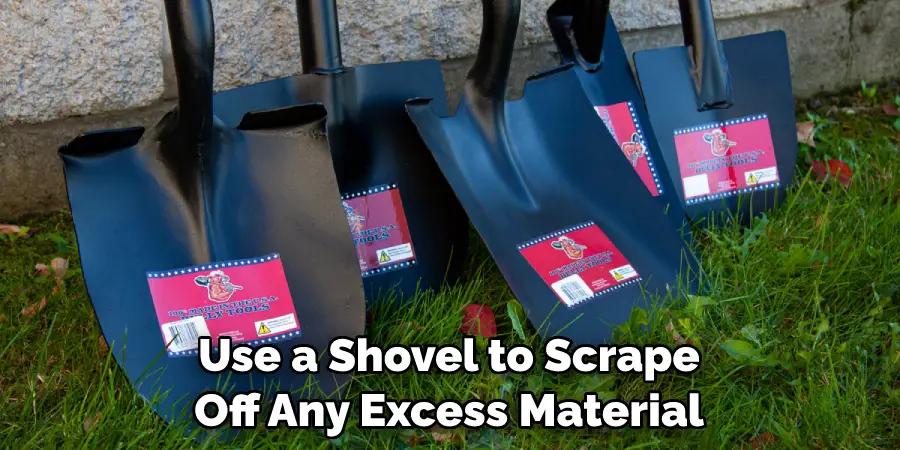
Next, fill the area you wish to compact with soil or gravel. Make sure it is spread evenly and level before beginning compaction. If the area is too deep, then use a shovel to scrape off any excess material.
Step 3. Start Plate Compactor
Once you are happy with the surface level, start up the plate compactor and move it slowly across the area in a back-and-forth or circular motion. If you have a reversible plate compactor, alternate forward and reverse directions. Remember to keep the machine’s speed steady so that it does not jump or hop over uneven spots.
Step 4. Increase Pressure Over Time
As you move the compactor across the surface, gradually increase the pressure as needed. If it becomes too difficult to push, then reduce the pressure slightly until you find a comfortable resistance level. This will help ensure that your soil or gravel is compacted correctly.
Step 5. Check the Area for Uneven Spots
As you continue to work, take a few moments to check the area for any uneven spots that may need more attention. If there are any, move your plate compactor back over those areas with increased pressure until they are compacted evenly. Be careful not to overdo it, though, as this can cause the soil or gravel become too hard.
Step 6. Finish Compact Task
Once you have compacted the entire area, switch off your plate compactor and check for any remaining uneven spots that may need more attention. Repeat steps 3-5 if they are present until you are satisfied with the surface. You can also add more soil or gravel if needed.
Step 7. Clean and Store Plate Compactor
Once you have finished your compacting tasks, ensuring your plate compactor is properly cleaned and stored away safely is important. This will help keep it in good working condition for future use. Additionally, always follow the manufacturer’s instructions for cleaning and storing your compactor.
Step 8. Dispose of Excess Materials
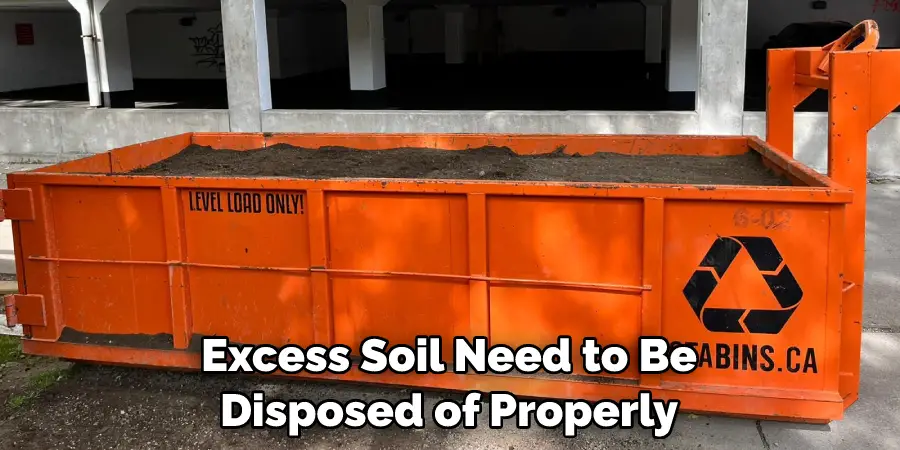
When you are finished compacting, some excess soil or gravel in the area may need to be disposed of properly. Use a shovel to scoop away any unwanted materials and properly dispose of them. Otherwise, they could end up clogging drains or causing other unwanted issues.
Step 9. Level the Surface
Once you have compacted and disposed of any excess materials, it’s time to level off the surface with a rake or shovel. This will help create an even-level surface ready for paving or construction work. Review the entire area and check for any uneven spots that may need additional attention.
Step 10. Enjoy Your Project
The last step in using a plate compactor is to enjoy your project! Now that you have completed all of the necessary steps for effective compaction, you can sit back and appreciate the results. Whether it’s a patio, driveway, or other construction project, you can enjoy the satisfaction of a job well done.
Compaction is an essential part of any construction project, and using a plate compactor correctly can make your work much easier and more effective. By following these steps for how to use a plate compactor, you’ll be able to finish your projects quickly and efficiently.
5 Additional Tips and Tricks
- Always wear safety glasses and gloves when using the plate compactor.
- Check to ensure that all components are properly tightened before beginning any project.
- Ensure you have enough fuel or electricity for the time it will take to complete your task.
- If you need to adjust the depth of your work, use an adjustable depth gauge or ruler.
- Start the plate compactor slowly and gradually increase it until you reach your desired depth of work. This will ensure that you don’t overcompact the material and cause damage to it. Take frequent breaks during long projects to avoid tiring out too quickly.

You can become an expert in using plate compactors with practice and patience. Just remember to stay safe and use all the right safety gear! If you ever encounter a problem with your plate compactor, don’t hesitate to call a professional for help. With the proper guidance and instruction, you’ll be able to get the job done quickly and correctly.
5 Things You Should Avoid
- Do not use a plate compactor with wet or overly soft materials.
- Never overload the plate compactor past its recommended capacity, as this could cause damage to the machine and your project.
- Avoid using a plate compactor on frozen ground, as it can cause irreparable damage to the equipment.
- Only allow trained personnel to operate your plate compactor.
- Remember to check and maintain the compactor’s oil levels, as this is essential for maintaining a safe working environment.
By following these simple tips, you can get the most out of your plate compactor while keeping yourself and others around you safe.
What are the Benefits of Using a Plate Compactor?
Not only does using a plate compactor make your job easier and more efficient, but it also offers many additional benefits. For example, its powerful vibrating force can help you compact large amounts of soil quickly, allowing you to finish projects quickly and effectively.
A plate compactor can also help you achieve a smooth and even surface, which is essential for any paving or landscaping project. And finally, it’s a safer option than manually compacting soil since there is less risk of injury.
Using a plate compactor can save you time and energy while giving you better project results. So invest in the right equipment and use it safely, and you’ll be sure to get the job done right!
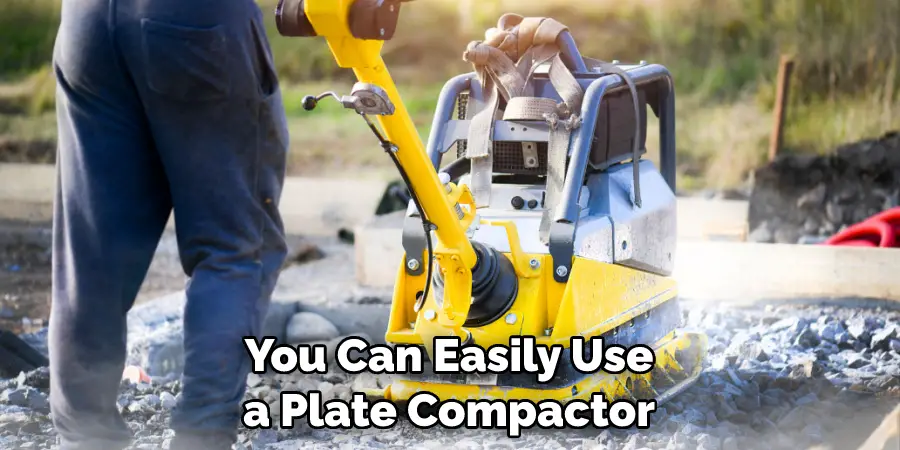
How Do You Compact Soil With a Plate Compactor?
Compacting soil with a plate compactor is relatively simple. First, ensure that the area you are working on is free of large rocks or other debris that may damage your machine. Then turn off the compactor and spread the soil evenly across the entire area.
Next, start up your machine and begin slowly compacting the soil in a back-and-forth motion, covering the entire area. As you work, keep an eye on your depth gauge and adjust it according to your desired depth of compaction.
Finally, once you have finished compacting the area, switch off the machine and check for any remaining uneven spots that may need more attention before cleaning and storing the plate compactor away.
You can easily use a plate compactor to compact soil quickly and efficiently with a few simple steps. Remember to stay safe, follow the manufacturer’s instructions, and take all the necessary precautions when working with this powerful equipment.
Conclusion
As we’ve seen in this blog post, how to use a plate compactor is relatively simple when done correctly. After being carefully prepped and laid, the newly compacted pavement must be allowed to sit for at least a day.
Further maintenance can be done with an asphalt seal coating down the road to enhance your pavement’s durability.
It’s important to remember that safety should always come first when operating a plate compactor. Every necessary precaution should be taken, as using it has potential physical harm.
Completing this easy task will save you time and money in the long run! Taking on projects such as this can even be a great way to bond with family or friends while improving your home’s landscape.
About
Outdoor Fixes is a distinguished figure in the world of Diy design, with a decade of expertise creating innovative and sustainable Diy solutions.
His professional focus lies in merging traditional craftsmanship with modern manufacturing techniques,
fostering designs that are both practical and environmentally conscious. As the author of diy,
outdoorfixes delves into the art and science of outdoorfixes-making, inspiring artisans and industry professionals alike.
Education RMIT University
(Melbourne, Australia) Associate Degree in Design (Outdoor Fixes) Focus on sustainable design, industry-driven projects,
and practical craftsmanship. Gained hands-on experience with traditional and digital manufacturing tools, such as CAD and CNC software.
Nottingham Trent University
(United Kingdom) Bachelor’s in outdoorfixes.com and Product Design (Honors) Specialized in product design with a focus on blending creativity with production
techniques. Participated in industry projects, working with companies like John Lewis and Vitsoe to gain real-world insights.
Publications and Impact
In diy, Outdoor Fixes his insights on indoor design processes, materials, and strategies for efficient production.
His writing bridges the gap between artisan knowledge and modern industry needs, making it a must-read for both budding designers and seasoned professionals.