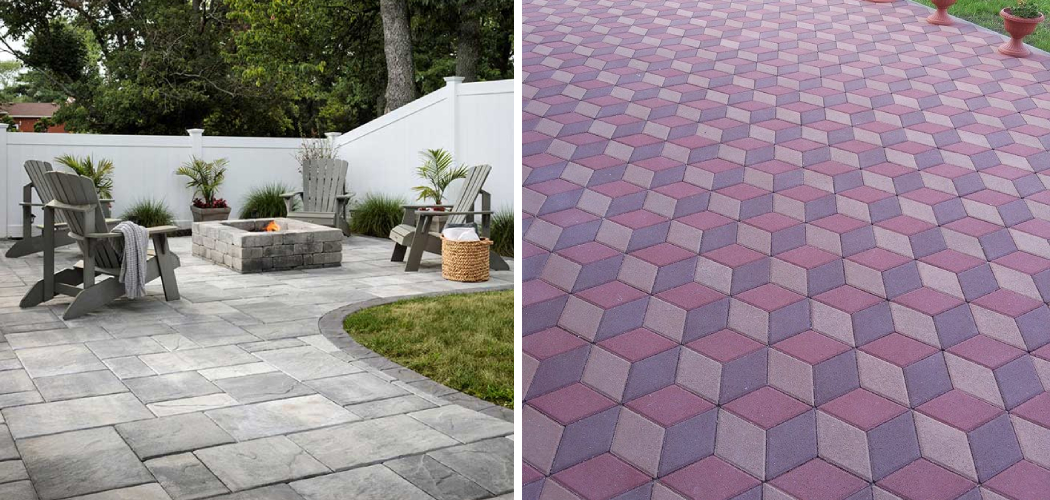
Do you want to spruce up the look of your outdoor pavers? If you do, then changing the color is a great place to start! By learning how to change the color of your pavers from their natural hue, you can create a unique and beautiful landscape that will both impress your guests and brighten up your outdoor space.
In this blog post on how to change color on pavers, we’ll cover how to fill in existing colors as well as give new hues and patterns. We’ll also provide tips for successfully changing your paver’s color without breaking the bank or needing an expert. So get ready for some fun DIY magic – here’s what you need to know about revamping with colored pavers!
Necessary Tools and Materials
Given below are the essential tools and materials for changing the color on pavers:
- Garden Hose
- Wire Brush
- Bucket
- Paver Sealant
- Paint Roller With a Small Nap Cover
- Paver Stain in Your Desired Hue(S)
- Paver Adhesive, if Needed
9 Step-by-step Guidelines on How to Change Color on Pavers
Step 1: Clean the Pavers
Begin by thoroughly cleaning the pavers with a garden hose. Use a wire brush to remove any dirt, debris, and moss from the surface of the paper. It’s important to ensure the pavers are completely clean before you begin replacing the color. But wait – don’t forget to protect any nearby plants and vegetation with a tarp or other coverings, as some of the cleaning products you may use can potentially harm them.

Step 2: Apply Paver Sealant
Next, apply a paver sealant to the pavers. Make sure to cover each paver with an even layer o sealant. This will help protect the pavers from fading and discoloration while also creating a barrier between them and the new paint or stain. Let your sealant dry completely before moving on to the next step. If the sealant you chose recommends a second or third coating, be sure to follow the instructions.
Step 3: Paint or Stain Your Pavers
Now it’s time to add some color! To do this, use a paint roller with a small nap cover and your preferred paver stain. If you want to create unique patterns or designs, mix the colors together in a bucket before applying them. Be sure to take your time so that all of the pavers are evenly covered. But don’t worry – you can always touch up any areas that need it once the paint or stain has dried.
Step 4: Let the Paint or Stain Dry
Once you have completed painting or staining your pavers, allow them to dry. Depending on the weather and temperature, this may take anywhere from a few hours to an entire day. It’s also important to keep your pavers out of direct sunlight, as this can cause the colors to fade or bleed. However, if the weather is too cold, you may need to wait until it warms up before your pavers are dry enough to use.
Step 5: Add Paver Adhesive (Optional)
If your pavers are loose in certain areas, it’s best to add paver adhesive to re-secure them in place. This will help to ensure your new color stays in place for as long as possible. It’s also a great way to help prevent weeds from sprouting up between the pavers. But be sure to follow the instructions on the adhesive package and take any necessary safety precautions. This step is optional but recommended.
Step 6: Let the Pavers Cure
After applying any adhesive or sealant, let the pavers cure for at least 24 hours. This will help ensure that everything binds properly and is ready for use. If you don’t give the pavers enough time to cure, they may not last as long or look as good. But don’t worry – after 24 hours you’ll be able to enjoy your beautiful, newly-colored pavers! It’s worth the wait. It’s time to admire your hard work.
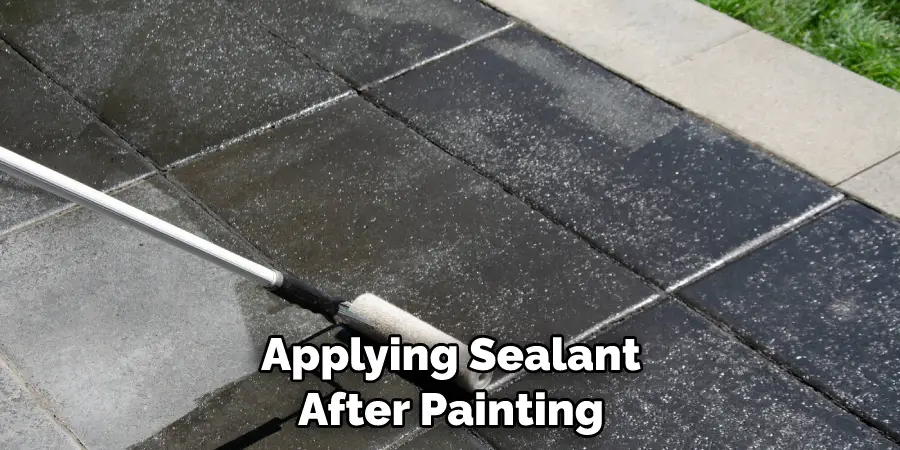
Step 7: Re-Seal Your Pavers (Optional)
Re-sealing your pavers isn’t necessary, but it can help keep your new color in place for a longer period of time. Applying sealant after painting or staining your pavers will also create an extra layer of protection against any harsh weather conditions that may occur. This step is optional but recommended if you want your pavers to last for years. This shouldn’t be done until your pavers have had at least a week to settle.
Step 8: Enjoy Your New Color Palette!
Congratulations – you have successfully changed the look of your outdoor pavers! Now, sit back and enjoy the new colors that you’ve chosen. Always remember to take a few moments to appreciate the fruits of your labor. But don’t forget – paver maintenance is important for keeping your new look in tip-top shape!
Step 9: Periodically Clean and Inspect Your Pavers
Cleaning and inspecting your pavers periodically will help to extend the life of your newly colored outdoor space. Use mild detergent water to clean the pavers, and keep an eye out for any discoloration or fading. Make sure to reseal your pavers every few years as well – this will ensure that they are protected from harsh weather conditions and any potential damage that may occur.
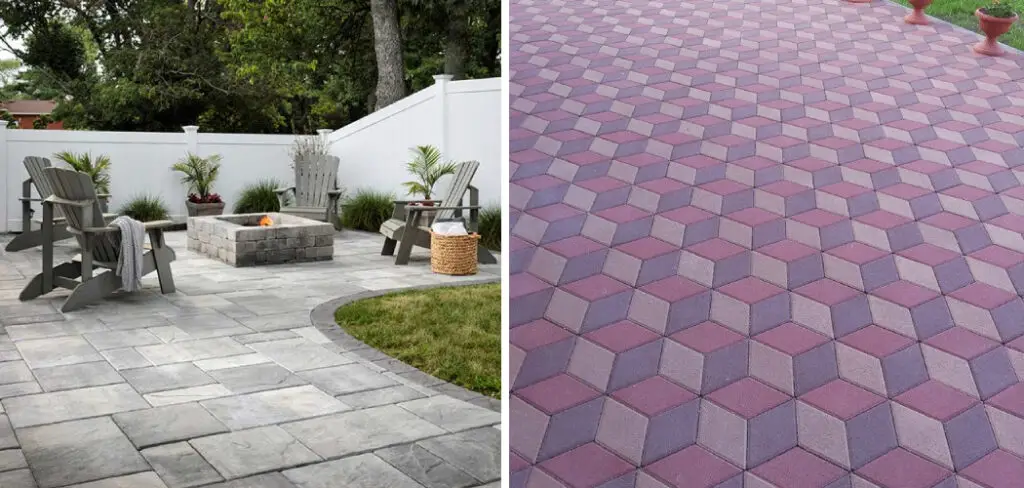
Following these steps on how to change color on pavers should help you successfully change the color of your pavers. With a bit of elbow grease and some creativity, you can create a unique and impressive outdoor look that will brighten up any occasion or gathering!
Whether you’re looking to make an outdoor patio or walkway, changing the color of your pavers is one of the easiest ways to transform any space from dull and drab to vibrant and beautiful. So go ahead – start dreaming up those new color combos and make your outdoor space a place you can be proud of!
Tips for Changing Color on Pavers
- Start with a small area first to get a feel for how it looks before tackling the entire project.
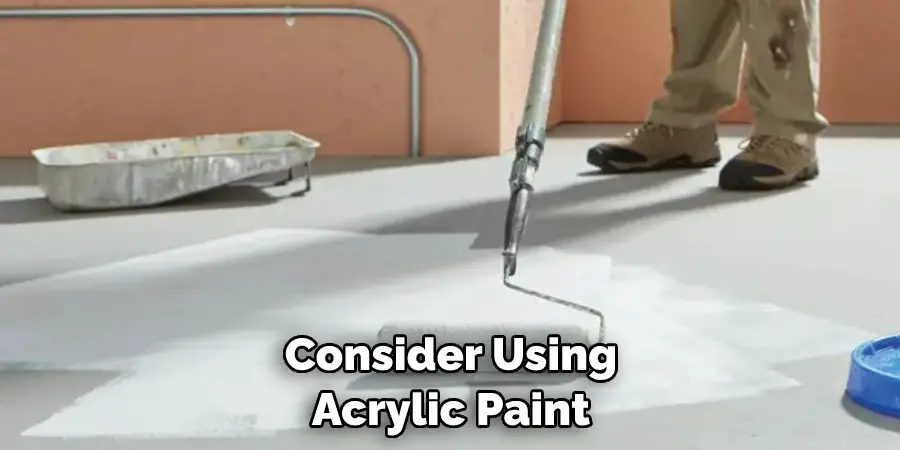
- Consider using acrylic paint specifically designed for outdoor use if you want the colors to last longer.
- If you’re staining the pavers, be sure to evenly spread the stain and avoid puddles or clumps of color.
- For a unique look, add texture to your pavers with stencils or other decorative elements.
- hen re-sealing your pavers, consider using a sealant that also has a protective UV layer for extra protection from the sun.
- Always remember to wear safety gear when working with sealants, paints, and other materials.
Now that you know how to change color on pavers, go ahead and start revamping your outdoor space! With a little bit of time and effort, you can transform the look of your landscape in no time at all. Good luck!
Frequently Asked Questions
Q: What Tools Do I Need to Change the Color of My Pavers?
A: You will need a garden hose, wire brush, bucket, paver sealant, paint roller with a small nap cover, and paver stay in your desired hue or hue. You may also need paver adhesive, depending on the condition of your pavers.
Q: How Long Does It Take to Change the Color of Pavers?
A: The actual painting or staining process should only take an hour or two. However, you should allow enough time for the sealant, paint, and/or stain to dry before using the pavers. Depending on the temperature and humidity levels outside, this could take anywhere from a few hours to an entire day.
Q: Can I Change the Color of My Pavers Without Sealing Them?
A: Yes, but it is not recommended. Applying sealant before painting or staining your pavers will help protect them from fading and discoloration, as well as create a barrier between them and the new color. It is also important to re-seal the pavers after you are finished to ensure that your new color lasts as long as possible.
Q: Are There Any Tips for Maintaining My Pavers After I Change the Color?
A: Yes! To ensure that your pavers stay looking their best, it is important to regularly sweep away any dirt and debris from the surface. You should also apply a sealant every few years to help protect the color from fading or discoloration due to weather conditions. Additionally, you may want to consider using a paver cleaner every few months or so depending on the amount of foot traffic your pavers receive.

Conclusion
Changing the color of your pavers can have a major impact not only on your overall landscape design but also on the atmosphere of your home. Whether you opt for a splash of bright and vibrant colors or subtle shades, you’ll be able to enjoy the transformation in no time.
Your family and friends are sure to appreciate the new look – after all, it takes time and effort to make such changes! Not only is this project one that can be done relatively quickly, but it also won’t cost you an arm and a leg either.
You can find almost everything you need at your local hardware store for around $20 – making it an inexpensive way to bring more life and personality into your home.
In addition, changing the color of pavers offers many added benefits like increased curb appeal, improved balance between aesthetics and functionality, unexpected conversation pieces, and more inviting outdoor spaces for enjoying nature. So go ahead and give this project a try – it may just become one of your favorite DIY projects! Thanks for reading this article on how to change color on pavers.
About
Outdoor Fixes is a distinguished figure in the world of Diy design, with a decade of expertise creating innovative and sustainable Diy solutions.
His professional focus lies in merging traditional craftsmanship with modern manufacturing techniques,
fostering designs that are both practical and environmentally conscious. As the author of diy,
outdoorfixes delves into the art and science of outdoorfixes-making, inspiring artisans and industry professionals alike.
Education RMIT University
(Melbourne, Australia) Associate Degree in Design (Outdoor Fixes) Focus on sustainable design, industry-driven projects,
and practical craftsmanship. Gained hands-on experience with traditional and digital manufacturing tools, such as CAD and CNC software.
Nottingham Trent University
(United Kingdom) Bachelor’s in outdoorfixes.com and Product Design (Honors) Specialized in product design with a focus on blending creativity with production
techniques. Participated in industry projects, working with companies like John Lewis and Vitsoe to gain real-world insights.
Publications and Impact
In diy, Outdoor Fixes his insights on indoor design processes, materials, and strategies for efficient production.
His writing bridges the gap between artisan knowledge and modern industry needs, making it a must-read for both budding designers and seasoned professionals.