Are you in the process of laying paths or walkways around your yard? Installing pavers can be a great way to create stunning pathways and beautify your outdoor living space. But have you ever thought about how to hold them in place and ensure they are correctly installed?
Knowing how to hold pavers in place properly install those hardscape pieces is key to making sure that they last for years. In this blog post, we’ll provide some helpful tips and tricks on how to effectively hold pavers in place and make sure your project is done right!
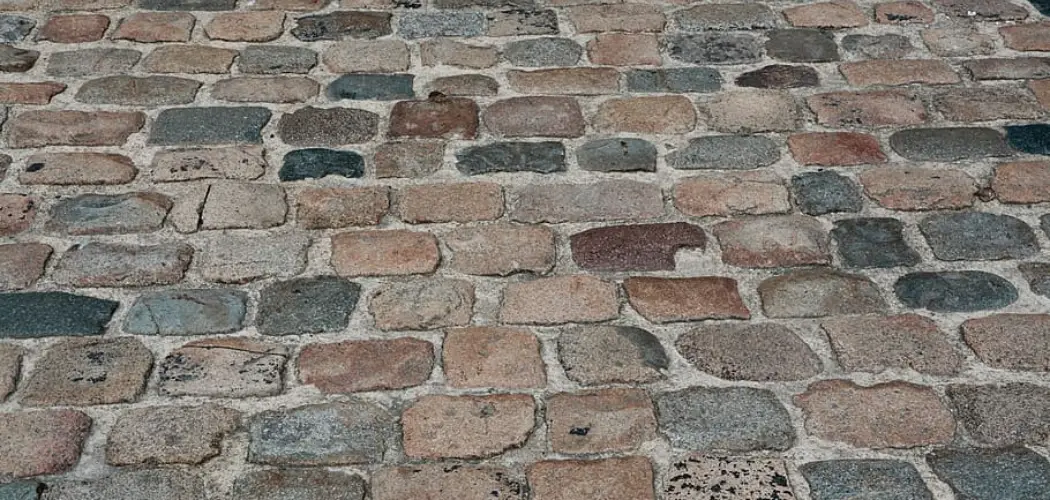
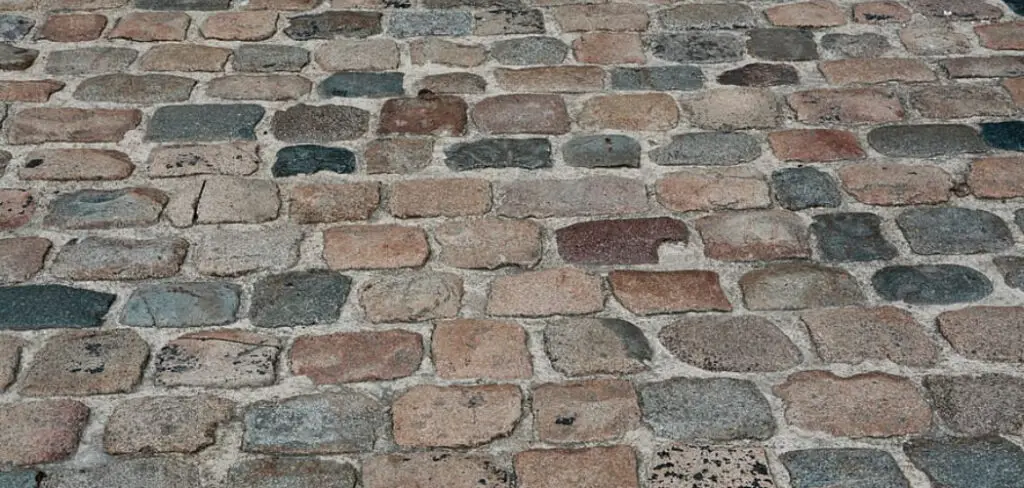
What is Pavers?
Pavers are a great way to add aesthetic value and functionality to any outdoor living space. They come in many shapes, sizes, colors, and textures so you can mix and match them to create a personalized look for your yard. Pavers are also used to create walkways, patios, driveways, pool decks and courtyards — the possibilities are endless.
What Do You Need to Install Pavers?
Before beginning your paver project, there are a few key items you’ll need for the job. These include:
- Paving Stones or Pavers of Your Choice
- Gravel or Sand to Backfill the Space Between the Pavers
- Polymeric Jointing Sand to Fill the Gaps Between Each Paver
- A Plate Compactor, Hand Tamper or Vibrator
- Shovels and Rakes
- Level
Step-by-step Guidelines on How to Hold Pavers in Place
Step 1: Excavate the Area
Start by marking the area where you’d like to install your pavers. Then dig out the soil and remove an extra inch or two from the surface. Compact the soil using a plate compactor and make sure the area is completely level. Otherwise, the pavers won’t lay properly.
It’s important to use the right depth and make sure the area is level so that your pavers are set up correctly. But don’t worry — if you need more help on how to properly excavate an area, we have a guide for that!
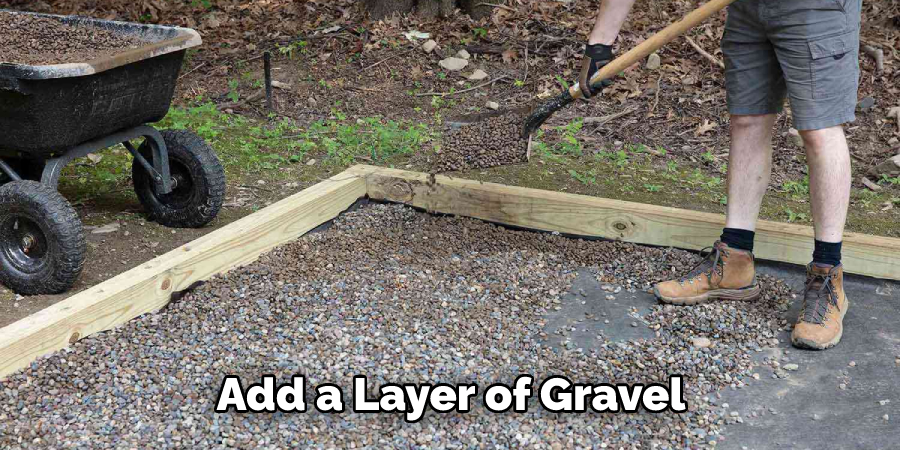
Step 2: Lay a Sub-Base
Add a layer of gravel or sand to the excavated area and spread it out evenly using a shovel and rake. This will act as your sub-base. Make sure that all low spots are filled in with material — this helps ensure that the pavers will lay flat when they are installed. This step also helps provide a stable base for your pavers and prevents them from shifting over time.
It’s important to use the right kind and amount of material for your project. Too much or too little can be a problem, so make sure you measure carefully. But don’t worry if you need more help in this step — we have some great resources that can show you exactly how to do this correctly.
Step 3: Install the Pavers
Start laying your pavers in the area you’ve marked off. Make sure that each paver is level and that there aren’t any gaps between them. Depending on the size of your project, you may want to use a string line or laser level to ensure that the pavers are being laid in a straight line.
This step is essential for creating a uniform look and making sure that the pavers are properly installed. It’s also important to use the right kind of pavers for your project. Make sure you choose ones that are durable and designed to withstand wear and tear from weather and foot traffic.
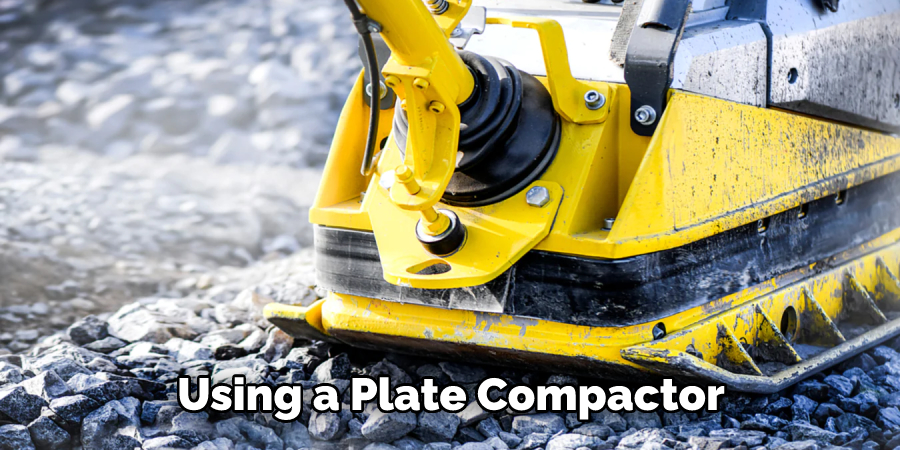
Step 4: Compaction
Once all of your pavers are installed, you’ll need to compact them into place. Using a plate compactor or hand tamper, press each paver down so that it’s firmly settled in place. Make sure that any excess sand or gravel is also removed from the surface.
You may need to repeat this process a few times, depending on the size of your project. This step helps make sure that all the pavers are securely held in place and won’t shift or crack over time.
Step 5: Fill Joints
Now that your pavers are all in place, fill any gap between them with polymeric jointing sand. This will help keep the pavers securely in place and prevent any soil from entering them. Spread the sand evenly across the surface and then lightly mist it with water to ensure that it’s properly tamped down.
This helps lock the pavers in place and creates a stronger bond between them. It’s important to use the right kind of sand for your project and avoid using ordinary sand, as it won’t provide the same level of protection.
Step 6: Re-Compaction
Once all of your joints are filled, it’s time to re-compact the area. Use a plate compactor or hand tamper to press down each paver and make sure all of your joints are sealed. This will help keep water from seeping beneath the pavers and ensure that your project lasts for years.
But don’t worry if you need more help in this step — we have some great resources that can show you exactly how to do it. It’s important to use the right kind of tool for your project and make sure that each paver is firmly pressed into place.
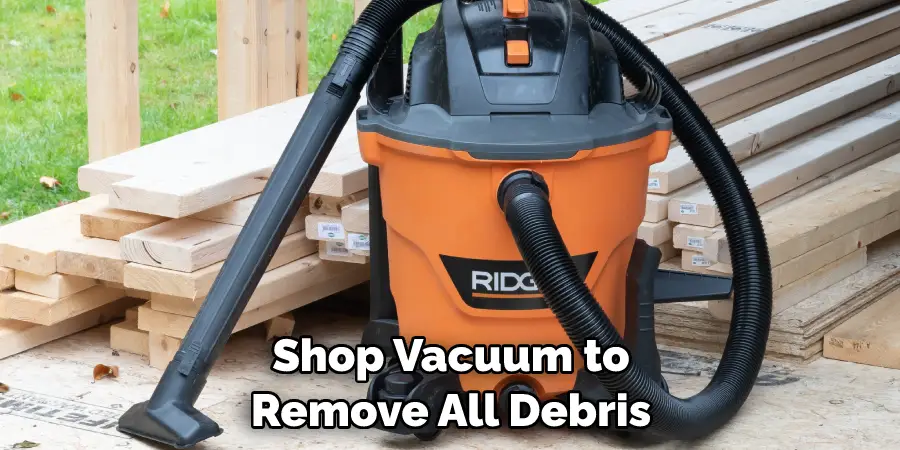
Step 7: Clean Up
Once you’ve finished compacting the area, you’ll want to clean up any excess sand or jointing material from the surface. Use a broom or shop vacuum to remove all debris and make sure your project looks neat and tidy.
This will help prevent any dirt or debris from getting into the pavers and ensure that your project looks its best. But don’t worry if you need more help in this step — we have some great resources that can show you exactly how to do it.
Step 8: Finishing Touches
The final step is to add some finishing touches to your project! This could include adding edging stones, spreading decorative bark mulch around the edges, or planting flowers and shrubs in strategic locations.
Once you’ve completed these steps, your project will be complete and ready to enjoy for years to come! This is a great way to add an extra touch of beauty and style to your outdoor living space.
It’s also important to make sure that the pavers are properly maintained over time. This includes cleaning them regularly, checking for any signs of wear and tear, and replenishing the polymeric jointing sand when needed.
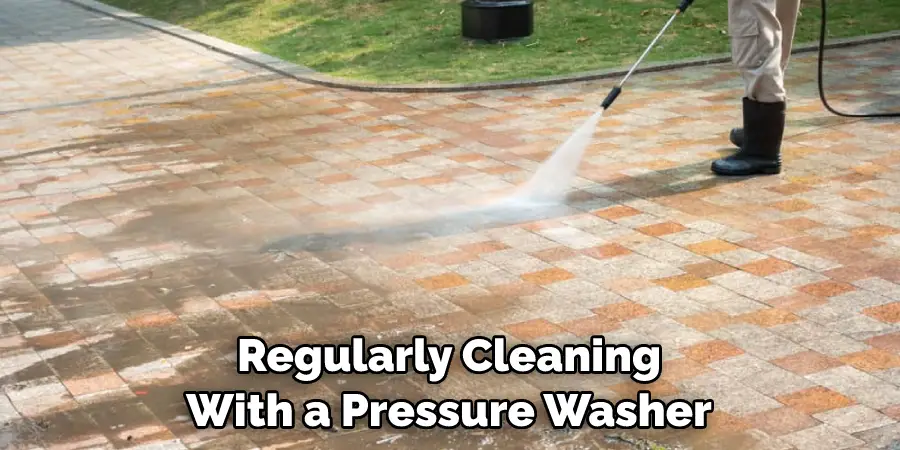
Step 9: Regular Maintenance
When it comes to maintaining your pavers, you’ll want to make sure they stay in good condition. This means regularly cleaning them with a pressure washer and sweeping away any dirt or debris that has accumulated.
You may also need to add jointing material or sand periodically to make sure the gaps between pavers remain firmly sealed. But don’t worry if you need more help in this step — we have some great resources that can show you exactly how to do it.
Step 10: Power Washing and Sealer
In addition to regular maintenance, it’s a good idea to power wash your pavers every one to two years. After power washing them, you can apply a sealer to the surface which will not only add shine but also help protect the pavers from staining and fading.
It’s important to use a sealer specifically designed for pavers, as this will help ensure that the job is done correctly. And don’t forget to follow all of the instructions on the label — this will help make sure that your project looks its best and lasts for years!
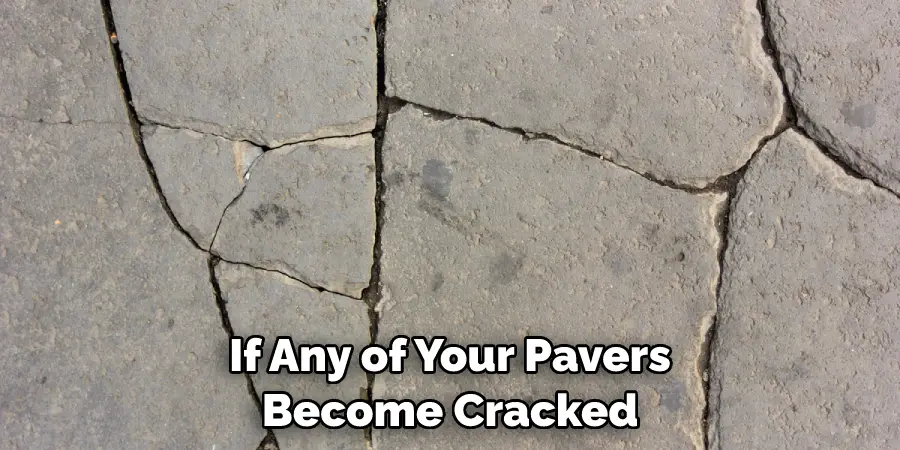
Step 11: Repairing Damaged Pavers
If any of your pavers become cracked or damaged, you’ll want to replace them as soon as possible. This is important because it can help prevent further damage and deterioration of the other pavers. Make sure to properly remove the old paver and then install a new one with jointing material.
However, if the damage is minor, you may be able to repair it with a paver patching material. This can help fill in small cracks and make them virtually unnoticeable.
But don’t worry if you need more help in this step — we have some great resources that can show you exactly how to do it. It’s also important to make sure that you’re using the right kind of materials for your project.
Step 12: Enjoy Your Outdoor Oasis!
Once you’ve completed all of the steps above, it’s time to enjoy your outdoor oasis! Installing pavers is a great way to add beauty and functionality to any yard or outdoor living space. With these tips in mind, you’ll be able to make sure that your project stands the test of time and provides you with years of enjoyment.
If you follow these steps, you’ll be able to make sure that your pavers remain firmly in place for years and years. So get out there and get started on your next paver project today! Always remember that with a little effort and knowledge, you can make sure your project looks its best and lasts for years to come.
Following these steps on how to hold pavers in place will help you ensure that your pavers stay firmly in place and look great for years to come. If you’re looking for more paver installation tips and tricks, be sure to check out our blog for the latest advice on how to make your project a success. With these guidelines, you’ll be able to create an outdoor space that you can enjoy for years!
Frequently Asked Questions
Q: How Often Should I Power Wash My Pavers?
A: It’s a good idea to power wash your pavers every one to two years in order to keep them looking great. Make sure to use an appropriate cleaner and follow the manufacturer’s instructions for the best result.
Q: How Do I Repair Damaged Pavers?
A: If you have any cracked or broken pavers, it’s important to replace them as soon as possible. Start by removing the old paver and then install a new one with jointing material. Make sure that all of the gaps are properly filled in order for your project to last for years.
Q: What Tools Do I Need to Install Pavers?
A: You’ll need a shovel, rake, plate compactor or hand tamper, polymeric jointing sand, and a broom or shop vacuum. Depending on the size of your project, you may also want to use a string line or laser level to ensure that the pavers are being laid in a straight line.
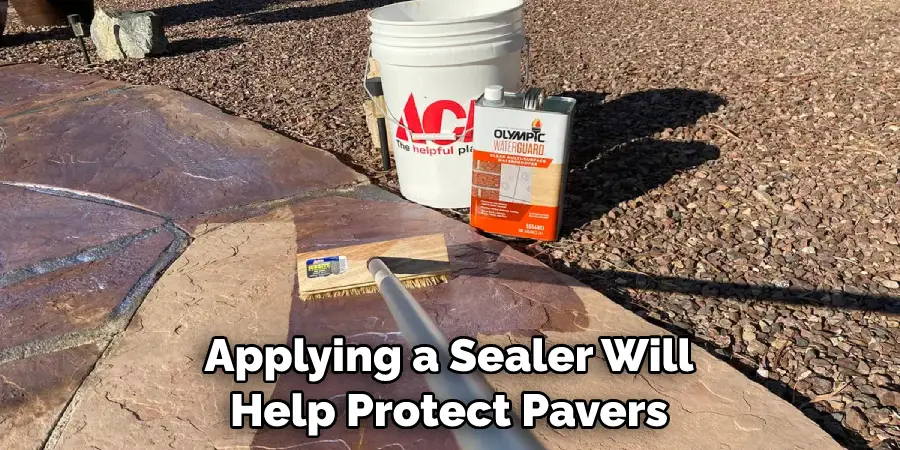
Q: Do I Need to Seal My Pavers?
A: Applying a sealer will help protect your pavers from staining and fading, so it is recommended that you do so. Make sure to follow the manufacturer’s instructions for the best result. Finally, don’t forget to regularly clean your pavers with a pressure washer or broom in order to keep them looking great!
By following these steps for how to hold pavers in place, you’ll be able to create a beautiful outdoor space that will last for years. With these guidelines in mind, you’ll be able to have a stunning outdoor oasis that you can enjoy for seasons to come!
Conclusion
The key to properly holding pavers in place is all about ensuring you take the right steps to prepare correctly and use the right materials. Taking the time in setting up a secure, balanced base can save you time and resources later. Furthermore, using proper edging such as gravel or plastic is important for preventing erosion and movement of the stones over time.
Finally, enlisting the help of an experienced professional can make sure that your paver project lasts long into the future. With these simple steps on how to hold pavers in place in mind and a bit of patience, you should be able to keep your pavers solidly in place for years to come!
About
Outdoor Fixes is a distinguished figure in the world of Diy design, with a decade of expertise creating innovative and sustainable Diy solutions.
His professional focus lies in merging traditional craftsmanship with modern manufacturing techniques,
fostering designs that are both practical and environmentally conscious. As the author of diy,
outdoorfixes delves into the art and science of outdoorfixes-making, inspiring artisans and industry professionals alike.
Education RMIT University
(Melbourne, Australia) Associate Degree in Design (Outdoor Fixes) Focus on sustainable design, industry-driven projects,
and practical craftsmanship. Gained hands-on experience with traditional and digital manufacturing tools, such as CAD and CNC software.
Nottingham Trent University
(United Kingdom) Bachelor’s in outdoorfixes.com and Product Design (Honors) Specialized in product design with a focus on blending creativity with production
techniques. Participated in industry projects, working with companies like John Lewis and Vitsoe to gain real-world insights.
Publications and Impact
In diy, Outdoor Fixes his insights on indoor design processes, materials, and strategies for efficient production.
His writing bridges the gap between artisan knowledge and modern industry needs, making it a must-read for both budding designers and seasoned professionals.