
Digging should be hard work for your muscles—not for your tools. Yet every gardener knows the particular frustration of a shovel caked in heavy, clumping soil. Each scoop gets heavier, progress slows, and suddenly you’re spending more time scraping mud off the blade than actually moving it.
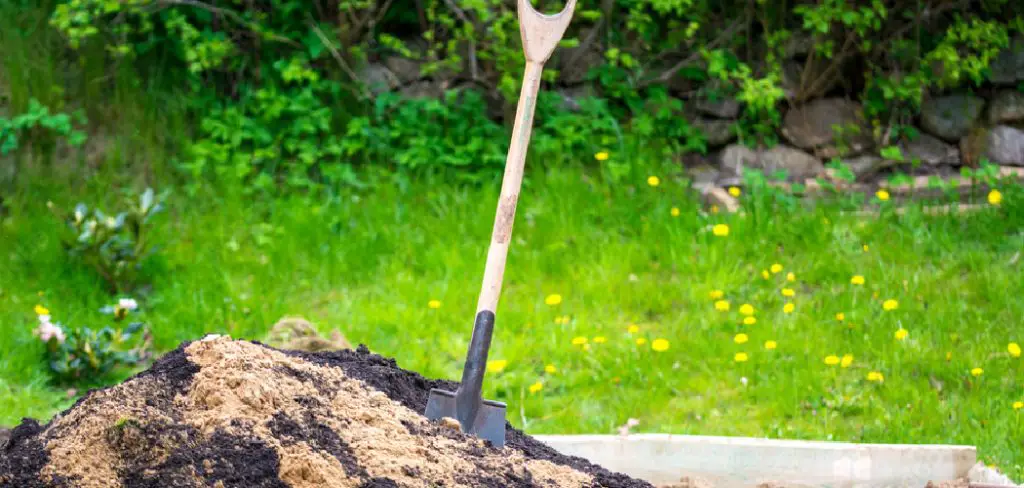
A sticky shovel isn’t something you have to accept. With a few practical habits and the right maintenance, you can keep your blade smooth, clean, and ready to cut through soil with far less effort. This guide on how to keep dirt from sticking to shovel covers covers why dirt clings in the first place, how to stop it, and how to keep your shovel performing reliably for years.
Why Does Dirt Stick to Shovels in the First Place?
Dirt sticks for a handful of predictable reasons—most of them tied to moisture and surface texture. Wet clay soils are the worst offenders. Their fine particles bond tightly to one another and to almost any surface they touch. The damper the ground, the stronger that grip becomes.
The condition of your blade plays a significant role, too. A rough, rusty, or scratched surface gives dirt countless tiny grooves to grab onto. Smooth, polished metal offers far less. Older shovels with pitted blades tend to collect mud much faster than well-maintained ones. Once you understand these two factors—moisture and texture—the solutions start to make a lot more sense.
Does the Type of Shovel Actually Matter for Sticky Soil?
Yes, and more than most people realize. Stainless steel blades resist rust naturally and have a smoother surface finish, which makes them noticeably better at shedding wet soil. Carbon steel is tough and handles heavy digging well, but it rusts more easily and needs consistent care to stay slick.
Blade shape also plays a role. A pointed digging shovel cuts into the ground cleanly. A wide, flat blade can trap more soil along its surface. If you regularly work in clay-heavy ground, a quality stainless steel shovel may save you significant frustration before you reach for a single hack.
7 Step-by-step Guidelines on How to Keep Dirt From Sticking to Shovel
Step 1: Clean Your Shovel Thoroughly
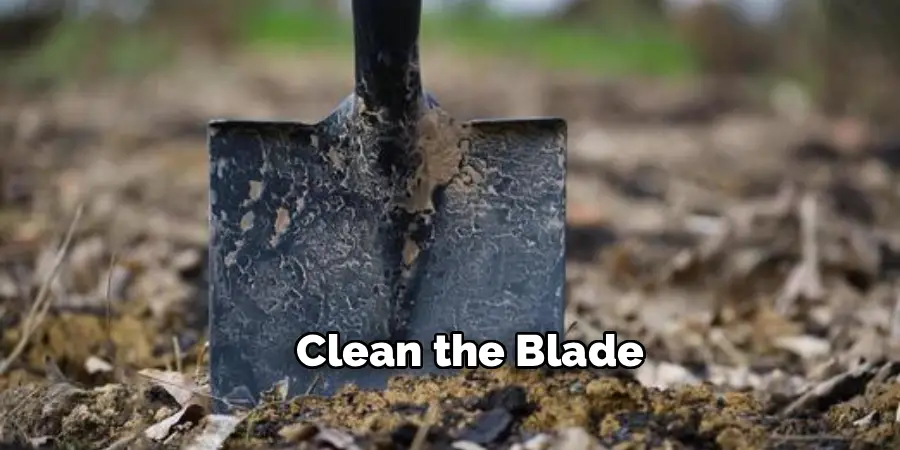
Start with a clean blade. Dried mud left on the surface creates a rough texture that fresh soil loves to cling to. After every use, rinse your shovel with a hose and scrub away stubborn clumps with a stiff brush.
For caked-on grime, soak the blade in warm, soapy water for a few minutes before scrubbing. Dry the blade completely afterward—stored damp, metal rusts faster than most people expect. Skip this step, and even the best lubricants will struggle to perform.

Step 2: Remove Rust From the Blade
Rust may be the single biggest reason dirt sticks. Its flaky, pitted surface acts like sandpaper, trapping soil with every dig. Check your blade regularly and tackle any rust spots before they spread.
Sandpaper, a wire brush, or steel wool will handle most surface rust. For heavier buildup, a vinegar soak—or a dedicated rust-removal product—can strip it back to bare metal. Once the blade is clean and smooth again, it’s ready for a protective coating. Removing rust also appears to extend shovel life considerably, which makes the effort worthwhile on its own.
Step 3: Sand the Blade Smooth
Even after cleaning and removing rust, small scratches and rough patches may remain—and those are exactly what dirt grabs onto. A quick sanding session addresses this.
Work over the entire blade surface with medium-grit sandpaper, then finish with a fine grit for a polished feel. Pay particular attention to the edges and tip, where soil tends to accumulate most. The smoother the metal, the less surface area dirt has to bond with. This small step makes a noticeable difference the very next time you dig.
Step 4: Apply a Protective Lubricant
A thin coating of lubricant creates a slick barrier between the metal and the soil, so dirt slides off rather than sticking. Several options work well depending on what you have available—car wax, silicone spray, and cooking oil all do the job.
Wipe a light, even layer across the clean blade and let it set. Avoid applying too much. A thick, greasy coating actually attracts grime rather than repelling it. Reapply whenever you notice dirt starting to build up again, typically every few uses.
Step 5: Spray Before Every Dig
For tough jobs in wet, clay-heavy soil, a quick pre-dig spray adds a useful extra layer of protection. A light mist of silicone spray—or even non-stick cooking spray—on the blade before you start can make a real difference.
This creates a temporary slick surface that helps soil release on contact. Keep a small can in your shed or toolbox so it’s always within reach. Many gardeners rely on this habit through spring and after rain, when the ground is at its stickiest. A five-second spray can save several minutes of scraping later.
Step 6: Keep the Blade Wet While Working
A wet blade resists sticky soil better than a dry one—a simple fact that’s easy to overlook. Keeping a bucket of water nearby lets you dip the blade between scoops, washing away buildup before it has a chance to harden.
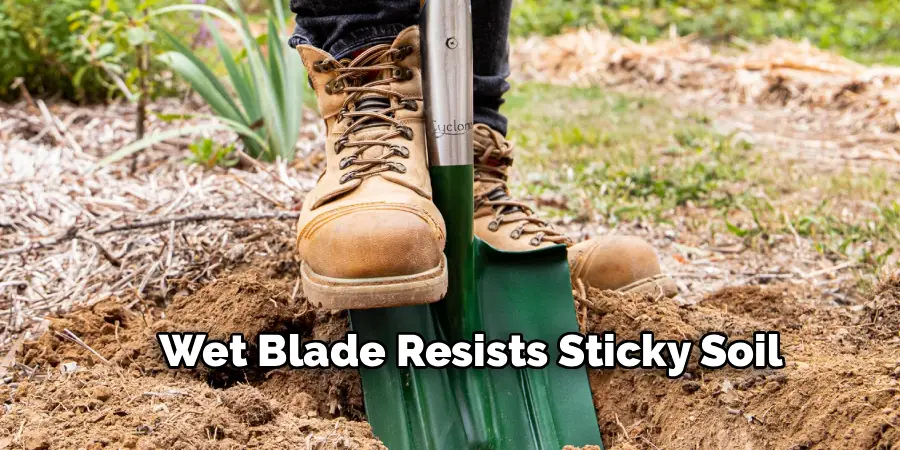
This approach works especially well in clay soil. The thin film of water acts as a barrier, much like a lubricant does. Dunk the blade every few digs, and soil slides off more easily. It requires nothing more than a bucket and a few extra seconds per scoop.
Step 7: Store Your Shovel Properly
What you do after digging matters as much as your prep work. Always clean and dry your shovel before putting it away. Storing a dirty, damp blade invites rust and leaves hardened clumps that cause sticking next time.
Hang your shovel in a dry shed or garage rather than leaving it on damp ground. For long-term storage, a final coat of oil keeps the blade protected through the off-season. Treat your shovel well between uses, and it will reward you with smoother, less frustrating digging for years to come.
Following these steps on how to keep dirt from sticking to shovel, you can extend its lifespan and save money in the long run.
Common Mistakes That Undo Your Hard Work
Even with the best intentions, a few habits can quietly work against you. Leaving dirt on the blade after use is the biggest culprit—dried mud creates exactly the rough surface that new soil grabs onto. Applying too much lubricant is another common misstep, since a thick, greasy layer attracts grime rather than repelling it.
Ignoring early rust spots lets them spread and roughen the blade faster than most people expect. Storing your shovel outdoors or directly on bare ground exposes it to moisture that accelerates corrosion. None of these are difficult to fix—but they do need to be on your radar.
DIY Anti-Stick Shovel Hacks Worth Trying
You don’t need specialist products to keep your shovel clean. Automotive paste wax, buffed onto the blade, creates a long-lasting slick surface. Cooking oil or non-stick cooking spray offers a quick, cheap fix for wet digging days. Some gardeners rub a bar of paraffin wax or an old candle across the blade for a smooth, water-resistant finish—an approach that’s oddly satisfying and genuinely effective.
Adding a small amount of dish soap to your water bucket may help soil slide off more easily. For stubborn clay, a quick wipe with a silicone cloth between digs keeps the blade slick without interrupting your workflow. Experiment with a few of these to find what suits your soil type best.
When to Replace Your Shovel?
Even the best-maintained shovel reaches its limit eventually. If the blade is deeply pitted with rust that won’t sand away, it will keep collecting dirt regardless of how much you clean it. A bent or cracked blade reduces digging efficiency and can make sticking worse. Loose or splintered handles are a safety concern and a sign the tool is past its prime.

Pay attention to performance. If you’re spending more time scraping and repairing than digging, a new, quality shovel could be the more cost-effective choice. A fresh stainless steel blade often pays for itself in saved time and effort within a single season.
Frequently Asked Questions
Why Does Dirt Stick to My Shovel So Much?
Dirt sticks mainly due to moisture and a rough blade surface. Wet, clay-heavy soils bond tightly to metal, and dampness strengthens that grip considerably. A rusty or scratched blade gives soil plenty of grooves to grab onto. Keeping your blade smooth, clean, and lightly coated with lubricant can dramatically reduce buildup during digging.
What Can I Spray on a Shovel to Keep Dirt From Sticking?
Silicone spray and non-stick cooking spray both work well, creating a temporary barrier that helps soil slide off the blade. For longer-lasting protection, car wax or a thin layer of cooking oil also does the job. Apply a light, even coat to a clean, dry blade and reapply whenever dirt starts to cling again.
Is It Worth Buying a Stainless Steel Shovel?
For most gardeners who dig frequently or work in sticky clay soil, yes—stainless steel appears to be worth the investment. It resists rust and has a naturally smoother surface, giving dirt far less to grab onto. The upfront cost is higher than that of carbon steel, but the reduced maintenance and longer lifespan tend to make it a practical long-term choice.
Keep Digging the Easy Way
A sticky shovel doesn’t have to slow you down. By understanding why dirt clings—and following these seven steps—you can significantly change your digging experience. Clean the blade, remove rust, sand it smooth, apply a light lubricant, and store it properly. Add a few DIY hacks and a habit of regular care, and your shovel will move through soil with far less resistance.
Start simple: give your shovel a good clean and a light coat of lubricant before your next project. Your back, your time, and your garden will all notice the difference. Thanks for reading this guide on how to keep dirt from sticking to shovel.

About
Outdoor Fixes is a distinguished figure in the world of Diy design, with a decade of expertise creating innovative and sustainable Diy solutions.
His professional focus lies in merging traditional craftsmanship with modern manufacturing techniques,
fostering designs that are both practical and environmentally conscious. As the author of diy,
outdoorfixes delves into the art and science of outdoorfixes-making, inspiring artisans and industry professionals alike.
Education RMIT University
(Melbourne, Australia) Associate Degree in Design (Outdoor Fixes) Focus on sustainable design, industry-driven projects,
and practical craftsmanship. Gained hands-on experience with traditional and digital manufacturing tools, such as CAD and CNC software.
Nottingham Trent University
(United Kingdom) Bachelor’s in outdoorfixes.com and Product Design (Honors) Specialized in product design with a focus on blending creativity with production
techniques. Participated in industry projects, working with companies like John Lewis and Vitsoe to gain real-world insights.
Publications and Impact
In diy, Outdoor Fixes his insights on indoor design processes, materials, and strategies for efficient production.
His writing bridges the gap between artisan knowledge and modern industry needs, making it a must-read for both budding designers and seasoned professionals.