
Not Everyone Wants
To Reach for Herbicides
A wood fence adds privacy, boosts curb appeal, and keeps pets and kids safely in your yard. Learning how to put a wood fence up might feel like a big job at first, but with the right plan and a little patience, it becomes a satisfying weekend project you can absolutely handle.
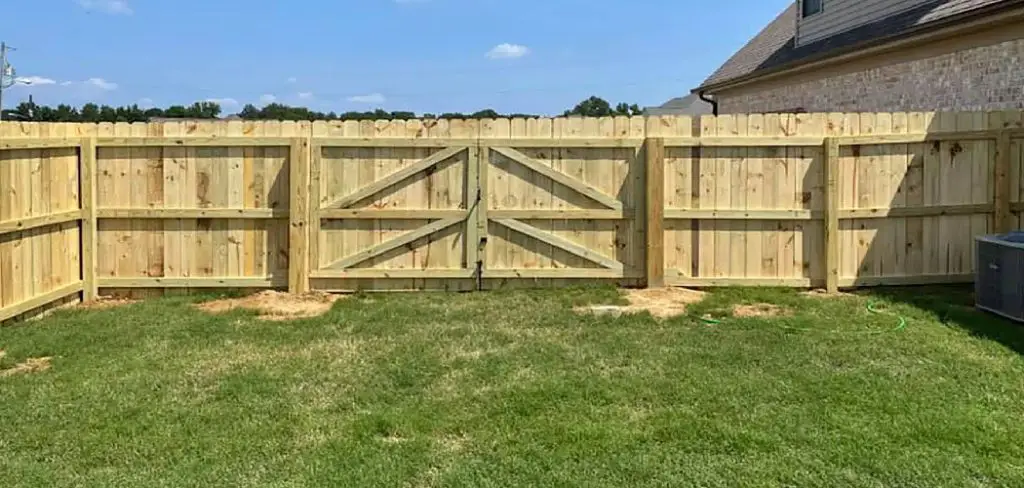
This guide walks you through every part of the process, from marking your property line to attaching the final picket. You do not need years of carpentry experience to get great results. You just need the right tools, clear steps, and a willingness to take your time.
Why does this matter? A well-built fence can last 15 to 20 years, protect your property, and even raise your home’s value. Doing it yourself also saves a serious chunk of money on labor. Whether you are fencing a small garden or your entire backyard, the basics stay the same. Let’s break it all down so you feel confident from the first post to the last board.
Why Installing a Wood Fence Matters
A wood fence does far more than mark where your yard ends. It creates a private space where you can relax without prying eyes, and it keeps children and pets contained safely. Wood also blends naturally into outdoor settings, giving your home a warm, classic look that vinyl or chain link rarely match.
There are practical perks too. A solid fence can reduce noise from busy streets, block wind, and add a layer of security against unwanted visitors. Many homeowners find that a fresh fence increases property value and makes a home more appealing to buyers. Best of all, wood is affordable, easy to customize, and simple to repair when a board cracks or fades over the years.
Step-by-Step Guide to How To Put a Wood Fence Up
Step 1: Plan and Check Your Property Line
Before you dig a single hole, confirm exactly where your property line sits. Pull up your property survey or contact your local records office to avoid building on a neighbor’s land. Many disputes start because someone guessed instead of measuring. Take the time to get this right and you will save yourself headaches later.
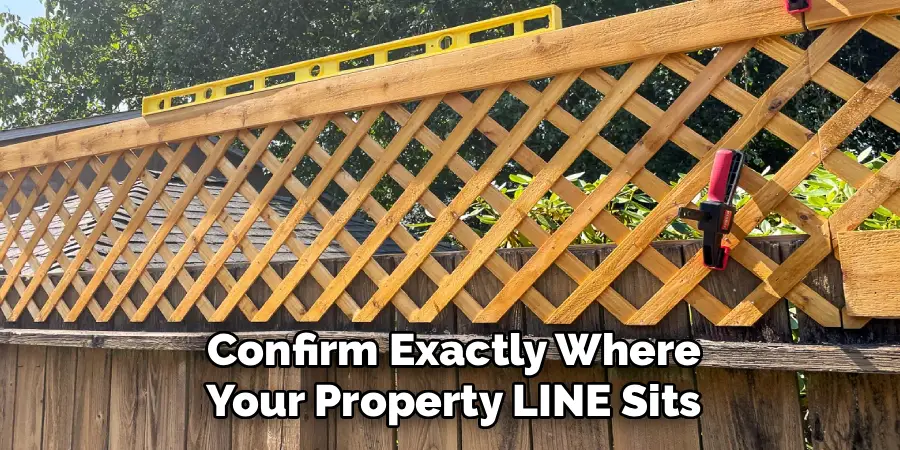
Next, call your local utility company to mark buried gas, water, and electric lines. In most areas this service is free, and it keeps you safe while digging. Then sketch a simple plan of your fence layout, noting the total length, gate locations, and where corners will fall. A clear plan now makes every other step smoother.
Step 2: Gather Tools and Materials
Good preparation means fewer trips to the hardware store. For lumber, choose pressure-treated wood or naturally rot-resistant species like cedar or redwood. You will need posts, rails, pickets, concrete mix, galvanized screws or nails, and gravel for drainage at the post bases.
For tools, gather a post hole digger or power auger, a level, a tape measure, string line, a circular saw, and a drill. Safety gear matters too, so grab gloves and eye protection. Lay everything out before you begin so nothing slows you down mid-project. Buying about ten percent extra lumber covers mistakes and warped boards, which are common in any batch.
Step 3: Mark Post Locations
Accurate spacing keeps your fence straight and strong. Start by driving a stake at each corner of your planned fence line. Tie a taut string between the stakes to create a clear guide. This string becomes your reference for every post, so make sure it sits level and tight.
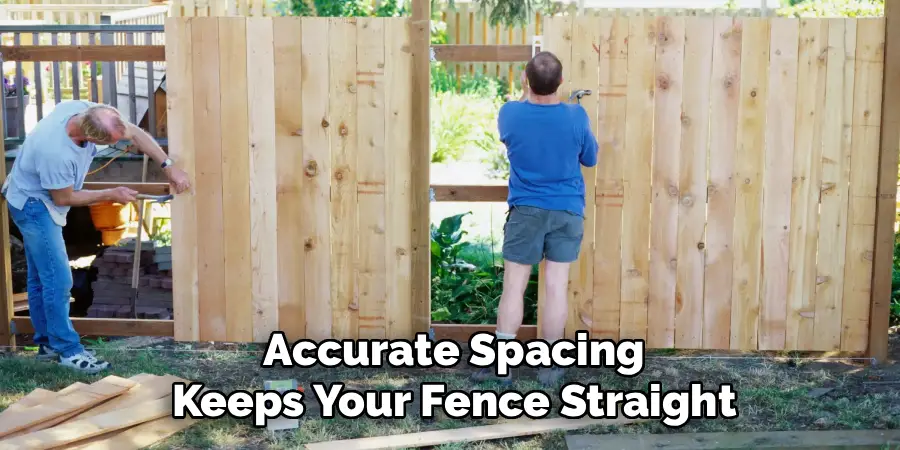
Standard post spacing runs between six and eight feet on center, depending on your panel size. Walk the string line and mark each post spot with spray paint or a small stake. Double-check your measurements before moving on, because a single misplaced post throws off the entire run. Patience here pays off when your boards line up perfectly later.
Step 4: Dig the Post Holes
Now the real labor begins. Dig each hole roughly one-third as deep as the post is tall, plus a few extra inches for gravel. For a standard six-foot fence, that usually means a hole around two feet deep. A power auger speeds this up dramatically if you have many holes to dig.
Make each hole about three times wider than the post for a stable concrete base. Add four to six inches of gravel at the bottom of every hole to help water drain away from the wood. Good drainage slows rot and helps your posts last for years. Knowing how to put a wood fence up correctly really starts with solid, well-set posts that will not shift.
Step 5: Set and Secure the Posts
Place a post in the first hole and use your level to make sure it stands perfectly straight on all sides. Brace it with scrap wood stakes so it stays put while the concrete cures. Pour fast-setting concrete mix into the hole and add water according to the bag instructions.
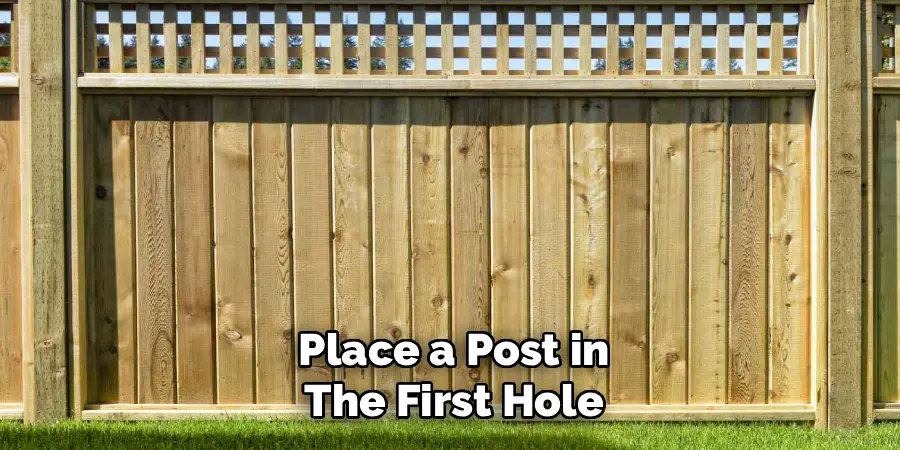
Check the level again right after pouring, since posts can shift while the concrete is wet. Work through each post the same way, always rechecking against your string line. Most concrete sets within a few hours, but give it 24 to 48 hours to fully cure before attaching anything heavy. Rushing this step risks crooked posts that ruin the whole project.
Step 6: Attach the Rails
With your posts firmly set, it is time to connect them with horizontal rails. Most fences use two rails for shorter heights and three rails for taller ones. Measure and cut each rail to fit snugly between posts, then attach them with galvanized screws or metal brackets for extra strength.
Keep your rails level as you go, using a spacer block to maintain even gaps. The top rail usually sits a few inches below the post tops, while the bottom rail stays high enough to avoid ground moisture. This framework carries the weight of your pickets, so secure each connection firmly. Solid rails are the backbone of any sturdy fence.
Step 7: Install the Pickets
The final step brings your fence to life. Starting at one end, hold each picket against the rails and check that it stands plumb with your level. Fasten the top and bottom with two screws each, keeping consistent spacing between boards if you want a gapped look.
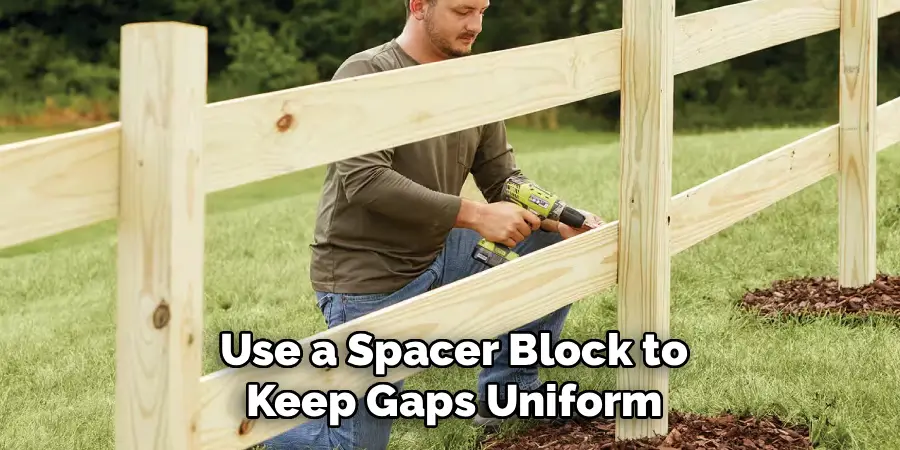
Use a spacer block to keep gaps uniform, which gives the finished fence a clean, professional appearance. Continue down the line, checking your level every few boards. Once every picket is up, you can add post caps, trim, or a coat of stain for protection. Now you understand how to put a wood fence up from start to finish, and the result is a fence built to last.
Frequently Asked Questions
How Long Does It Take To Build a Wood Fence?
Most homeowners finish a standard backyard fence in two to four days, depending on the length and your experience level. Digging holes and setting posts usually takes the first day, while concrete needs time to cure. Attaching rails and pickets often fills the remaining days. Working with a helper speeds things up considerably and makes heavy lifting much easier.
How Deep Should Fence Posts Be?
A good rule is to bury about one-third of the post length underground. For a typical six-foot fence, that means digging holes around two feet deep, plus a few inches for gravel. Deeper holes give better stability, especially in areas with strong winds or loose soil. Always set posts in concrete for the strongest, longest-lasting hold against shifting ground.
Should I Use Concrete for Every Post?
Setting every post in concrete gives the strongest, most durable result, especially for gate posts that bear extra weight and stress. Some builders skip concrete on shorter fences and pack gravel and soil instead. However, concrete resists shifting far better over time. For most yards and climates, concrete is the safest choice and well worth the small added effort and cost.
What Type of Wood Lasts the Longest?
Cedar and redwood naturally resist rot, insects, and decay, making them popular choices for fences. Pressure-treated pine costs less and holds up well when sealed properly. Your local climate matters too, since damp regions demand more rot resistance. Whichever wood you pick, applying a quality stain or sealer every few years dramatically extends its lifespan and keeps it looking fresh.
Do I Need a Permit To Build a Fence?
Many cities and towns require a permit before you build, especially for taller fences. Rules vary widely, so check with your local building department before starting. You may also need to follow height limits or setback distances from property lines. Taking this step early prevents fines and the frustrating possibility of tearing down work you already finished.
Conclusion
Building your own fence is one of the most rewarding home projects you can tackle. By planning carefully, gathering the right tools, and setting your posts straight, you set yourself up for success at every stage. Take your time with each step, double-check your measurements, and never rush the concrete curing process.
Now that you know how to put a wood fence up, you have everything you need to transform your yard with privacy, security, and lasting charm. Gather your materials, mark your line, and start digging this weekend. With patience and the steps above, you will stand back and admire a sturdy, handsome fence that you built yourself, and that you can enjoy for many years to come.

About
Outdoor Fixes is a distinguished figure in the world of Diy design, with a decade of expertise creating innovative and sustainable Diy solutions.
His professional focus lies in merging traditional craftsmanship with modern manufacturing techniques,
fostering designs that are both practical and environmentally conscious. As the author of diy,
outdoorfixes delves into the art and science of outdoorfixes-making, inspiring artisans and industry professionals alike.
Education RMIT University
(Melbourne, Australia) Associate Degree in Design (Outdoor Fixes) Focus on sustainable design, industry-driven projects,
and practical craftsmanship. Gained hands-on experience with traditional and digital manufacturing tools, such as CAD and CNC software.
Nottingham Trent University
(United Kingdom) Bachelor’s in outdoorfixes.com and Product Design (Honors) Specialized in product design with a focus on blending creativity with production
techniques. Participated in industry projects, working with companies like John Lewis and Vitsoe to gain real-world insights.
Publications and Impact
In diy, Outdoor Fixes his insights on indoor design processes, materials, and strategies for efficient production.
His writing bridges the gap between artisan knowledge and modern industry needs, making it a must-read for both budding designers and seasoned professionals.