
A gas fire pit turns any backyard into a cozy gathering spot you can enjoy all year. Unlike wood-burning models, gas versions light instantly, produce no smoke, and need very little cleanup. That makes them a favorite for families, hosts, and anyone who loves relaxing outdoors without the hassle of hauling logs or fanning flames.
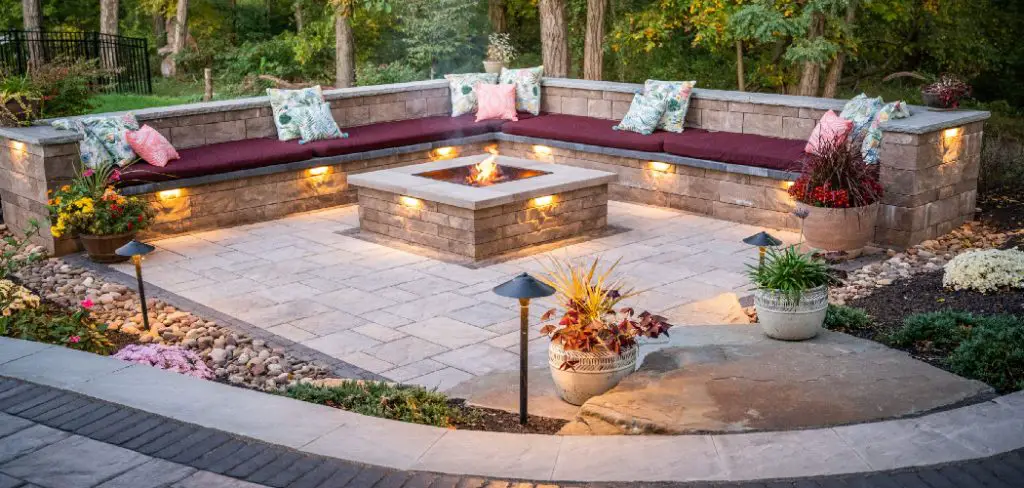
Learning how to make a gas fire pit might sound like a big project, but it breaks down into simple, manageable steps. With a little planning and the right materials, you can build a safe, attractive feature that fits your space and your budget. Whether you want a sleek modern centerpiece or a rustic stone ring, the basics stay the same.
In this guide, we walk you through everything from planning and gathering supplies to connecting your gas line and testing the flame. No prior building experience is required. We keep the language clear, the steps practical, and the safety tips front and center, so you feel confident every step of the way.
Why Making a Gas Fire Pit Matters
A gas fire pit does more than look good. It extends your outdoor season, giving you warmth on cool evenings and a natural place for friends and family to gather. Because it runs on propane or natural gas, you skip the smoke, ash, and constant tending that wood fires demand.
Building your own also saves money compared to hiring a contractor, and it lets you customize the size, shape, and style to match your yard. Safety is another big plus, since a properly built pit includes the right airflow, materials, and shut-off controls. Add in the boost to your property value and the simple joy of flipping a switch for instant ambiance, and the effort clearly pays off.
Step-by-Step Guide to How To Make a Gas Fire Pit
Step 1: Plan Your Design And Location
Start by deciding where your fire pit will live. Choose a flat, open spot at least ten feet from your home, fences, trees, and anything flammable. Check local codes and homeowner rules too, since some areas require permits or set distance limits.
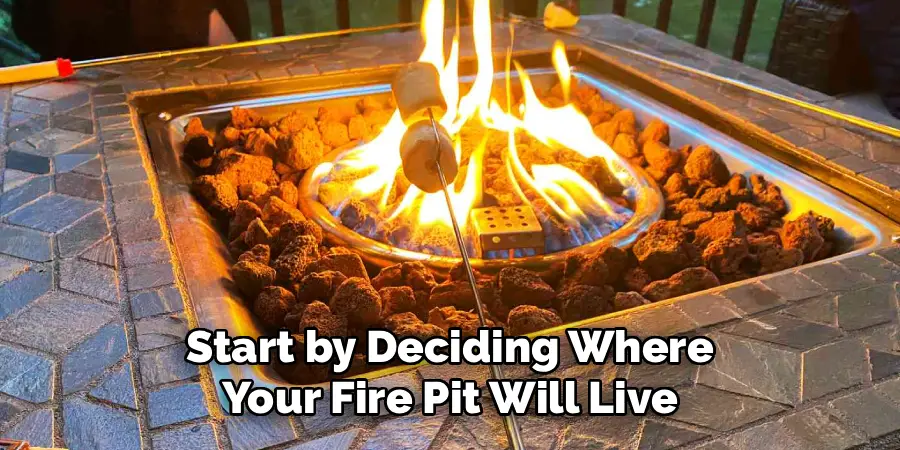
Next, sketch your design. Think about the shape you want, whether round, square, or rectangular, and the size that suits your seating area. Decide between propane, which uses a portable tank, or natural gas, which ties into your home line. This early planning shapes every later decision, so take your time and measure your space carefully before buying a single material.
Step 2: Gather Your Materials And Tools
Once your design is set, make a list of everything you need. For most builds you will want fire-rated bricks or stone blocks, a metal fire pit insert or burner pan, lava rock or fire glass, construction adhesive, and a gas burner kit sized for your pit.
On the tool side, grab a level, tape measure, safety gloves, eye protection, and an adjustable wrench. If you plan to cut stone, a masonry saw or chisel helps. Buying quality, heat-resistant components matters here, because cheaper materials can crack or fail under repeated heat. Lay everything out before you begin so you are not scrambling mid-project for a missing part.
Step 3: Build A Solid Base
A stable, level base keeps your structure safe and lasting. Clear the chosen spot of grass and debris, then dig down a few inches and fill the area with a layer of gravel or paver sand. Tamp it firmly and use your level to confirm the surface sits perfectly flat.
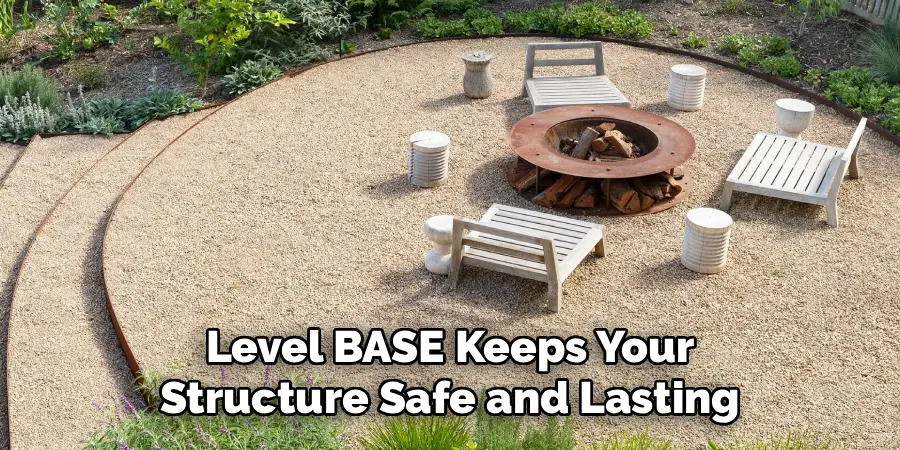
This foundation does two important jobs. It supports the weight of your stone or brick, and it allows water to drain away rather than pool under your pit. Skipping this step often leads to shifting blocks and uneven walls down the road. Spend a little extra time here, because a true, compact base makes every following layer go on cleanly.
Step 4: Knowing a Gas Fire Pit Wall
Now you build the outer structure. Dry-lay your first ring of bricks or blocks without adhesive to check the fit and spacing. Adjust as needed, then apply construction adhesive between each layer as you stack upward to your planned height, usually two or three courses.
Stagger the joints between rows for added strength, much like laying real brick. Use your level often to keep the walls even on all sides. Leave space for a gas burner pan to rest near the top, and remember to add a ventilation gap or air vent near the base. Proper airflow is essential, since trapped gas can be dangerous without it.
Step 5: Install The Burner And Gas Connection
This step deserves your full attention. Place the burner pan inside the top of your structure, making sure it sits level and centered. Connect the burner to your gas source following the kit instructions exactly, whether you are linking a propane tank or tying into a natural gas stub.
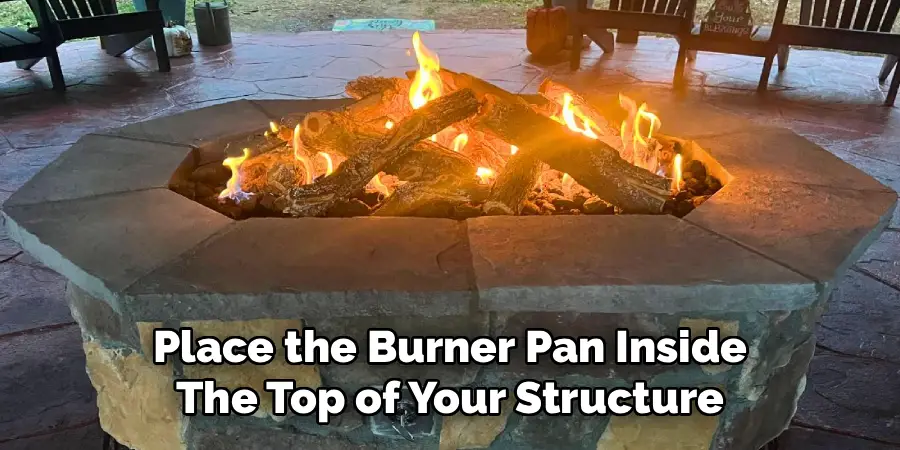
Use thread sealant rated for gas on every fitting and tighten connections with a wrench. If you feel unsure about the gas hookup, hire a licensed professional, because mistakes here carry real risk. Position any shut-off valve where you can reach it easily. Take your time, double-check each joint, and never rush the connections that control the fuel supply.
Step 6: Test For Leaks And First Light
Before lighting anything, test for leaks. Mix dish soap with water, then brush it over every connection. Turn on the gas briefly and watch for bubbles, which signal an escaping leak. If you see any, shut off the gas, tighten the fitting, and test again until the seal holds.
Once everything checks out, you are ready for the first light. Stand to the side, turn on the gas, and use a long lighter or built-in igniter to start the flame. Adjust the flow to get a steady, even burn. Watch how the flame behaves and confirm it spreads evenly across the burner before moving on.
Step 7: Add Media And Finishing Touches
With a working flame, finish the look. Turn off the gas and let everything cool, then spread lava rock or fire glass evenly over the burner pan to hide the hardware and diffuse the flame. Keep the media at the depth the kit recommends, since too much can smother the burner.
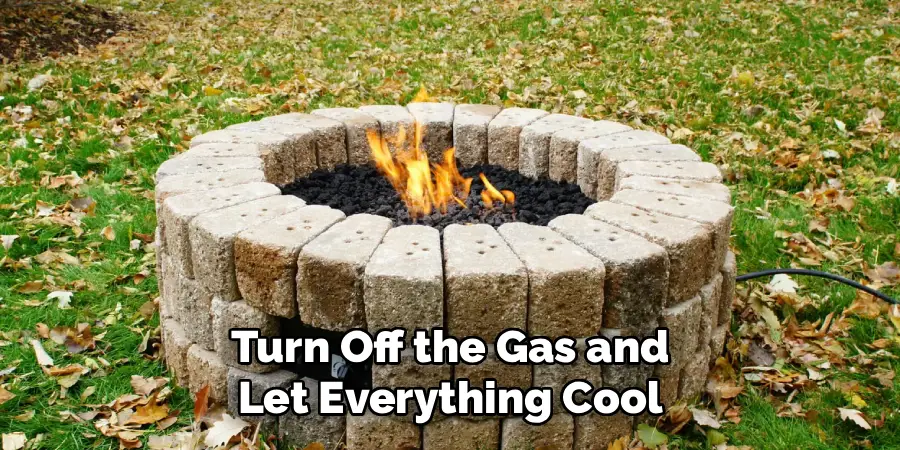
Add final details that suit your style, like a decorative cap on the walls, a protective screen, or comfortable seating around the pit. Cap any exposed edges for a clean, polished finish. Step back, light it once more, and enjoy the glow of a feature you built with your own hands.
Frequently Asked Questions
Is It Cheaper To Build Or Buy A Gas Fire Pit?
Building your own usually costs less than buying a premade unit, especially for larger designs. You control the materials and skip labor fees. A basic do-it-yourself build can run a few hundred dollars, while finished retail models often cost much more. The savings grow when you already own tools and reuse stone or pavers from other projects around your home.
Do I Need A Permit To Build A Gas Fire Pit?
It depends on where you live. Many cities and counties require a permit for permanent gas installations, particularly those tied to a natural gas line. Always check with your local building department before you start. Homeowner associations may also have rules about placement and size. A quick call upfront saves you from fines or having to tear out your finished work later.
What Is The Safest Fuel, Propane Or Natural Gas?
Both are safe when installed correctly. Propane offers portability and easy setup with a refillable tank, making it great for flexible placement. Natural gas connects to your home supply, so you never run out mid-evening, but it needs a fixed line and often professional installation. Choose based on your layout, budget, and how often you plan to move the pit around.
How Far Should A Fire Pit Be From My House?
Keep your fire pit at least ten feet away from your home, fences, trees, and any flammable structures. This clearance reduces fire risk and gives smoke and heat room to disperse. Some local codes require even greater distances, so verify the rules in your area. Also avoid placing it under low branches, awnings, or covered patios where heat can build up dangerously.
Can I Convert A Wood Fire Pit To Gas?
Yes, many wood pits can be converted using a gas burner kit. You install the burner pan inside the existing structure and connect it to a propane tank or gas line. Make sure the pit has proper ventilation and enough room for the hardware. If you are unsure about the gas connection, hire a licensed pro to handle the hookup safely and correctly.
Conclusion
Creating your own backyard centerpiece is far more achievable than it first appears. By planning your location, gathering quality heat-rated materials, building a level base, and carefully handling the gas connection, you set yourself up for a safe and stunning result. The key takeaways are simple. Respect safety distances, test for leaks every time, and never rush the fuel hookup.
Now that you understand how to make a gas fire pit from start to finish, you are ready to bring warmth and atmosphere to your outdoor space. Take it one step at a time, lean on a licensed professional whenever the gas work feels uncertain, and enjoy the process. Grab your materials, clear your spot, and start building the cozy gathering place you have been dreaming about.

About
Outdoor Fixes is a distinguished figure in the world of Diy design, with a decade of expertise creating innovative and sustainable Diy solutions.
His professional focus lies in merging traditional craftsmanship with modern manufacturing techniques,
fostering designs that are both practical and environmentally conscious. As the author of diy,
outdoorfixes delves into the art and science of outdoorfixes-making, inspiring artisans and industry professionals alike.
Education RMIT University
(Melbourne, Australia) Associate Degree in Design (Outdoor Fixes) Focus on sustainable design, industry-driven projects,
and practical craftsmanship. Gained hands-on experience with traditional and digital manufacturing tools, such as CAD and CNC software.
Nottingham Trent University
(United Kingdom) Bachelor’s in outdoorfixes.com and Product Design (Honors) Specialized in product design with a focus on blending creativity with production
techniques. Participated in industry projects, working with companies like John Lewis and Vitsoe to gain real-world insights.
Publications and Impact
In diy, Outdoor Fixes his insights on indoor design processes, materials, and strategies for efficient production.
His writing bridges the gap between artisan knowledge and modern industry needs, making it a must-read for both budding designers and seasoned professionals.