
Lawn chairs are the unsung heroes of summer. They hold us up during backyard barbecues, lazy afternoons, and poolside chats. But over time, those woven or vinyl straps stretch, fray, or snap completely. Suddenly your favorite seat becomes a sagging hazard. The good news is that you do not need to toss the whole chair or call in a pro. Learning how to fix lawn chair straps is a simple, budget-friendly project that almost anyone can tackle at home.

This guide breaks the process down into clear, beginner-friendly steps. You will discover the tools you need, the materials that work best, and the little tricks that make the job feel easy. Whether your chair has a single torn strap or several worn-out ones, we have you covered with practical advice.
By the end, you will feel confident enough to repair your seating and enjoy it for many more seasons. No special skills required, just a bit of patience and the willingness to give it a try. Let us get those chairs back in working order.
Why Fixing Lawn Chair Straps Matters
A broken strap is more than a cosmetic flaw. It affects comfort, safety, and the lifespan of your furniture. Sitting on a chair with frayed or missing straps risks pinching, falls, and damage to the metal frame underneath. Repairing the straps protects both you and your investment.
There is a financial bonus too. Quality lawn chairs can be pricey, and replacing them every season adds up fast. A simple strap repair costs a fraction of buying new furniture, and it keeps usable frames out of the landfill. You save money while reducing waste, which feels great on every level.
Beyond the practical perks, there is real satisfaction in fixing something with your own hands. You gain a handy skill, build confidence, and end up with chairs that feel custom-cared-for and ready for years of use.
Step-by-Step Guide to How To Fix Lawn Chair Straps
Step 1: Gather Your Tools And Materials
before you start, set yourself up for success by collecting everything in one spot. you will want replacement straps, a measuring tape, sharp scissors, a screwdriver or rivet tool, and some clamps to hold things steady. having it all ready means fewer interruptions once you begin.
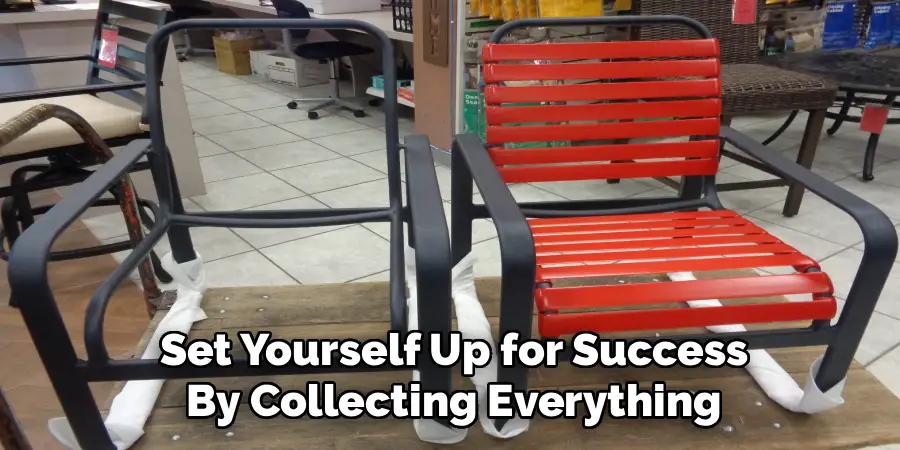
choosing the right straps matters most. vinyl and polyester webbing are popular because they resist sun and water. measure the width of your old strap and match it closely so the new one slides into place without trouble. buying a little extra material is smart, since it gives you room for mistakes and future repairs. with the right supplies on hand, the rest of the job goes much smoother.
Step 2: Remove The Old Straps
start by flipping the chair over or laying it on its side so you can clearly see how the straps attach. most chairs use screws, rivets, or clips at the ends of each strap. take a moment to study the design before you pull anything apart, since this shows you exactly how the new pieces will go back on.
once you understand the setup, carefully unscrew or pry out the fasteners. keep these small parts in a cup or bag so they do not roll away. remove the damaged straps completely and clean any debris from the frame. taking photos with your phone as you go gives you a handy reference for reassembly later, which is a real lifesaver for beginners.
Step 3: Measure And Cut The Replacements
with the old straps removed, use them as templates for your new ones. lay each old strap flat next to your fresh webbing and mark the length with a pen. add about an inch on each end so you have enough material to wrap around the frame and secure it tightly.
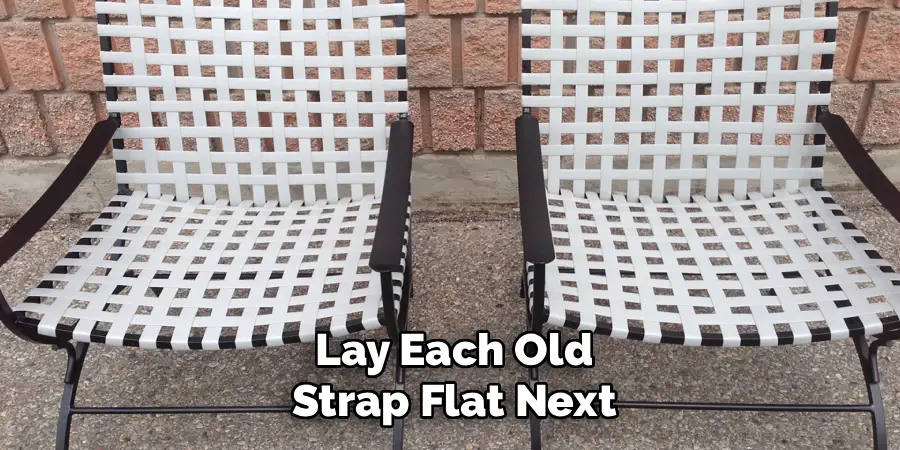
cut along your marks with sharp scissors for a clean edge. frayed cuts can unravel quickly, so a crisp line is worth the effort. if your webbing tends to fray, seal the ends by holding them briefly near a flame until they melt slightly. this simple trick locks the fibers in place and helps your repair last far longer through sun and weather.
Step 4: Wrap Around The Frame
some chairs use straps that loop around a metal bar rather than bolting directly to it. for these, fold the end of your new strap over the frame and line up the holes where the fastener will go. hold it snug so there is no sag, since loose straps sit uncomfortably and wear out faster.
press the folded section firmly and insert a screw or rivet through the layers. tighten it down until the strap feels secure but not warped. repeat this on the opposite end, keeping consistent tension so the seat stays even. checking the tightness as you go ensures a comfortable, supportive fit that holds your weight without stretching out too soon.
Step 5: Attach Straps With Screws Or Rivets
for chairs that fasten straps with hardware, position the new strap end over the mounting hole on the frame. align everything carefully, because crooked straps create an uneven, awkward seat. use a screwdriver to drive screws back into their original spots, or a rivet tool if your chair came riveted.
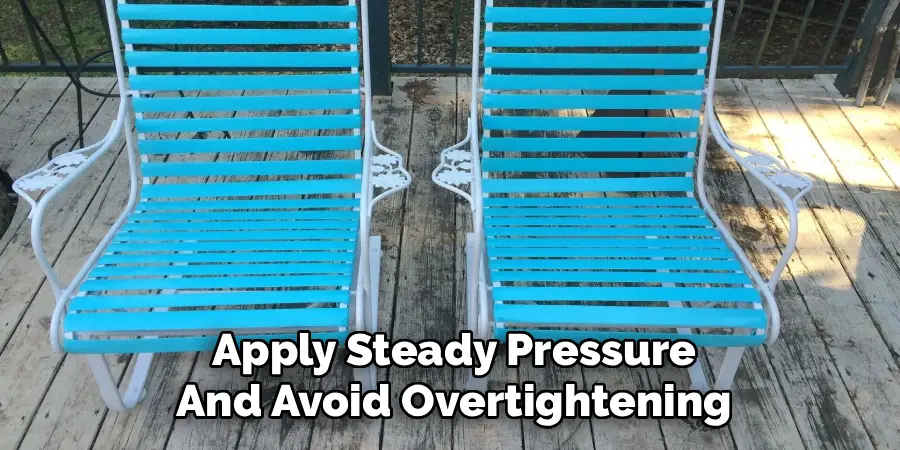
apply steady pressure and avoid overtightening, which can rip the webbing. if the old holes feel stripped, a slightly larger screw or a small washer adds extra grip. work through each strap one at a time, double-checking that the spacing matches the original pattern. consistent placement keeps the chair looking neat and feeling balanced when you finally sit down to test it.
Step 6: The Best Way For Woven In A Pattern
woven chairs feature straps that cross over and under each other for support. to replace these, thread your new strap through the existing pattern exactly as the old one ran. going slowly here prevents mistakes, and following the weave keeps the strength and look of the original design intact.
anchor one end first, then pull the strap through each cross point, keeping it flat and untwisted. a twisted strap weakens the seat and feels lumpy. once woven through, secure the loose end with the same fastener method as the rest. tug gently to confirm the tension matches the surrounding straps. a tidy, even weave gives you a comfortable seat that looks just like new.
Step 7: Test And Adjust For Comfort
with all the straps in place, it is time to check your work before relaxing into the chair. press down on the seat and back with your hands to feel for any loose or uneven sections. straps should have a little give but should not sag dramatically when you apply pressure.
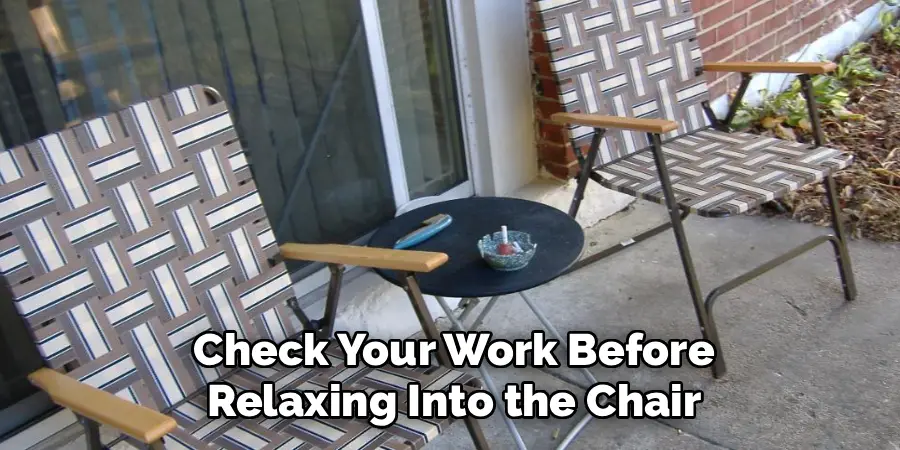
if something feels off, tighten the fasteners or adjust the tension until everything sits evenly. then carefully sit in the chair to test it with your full weight. listen for creaks and watch for shifting straps. make any final tweaks now so the chair feels stable and supportive. once it passes the test, your repair is complete and ready for many comfortable afternoons.
Frequently Asked Questions
What Material Is Best For Replacement Straps?
Vinyl and polyester webbing are the top choices for outdoor furniture. Both resist fading, moisture, and sun damage, which keeps them looking good through harsh weather. Vinyl offers a sleek, easy-to-clean surface, while polyester provides extra strength and flexibility. Match the width and thickness of your original straps for the best fit and a comfortable, long-lasting result.
How Long Does A Strap Repair Usually Take?
Most repairs take between thirty minutes and two hours, depending on how many straps need replacing and the chair’s design. A single strap swap is quick, while a fully rewoven seat takes longer. Gathering your tools first and working at a steady pace helps things move smoothly. Beginners should allow extra time, since rushing often leads to crooked or loose straps.
Can I Repair Straps Without Special Tools?
Yes, many repairs need only basic household items like a screwdriver, scissors, and clamps. Some chairs use simple clips you can swap by hand. A rivet tool helps for riveted models, but you can often replace rivets with small screws and washers instead. With a little creativity, most people manage just fine using tools they already own at home.
Why Do Lawn Chair Straps Wear Out So Fast?
Constant sun exposure, moisture, and body weight all take a toll on straps over time. UV rays break down the material, causing fading and brittleness, while repeated stretching weakens the fibers. Storing chairs indoors during off-seasons and wiping them clean regularly slows this wear. Choosing high-quality, UV-resistant webbing also extends the life of your repair considerably.
How Do I Keep New Straps From Fraying?
Sealing the cut ends is the key trick. Hold each freshly cut end briefly near a small flame until the fibers melt and fuse together. This creates a clean, locked edge that resists unraveling. Be careful not to scorch the material. You can also fold and secure the ends tightly under fasteners, which hides raw edges and adds durability.
Conclusion
Bringing a tired lawn chair back to life is easier than it looks. With a few basic tools, the right replacement webbing, and a little patience, you can restore comfort and safety in under an afternoon. The key takeaways are simple. Gather your supplies, remove the old straps carefully, measure twice, and secure each new strap with even tension for a balanced, supportive seat.
Now that you understand how to fix lawn chair straps, you are ready to rescue your favorite seating instead of replacing it. This handy skill saves money, reduces waste, and gives you a real sense of accomplishment. So grab those worn-out chairs, set up your workspace, and put these steps into action. Your backyard will thank you, and you will enjoy many more relaxing seasons in chairs you fixed with your own two hands.

About
Outdoor Fixes is a distinguished figure in the world of Diy design, with a decade of expertise creating innovative and sustainable Diy solutions.
His professional focus lies in merging traditional craftsmanship with modern manufacturing techniques,
fostering designs that are both practical and environmentally conscious. As the author of diy,
outdoorfixes delves into the art and science of outdoorfixes-making, inspiring artisans and industry professionals alike.
Education RMIT University
(Melbourne, Australia) Associate Degree in Design (Outdoor Fixes) Focus on sustainable design, industry-driven projects,
and practical craftsmanship. Gained hands-on experience with traditional and digital manufacturing tools, such as CAD and CNC software.
Nottingham Trent University
(United Kingdom) Bachelor’s in outdoorfixes.com and Product Design (Honors) Specialized in product design with a focus on blending creativity with production
techniques. Participated in industry projects, working with companies like John Lewis and Vitsoe to gain real-world insights.
Publications and Impact
In diy, Outdoor Fixes his insights on indoor design processes, materials, and strategies for efficient production.
His writing bridges the gap between artisan knowledge and modern industry needs, making it a must-read for both budding designers and seasoned professionals.