
A tired, patchy yard can make even the prettiest home feel a little unfinished. The good news is that learning how to transform your lawn doesn’t require a landscaping degree or a giant budget. With a few smart steps, some patience, and the right approach, you can turn thin grass and bare spots into a thick, green space you’ll actually want to spend time in.

This guide walks you through the whole process, from understanding your soil to keeping your grass healthy long term. Whether you’re a complete beginner or someone who has dabbled with a few bags of seed before, you’ll find clear, friendly advice that meets you exactly where you are. We’ll cover what matters most, why it matters, and how to avoid the common mistakes that leave so many lawns struggling. By the end, you’ll have a simple, practical plan you can start this weekend, building confidence as your yard improves week after week.
Why Transform Your Lawn
A healthy lawn does far more than look nice. It cools the area around your home, filters rainwater, traps dust, and gives kids and pets a safe place to play. A well-kept yard can also lift your property value and make your whole home feel more cared for.
Beyond the practical perks, there’s the simple joy of stepping outside onto soft, green grass. A thriving lawn invites you to relax, host friends, and enjoy your outdoor space instead of avoiding it. Investing a little effort now saves you money later too, since strong grass naturally crowds out weeds and resists drought, pests, and disease. The result is a yard that’s easier to maintain and far more rewarding to own.
Step-by-Step Guide to How to Transform Your Lawn
Step 1: Test and Understand Your Soil
Before you plant a single seed, get to know what’s beneath your feet. Soil that’s too acidic, too alkaline, or low on nutrients will hold back even the best grass. A simple soil test kit from a garden center tells you the pH level and which nutrients are missing.

Once you have results, you can adjust accordingly. Adding lime raises pH, while sulfur lowers it. This step feels small, yet it shapes everything that follows. When you know how to transform your lawn from the ground up, you set the stage for grass that grows thicker, greener, and far more resistant to stress.
Step 2: Clear Weeds and Debris
A fresh start means removing what’s holding your yard back. Pull or treat existing weeds, rake out dead grass, and clear away sticks, stones, and old clippings. Weeds compete with your grass for water, light, and nutrients, so getting rid of them gives new growth room to thrive.
For stubborn patches, a targeted herbicide works well, but always follow the label and wait the recommended time before seeding. Take your time here. A clean, debris-free surface lets seed make direct contact with the soil, which dramatically improves how quickly and evenly your new grass takes root.
Step 3: Loosen Compacted Soil
Hard, compacted soil blocks roots from spreading and stops water from soaking in. Aerating fixes this. A core aerator pulls small plugs of soil from the ground, opening up space for air, moisture, and nutrients to reach the root zone.
For small yards, a manual aerator does the job, while larger spaces benefit from a rented machine. Aim to aerate when the soil is slightly moist but not soggy. After aerating, leave the soil plugs on the surface to break down naturally. This simple step relieves stress on your grass and helps everything you do next work far more effectively.
Step 4: Choose the Right Grass Seed
Not all grass is created equal, and picking the wrong type leads to frustration. Match your seed to your climate, sunlight, and how you plan to use the space. Cool-season grasses like fescue suit cooler regions, while warm-season options like Bermuda thrive in hot areas.
Think about foot traffic too. A family yard needs a durable, hard-wearing blend, while a quiet front garden can handle a finer, more ornamental variety. Reading the label helps you understand sun and shade tolerance. Knowing how to transform your lawn means choosing seed that fits your real conditions rather than guessing.

Step 5: Seed and Fertilize Evenly
Even coverage is the secret to a uniform, gap-free yard. Use a broadcast or drop spreader to scatter seed at the rate listed on the bag. Going too heavy wastes seed and crowds growth, while going too light leaves thin patches.
Right after seeding, apply a starter fertilizer rich in phosphorus to fuel strong root development. Lightly rake the surface so seed settles into the soil rather than sitting on top. This contact is what helps germination succeed. Work in two directions across the yard, which evens out coverage and prevents the stripes that come from a single careless pass.
Step 6: Water Wisely
Watering can make or break your results. Newly seeded areas need consistent moisture, so water lightly two or three times a day until the seed sprouts. Keep the top layer damp but never waterlogged, since pooling can wash seed away.
As grass establishes, shift to deeper, less frequent watering. This trains roots to grow downward, building a stronger, more drought-resistant lawn. Early morning is the best time to water because less moisture evaporates and leaves dry before nightfall, reducing disease risk. Adjust your schedule with the weather, watering less during rainy stretches and more during heat.
Step 7: Mow and Maintain Properly
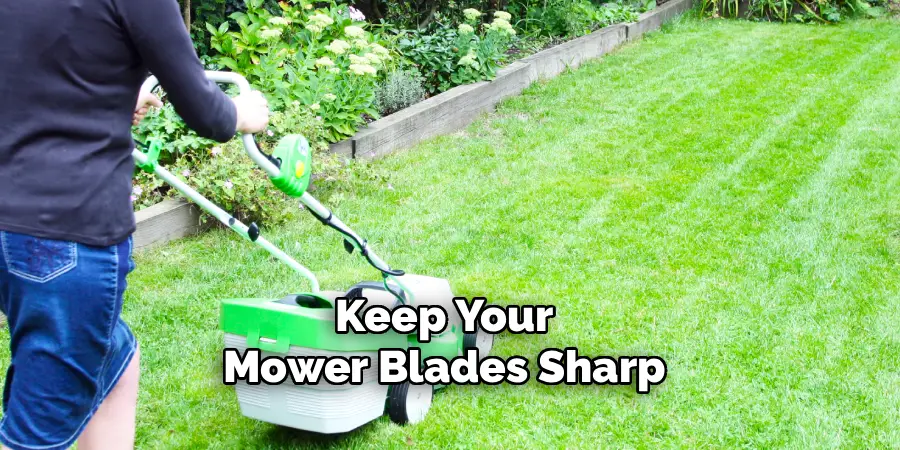
Once your grass reaches about three inches, it’s ready for its first mow. Never cut more than a third of the blade height at once, since scalping stresses the plant and invites weeds. Keep your mower blades sharp for clean cuts that heal quickly.
Ongoing care keeps your hard work paying off. Feed your lawn a few times a year, overseed thin spots each season, and stay alert for pests or disease. Leaving short clippings on the surface returns nutrients to the soil. With steady, simple habits, your yard stays thick, green, and healthy for years to come.
Frequently Asked Questions
How Long Does It Take to See Results?
Most lawns show visible improvement within two to four weeks, as new grass germinates and fills in bare spots. A fully established, thick yard usually takes one full growing season. Patience matters here, since rushing the process often leads to thin coverage. Consistent watering, proper mowing, and seasonal feeding all speed things along and help your results last much longer.
What’s the Best Season to Start?
Timing depends on your grass type. Cool-season grasses do best when planted in early fall or spring, when temperatures are mild and moisture is steady. Warm-season grasses prefer late spring through early summer, once the soil has warmed. Starting in the right window gives seed ideal conditions to germinate and root before harsh heat or cold arrives, which improves your overall success dramatically.
Can I Fix My Lawn Without Removing the Old Grass?
Yes, in many cases you can. If your existing grass is mostly healthy with a few thin areas, overseeding works well. Simply aerate, spread fresh seed over the current lawn, and keep it watered. Full removal is only necessary when weeds, disease, or dead patches dominate the space. Overseeding is cheaper, easier, and perfect for refreshing a yard that just needs a boost.
How Often Should I Water a New Lawn?
Fresh seed needs light, frequent watering, usually two or three short sessions each day to keep the top layer of soil moist. Avoid soaking the ground, since standing water can wash seed away or cause rot. Once grass establishes after a few weeks, switch to deeper watering two or three times per week. This builds stronger roots and a more resilient, drought-tolerant yard.
Do I Really Need to Test My Soil First?
While you can skip it, testing your soil is one of the smartest moves you can make. It reveals pH levels and nutrient gaps that quietly hold your grass back. Without that knowledge, you might fertilize incorrectly or waste money on products your lawn doesn’t need. A simple test costs little, takes minutes, and helps every other step work far more effectively.

Conclusion
A lush, healthy yard is well within your reach, even if you’re starting from scratch. By testing your soil, clearing weeds, aerating, choosing the right seed, and watering and mowing with care, you build a foundation that pays off season after season. Each step is simple on its own, and together they add up to real, lasting change.
Remember that knowing how to transform your lawn is really about steady, thoughtful habits rather than expensive shortcuts. Start with one step this weekend, then build from there as your confidence grows. Your future self will thank you every time you step outside onto soft, green grass. So grab that soil test, pick up some seed, and get ready to enjoy the yard you’ve always wanted.

About
Outdoor Fixes is a distinguished figure in the world of Diy design, with a decade of expertise creating innovative and sustainable Diy solutions.
His professional focus lies in merging traditional craftsmanship with modern manufacturing techniques,
fostering designs that are both practical and environmentally conscious. As the author of diy,
outdoorfixes delves into the art and science of outdoorfixes-making, inspiring artisans and industry professionals alike.
Education RMIT University
(Melbourne, Australia) Associate Degree in Design (Outdoor Fixes) Focus on sustainable design, industry-driven projects,
and practical craftsmanship. Gained hands-on experience with traditional and digital manufacturing tools, such as CAD and CNC software.
Nottingham Trent University
(United Kingdom) Bachelor’s in outdoorfixes.com and Product Design (Honors) Specialized in product design with a focus on blending creativity with production
techniques. Participated in industry projects, working with companies like John Lewis and Vitsoe to gain real-world insights.
Publications and Impact
In diy, Outdoor Fixes his insights on indoor design processes, materials, and strategies for efficient production.
His writing bridges the gap between artisan knowledge and modern industry needs, making it a must-read for both budding designers and seasoned professionals.