
You’re walking barefoot across the yard, enjoying a warm evening, and then it happens. A sharp little stone digs into your heel and stops you mid-step.
Or maybe it’s the mower that tips you off. That sudden clatter as the blade flings rocks across the grass, and you wince, wondering what just got chipped.
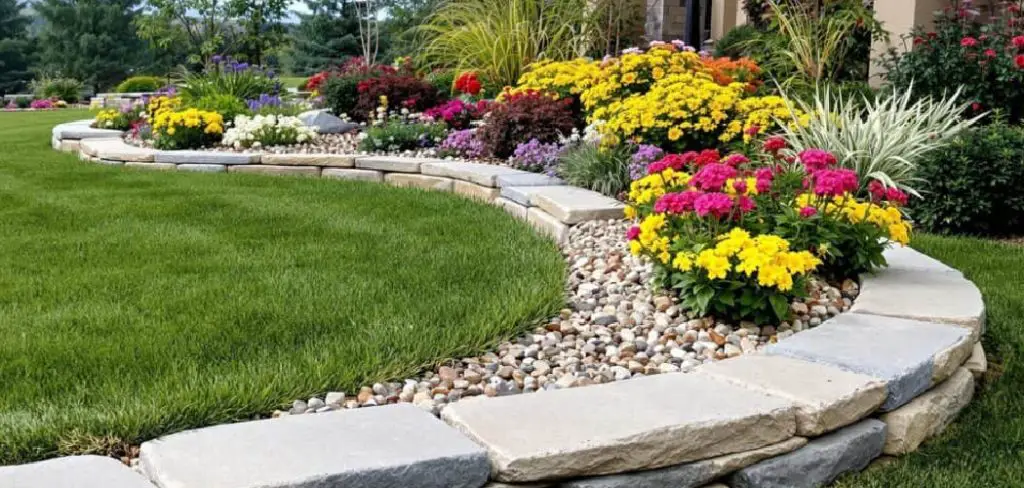
A stony lawn is one of those quiet nuisances that wears on you over time. The good news, though, is that it’s entirely fixable. Learning how to remove small stones from lawn takes some patience and a little elbow grease, but it’s well within reach for anyone.
This guide walks you through the whole thing. We’ll cover why stones surface in the first place, the tools you’ll want, how to choose between manual and mechanical methods, a clear step-by-step process, and how to keep the rocks from creeping back.
Why Small Stones Appear in Your Lawn
Before you start picking and raking, it helps to understand where these stones come from. They don’t surface for no reason, and knowing the cause shapes how you tackle them.
Soil Heaving and Frost Cycles
In colder climates, the ground does a slow shuffle every year. As soil freezes and thaws, it expands and contracts, gradually pushing buried stones upward toward the surface.
It’s a patient process you never actually see. One spring you simply notice rocks that weren’t there the year before, nudged up by the freeze-thaw cycle below.
Erosion and Heavy Rain
Water plays its part too. Heavy rain washes away the lighter topsoil, leaving behind the stones that were hidden just beneath it.
Over a few seasons, this can expose a surprising number of rocks. Sloped areas tend to suffer most, since runoff strips the soil there fastest.
Construction and Fill Soil
If your home is newer, the culprit may date back to the build. Leftover gravel and rocky fill from construction often end up buried just under the grass.
That fill works its way up over time. It’s frustrating, but it explains why some yards seem to grow an endless supply of stones.
Natural Stony Subsoil
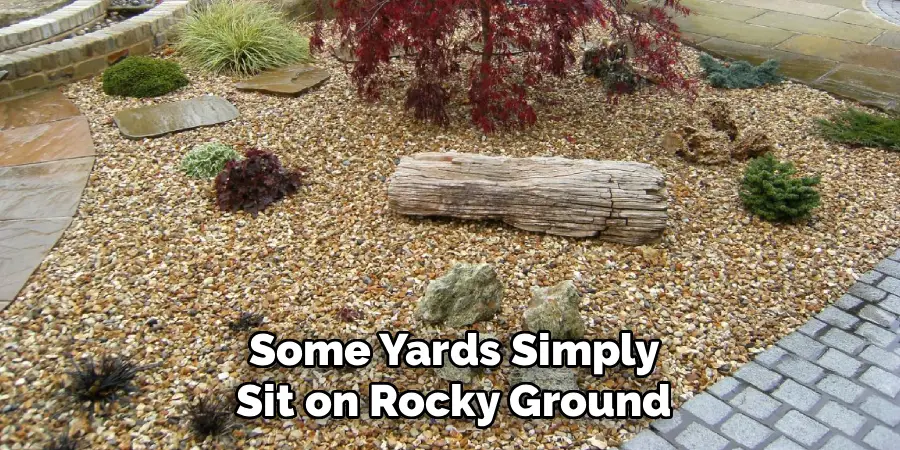
Some yards simply sit on rocky ground. The subsoil itself is full of stones, and it keeps feeding them to the surface no matter what you do.
This doesn’t mean you’re stuck, though. It just means prevention matters more for you, which we’ll get to later.
Why Removing Stones Matters
You might wonder whether a few rocks are worth the trouble. They tend to cause more problems than people expect, so clearing them genuinely pays off.
Protecting Your Mower and Tools
Stones are hard on equipment. They dull and nick mower blades, chip your gear, and can turn into dangerous projectiles when the blade catches them.
A flung rock can crack a window or hurt someone nearby. Clearing the stones protects both your tools and the people in the yard.
Keeping the Lawn Safe to Walk On
A smooth lawn just feels better underfoot. Stones make barefoot walking unpleasant and can cause stubbed toes or the odd trip.
For families with kids running around, this matters even more. A stone-free yard is simply a safer place to play.
Helping Grass Grow Evenly
Rocks crowd out roots and create an uneven surface. Clearing them gives your grass room to spread and settle into a smoother, healthier bed.
The lawn often thickens up once the stones are gone. Roots that were fighting for space suddenly have room to breathe.
Tools and Materials You Will Need
You won’t need a shed full of gear for this. A modest kit handles most jobs, and you may already own a good portion of it.
Rakes for Surface Clearing
A rake does the bulk of the early work. A sturdy landscape rake pulls loose stones up from the top layer, while a finer garden rake helps gather the smaller bits.
Both have their place. The landscape rake works hard on the rough passes, and the finer one tidies up afterward.
Stone Pickers and Screening Tools
For separating rocks from soil, screening tools earn their keep. A garden sieve or a homemade soil screen lets you shake the dirt loose while keeping the stones behind.
Handheld stone pickers help too, especially for the larger rocks. They save your back from constant bending on a big job.
Rollers and Mechanical Helpers
When the area is large or heavily stony, machines speed things along. A lawn roller, a tow-behind rock picker, or a power rake can clear ground far faster than hands alone.
These aren’t necessary for small patches. But for a sizable yard, they may suggest the difference between an afternoon and a whole weekend.
Lawn Repair Supplies
Once the stones are out, you’ll have gaps to fill. Keep topsoil, grass seed, and a little fertilizer on hand to heal the spots you clear.
Having these ready beforehand keeps the project moving. There’s nothing worse than finishing the hard part only to leave bare soil exposed.
Manual vs. Mechanical Stone Removal
There’s no single right way to do this. The best approach depends on your yard’s size and how stony it really is.
When Hand Removal Works Best
For a small yard or a light scattering of stones, your hands and a rake are plenty. Manual removal is cheap, precise, and gentle on the surrounding grass.
It does take time and effort, of course. But for most ordinary lawns, hand-picking and raking get the job done nicely.
When to Use Mechanical Tools
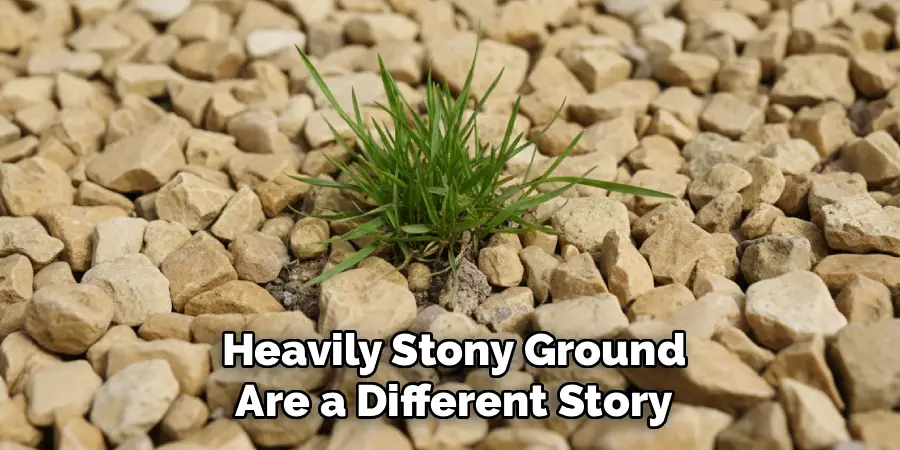
Large lawns or heavily stony ground are a different story. Power rakes, rollers, and tow-behind pickers shine when you’re covering a lot of space.
These tools cut the labor dramatically. When digging by hand would take days, a machine handles it in hours.
Weighing Effort, Cost, and Time
A few factors should guide your choice. The size of the problem, your budget, and how much time you can spare all weigh in.
Renting a machine costs money but saves your back. A small patch rarely justifies that, while an acre of rocky ground almost certainly does.
How to Remove Small Stones from Lawn: Step-by-Step Guide
This is the part you came for. Work through each step in order, take your time, and don’t rush the cleanup. I’ve laid it out as though I were working right beside you in the yard.
Step 1: Survey the Lawn and Mark Problem Areas
Start by walking the whole yard and noting where the stones gather most. Flag the worst patches with a few markers so you can focus your energy efficiently.
This quick survey saves effort later. Tackling the heaviest spots first tends to give you the most visible progress for your work.
Step 2: Mow the Grass Short First
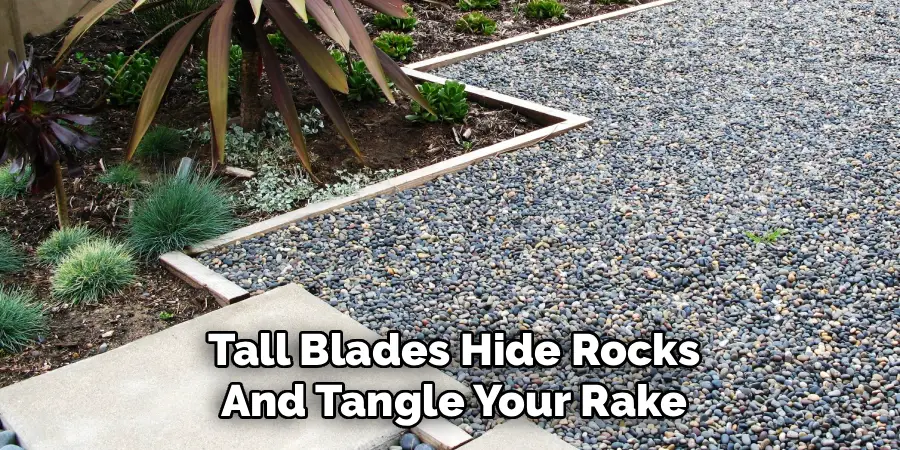
Before you rake, cut the lawn lower than usual. Short grass exposes the stones, making them far easier to spot and gather.
Tall blades hide rocks and tangle your rake. A close mow clears the way and turns the whole job into something more manageable.
Step 3: Rake the Surface Stones Loose
Now work a landscape rake across the lawn in steady, overlapping passes. Pull the loose stones up toward the surface and gather them into small piles.
Take your time with this. Several patient passes lift more than one rushed sweep, and the piles make collection simpler down the line.
Step 4: Hand-Pick the Larger Stones
Move along your raked rows and collect the bigger rocks by hand. Drop them into a bucket or wheelbarrow as you go.
It’s repetitive, but oddly satisfying. Each stone in the bucket is one less waiting to jam your mower or jab your foot.
Step 5: Screen or Sieve Stubborn Patches
For the rockiest spots, bring in a sieve or soil screen. Lift the loose soil into it, shake out the dirt, and keep the stones behind.
This method clears patches that raking alone can’t fix. It’s slower, sure, but it pulls out the smaller stones hiding in the soil.
Step 6: Use a Roller or Power Rake for Large Areas
On bigger lawns, let machines take over. A lawn roller or power rake lifts and gathers scattered stones across wide sections quickly.
This step is optional for small yards. For a large, stony expanse, though, it spares you a great deal of bending and hauling.
Step 7: Collect and Dispose of the Stones
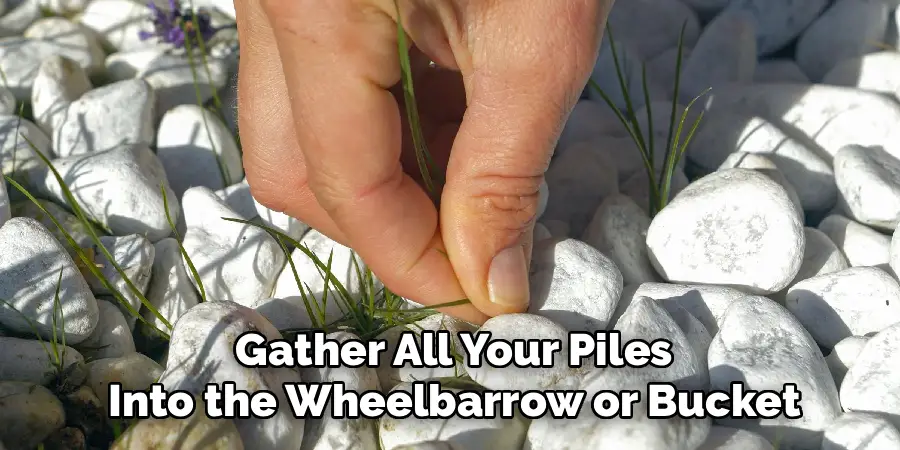
Gather all your piles into the wheelbarrow or bucket. Then bag the rocks for disposal, or repurpose them for garden paths, borders, or drainage projects.
Reusing them feels good. Those stones that plagued your lawn can edge a flower bed or fill a low spot somewhere useful.
Step 8: Inspect, Level, and Repeat as Needed
Finally, walk the lawn once more with fresh eyes. Smooth out any uneven ground, and rework the spots where stones still surface.
A second pass often catches what the first missed. Persistence here gives you the cleanest, most even result.
Clearing Stones from Different Lawn Situations
The general process holds, but the details shift depending on the yard in front of you. Matching your approach to the situation saves time and frustration.
New Lawns and Freshly Tilled Soil
If you’re starting fresh, screen the soil before you seed. Running it through a sieve removes stones most efficiently, right when access is easiest.
This is the ideal moment to be thorough. Clearing rocks now spares you the trouble of fighting them through established grass later.
Established Lawns With Surface Stones
For a lawn that’s already grown in, go gentle. Light raking and patient hand-picking clear the rocks without tearing up healthy turf.
The trick is restraint. Aggressive raking pulls out grass along with the stones, so a softer touch protects what you’ve already got.
Heavily Compacted or Rocky Ground
When the soil is hard and packed, loosen it first. Aerating the ground brings buried stones within easier reach and helps your grass breathe too.
Compacted soil hides its stones stubbornly. A pass with an aerator tends to make the whole removal job far less of a fight.
Repairing Your Lawn After Removing Stones
Pulling out the rocks is only half the work. Restoring a smooth, green surface is the rewarding part, and it keeps the lawn healthy afterward.
Filling and Leveling Bare Spots
Removing stones leaves dips and holes. Fill these with quality topsoil and level them out so the surface sits even and ready for new growth.
Smooth, level ground is the goal. It welcomes fresh seed and keeps the finished lawn from looking lumpy.
Seeding or Patching Thin Areas
Now sow grass seed into the bare patches, matching it to your existing turf. A good match means the repair blends in rather than standing out.
Mismatched grass looks almost as off as the stones did. Choosing the right seed keeps everything seamless once it fills in.
Watering and Feeding for Recovery
Fresh seed needs steady moisture and a little nourishment. Water gently and consistently, and a starter fertilizer helps the disturbed areas bounce back fast.
Patience here pays off. Well-tended repairs grow in thick, hiding any sign that stones were ever there.
Common Mistakes to Avoid
A few errors can turn this job into wasted effort. Knowing them ahead of time keeps you from learning the hard way.
Raking Too Aggressively
Heavy, careless raking tears out healthy grass along with the stones. You end up trading one problem for a patchy, damaged lawn.
Use steady, moderate pressure instead. The rake should lift the stones, not strip the turf down to bare dirt.
Skipping the Repair Step
Leaving bare patches open invites trouble. Exposed soil welcomes weeds and erodes easily, undoing the work you just put in.
Always fill and seed the gaps. A quick repair protects the lawn and keeps new problems from taking root.
Ignoring the Source of the Stones
Clearing the surface without addressing the cause is a temporary fix. If the stones keep surfacing from rocky subsoil or erosion, they’ll simply return.
Think about prevention alongside removal. Tackling the source tends to save you from repeating this whole job next year.
How to Prevent Stones from Returning
The best cleanup is the one you don’t have to repeat. A few proactive habits keep stones from working their way back up.
Topdressing With Quality Soil
A layer of fresh topsoil covers stony ground and builds a healthier surface above it. Spread over the lawn, it gives roots better footing and buries minor rocks.
This is a gentle, ongoing defense. Each topdressing improves the soil and pushes the stone problem a little further down.
Building a Thick, Healthy Lawn
Dense grass holds the soil in place and slows new stones from surfacing. Strong roots knit the ground together, resisting the erosion that exposes rocks.
Regular feeding and good care pay off here. A robust lawn is your quiet, long-term insurance against a stony comeback.
Managing Drainage and Erosion
Fixing runoff keeps water from stripping your topsoil. Address low spots and poor drainage, so rain stops washing rocks back into view.
Erosion is often the hidden source of surface stones. Get the water under control, and you may see fewer rocks for seasons to come.
Final Thoughts
Learning how to remove small stones from lawn turns out to be a practical, satisfying skill that transforms a rocky, uncomfortable yard into a smooth, safe space. It takes some effort, but the result is well worth it.
You surveyed the yard. You raked, picked, and screened those stubborn stones away, then filled the gaps and watched fresh grass settle into place.
That quiet victory, walking barefoot across a clean lawn without a single sharp surprise, is genuinely rewarding. Keep up with topdressing, build a thick lawn, and stay on top of drainage to keep the rocks at bay.
So trust the confidence you’re building. The next time you spot a stone working its way up through the grass, you’ll meet it with a plan instead of a sigh.

About
Outdoor Fixes is a distinguished figure in the world of Diy design, with a decade of expertise creating innovative and sustainable Diy solutions.
His professional focus lies in merging traditional craftsmanship with modern manufacturing techniques,
fostering designs that are both practical and environmentally conscious. As the author of diy,
outdoorfixes delves into the art and science of outdoorfixes-making, inspiring artisans and industry professionals alike.
Education RMIT University
(Melbourne, Australia) Associate Degree in Design (Outdoor Fixes) Focus on sustainable design, industry-driven projects,
and practical craftsmanship. Gained hands-on experience with traditional and digital manufacturing tools, such as CAD and CNC software.
Nottingham Trent University
(United Kingdom) Bachelor’s in outdoorfixes.com and Product Design (Honors) Specialized in product design with a focus on blending creativity with production
techniques. Participated in industry projects, working with companies like John Lewis and Vitsoe to gain real-world insights.
Publications and Impact
In diy, Outdoor Fixes his insights on indoor design processes, materials, and strategies for efficient production.
His writing bridges the gap between artisan knowledge and modern industry needs, making it a must-read for both budding designers and seasoned professionals.