
A torn or sagging screen on your patio door can turn a relaxing summer evening into a battle with bugs and a real eyesore on your home. The good news is that fixing it is far easier than most people expect, and you do not need to call a professional or buy a whole new door frame. Learning how to replace screen on patio door is a simple weekend project that almost anyone can handle with a few basic tools and a little patience.
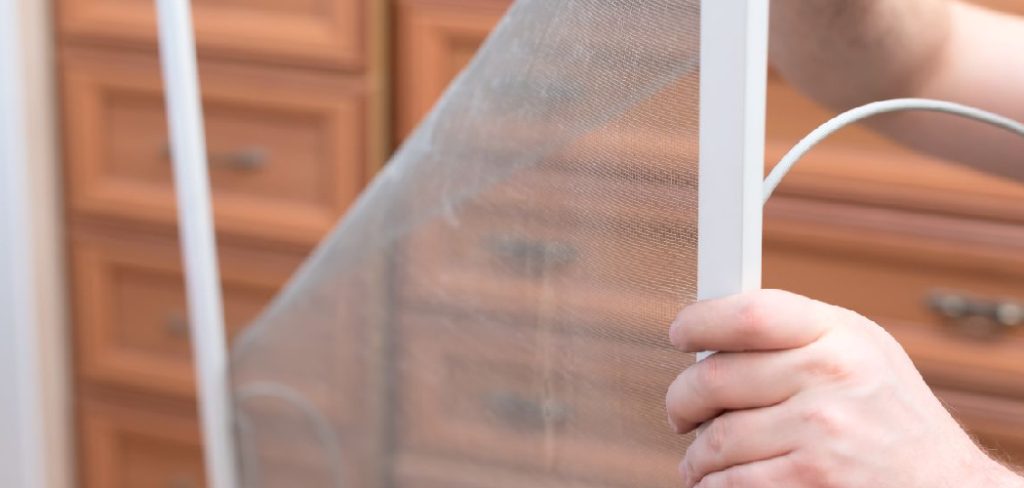
In this guide, you will discover exactly what the job involves and why it matters for both comfort and curb appeal. We will walk through every stage in clear, beginner-friendly language so you feel confident from start to finish. Whether your mesh is ripped, stretched, or just looking tired, you can bring your door back to life in under an hour. No prior repair experience is needed, just a willingness to follow along step by step and enjoy the satisfying results.
Why Replacing Your Patio Door Screen Matters
A healthy screen does more than keep mosquitoes and flies outside. It protects your indoor space, improves airflow, and keeps your home looking well cared for. When the mesh is damaged, insects sneak in, pets can push through weak spots, and that fresh breeze you love brings dust and debris along with it.
Replacing the screen also saves you money. A small repair now prevents bigger problems later, like a bent frame or a door that no longer slides smoothly. Fresh mesh restores a clean, crisp appearance that boosts the overall feel of your room. Best of all, doing it yourself builds confidence and gives you a skill you can reuse on windows and other screens around the house, year after year.
Step-by-Step Guide to How To Replace Screen on Patio Door
Step 1: Gather Your Tools and Materials
Before you begin, set yourself up for success by collecting everything in one place. You will want a roll of replacement screen mesh, a new spline cord, a spline roller tool, a flathead screwdriver, a utility knife, and a pair of scissors. Having these ready means you never have to pause mid-task with your hands full.
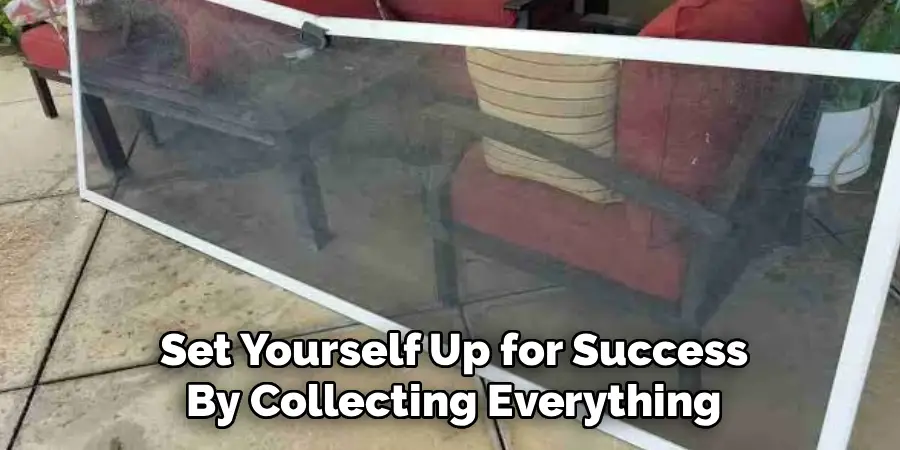
Measure your door frame first so you buy enough mesh, adding a few extra inches on each side for a comfortable margin. Choose a mesh type that suits your needs, such as standard fiberglass for everyday use or a pet-resistant weave for busy households. A little preparation here keeps the whole process smooth and stress free from the very start.
Step 2: Remove the Screen Door From Its Track
Start by lifting the screen door out of its track so you can work on a flat, stable surface. Most patio screen doors lift up and then swing out at the bottom, releasing easily from the rollers. If it feels stuck, check for small adjustment screws at the bottom and loosen them slightly to lower the wheels.
Once free, carry the door to a clean table, workbench, or even a flat patch of floor. Lay it down on a soft towel or blanket so you do not scratch the frame. Working flat gives you full control and makes the next steps far easier than trying to wrestle the mesh while the door hangs in place.
Step 3: Removing Old Mesh
With the door lying flat, find the spline, which is the flexible rubber cord pressed into the groove around the frame. Use a flathead screwdriver or the pointed end of your spline tool to pry up one corner of this cord. Once you lift a section, you can pull the rest of the spline out by hand with a steady, even motion.
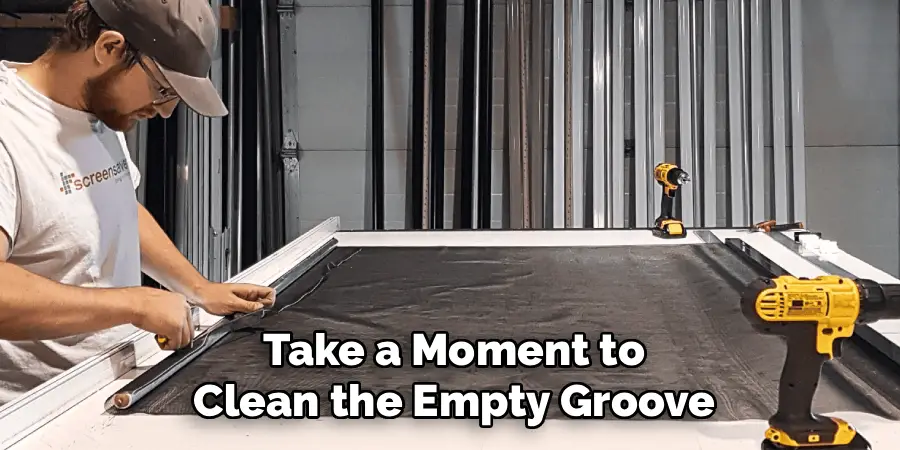
After the spline comes loose, the old mesh will lift right off. Take a moment to clean the empty groove, wiping away dirt, old rubber bits, and dust. A clear, clean channel helps the new spline seat firmly later and gives your repair a professional, long-lasting finish.
Step 4: Cut and Position the New Mesh
Roll your fresh screen mesh over the frame and trim it so it overlaps every edge by at least an inch. This extra material gives you something to hold and adjust as you work, and you can trim it neatly later. Lay the mesh flat and smooth, making sure the weave runs straight and even across the opening.
Try not to pull the mesh tight at this stage. Instead, let it rest gently over the frame with a slight bit of slack. The rolling and splining process in the next steps will naturally tension the screen, and starting too tight often leads to puckering or a warped, uneven surface once you finish.
Step 5: Press the New Spline Into the Groove
Now grab your spline roller, the small tool with a wheel on each end. Place a fresh length of spline cord over one corner of the groove and use the concave wheel to press it gently into the channel. Work slowly along one side at a time, guiding the mesh down into the groove as the spline locks it in place.
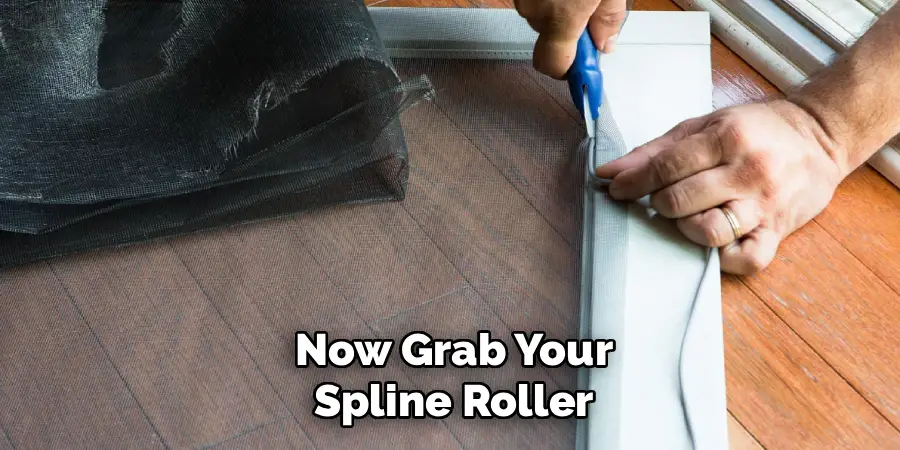
Keep light, steady pressure and smooth out any wrinkles as you go. If the mesh starts to pull in at the corners, ease off and reposition it. Patience pays off here, because a careful, even roll creates a flat, drum-tight screen that looks clean and stays secure for years of daily use.
Step 6: Trim the Excess Mesh
Once the spline is fully seated all the way around the frame, you can remove the extra material. Take your utility knife and run the blade along the outer edge of the spline, angling it slightly outward so you do not nick the new screen. Move slowly and let the sharp blade do the work rather than forcing it.
Aim for a clean line that follows the spline channel closely. If you find any loose threads or rough spots, trim them with scissors for a tidy finish. Step back and inspect your work, checking that the mesh sits smooth and tight with no sagging corners or visible gaps along the edges.
Step 7: Reinstall the Door and Test It
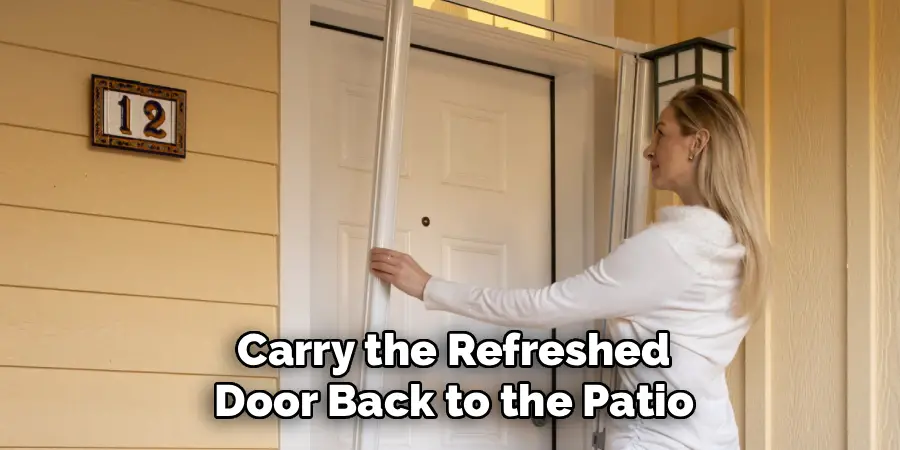
You are almost done. Carry the refreshed door back to the patio and guide the top rollers into the upper track first, then swing the bottom into place. Lift gently and let the wheels settle onto the lower track. If the door sits too high or too low, adjust the roller screws until it glides smoothly.
Slide the door open and closed a few times to confirm it moves freely without catching. Run your hand lightly across the new mesh to check the tension and look for any loose edges. When everything feels firm and the door rolls with ease, your repair is complete and ready to keep bugs out all season.
Frequently Asked Questions
What Tools Do I Really Need for This Job?
You only need a handful of affordable items to get started. A spline roller tool, a utility knife, a flathead screwdriver, and scissors cover the basics, along with new mesh and spline cord. Most of these cost just a few dollars at any hardware store. Having the right tools on hand makes the work faster, cleaner, and far less frustrating for beginners.
How Do I Choose the Right Type of Screen Mesh?
The best mesh depends on your household and climate. Standard fiberglass works well for most homes because it is easy to install and budget friendly. If you have pets or kids, a heavy-duty or pet-resistant mesh resists tears much better. For sunny rooms, solar screen mesh reduces glare and heat. Think about your daily needs before buying to get the most lasting value.
How Long Does the Whole Repair Take?
Most people finish in thirty minutes to an hour, especially after their first attempt. Gathering tools and measuring takes a few minutes, while removing the old mesh and rolling in the new spline makes up most of the work. If you take your time and smooth out wrinkles carefully, you will get a cleaner result without adding much extra time to the project.
Why Does My New Screen Look Wrinkled or Loose?
Wrinkles usually happen when the mesh is pulled too tight or unevenly before splining, or when it shifts during rolling. The fix is simple, just lift the spline back out, reposition the mesh with gentle, even slack, and roll it in again slowly. Working one side at a time and smoothing as you go gives you that flat, drum-tight finish every time.
Can I Reuse the Old Spline Cord?
It is best to use fresh spline rather than reusing the old cord. Over time, the rubber dries out, shrinks, and loses its grip, which can let the mesh pop loose. New spline is inexpensive and ensures a snug, secure hold around the entire frame. Spending a little on a fresh roll protects all your hard work and helps the repair last far longer.
Conclusion
Bringing your patio screen back to life is a rewarding project that anyone can master with the right approach. The key takeaways are simple. Gather your tools first, work on a flat surface, remove the old mesh and spline cleanly, then roll in fresh mesh with patience for a smooth, tight finish. Each step builds on the last, so taking your time pays off with professional results.
Now that you know how to replace screen on patio door, you have a handy skill that saves money and keeps your home comfortable all year. Do not let a torn screen invite bugs and dust inside any longer. Grab your supplies, set aside an hour this weekend, and put these steps into action. You will be amazed at how quickly your door looks and works like new again.

About
Outdoor Fixes is a distinguished figure in the world of Diy design, with a decade of expertise creating innovative and sustainable Diy solutions.
His professional focus lies in merging traditional craftsmanship with modern manufacturing techniques,
fostering designs that are both practical and environmentally conscious. As the author of diy,
outdoorfixes delves into the art and science of outdoorfixes-making, inspiring artisans and industry professionals alike.
Education RMIT University
(Melbourne, Australia) Associate Degree in Design (Outdoor Fixes) Focus on sustainable design, industry-driven projects,
and practical craftsmanship. Gained hands-on experience with traditional and digital manufacturing tools, such as CAD and CNC software.
Nottingham Trent University
(United Kingdom) Bachelor’s in outdoorfixes.com and Product Design (Honors) Specialized in product design with a focus on blending creativity with production
techniques. Participated in industry projects, working with companies like John Lewis and Vitsoe to gain real-world insights.
Publications and Impact
In diy, Outdoor Fixes his insights on indoor design processes, materials, and strategies for efficient production.
His writing bridges the gap between artisan knowledge and modern industry needs, making it a must-read for both budding designers and seasoned professionals.