
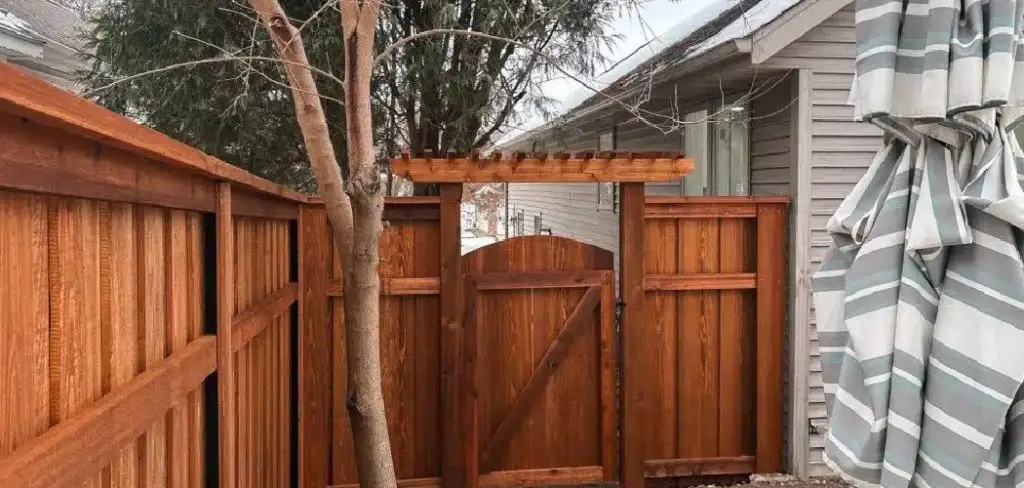
Wooden lattice adds charm to any outdoor space, from porch skirting to garden trellises and privacy screens. But raw or weathered lattice can fade, crack, and lose its appeal fast when left exposed to sun and rain. That is where staining comes in. Learning how to stain lattice protects the wood while bringing out its natural beauty, and the good news is that this project is beginner-friendly. You do not need fancy tools or years of woodworking experience to get great results.
In this guide, we will walk you through everything step by step, using clear language and practical tips you can follow at any skill level. Whether you are refreshing an old fence panel or finishing a brand-new installation, a quality stain job makes your lattice last longer and look sharper. We will cover preparation, the right products, application techniques, and answers to common questions. By the end, you will feel confident tackling the job yourself and saving money on professional labor. Let us get started.
Why Staining Lattice Matters
Staining your lattice is about more than looks, though the visual upgrade is real. Stain seals the wood and shields it from moisture, which is the biggest cause of rot and warping in outdoor structures. It also blocks harmful UV rays that bleach and dry out the surface over time.
A good stain job extends the life of your lattice by years, saving you the cost and hassle of early replacement. It resists mold, mildew, and insect damage too. Beyond protection, stain lets the natural grain shine through, giving your space a warm, finished appearance. Compared to paint, stain is easier to maintain and rarely peels or flakes. With minimal effort, you gain lasting durability and curb appeal that boosts your whole property.
Step-by-Step Guide to How to Stain Lattice
Step 1: Gather Your Tools and Materials
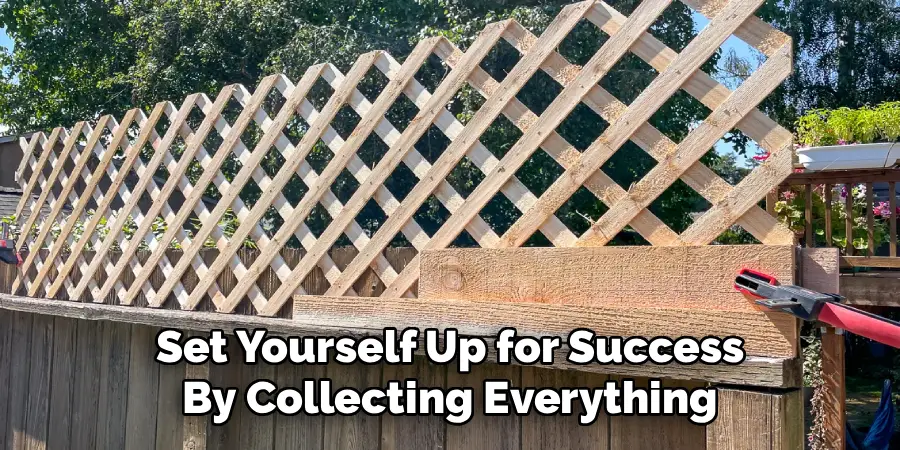
Before you begin, set yourself up for success by collecting everything you need in one spot. You will want a quality exterior wood stain, a brush or sprayer, painter’s tape, a drop cloth, sandpaper, and a clean cloth. Gloves and safety glasses are smart additions too.
Choosing the right stain matters. Oil-based options soak deep and last long, while water-based stains dry faster and clean up easily. Pick a shade that complements your home and outdoor decor. Having all your supplies ready means you can work smoothly without stopping midway, which keeps your finish even and professional-looking.
Step 2: Clean the Lattice Thoroughly
A clean surface is the foundation of a flawless finish. Dirt, dust, cobwebs, and old residue stop stain from absorbing properly, leading to blotchy results. Start by brushing away loose debris with a stiff brush or broom.
For deeper cleaning, mix mild soap with water or use a dedicated wood cleaner, then scrub the lattice gently. If you spot mold or mildew, a diluted bleach solution works well. Rinse everything with a garden hose and let the wood dry completely, which can take a full day or longer. Patience here pays off because trapped moisture ruins adhesion and causes peeling later.
Step 3: Sand Rough Spots and Splinters
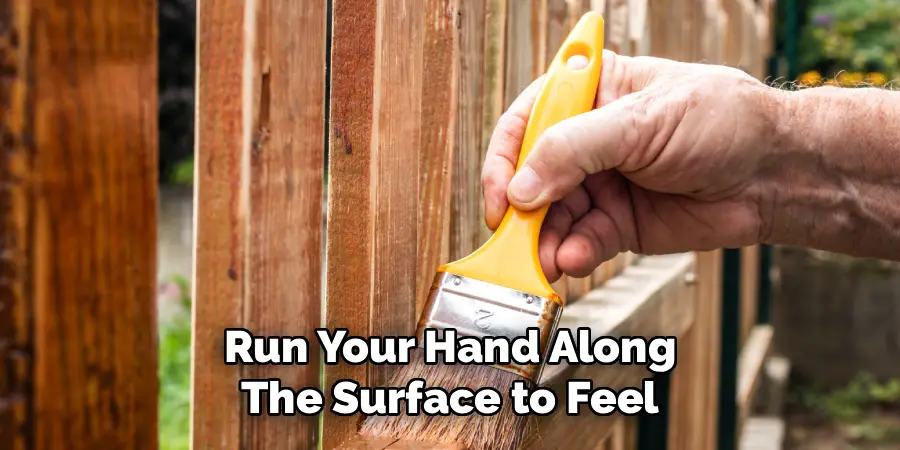
Once your lattice is dry, run your hand along the surface to feel for rough patches, splinters, and raised grain. These trouble spots prevent stain from sitting evenly and can snag your brush. A quick sanding smooths things out beautifully.
Use medium-grit sandpaper, around 120 grit, and work gently along the wood grain rather than against it. Pay extra attention to corners and joints where wear shows most. After sanding, wipe away all the dust with a tack cloth or slightly damp rag. A smooth, clean surface helps the stain glide on and bond tightly, giving you that polished, expert finish you are after.
Step 4: Protect Surrounding Surfaces
Lattice has many small openings, which means stain can easily reach areas you want to keep clean. Taking a few minutes to mask off nearby surfaces saves you a major cleanup headache later. This step is especially helpful for beginners learning how to stain lattice for the first time.
Lay a drop cloth or old sheet beneath your work area to catch drips. Use painter’s tape to cover adjacent walls, posts, railings, or concrete. If your lattice is attached to a structure, shield the connecting points carefully. A little prep here protects your home and lets you apply stain freely without worrying about messy splatter.
Step 5: Apply the First Coat of Stain
Now for the fun part. Stir your stain well before starting, since pigments settle at the bottom of the can. Avoid shaking it, which creates bubbles that mar your finish. Dip your brush lightly and apply in long, even strokes that follow the grain.
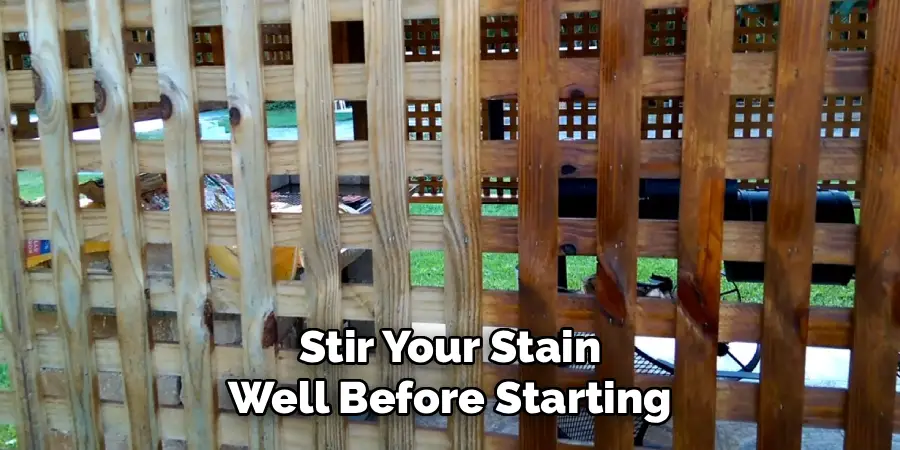
Lattice is tricky because of its crisscross pattern, so a smaller brush or a sprayer helps reach the tight angles and inner edges. Work in sections and avoid overloading any spot, since drips and pooling lead to uneven color. Take your time covering both the front and back surfaces for full, lasting protection that looks great from every angle.
Step 6: Let It Dry and Add a Second Coat
Drying time is where many beginners rush, but giving the wood proper time to cure is essential. Check your stain can for the recommended drying window, which usually ranges from two to four hours, though humidity can extend it. The surface should feel dry to the touch before you continue.
A second coat deepens the color and strengthens protection, so it is worth the extra effort. Knowing how to stain lattice well means understanding that two thin coats outperform one thick layer every time. Apply the second coat the same way as the first, following the grain and keeping your strokes smooth and consistent throughout.
Step 7: Inspect, Touch Up, and Seal
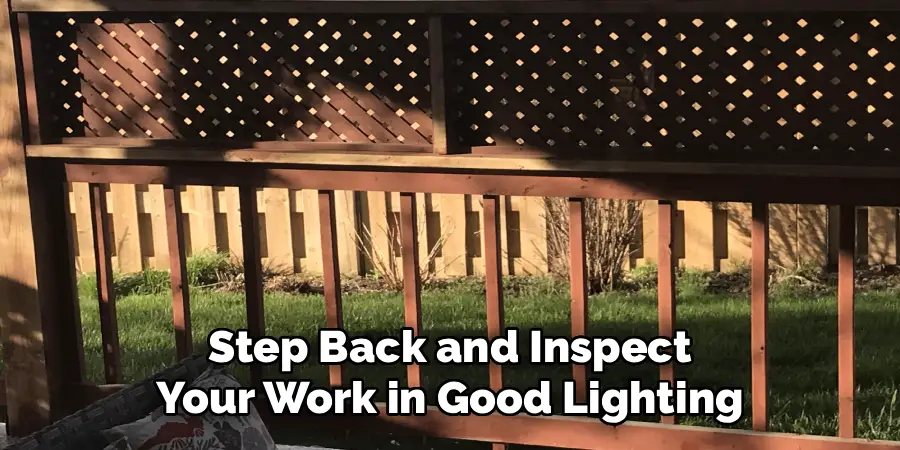
After your final coat dries, step back and inspect your work in good lighting. Look for missed spots, thin areas, or drips you may have overlooked. The crisscross design hides gaps easily, so check from multiple angles and touch up as needed with a small brush.
For added durability, consider applying a clear exterior sealant once the stain fully cures. This extra layer locks in color and boosts resistance to weather and UV damage. Carefully remove your painter’s tape while the surface is still slightly tacky to get crisp edges. Then let everything cure fully before exposing it to heavy use or rain.
Frequently Asked Questions
What Is the Best Type of Stain for Outdoor Lattice?
For outdoor lattice, an exterior-grade stain offers the best protection against sun, rain, and temperature swings. Oil-based stains penetrate deeply and last longer, making them ideal for high-exposure areas. Water-based stains dry faster, clean up with soap and water, and release fewer fumes. Your choice depends on your priorities, but always select a product labeled for exterior wood use.
How Long Does Stained Lattice Last Before Reapplication?
Properly stained lattice typically lasts three to five years before needing a fresh coat, though this varies with climate and sun exposure. Areas with harsh weather may need touch-ups sooner. Watch for fading color, water that no longer beads on the surface, or visible wear. Regular inspection helps you catch these signs early and reapply before damage sets in, keeping your lattice protected.
Can I Stain Lattice Without Sanding First?
You can skip sanding on smooth, new lattice, but sanding is highly recommended for older or rough wood. Sanding removes splinters, opens the grain, and helps stain absorb evenly for a smoother, longer-lasting finish. If your lattice already has a previous coat, light sanding improves adhesion. For the best results across all skill levels, a quick sanding step is well worth your time.
Should I Use a Brush or a Sprayer on Lattice?
Both tools work, and many people combine them for the best outcome. A sprayer covers the crisscross pattern quickly and reaches tight corners that brushes miss. However, sprayers can produce overspray and uneven coats if used carelessly. A brush gives you more control and helps work stain into the wood. For beginners, starting with a brush often feels more manageable and forgiving.
What Temperature Is Best for Staining Lattice?
Aim to stain when temperatures sit between 50 and 90 degrees Fahrenheit, ideally on a dry, mild day. Extreme heat causes stain to dry too fast, leading to lap marks, while cold slows curing and weakens adhesion. Avoid staining in direct midday sun or when rain is in the forecast within 24 hours. Checking the weather first sets you up for a smooth, even finish.
Conclusion
Refreshing your outdoor lattice does not have to be intimidating, even if it is your very first wood project. By following these clear, beginner-friendly steps, you can protect your wood, boost its appearance, and add years to its lifespan. From gathering supplies and cleaning thoroughly to sanding, applying even coats, and sealing the finish, each stage builds toward a result you will be proud of.
The real secret to mastering how to stain lattice is simple preparation and patience. Take your time with drying, work in good conditions, and inspect your work as you go. With a little effort and the right approach, you will enjoy a durable, beautiful finish that stands up to the elements. So grab your supplies, pick a sunny weekend, and give your lattice the upgrade it deserves. You have got this.

About
Outdoor Fixes is a distinguished figure in the world of Diy design, with a decade of expertise creating innovative and sustainable Diy solutions.
His professional focus lies in merging traditional craftsmanship with modern manufacturing techniques,
fostering designs that are both practical and environmentally conscious. As the author of diy,
outdoorfixes delves into the art and science of outdoorfixes-making, inspiring artisans and industry professionals alike.
Education RMIT University
(Melbourne, Australia) Associate Degree in Design (Outdoor Fixes) Focus on sustainable design, industry-driven projects,
and practical craftsmanship. Gained hands-on experience with traditional and digital manufacturing tools, such as CAD and CNC software.
Nottingham Trent University
(United Kingdom) Bachelor’s in outdoorfixes.com and Product Design (Honors) Specialized in product design with a focus on blending creativity with production
techniques. Participated in industry projects, working with companies like John Lewis and Vitsoe to gain real-world insights.
Publications and Impact
In diy, Outdoor Fixes his insights on indoor design processes, materials, and strategies for efficient production.
His writing bridges the gap between artisan knowledge and modern industry needs, making it a must-read for both budding designers and seasoned professionals.