
Building a pond is exciting, but a small mistake in your measurements can lead to a soggy mess and wasted money. That is why learning How to Measure Pond Liner is one of the most important steps before you start digging or filling your water feature. A liner that fits properly keeps water where it belongs, protects your landscaping, and saves you from costly repeat purchases.

Whether you are creating a small backyard koi pond or a large garden water feature, getting the right size liner is simpler than you might think. You do not need to be a math expert or a professional landscaper. With a few basic tools and a clear plan, anyone can do this.
In this guide, we will walk you through each step in plain language. We will explain the formula, share helpful tips, and answer common questions. By the end, you will feel confident measuring your pond and choosing a liner that fits perfectly the first time around.
Why Measuring Your Pond Liner Matters
Accurate measurements protect your investment and your peace of mind. A liner that is too small leaves gaps where water leaks out, while one that is too large wastes material and money. Getting it right means your pond holds water properly and lasts for years.
Correct sizing also saves you time. Returning or reordering a liner delays your project and adds frustration. When you measure carefully from the start, you skip those headaches and move straight to enjoying your finished pond.
Finally, proper measurements help you budget. Knowing the exact size lets you compare prices, plan for underlay, and avoid surprise costs. A little effort upfront pays off with a smooth, stress-free build.
Step-by-Step Guide to How to Measure for a Pond Liner
Step 1: Gather Your Tools
Before you start, collect a few simple items. You will need a flexible measuring tape, a notepad, a pen, and a calculator. A long piece of string or a garden hose can also help you outline your pond shape on the ground.

Having everything ready means you can work without stopping halfway through. Take your time and choose a measuring tape that is long enough to span your pond in one go. This reduces errors that happen when you add up several shorter measurements. Once your tools are in hand, you are ready to map out the space and begin gathering the numbers you need.
Step 2: Dig or Outline Your Pond First
It helps to dig your pond before measuring, or at least mark the final shape on the ground. Use your garden hose or string to outline the edges so you can see the true size and depth. This gives you accurate numbers rather than rough guesses.
If you measure before digging, your figures may not match the finished hole. Slopes, shelves, and curves all affect how much liner you need. By shaping the pond first, you account for every dip and rise. This small step makes the rest of the process far more reliable and helps you avoid ordering the wrong amount.
Step 3: Measure the Maximum Length
Now find the longest point of your pond from one edge to the other. Stretch your measuring tape across the widest part of the length and write the number down. Always measure the inside edges where the liner will actually sit.
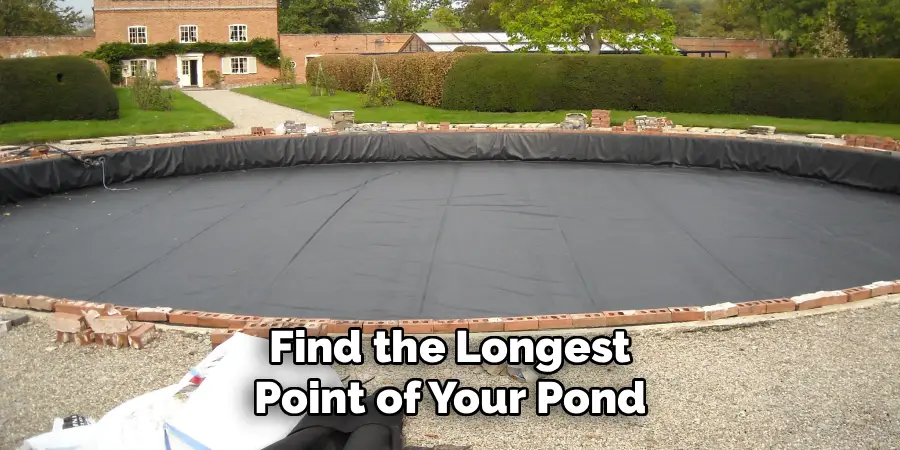
Be sure to follow the natural shape of the ground rather than measuring in a straight line above the hole. Ponds are rarely perfect rectangles, so pick the longest distance you can find. Recording this maximum length gives you a solid starting point. Knowing how to measure for a pond liner correctly begins with capturing these key dimensions accurately.
Step 4: Measure the Maximum Width
Next, measure the widest part of your pond from side to side. Just like with the length, look for the broadest point rather than an average. Lay your tape across the pond and note the figure on your pad.
Take this measurement at the surface level where the liner edges will rest. If your pond has an irregular shape, choose the spot that stretches the furthest across. This ensures your liner covers every part without coming up short. Width and length together form the base of your calculation, so double-check both numbers before moving on to the depth.
Step 5: Measure the Deepest Point
Depth is just as important as length and width. Place your tape at the lowest point of the pond and measure straight up to the surface edge. Many ponds have shelves at different levels, so always use the deepest section for your calculation.
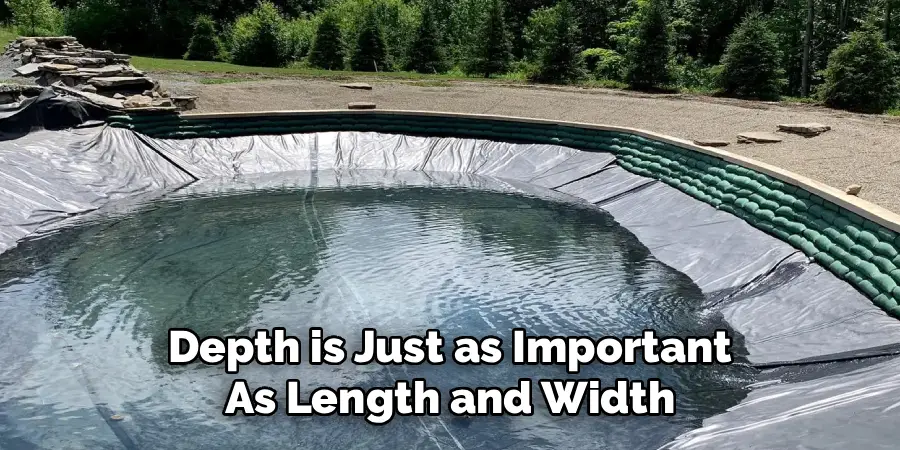
This number matters because the liner must drape down into the hole and cover the bottom completely. Forgetting depth is one of the most common mistakes people make. By recording the deepest point now, you make sure your liner reaches all the way down with enough material to spare. Write this measurement clearly next to your other figures.
Step 6: Apply the Liner Formula
Here is where your numbers come together. The standard formula is simple. Liner length equals pond length plus twice the depth, plus extra for the overlap. Liner width equals pond width plus twice the depth, plus the same overlap.
Add about two feet to each side for overlap so you can anchor the liner securely around the edges. For example, a pond that is ten feet long and three feet deep needs a liner of ten plus six plus two, which equals eighteen feet. Knowing how to measure for a pond liner using this formula ensures you order enough material every time without guessing.
Step 7: Add Overlap and Double-Check
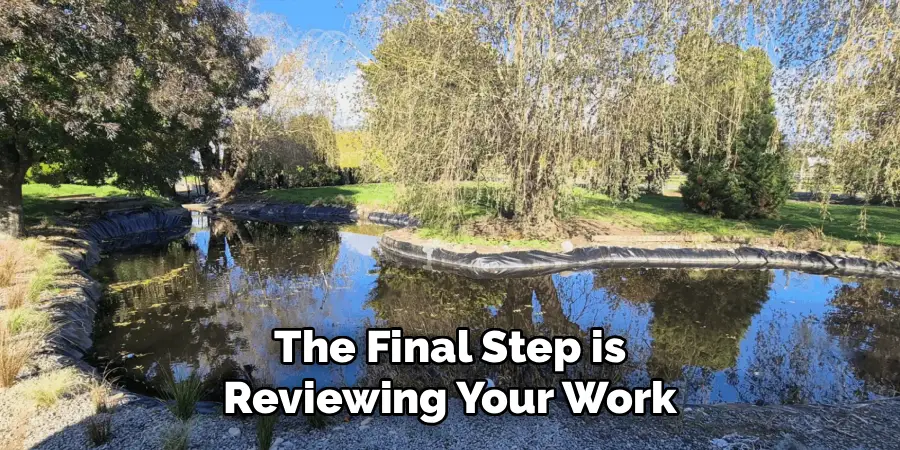
The final step is reviewing your work. Make sure you added the overlap allowance to both the length and the width. This extra material lets you tuck and secure the liner under rocks or soil, keeping it firmly in place.
Go back and recheck each measurement against your notes. It only takes a minute and can save you from ordering the wrong size. If your pond shape is unusual, round up slightly rather than cutting it close. Having a little extra liner is always better than coming up short. Once everything checks out, you are ready to order with confidence.
Frequently Asked Questions
What Tools Do I Need to Measure a Pond?
You only need a few basic items to get started. A flexible measuring tape, a notepad, a pen, and a calculator cover the essentials. A garden hose or string also helps you outline the pond shape on the ground. These simple tools make the job quick and accurate, even if you have never measured a pond before. Keep them handy throughout the process.
How Much Extra Liner Should I Add?
Adding roughly two feet of overlap on every side is the trusted rule. This extra material lets you anchor the liner under rocks, soil, or paving stones so it stays secure. The overlap also gives you room to adjust during installation. Without it, your liner may slip or leave gaps. When in doubt, round up slightly because having a little spare is always safer than running short.
Do I Measure Before or After Digging?
It is best to measure after you have dug the pond or at least outlined its final shape. Measuring beforehand often leads to inaccurate numbers because slopes, shelves, and curves change the actual dimensions. By shaping the hole first, you capture the true length, width, and depth. This approach gives you reliable figures and helps you avoid ordering a liner that does not fit your finished pond.
What If My Pond Has an Irregular Shape?
Irregular ponds are common and easy to handle. Simply measure the longest length and the widest width, treating the pond as if it fits inside a rectangle. This method ensures your liner covers every curve and corner. Always use the maximum points rather than averages, and add your overlap allowance. Rounding up slightly gives you extra material to work around tricky shapes without coming up short.
Can I Use One Large Liner for a Big Pond?
Yes, a single large liner is usually the best choice. One continuous piece avoids seams, which are common spots for leaks over time. Most suppliers offer liners in generous sizes or can cut custom dimensions to fit your project. For very large ponds, ask about welded liners that join sheets professionally. A seamless fit keeps your pond watertight and reduces the risk of future repairs.
Conclusion
Measuring your pond does not have to feel overwhelming. With the right tools, a clear formula, and a little patience, you can capture accurate dimensions and choose a liner that fits perfectly. Remember to dig or outline your pond first, measure the maximum length, width, and deepest point, then apply the formula and add overlap for a secure finish.
Taking these steps carefully protects your investment, saves you money, and helps your water feature last for years. Now that you understand how to measure for a pond liner, you are ready to grab your tape and get started. Trust your numbers, double-check your work, and order with confidence. Your dream pond is just a few measurements away, so take that first step today and enjoy the rewarding results.

About
Outdoor Fixes is a distinguished figure in the world of Diy design, with a decade of expertise creating innovative and sustainable Diy solutions.
His professional focus lies in merging traditional craftsmanship with modern manufacturing techniques,
fostering designs that are both practical and environmentally conscious. As the author of diy,
outdoorfixes delves into the art and science of outdoorfixes-making, inspiring artisans and industry professionals alike.
Education RMIT University
(Melbourne, Australia) Associate Degree in Design (Outdoor Fixes) Focus on sustainable design, industry-driven projects,
and practical craftsmanship. Gained hands-on experience with traditional and digital manufacturing tools, such as CAD and CNC software.
Nottingham Trent University
(United Kingdom) Bachelor’s in outdoorfixes.com and Product Design (Honors) Specialized in product design with a focus on blending creativity with production
techniques. Participated in industry projects, working with companies like John Lewis and Vitsoe to gain real-world insights.
Publications and Impact
In diy, Outdoor Fixes his insights on indoor design processes, materials, and strategies for efficient production.
His writing bridges the gap between artisan knowledge and modern industry needs, making it a must-read for both budding designers and seasoned professionals.