
Old metal fence posts have a way of sticking around long after the fence itself has fallen apart. Maybe you’re upgrading your yard, fixing a damaged section, or clearing space for a new project. Whatever the reason, knowing how to remove metal fence post setups safely can save you time, money, and a sore back.
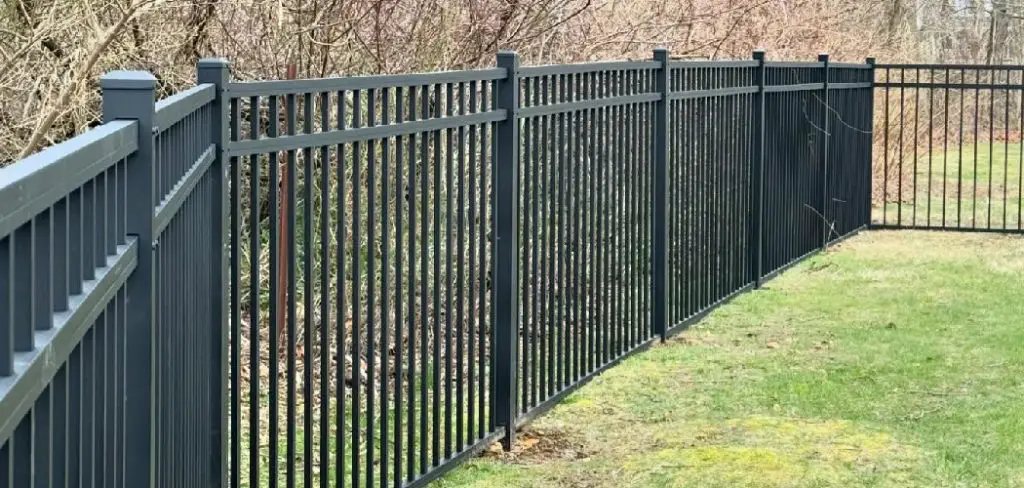
Metal posts are usually set in concrete or driven deep into the ground, which makes them tougher to pull than wooden ones. The good news is that you don’t need to be a professional to get the job done. With the right tools and a clear plan, almost anyone can handle this task in a weekend.
In this guide, we’ll walk you through each step in plain language. You’ll learn what tools to gather, how to loosen stubborn posts, and how to deal with concrete footings. By the end, you’ll feel confident tackling the job yourself, even if you’ve never done anything like it before.
Why Removing Metal Fence Posts Matters
Leaving old posts in the ground can cause more trouble than you might expect. They create tripping hazards, get in the way of new landscaping, and can damage mowers or equipment that bump into them.
Removing them properly also protects the value of your property. A clean, level yard looks better and gives you more freedom to build, plant, or expand. Plus, pulling posts the right way prevents injury and avoids leaving behind broken concrete chunks that are even harder to dig out later. Taking the time to do it correctly now means fewer headaches down the road and a smoother foundation for whatever you plan to do with the space.
Step-by-Step Guide to How To Remove Metal Fence Post
Step 1: Gather Your Tools and Safety Gear
Before you start digging, collect everything you’ll need in one place. Grab a shovel, a digging bar, a hacksaw, work gloves, safety glasses, and a sturdy bucket for debris. If the post sits in concrete, a sledgehammer and a car jack can make a big difference.
Wear closed-toe boots and gloves to protect yours hands from sharp metal edges. Having the right gear ready means you won’t stop halfway through to hunt for a missing tool. A little preparation here saves a lot of frustration once the real work begins.
Step 2: Inspect the Post and Its Base
Take a few minutes to study what you’re dealing with. Tap around the base with a shovel to find out whether the post is set in concrete or driven straight into the soil. This simple check shapes your entire approach.
If you feel solid resistance just below the surface, you’re likely facing a concrete footing. If the shovel slides in easily, the post is probably packed in dirt. Knowing this early helps you pick the fastest method and avoids wasted effort. Mark the post with chalk so you remember which ones you’ve already inspected.
Step 3: Dig Around the Base
Start clearing soil away from the post using your shovel. Dig a wide circle, around twelve inches out from the metal, so you have room to work. The deeper you go, the looser the post becomes.
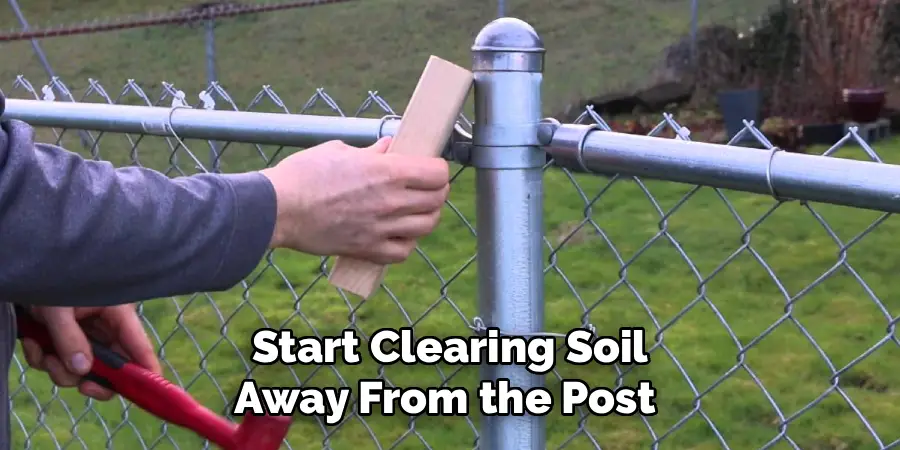
Learning how to remove metal fence post footings starts with exposing as much of the base as possible. As you dig, remove rocks and pack the loose dirt to the side so it doesn’t fall back in. If you hit concrete, keep digging around it to reveal the full shape. The more you uncover, the easier the next steps will be.
Step 4: Loosen the Post by Rocking
With the base partly exposed, grip the post firmly and push it back and forth. This rocking motion breaks the bond between the metal and the surrounding soil or concrete. Work slowly and use yours legs, not just your arms.
You’ll notice the post starting to wiggle more freely as the ground gives way. Add a little water around the base to soften compacted soil if it won’t budge. Patience pays off here, since forcing it too hard can bend the post and make it harder to lift cleanly out of the hole.
Step 5: Use a Jack for Stubborn Posts
When rocking alone won’t free the post, a car jack becomes your best friend. Wrap a chain around the base of the post and connect it to the jack sitting on a flat board for stability. Then slowly raise the jack.
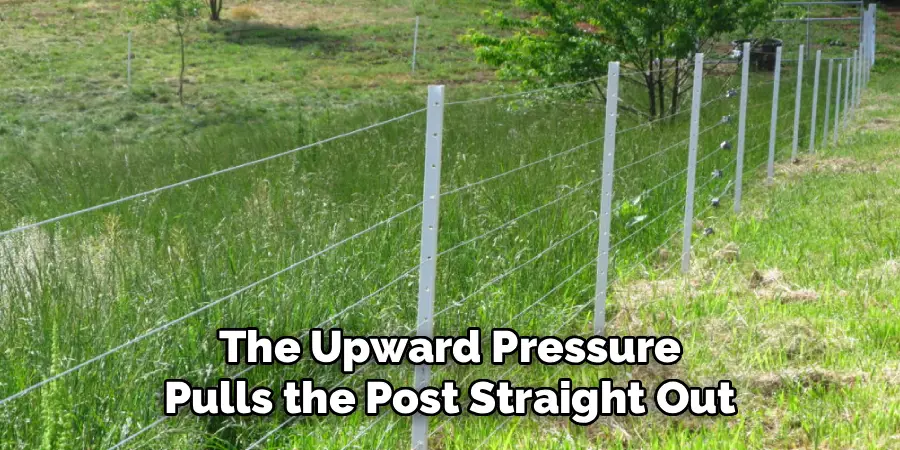
The upward pressure pulls the post straight out without you straining your back. Go slow and keep the chain tight. If the post shifts sideways, reset everything and try again. This method handles even concrete-set posts well, since the steady lifting force breaks the footing free from the ground bit by bit.
Step 6: Break Up Concrete Footings
If the post comes up with a concrete blob attached, you’ll need to deal with it. Lay the post on its side and tap the concrete firmly with a sledgehammer. Most footings crack apart after a few solid hits.
Knowing how to remove metal fence post concrete safely means wearing your safety glasses, since chips can fly. Work in a clear area away from people and pets. Once the concrete breaks loose, separate it from the metal and set both aside for disposal. Smaller pieces are far easier to carry and toss into a debris bin.
Step 7: Fill and Level the Hole
With the post gone, you’re left with an empty hole that needs attention. Fill it with soil, packing it down in layers so it doesn’t sink later. Add a little gravel at the bottom first if the ground tends to hold water.
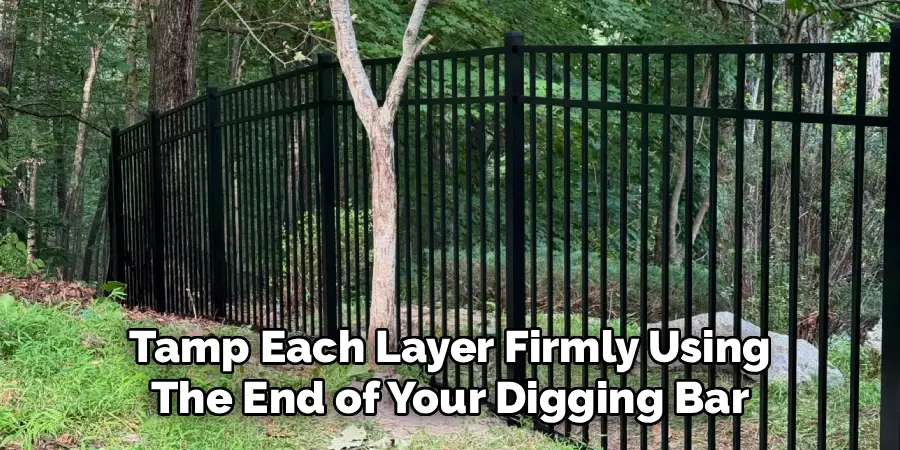
Tamp each layer firmly using the end of your digging bar or a piece of scrap wood. Top it off with soil slightly above ground level, since fresh fill settles over time. Once you’re done, the spot blends right back into your yard and is ready for grass, plants, or a brand-new fence.
Frequently Asked Questions
Do I Need to Rent Special Equipment?
For most home projects, basic hand tools work just fine. A shovel, digging bar, and car jack handle the majority of posts. You only need rental equipment, like a powered post puller, when facing many posts or extremely deep concrete footings. Renting can speed things up, but for one or two posts, your own tools and a bit of patience usually get the job done well.
How Long Does It Take to Remove One Post?
A single post set in soil often takes fifteen to thirty minutes. Posts anchored in concrete can stretch to an hour or more, depending on the footing size. Your speed improves with each post as you learn the rhythm. Setting aside a full afternoon for several posts gives you plenty of breathing room without feeling rushed or wearing yourself out.
Can I Reuse the Metal Posts Afterward?
Yes, in many cases you can. If the post isn’t bent, rusted through, or badly damaged, it’s perfectly fine to reuse for a new fence or another project. Clean off any old concrete and check for weak spots before reinstalling. Reusing posts saves money and reduces waste, which makes it a smart choice whenever the metal is still in good shape.
What Should I Do With the Concrete Debris?
Concrete chunks count as construction waste, so most regular trash services won’t take them. Check with your local landfill or recycling center, since many accept clean concrete for crushing and reuse. Some landscaping suppliers also take it for free. Breaking the pieces smaller makes them easier to transport and often cheaper to dispose of properly.
Is It Safe to Do This Alone?
Working solo is fine for lighter posts, but heavier ones are safer with a helper. An extra set of hands steadies the jack, holds the chain, and lifts awkward pieces. If you’re alone, take frequent breaks and never overload your back. Listening to your body and working at a steady pace keeps the project safe and enjoyable from start to finish.
Conclusion
Pulling out old posts doesn’t have to feel overwhelming. Once you understand how to remove metal fence post setups step by step, the whole process becomes manageable, even for a first-timer. The key is preparation, patience, and using the right tools instead of pure muscle.
Start by gathering your gear, inspecting the base, and working through each step at a comfortable pace. Whether your posts sit in soil or concrete, the methods here will help you clear them safely and leave a clean, level yard behind. So grab your shovel, set aside an afternoon, and give it a try. You’ll be surprised how satisfying it feels to reclaim that space and prepare it for whatever comes next.

About
Outdoor Fixes is a distinguished figure in the world of Diy design, with a decade of expertise creating innovative and sustainable Diy solutions.
His professional focus lies in merging traditional craftsmanship with modern manufacturing techniques,
fostering designs that are both practical and environmentally conscious. As the author of diy,
outdoorfixes delves into the art and science of outdoorfixes-making, inspiring artisans and industry professionals alike.
Education RMIT University
(Melbourne, Australia) Associate Degree in Design (Outdoor Fixes) Focus on sustainable design, industry-driven projects,
and practical craftsmanship. Gained hands-on experience with traditional and digital manufacturing tools, such as CAD and CNC software.
Nottingham Trent University
(United Kingdom) Bachelor’s in outdoorfixes.com and Product Design (Honors) Specialized in product design with a focus on blending creativity with production
techniques. Participated in industry projects, working with companies like John Lewis and Vitsoe to gain real-world insights.
Publications and Impact
In diy, Outdoor Fixes his insights on indoor design processes, materials, and strategies for efficient production.
His writing bridges the gap between artisan knowledge and modern industry needs, making it a must-read for both budding designers and seasoned professionals.