
A yard overrun with weeds can feel like a lost cause, but it doesn’t have to stay that way. With the right plan, you can replace that messy patch with a thick, healthy lawn you’ll actually enjoy. Learning how to turn a field of weeds into grass is easier than most people think, and you don’t need professional experience to get great results. You just need a clear approach and a bit of patience.
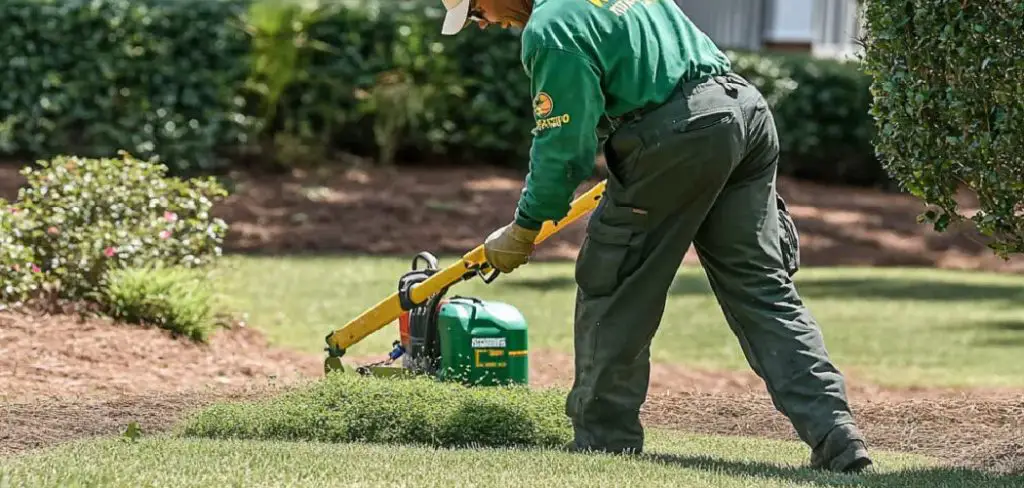
This guide walks you through every stage of the process, from clearing stubborn weeds to nurturing fresh seedlings. Whether your space is a small backyard or a large open lot, the same proven steps apply. Along the way, you’ll learn why timing, soil prep, and watering matter so much. By the end, you’ll feel confident tackling the project yourself. Think of this as your friendly roadmap, built for all skill levels, that empowers you to transform an eyesore into the lawn you’ve always wanted.
Why Turning a Field of Weeds Into Grass Matters
A weed-filled field isn’t just unattractive, it can actually cause real problems. Weeds compete for water and nutrients, attract pests, and spread quickly to neighboring areas. Replacing them with healthy grass gives you a cleaner, safer, and more usable space for relaxing, playing, or entertaining.
Beyond looks, a proper lawn helps the environment. Grass reduces soil erosion, filters rainwater, and keeps the ground cooler on hot days. It also adds real value to your property, which matters if you ever plan to sell. Making this change rewards you with lower maintenance over time, since a strong lawn naturally crowds out future weeds. In short, the effort you put in now pays off for years to come.
Step-by-Step Guide to How to Turn a Field of Weeds Into Grass
Step 1: Assess and Plan Your Space
Before you touch a single weed, take time to study your space. Walk the area and note which weeds are growing, how much sunlight the spot gets, and whether the ground stays soggy or dry. These details shape every decision you’ll make later, from the grass type you choose to the watering schedule you follow.
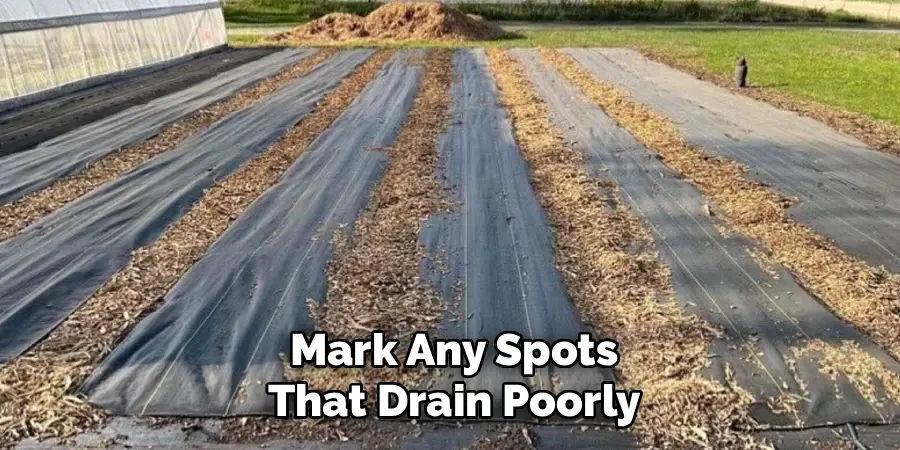
Next, sketch a simple plan. Measure the area so you know how much seed and soil you’ll need, and mark any spots that drain poorly. Planning ahead saves you money and prevents frustration. When you understand your space first, the rest of the project flows far more smoothly and your results last longer.
Step 2: Clear Out the Existing Weeds
Now it’s time to remove what’s already there. For smaller patches, hand-pulling works well, especially after rain when the soil is soft and roots slide out easily. For larger areas, a non-selective herbicide or a sharp hoe makes quicker work of dense growth. The goal is to remove as much of the root system as possible so weeds don’t bounce right back.
Give the area a week or two after treatment to make sure everything has died off. Stubborn weeds may need a second pass. This stage is the heart of how to turn a field of weeds into grass, because a clean slate sets the foundation for everything that follows.
Step 3: Prepare and Test the Soil
With the weeds gone, focus on the ground beneath them. Rake away dead plant material and break up any compacted soil with a tiller or garden fork. Loose, crumbly soil lets new roots dig in and absorb water more easily, which gives your grass a strong start.

Then test your soil’s pH using an inexpensive kit from any garden store. Most grasses thrive in slightly acidic to neutral soil, roughly between 6.0 and 7.0. If your reading falls outside that range, add lime to raise it or sulfur to lower it. Healthy soil is the quiet hero of a great lawn, so don’t skip this important step.
Step 4: Choose the Right Grass Seed
Picking the correct seed makes a huge difference in your success. Cool-season grasses like fescue and ryegrass do well in northern climates, while warm-season types such as Bermuda and Zoysia suit hotter regions. Match your choice to your local weather, sunlight levels, and how much foot traffic the lawn will see.
Read the label carefully and look for high-quality seed with low filler and weed content. Spending a little more here often saves headaches later. If you feel unsure, your local garden center can offer expert advice tailored to your area. The right seed sets realistic expectations and helps you avoid replanting down the road.
Step 5: Sow Your Seed Evenly
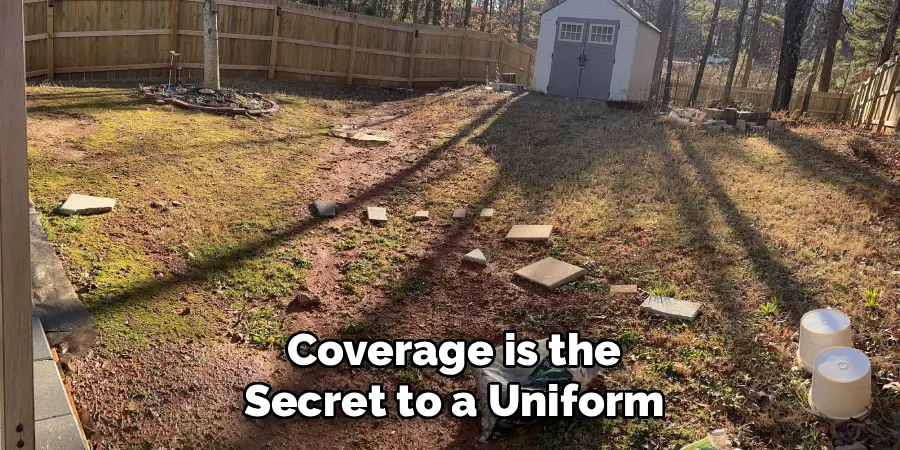
Even coverage is the secret to a uniform, gap-free lawn. Use a broadcast or drop spreader for large areas, and follow the seeding rate printed on the bag. For small spaces, spreading by hand works fine, just move slowly and scatter in two directions to avoid bare patches.
After sowing, gently rake the seed into the top quarter inch of soil so it makes good contact with the ground. A light roller can press everything in place. This careful attention is a big part of how to turn a field of weeds into grass successfully, since seed that sits exposed often dries out or gets eaten by birds before it can sprout.
Step 6: Water Consistently and Wisely
Fresh seed needs steady moisture to germinate, so watering becomes your daily focus for the first few weeks. Keep the top inch of soil damp but never soaked, watering lightly two or three times a day if the weather is warm. Overwatering can wash seed away, so aim for gentle, frequent sessions instead of heavy soaking.
As seedlings grow taller, gradually shift to deeper, less frequent watering. This encourages roots to reach down and build resilience. Early mornings are the best time, since cooler temperatures reduce evaporation. Consistent watering during this fragile window often makes the difference between a patchy result and a lush, even lawn.
Step 7: Maintain and Nurture Your New Lawn
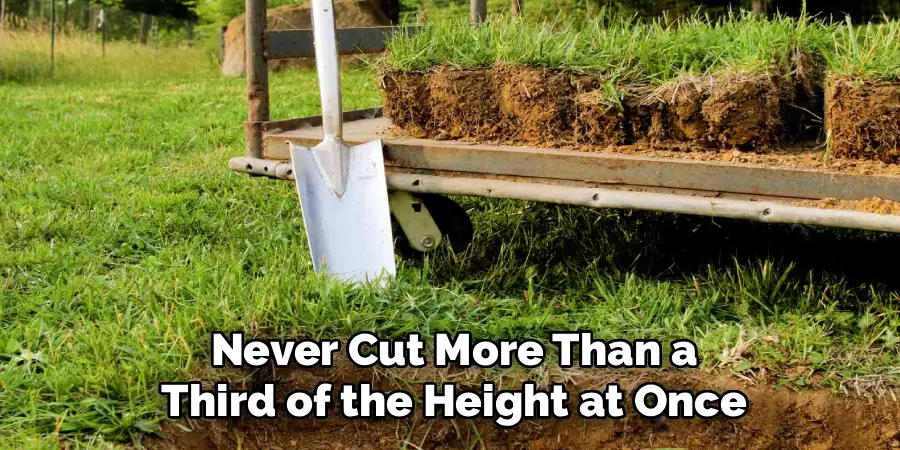
Your grass is growing, but the job isn’t finished yet. Wait until the blades reach about three inches before the first mow, and never cut more than a third of the height at once. Mowing too soon or too short stresses young grass and invites weeds back.
Feed your lawn with a starter fertilizer a few weeks after germination to fuel healthy growth. Keep an eye out for early weeds and pull them promptly before they spread. With regular care, your lawn grows thicker and more durable each season. This ongoing attention rewards you with a green space that stays beautiful and keeps weeds from creeping back in.
Frequently Asked Questions
How Long Does the Whole Process Take?
Most lawns take between two and four months to fully establish, though you’ll often see the first sprouts within one to three weeks. Timing depends on your grass type, climate, and how consistent you are with watering and care. Cool-season grasses tend to grow faster in spring and fall, while warm-season types prefer late spring and summer for best results.
Can I Plant Grass Without Removing the Weeds First?
Skipping weed removal almost always leads to disappointment. Existing weeds compete fiercely with new grass for water, light, and nutrients, and they usually win. For lasting results, clear the weeds thoroughly and treat the roots before sowing seed. A clean, prepared surface gives your grass the room and resources it needs to grow strong and stay healthy long term.
What Is the Best Time of Year to Start?
The ideal season depends on your grass type. Cool-season grasses establish best in early fall or spring, when temperatures stay mild and rainfall is plentiful. Warm-season grasses prefer late spring through early summer, once the soil warms up. Starting during the right window gives seeds the temperature and moisture they need, which boosts germination rates and reduces the risk of failure.
How Often Should I Water New Grass Seed?
Newly sown seed needs light watering two or three times daily to keep the top inch of soil moist. Avoid heavy soaking, which can wash seed away or cause rot. Once seedlings appear and grow a couple of inches tall, switch to deeper watering a few times a week. This trains roots to grow downward, building a tougher, drought-resistant lawn over time.
Do I Need Special Tools or Equipment?
You don’t need anything fancy to get started. A rake, a spreader, a garden hose, and a basic soil test kit cover most projects. For larger areas, renting a tiller or sod cutter speeds things up considerably. Many of these tools are available at local rental shops, so you can save money instead of buying equipment you’ll only use once or twice.
Conclusion
Transforming a messy, weed-choked yard into a healthy green lawn is absolutely within your reach. By assessing your space, clearing weeds, prepping the soil, choosing quality seed, and watering with care, you set yourself up for lasting success. Each step builds on the last, and a little patience goes a long way toward a result you’ll be proud of.
Knowing how to turn a field of weeds into grass empowers you to take control of your outdoor space and enjoy it for years to come. Start with one step today, follow the process at your own pace, and watch your lawn slowly come to life. Your effort now creates a beautiful, low-maintenance space that keeps weeds out and welcomes you in.

About
Outdoor Fixes is a distinguished figure in the world of Diy design, with a decade of expertise creating innovative and sustainable Diy solutions.
His professional focus lies in merging traditional craftsmanship with modern manufacturing techniques,
fostering designs that are both practical and environmentally conscious. As the author of diy,
outdoorfixes delves into the art and science of outdoorfixes-making, inspiring artisans and industry professionals alike.
Education RMIT University
(Melbourne, Australia) Associate Degree in Design (Outdoor Fixes) Focus on sustainable design, industry-driven projects,
and practical craftsmanship. Gained hands-on experience with traditional and digital manufacturing tools, such as CAD and CNC software.
Nottingham Trent University
(United Kingdom) Bachelor’s in outdoorfixes.com and Product Design (Honors) Specialized in product design with a focus on blending creativity with production
techniques. Participated in industry projects, working with companies like John Lewis and Vitsoe to gain real-world insights.
Publications and Impact
In diy, Outdoor Fixes his insights on indoor design processes, materials, and strategies for efficient production.
His writing bridges the gap between artisan knowledge and modern industry needs, making it a must-read for both budding designers and seasoned professionals.