
A favorite lawn chair can last for years, but the woven straps holding you up are usually the first thing to wear out. Sun, rain, and daily use slowly weaken them until one snaps at the worst possible moment. The good news is that you do not have to toss the whole chair or pay for a costly replacement. Learning how to reweb a lawn chair with clips is a simple, budget-friendly fix that almost anyone can do in an afternoon.
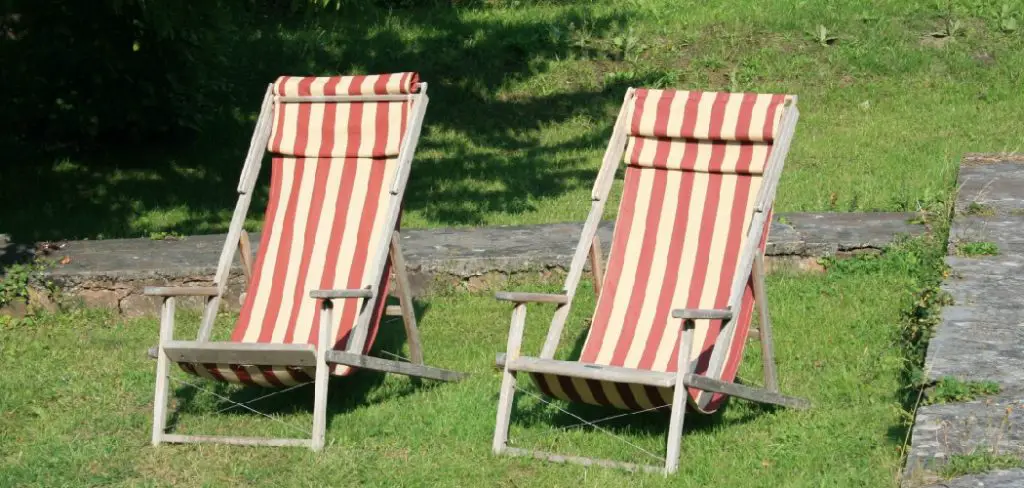
This approach uses small clips to lock fresh webbing into place, which means no sewing and no complicated tools. It is one of the easiest repair methods out there, making it perfect for first-timers and seasoned DIYers alike. In this guide, we will walk through why the clip method works so well, a clear seven-step process, and answers to the questions people ask most. By the end, you will feel confident bringing your tired old chair back to life and enjoying it for many more seasons.
Why Rewebbing A Lawn Chair With Clips Matters
Replacing worn straps with the clip method saves you money and keeps a perfectly good frame out of the landfill. New chairs add up fast, especially when only the webbing has failed while the metal frame remains sturdy and reliable. A quick repair restores both comfort and safety, so you never have to worry about a strap giving way mid-relax.
The clip system is also wonderfully beginner-friendly. There is no stitching, gluing, or guesswork involved, which means you get clean, professional results on your very first try. You can customize colors and patterns to match your outdoor space, and the whole job takes minimal time. For anyone who values practical, low-stress fixes, this method delivers real satisfaction with very little fuss.
Step-by-Step Guide to How To Reweb A Lawn Chair With Clips
Step 1: Gather Your Tools And Materials
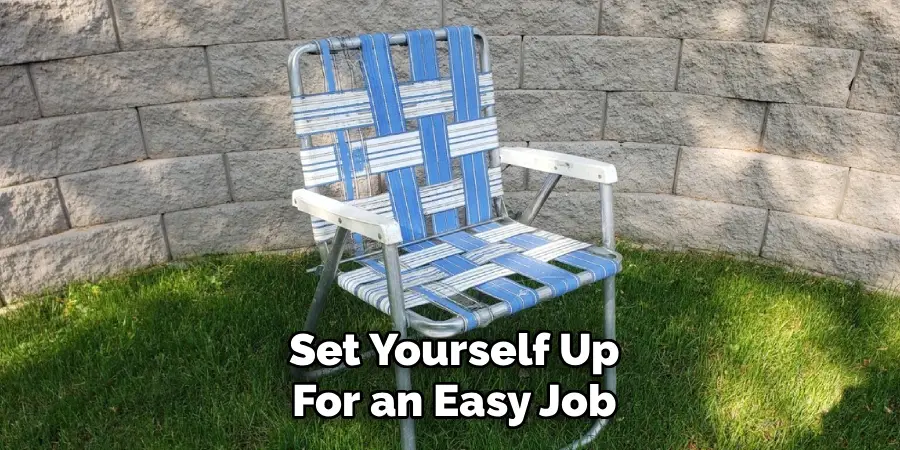
before you start, set yourself up for an easy job by collecting everything in one spot. you will need replacement webbing, a pack of webbing clips that fit your chair, sharp scissors, a measuring tape, and a flathead screwdriver. a pair of pliers and some work gloves can also help when you press clips into place.
choosing the right webbing matters here, so pick a roll rated for outdoor use that resists fading and moisture. measure your chair roughly to estimate how much material you need, then add a little extra for safety. having the right supplies ready means you will not have to stop halfway through and hunt for a missing tool.
Step 2: Remove The Old Webbing
start by flipping the chair over or laying it on its side so you can reach the worn straps easily. look for how the existing webbing attaches, since older chairs often use screws, rivets, or clips tucked into the frame channels. use your screwdriver to pop loose any clips or back out screws holding the tired straps in place.
work patiently and keep track of how each strap was woven, because that pattern is your roadmap for the new material. take a quick photo with your phone if you want a handy reference later. clear away all the old webbing and wipe down the frame so your fresh straps have a clean surface to attach to.
Step 3: Measure And Cut Your New Straps
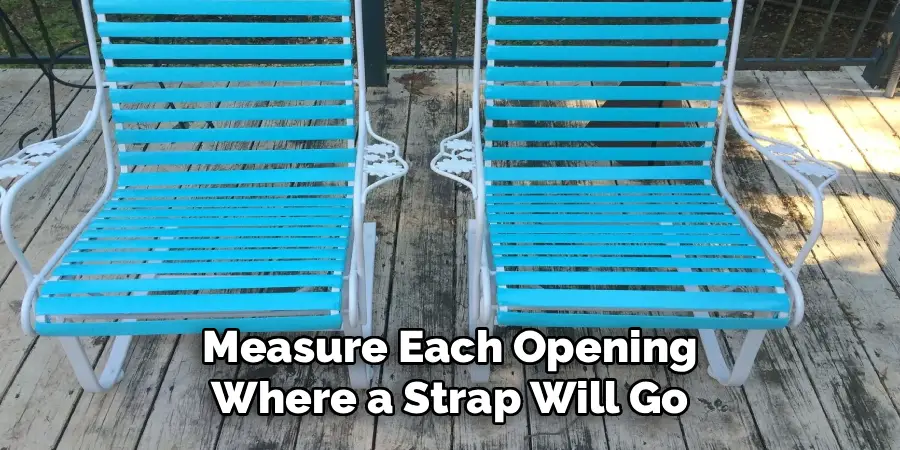
with the frame bare, measure each opening where a strap will go and write the numbers down so nothing gets confusing. for horizontal and vertical pieces, add about two inches to every measurement to allow room for the clips to fold and grip securely. accurate cuts now prevent loose, saggy straps later.
lay your webbing on a flat surface and mark your cut lines with a pen or marker before slicing through with sharp scissors. cutting at a slight angle can help the ends slide into the frame channels more smoothly. double-check each length against the chair before moving on, since it is far easier to trim a long piece than to stretch a short one.
Step 4: Mastering How To Reweb A Lawn Chair With Clips On The First Strap
begin with a single strap so you can get comfortable with the technique before tackling the rest. fold one end of the webbing over a clip, then slide that clip firmly into the channel or slot on the chair frame. the clip should bite down and hold the strap snugly without slipping back out.
pull the webbing across to the opposite side, keeping it taut but not overstretched. attach a second clip to the free end and press it into the matching slot on the other side. give the strap a gentle tug to confirm it feels secure. this first success builds your confidence and sets the rhythm for every strap that follows.
Step 5: Weave The Remaining Straps
now repeat the process across the seat and back, working one strap at a time for the cleanest result. install all the straps running in one direction first, spacing them evenly so the finished surface looks neat and balanced. consistent spacing also spreads your weight properly when you sit down.
once those are set, weave the crossing straps over and under the first layer, just like the original pattern you photographed earlier. this basket-weave structure is what gives the chair its strength and springy support. take your time threading each piece, smoothing out twists as you go. the woven layers should feel firm and supportive when you press down on them with your hand.

Step 6: Learning For A Tight, Even Finish
tension is the secret to a comfortable, long-lasting chair, so check each strap as you lock the final clips in place. pull gently to remove any slack, then press the clip home so the webbing stays under steady, even pressure. straps that are too loose will sag, while overly tight ones can strain the frame.
work around the chair and adjust as needed, comparing each strap to its neighbors for a uniform look and feel. a flathead screwdriver helps seat stubborn clips fully into their channels. when every clip sits flush and every strap feels evenly supportive, you will know the repair is solid and ready to handle real use.
Step 7: Inspect, Test, And Tidy Up
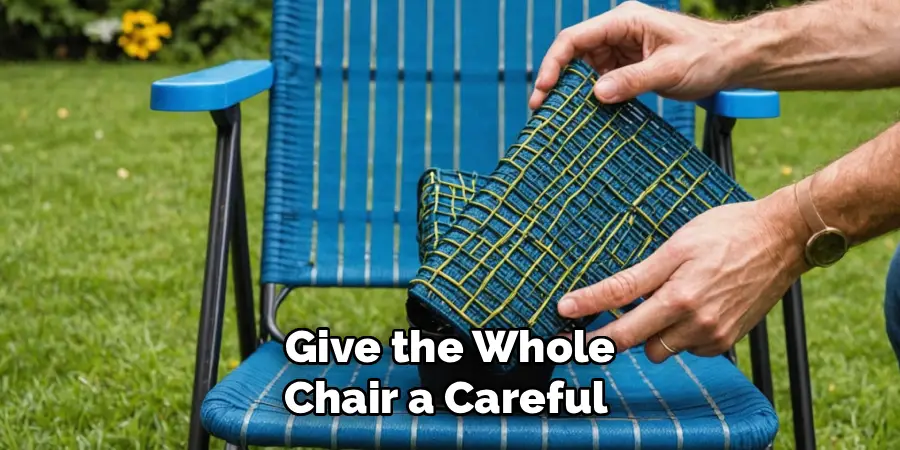
before you settle in, give the whole chair a careful once-over to catch any loose clips or uneven straps. press down firmly on the seat and back to test how the new webbing holds your weight. listen for any clicking that might signal a clip slipping, and reseat anything that feels wobbly.
trim away stray webbing ends with your scissors for a clean, finished appearance, and tuck any small tails neatly out of sight. collect leftover scraps and clips so your workspace stays tidy and safe. finally, sit down and enjoy the result. a chair that felt destined for the trash is now sturdy, comfortable, and ready for many more relaxing afternoons outdoors.
Frequently Asked Questions
What Type Of Webbing Works Best For Lawn Chairs?
Outdoor-rated polypropylene or vinyl webbing is your best choice because it resists sun fading, moisture, and mildew. Look for material around two to three inches wide and rated for the weight you expect to support. Quality webbing keeps its color and strength far longer than cheap indoor fabric, giving you a repair that lasts for several seasons of regular use.
How Many Clips Will I Need For One Chair?
Most chairs use two clips per strap, one on each end, so count your straps and multiply by two. A typical lawn chair has roughly six to ten straps across the seat and back, meaning you will need about twelve to twenty clips total. Buying a few extras is smart, since spares cover any clips that bend or slip during installation.
Can A Beginner Really Do This Without Special Skills?
Absolutely. The clip method is designed to be approachable, with no sewing or power tools required. If you can measure, cut, and press a clip into place, you have all the skill you need. Working one strap at a time keeps things manageable, and your confidence grows quickly. Most first-timers finish a complete chair comfortably within a single afternoon.
How Tight Should The New Straps Be?
Aim for firm but slightly springy, much like a trampoline surface rather than a drum. The straps should hold your weight without sagging to the ground, yet still flex a little when you sit. Overtightening can warp the frame or snap the webbing, so pull out the slack and stop once each strap feels evenly supportive across the whole chair.
How Long Will My Rewebbed Chair Last?
With quality outdoor webbing and proper tension, your repair can easily last three to five years or more. Storing the chair under cover during harsh weather and out of constant direct sun extends its life even further. Periodically checking the clips and straps for wear lets you catch small issues early, keeping your chair safe and comfortable season after season.
Conclusion
Bringing a worn-out lawn chair back to life is far easier than most people expect, and the payoff is a comfortable seat that costs a fraction of buying new. By gathering the right materials, removing the old straps, measuring carefully, and locking fresh webbing into place, you create a sturdy repair that holds up for years. The clip method removes the guesswork, so even a complete beginner can achieve clean, professional results on the very first attempt.
Now that you know how to reweb a lawn chair with clips, there is no reason to let a great frame go to waste. Grab your supplies, set aside an afternoon, and give that tired chair the refresh it deserves. With a little patience and the steps above, you will be relaxing in your renewed chair before you know it, proud of a job well done and ready to tackle the next one.

About
Outdoor Fixes is a distinguished figure in the world of Diy design, with a decade of expertise creating innovative and sustainable Diy solutions.
His professional focus lies in merging traditional craftsmanship with modern manufacturing techniques,
fostering designs that are both practical and environmentally conscious. As the author of diy,
outdoorfixes delves into the art and science of outdoorfixes-making, inspiring artisans and industry professionals alike.
Education RMIT University
(Melbourne, Australia) Associate Degree in Design (Outdoor Fixes) Focus on sustainable design, industry-driven projects,
and practical craftsmanship. Gained hands-on experience with traditional and digital manufacturing tools, such as CAD and CNC software.
Nottingham Trent University
(United Kingdom) Bachelor’s in outdoorfixes.com and Product Design (Honors) Specialized in product design with a focus on blending creativity with production
techniques. Participated in industry projects, working with companies like John Lewis and Vitsoe to gain real-world insights.
Publications and Impact
In diy, Outdoor Fixes his insights on indoor design processes, materials, and strategies for efficient production.
His writing bridges the gap between artisan knowledge and modern industry needs, making it a must-read for both budding designers and seasoned professionals.