
Ammonium sulfate is one of the most popular nitrogen fertilizers because it works fast, lowers soil pH slightly, and delivers visible results within days. If you have ever wondered how to apply ammonium sulfate to lawn areas without burning your grass or wasting product, you are in the right place.
This guide breaks everything down into simple, beginner-friendly steps so you feel confident from start to finish. You do not need years of gardening experience or fancy equipment to get great results.
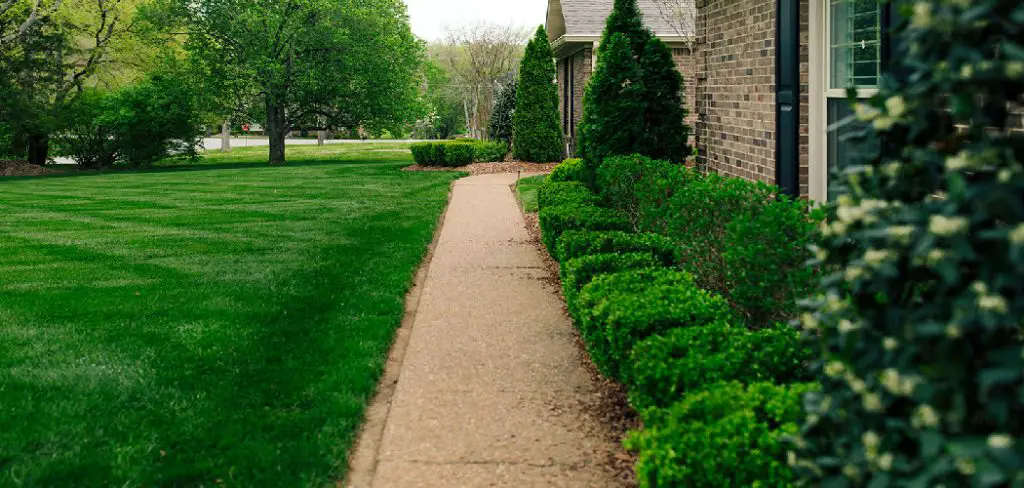
With a little planning and the right technique, you can feed your lawn evenly, encourage thick growth, and bring back that deep green color you love. We will walk through preparation, application, watering, and safety so nothing catches you off guard. Think of this as your friendly, expert-backed roadmap to a stronger, healthier yard that your neighbors will notice and admire.
Why Applying Ammonium Sulfate to Your Lawn Matters
Feeding your lawn with ammonium sulfate gives your grass a quick boost of nitrogen, which fuels rapid blade growth and a richer green color. Unlike slow-release options, this fertilizer acts fast, making it ideal when your lawn looks pale, thin, or stressed. It also contains sulfur, a nutrient many soils lack, which supports stronger roots and better overall plant health.
Another benefit is its mild acidifying effect, which can help correct alkaline soils where nutrients become locked away from your grass. By lowering pH slightly, ammonium sulfate improves how well your lawn absorbs other nutrients too. The result is a denser turf that resists weeds, handles foot traffic, and recovers faster from heat or drought. For anyone wanting visible improvement quickly, this fertilizer delivers reliable, satisfying results.
Step-by-Step Guide to How to Apply Ammonium Sulfate to Lawn
Step 1: Test Your Soil First
Before you spread anything, take a few minutes to test your soil so you know exactly what your lawn needs. A simple home test kit or a sample sent to a local extension office reveals your pH level and nutrient gaps. This matters because ammonium sulfate lowers pH, so applying it to already acidic soil could cause problems.
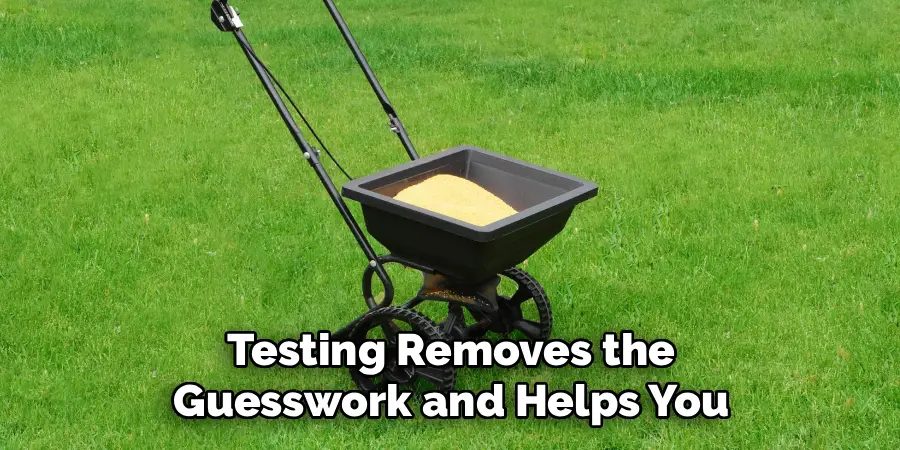
Testing removes the guesswork and helps you avoid over-fertilizing, which wastes money and can damage grass. Once you understand your starting point, you can adjust your application rate with confidence. This small step sets the foundation for healthy, balanced growth and protects your lawn from common beginner mistakes.
Step 2: Choose the Right Time
Timing makes a big difference in how well your fertilizer performs. The best moment to feed your lawn is during its active growing season, typically spring and early fall for most grass types. During these windows, your grass uses nitrogen efficiently, turning it into lush new growth instead of letting it wash away.
Avoid applying during extreme heat or drought, since stressed grass cannot absorb nutrients properly and may burn. Early morning or late afternoon on a calm, dry day works best, giving you control over coverage. Check the weather too, because light rain afterward helps, but a heavy downpour can wash everything away before it works.
Step 3: Calculate the Correct Amount
Getting the amount right keeps your lawn safe and your results consistent. Ammonium sulfate contains about 21 percent nitrogen, and a common guideline is applying around one pound of actual nitrogen per 1,000 square feet. That usually means roughly five pounds of product per 1,000 square feet, though your soil test may suggest adjustments.

Measure your lawn area first so you know how much ground you are covering. Avoid the temptation to add extra for faster results, because too much nitrogen burns grass and creates patchy damage. When you learn how to apply ammonium sulfate to lawn spaces using proper measurements, you protect your investment and your turf at the same time.
Step 4: Prepare Your Equipment
Good tools make the job smoother and more even. A broadcast spreader works well for large lawns, while a handheld or drop spreader suits smaller or oddly shaped areas. Calibrate your spreader according to its settings chart so the granules release at the correct rate, preventing heavy or light spots.
Wear gloves, closed shoes, and eye protection to keep yourself comfortable and safe. Fill the spreader on a hard surface like a driveway rather than the grass, so any spills are easy to sweep up instead of burning your turf. Taking a few minutes to set up properly saves you frustration and gives you cleaner, more professional-looking coverage.
Step 5: Apply Evenly Across the Lawn
Now comes the main event, and even coverage is your goal here. Start by walking the perimeter of your lawn to create a border, then fill in the middle using straight, overlapping passes. Move at a steady pace so the spreader distributes granules consistently without dumping piles in one spot.
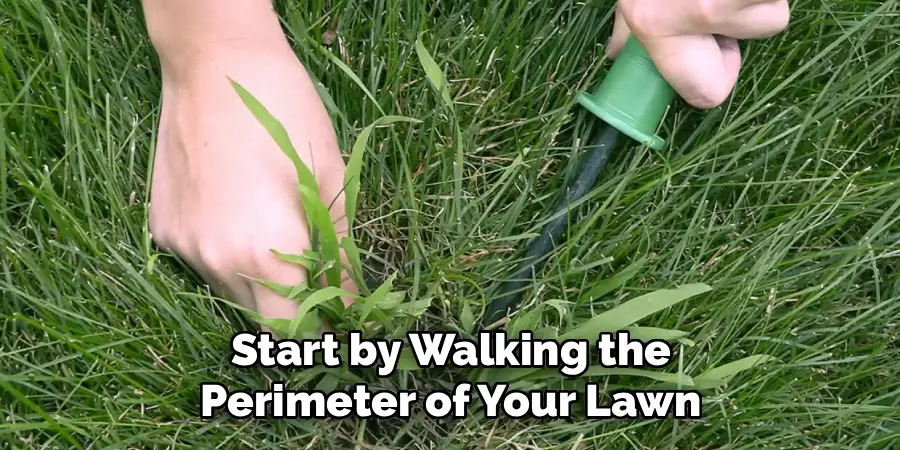
For best results, apply half your fertilizer walking north to south, then the other half walking east to west. This crosshatch pattern smooths out any gaps and prevents stripes of overgrowth. Knowing how to apply ammonium sulfate to lawn surfaces evenly is the key to uniform color, so take your time and stay consistent throughout the entire area.
Step 6: Water It In Thoroughly
Watering right after application is essential and should never be skipped. A good soak helps the granules dissolve and carries the nitrogen down into the root zone where your grass can use it. It also rinses any fertilizer off the blades, which prevents burning and leaf damage.
Aim for about a quarter to half an inch of water shortly after spreading. If rain is expected soon, a light shower can do the job for you, but avoid relying on heavy storms that flood the soil. Consistent, gentle watering activates the fertilizer and gives you faster, greener results while keeping your lawn protected from chemical stress.
Step 7: Monitor and Follow Up
After application, keep an eye on how your lawn responds over the next week or two. You should notice greener color and fresh growth fairly quickly, which tells you the feeding worked. If certain areas look thin, jot them down so you can adjust your technique or spreader settings next time.

Avoid reapplying too soon, since repeated heavy feeding can harm your grass and soil balance. Most lawns benefit from feeding every six to eight weeks during the growing season. This follow-up habit turns a one-time task into a smart, ongoing routine that builds a thicker, healthier lawn season after season.
Frequently Asked Questions
How Often Should I Apply Ammonium Sulfate?
For most lawns, feeding every six to eight weeks during the active growing season works well. Spring and fall are ideal windows when grass uses nitrogen efficiently. Avoid applying too frequently, since excess nitrogen can burn your turf and disrupt soil balance. Always follow your soil test results, because they help you customize timing to your specific lawn and climate for the best, safest outcome.
Can Ammonium Sulfate Burn My Grass?
Yes, it can burn grass if you apply too much or skip watering afterward. The high nitrogen content is powerful, so accuracy matters. Stick to recommended rates, spread evenly, and water thoroughly right after application to dissolve the granules and protect the blades. Applying during extreme heat also increases burn risk, so choose mild, calm days. Done correctly, burning is easy to avoid completely.
Is It Safe for Pets and Children?
Once the fertilizer is watered in and the lawn has fully dried, it is generally safe for pets and children to enjoy. Keep them off the grass during application and until everything has settled and dried. Store the product in a sealed container away from curious hands and paws. When in doubt, wait a full day after watering to be extra cautious and comfortable.
Will It Lower My Soil pH Too Much?
Ammonium sulfate does have a mild acidifying effect, which benefits alkaline soils but could over-acidify already low pH soils. That is why testing first is so important. If your soil is already acidic, consider a different nitrogen source or balance it with lime over time. Regular monitoring keeps your pH in a healthy range and ensures your grass continues absorbing nutrients effectively without unwanted side effects.
What Equipment Works Best for Application?
A broadcast spreader is ideal for large, open lawns because it covers ground quickly and evenly. For smaller or irregular spaces, a drop spreader or handheld spreader gives you tighter control. Calibrate whichever tool you choose so granules release at the proper rate. Wearing gloves and eye protection adds comfort and safety. The right equipment makes the entire process smoother, faster, and far more accurate.
Conclusion
Feeding your lawn does not have to feel complicated or intimidating, even if you are just starting out. By testing your soil, timing your feeding wisely, measuring carefully, and watering thoroughly, you set your grass up for fast, healthy growth. Each step builds on the last, helping you avoid common mistakes like burning, uneven coverage, or wasted product. With a little practice, these habits become second nature and your lawn rewards you with thick, vibrant color.
The real secret to mastering how to apply ammonium sulfate to lawn areas is consistency paired with attention to your grass’s needs. Keep monitoring your results, adjust as you learn, and feed on a sensible schedule throughout the growing season. Now that you have a clear, step-by-step plan, there is nothing stopping you from getting started. Grab your spreader, follow these tips, and watch your lawn transform into the lush, healthy yard you have always wanted.

About
Outdoor Fixes is a distinguished figure in the world of Diy design, with a decade of expertise creating innovative and sustainable Diy solutions.
His professional focus lies in merging traditional craftsmanship with modern manufacturing techniques,
fostering designs that are both practical and environmentally conscious. As the author of diy,
outdoorfixes delves into the art and science of outdoorfixes-making, inspiring artisans and industry professionals alike.
Education RMIT University
(Melbourne, Australia) Associate Degree in Design (Outdoor Fixes) Focus on sustainable design, industry-driven projects,
and practical craftsmanship. Gained hands-on experience with traditional and digital manufacturing tools, such as CAD and CNC software.
Nottingham Trent University
(United Kingdom) Bachelor’s in outdoorfixes.com and Product Design (Honors) Specialized in product design with a focus on blending creativity with production
techniques. Participated in industry projects, working with companies like John Lewis and Vitsoe to gain real-world insights.
Publications and Impact
In diy, Outdoor Fixes his insights on indoor design processes, materials, and strategies for efficient production.
His writing bridges the gap between artisan knowledge and modern industry needs, making it a must-read for both budding designers and seasoned professionals.