Few things are more annoying than hopping onto your trusty lawn mower only to find the seat cover flapping in the wind or the cushion separating from the plastic frame.
A detached seat isn’t just an aesthetic issue; it can lead to foam deterioration, waterlogging, and a very uncomfortable ride while you’re trying to tame your lawn. The good news? You don’t need to be a professional mechanic to fix it. With the right adhesive and a bit of patience, you can get that seat looking and functioning like new.
This guide on how to glue lawn mower seat back on will walk you through everything you need to know about gluing your lawn mower seat back on.

What are the Benefits?
Taking the time to repair your lawn mower seat yourself offers several distinct advantages.
First and foremost is cost savings. A brand-new manufacturer seat can easily cost over a hundred dollars, sometimes more, depending on the brand. A tube of high-quality adhesive, on the other hand, costs a fraction of that price. Repairing it yourself keeps money in your pocket for other yard projects.
Second, repairing the seat extends the life of your equipment. When the vinyl or leather cover separates from the frame, the foam underneath is exposed to the elements. Rain, sun, and dirt can quickly degrade the foam, making the seat unusable and necessitating a full replacement. Gluing it back down seals the foam away from moisture and UV rays.
Finally, there is the satisfaction of DIY repair. Maintaining your own equipment fosters a sense of ownership and pride. It’s a relatively simple fix that yields immediate, tangible results, making your next mowing session much more comfortable.
What Will You Need?
Before you start, gather these supplies to ensure a smooth repair process:
- High-strength Adhesive: Look for construction adhesive, contact cement, or a specific vinyl repair glue meant for upholstery. Marine-grade goop or 3M Super Weatherstrip Adhesive are popular choices.
- Cleaning Supplies: Rubbing alcohol or a strong degreaser, warm soapy water, and clean rags.
- Sandpaper: Medium grit (around 100-150 grit) to rough up the surfaces.
- Clamps: Several C-clamps or spring clamps.
- Weights: Heavy objects like bricks, dumbbells, or books (if clamps won’t fit the specific area).
- Painter’s Tape or Masking Tape: To protect areas you don’t want glue on.
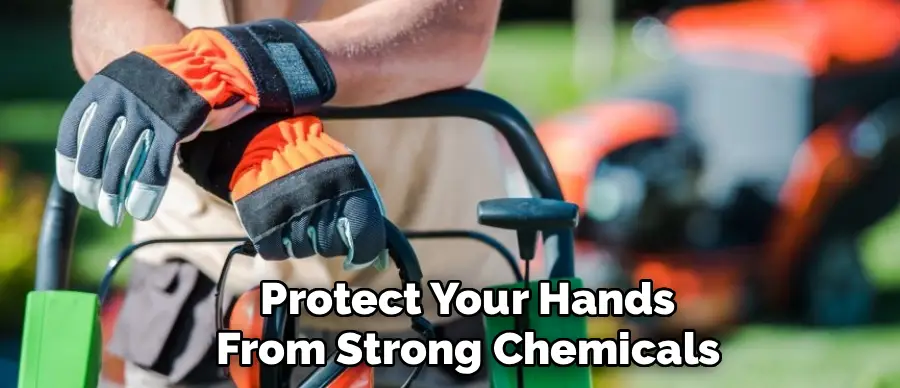
- Disposable gloves: To protect your hands from strong chemicals.
- A Small Brush or Spatula: For spreading the glue evenly.
10 Easy Steps on How to Glue Lawn Mower Seat Back on
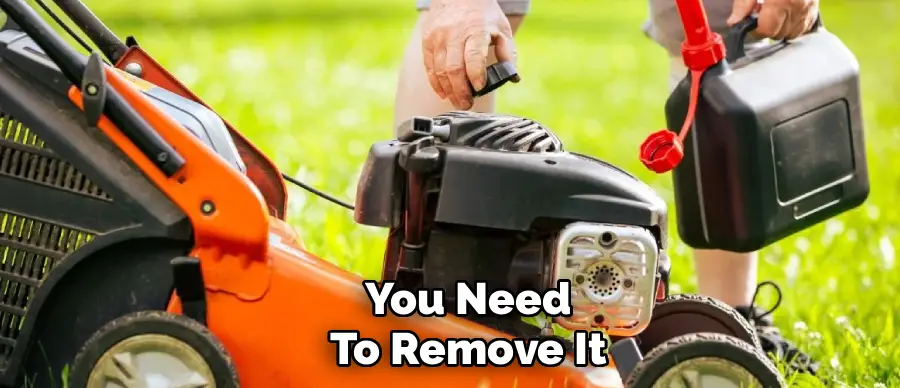
Step 1: Remove the Seat from the Mower
While it is possible to glue the seat while it is still attached, removing it gives you much better access and allows you to work on a stable surface. Most seats are attached with a single bolt or a pin underneath. Check your owner’s manual if you aren’t sure. Once removed, place the seat on a sturdy workbench or table where you can easily reach all sides.
Step 2: Clean the Surfaces Thoroughly
Adhesive will not bond to dirt, grease, or old glue. Use warm, soapy water to wash the plastic frame and the underside of the vinyl cushion. Scrub away any grass clippings, oil residue, or grime. Rinse it well and let it dry completely. Moisture is the enemy of a good glue bond, so ensure no water remains in the crevices.
Step 3: Remove Old Adhesive
If there is old, crusty glue on the frame or the vinyl, you need to remove it. You can use a scraper or a flat-head screwdriver to chip away large chunks. For stubborn residue, a solvent like Goo Gone or acetone might help, but test a small area first to ensure it doesn’t melt the plastic or vinyl. The goal is to get down to the base material for a fresh bond.
Step 4: Sand the Contact Areas
Smooth plastic is notoriously difficult to glue because the adhesive has nothing to “grab” onto. Take your sandpaper and lightly scuff the plastic frame where the glue will go. Do the same for the underside of the vinyl or leather material. You don’t need to sand it down to nothing; just create a rough texture that will help the adhesive form a mechanical bond.
Step 5: Wipe Down with Alcohol
After sanding, you will have a lot of fine dust. If you glue over dust, the glue will stick to the dust, not the seat, and the bond will fail. Dampen a rag with rubbing alcohol and wipe down both surfaces one last time. The alcohol cleans up the dust and evaporates quickly without leaving a residue, ensuring a pristine surface for the glue.
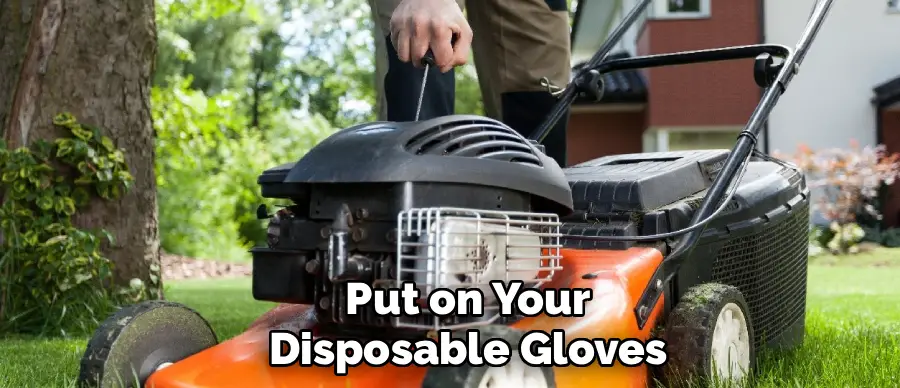
Step 6: Apply the Adhesive
Put on your disposable gloves. Apply a generous, even layer of adhesive to both the plastic frame and the underside of the seat cover. Follow the instructions on your specific glue—some contact cements require you to apply glue to both sides and wait for it to get tacky before joining them. Use your brush or spatula to spread it so there are no thick globs or dry spots.
Step 7: Press the Surfaces Together
Carefully align the seat cover with the frame. Once they touch, it can be messy to reposition them, so take your time. Press the vinyl firmly down onto the plastic. Start from the center and work your way out to the edges to push out any air bubbles. If the seat wraps around a lip, ensure you pull the material tight so there are no wrinkles.
Step 8: Clamp It Down
This is perhaps the most critical step. The glue needs constant pressure while it cures. Use your clamps to hold the vinyl tight against the frame. If you are gluing the center of the seat where clamps can’t reach, place a flat board over the area and pile your heavy weights on top of it. Ensure the pressure is distributed evenly so the bond is uniform.
Step 9: Clean Up Excess Glue
While the glue is still wet, inspect the edges. If any adhesive has squeezed out, wipe it away immediately with a damp rag or a solvent appropriate for your glue. Once the glue dries, it can be incredibly difficult to remove and looks messy. Removing it now ensures a professional-looking finish.
Step 10: Allow Full Cure Time
Patience is key. Do not rush to put the seat back on the mower. Most heavy-duty adhesives require at least 24 hours to cure fully, and some may take up to 48 hours depending on humidity and temperature. Leave the clamps and weights in place for the full duration recommended by the glue manufacturer.
By following these steps, you can successfully glue your lawn mower seat back together and have it last for many years to come.
5 Things You Should Avoid
- Skipping Surface Prep: Never apply glue directly to a dirty or smooth surface. If you skip cleaning and sanding, the repair will likely fail within a week of use due to vibration and heat.
- Using the Wrong Glue: Avoid standard super glue or school glue. They are brittle and cannot withstand the flexing, bouncing, and temperature changes a lawnmower endures. Use a flexible, industrial-strength adhesive.
- Rushing the Cure Time: It is tempting to use the mower immediately after gluing, but removing clamps too early weakens the bond. The chemical reaction needs time to complete for maximum strength.
- Gluing Wet Foam: If the foam inside the seat is wet from rain or washing, do not glue the cover back on yet. Trapping moisture inside will cause mold and rot. Let the foam dry out completely in the sun first.
- Using Too Much Glue: More isn’t always better. A thick layer of glue takes longer to dry and can seep out the sides, creating a mess. A thin, even coat on both surfaces usually provides the strongest hold.
Frequently Asked Questions
- Can I Use Hot Glue to Fix My Lawn Mower Seat?
No, hot glue is not recommended for this repair. Hot glue hardens into a rigid plastic that will crack when you sit on it or when the mower vibrates. Furthermore, on hot summer days, the interior of a shed or garage can get hot enough to soften hot glue, causing the bond to fail. - What is the Best Type of Glue for Vinyl to Plastic?
Contact cement or a dedicated weatherstrip adhesive is usually the best choice. Brands like 3M make specific automotive trim adhesives designed to bond vinyl to metal or plastic. These adhesives remain flexible after drying, which is essential for a seat cushion that compresses when you sit. - How Do I Fix a Crack in the Actual Yellow Seat Foam?
If the foam itself is cracked or crumbling, glue won’t fix the structure. You can try to fill small gaps with spray foam adhesive, but for large cracks, you might need to insert a piece of replacement high-density foam before gluing the cover back down. If the foam is disintegrated, replacement is the better option.
Conclusion
Repairing a detached lawn mower seat is a straightforward DIY project that saves money and restores comfort to your mowing routine.
By choosing the right adhesive, preparing your surfaces diligently, and allowing ample time for the glue to cure, you can achieve a bond that rivals the factory original.
Hopefully, this guide on how to glue lawn mower seat back on has provided you with the necessary steps and tips to successfully repair your lawn mower seat. Remember, regular maintenance and inspection of your lawn mower can prevent potential issues such as a detached seat.
Keep your equipment in good condition to ensure a safe and enjoyable experience every time you mow your lawn! Happy repairing!
About
Outdoor Fixes is a distinguished figure in the world of Diy design, with a decade of expertise creating innovative and sustainable Diy solutions.
His professional focus lies in merging traditional craftsmanship with modern manufacturing techniques,
fostering designs that are both practical and environmentally conscious. As the author of diy,
outdoorfixes delves into the art and science of outdoorfixes-making, inspiring artisans and industry professionals alike.
Education RMIT University
(Melbourne, Australia) Associate Degree in Design (Outdoor Fixes) Focus on sustainable design, industry-driven projects,
and practical craftsmanship. Gained hands-on experience with traditional and digital manufacturing tools, such as CAD and CNC software.
Nottingham Trent University
(United Kingdom) Bachelor’s in outdoorfixes.com and Product Design (Honors) Specialized in product design with a focus on blending creativity with production
techniques. Participated in industry projects, working with companies like John Lewis and Vitsoe to gain real-world insights.
Publications and Impact
In diy, Outdoor Fixes his insights on indoor design processes, materials, and strategies for efficient production.
His writing bridges the gap between artisan knowledge and modern industry needs, making it a must-read for both budding designers and seasoned professionals.