
Few things turn an ordinary porch into a cozy retreat faster than a set of flowing curtains. They add shade on sunny afternoons, privacy from passing neighbors, and a soft, welcoming charm that makes you want to linger outside. If you have ever admired a beautifully draped porch and wondered how to recreate that look, you are in the right place. Learning how to hang curtains on a porch is far easier than it seems, and you do not need to be a seasoned handyperson to get great results.
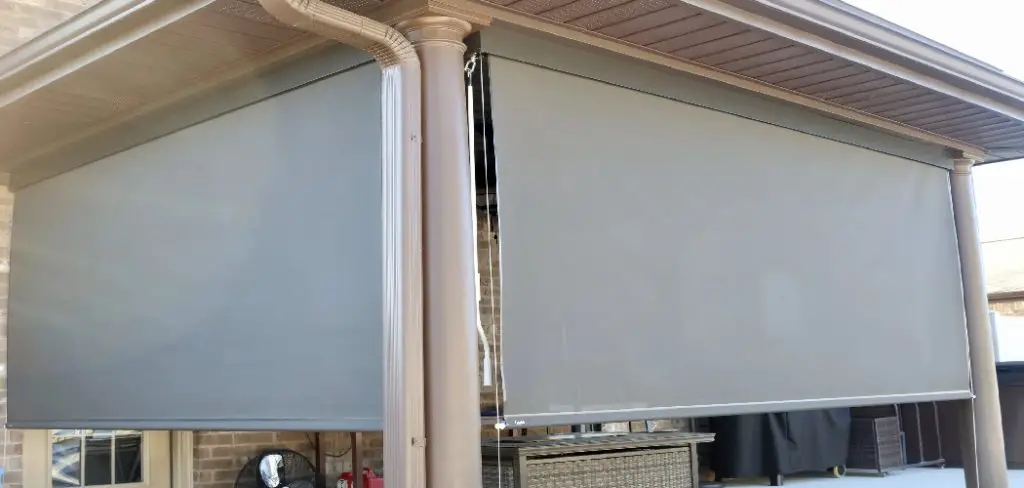
This guide breaks the whole project down into clear, manageable steps that work for any skill level. We will walk through choosing the right materials, measuring your space, mounting your hardware, and finishing with a polished, breezy look. Along the way, you will pick up practical tips that prevent common mistakes and save you time. By the end, you will feel confident transforming your outdoor space into a comfortable, stylish spot you can enjoy all season long.
Why Hanging Curtains On A Porch Matters
Adding curtains to your porch does more than boost curb appeal, though that alone is a great reason. The right panels block harsh sunlight, keep your seating cooler, and protect furniture from fading over time. They also create privacy, giving you a quiet, tucked-away feeling even when neighbors are close by.
There is comfort in the practical perks too. Curtains soften strong breezes, offer a gentle barrier against bugs, and help define your outdoor living area as its own relaxing room. Beyond function, they bring texture and color that ties your whole space together. Whether you want a romantic, resort-style vibe or a simple, clean look, well-hung curtains make your porch feel intentional and inviting. Best of all, the project is budget-friendly and rewarding for beginners.
Step-by-Step Guide to How To Hang Curtains On A Porch
Step 1: Choose The Right Curtains For Outdoor Use
Start by picking fabrics built to handle the elements. Indoor curtains will quickly fade, mildew, or sag once they meet rain and humidity, so reach for outdoor-rated panels made from polyester, acrylic, or treated canvas. These materials dry fast, resist mold, and hold their color through sunny weeks and stormy ones alike.

Think about how the fabric performs as well as how it looks. Lighter, sheer panels flutter beautifully and let light through, while heavier weaves give you more shade and privacy. Consider your climate too, since windy areas benefit from weighted hems that keep curtains from tangling. Choosing the right material now sets you up for a result that lasts season after season.
Step 2: Measure Your Porch Space Carefully
Accurate measurements are the secret to curtains that hang straight and look professional. Grab a tape measure and record the width of each opening you want to cover, then measure from your planned rod height down to where you want the panels to fall. Most people aim for curtains that just kiss the floor or hover an inch above it.
Write your numbers down so you do not lose track between openings. If your porch has multiple bays, measure each one separately, because spacing can vary more than you expect. Add a little extra width so the fabric can gather and drape nicely rather than stretching flat. This small step prevents costly sizing mistakes later.
Step 3: Gather Your Tools And Hardware
Before mounting anything, set out everything you will need so you are not searching mid-project. A typical setup calls for curtain rods or wire, mounting brackets, a drill, screws, wall anchors, a level, a pencil, and a sturdy ladder. Having outdoor-rated, rust-resistant hardware makes a real difference in longevity.
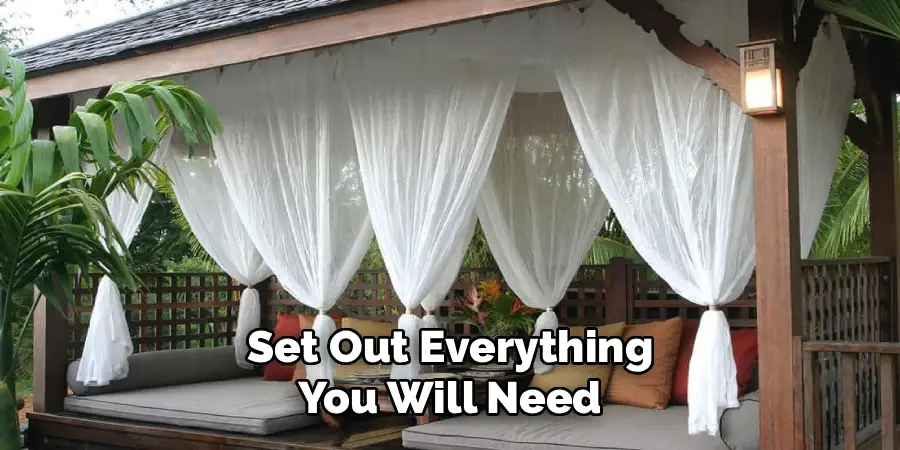
Take a moment to match your hardware to your porch material. Wood posts accept screws easily, while brick, stucco, or vinyl may need special anchors or adhesive mounts. If you rent your home, tension rods or no-drill hooks let you achieve the look without permanent holes. Preparing your tools in advance keeps the work smooth, safe, and frustration-free from start to finish.
Step 4: Porch With Proper Rod Placement
Now comes the part that shapes your entire look. Decide where your rod or cable will sit, keeping it high enough to feel airy yet low enough to cover the space you want. Hold the bracket against the post, use your level to confirm it sits straight, and mark each screw hole with a pencil.
Consistency matters across multiple openings, so measure from the ceiling or beam to keep every rod at the same height. A crooked rod stands out instantly, while evenly placed hardware gives a clean, custom feel. Take your time marking, double-check with the level, and you will avoid the headache of re-drilling. Careful placement here pays off in a polished final result.
Step 5: Install The Mounting Brackets
With your marks in place, it is time to secure the hardware. Drill pilot holes at each pencil mark, insert anchors if your surface needs them, then screw the brackets in firmly. Give each one a gentle tug to confirm it feels solid, since curtains add weight and tug against the mounts in the wind.
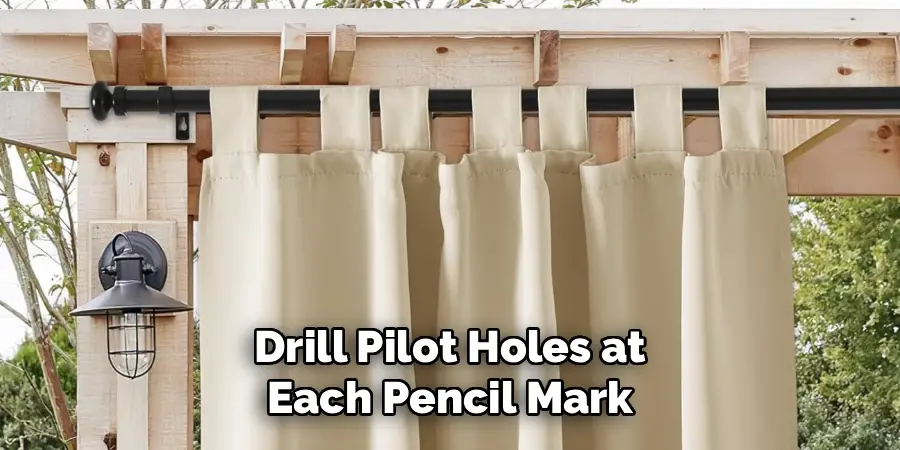
Work one bracket at a time and recheck your level as you go. If you are using cable wire instead of a rod, install the end anchors tightly so the line stays taut and does not sag under the fabric. Solid, level brackets form the backbone of the whole project, so do not rush this stage. Stable hardware keeps your curtains hanging beautifully for years.
Step 6: Slide On And Hang Your Curtains
The exciting moment has arrived. Thread your panels onto the rod or clip them to your cable using rings, grommets, or tab tops, depending on your style. Grommet panels glide smoothly and create even folds, while clip rings make adjusting quick and simple. Slide the loaded rod onto the brackets and settle it into place.
Once mounted, step back and check that the fabric falls evenly across the opening. Adjust the gathers so they look full and balanced rather than bunched at one end. If a panel hangs too long, you can hem it or simply let it pool slightly for a relaxed look. This is where your porch truly starts to transform.
Step 7: Secure And Style The Finished Look
Outdoor curtains love to billow, so finishing touches keep them tidy and functional. Add tiebacks, holdbacks, or simple rope loops so you can pull panels open for breezy days and let them close for shade or privacy. Weighted hems or small magnets at the bottom help fight strong gusts and stop tangling.
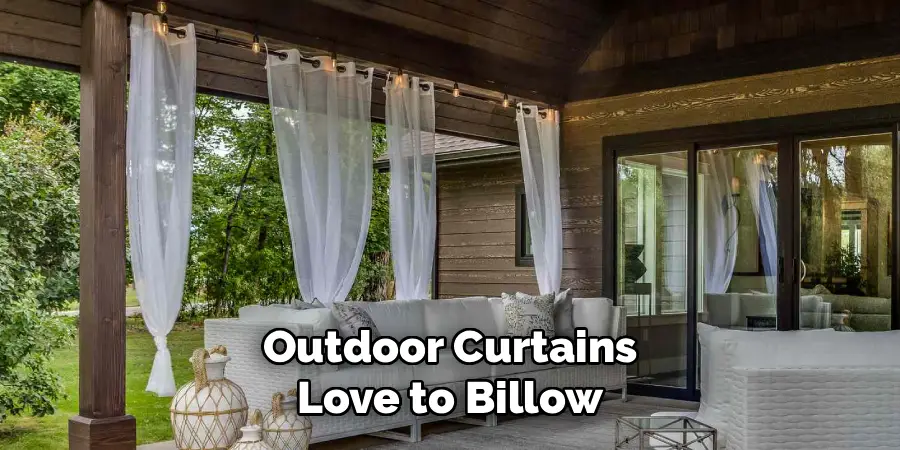
Take a final look at the overall styling. Steam out any wrinkles, fluff the folds, and make sure each panel sits at a matching length. Consider layering a sheer with a heavier panel for extra versatility and depth. With everything secured and styled, your porch becomes a comfortable, picture-perfect space ready for morning coffee or evening gatherings.
Frequently Asked Questions
What Type Of Fabric Works Best For Porch Curtains?
Outdoor-rated fabrics like polyester, acrylic, and treated canvas perform best because they resist fading, mildew, and moisture. Sunbrella-style materials are especially popular for their durability. Lighter sheers create an airy feel and gentle shade, while heavier weaves offer more privacy and block stronger sunlight. Choose based on your climate and how much coverage you want for the most satisfying, long-lasting result.
How High Should I Mount The Curtain Rod?
Mount the rod just below your porch ceiling, beam, or eave for the most elegant, elongated look. This placement lets the fabric drape fully and keeps curtains from blocking your view at eye level. Always use a level to confirm the rod sits straight, and measure from the ceiling at each opening so every panel hangs at the same consistent, balanced height.
Do I Need Special Hardware For An Outdoor Setting?
Yes, outdoor settings call for rust-resistant hardware such as stainless steel or coated aluminum rods, brackets, and screws. Standard indoor pieces corrode quickly when exposed to rain and humidity. Match your anchors to your surface, whether wood, brick, or vinyl, for a secure hold. Quality outdoor hardware costs a little more upfront but saves you frustration and replacement costs down the road.
How Do I Keep Porch Curtains From Blowing Around?
To tame curtains in the wind, add weighted hems, small magnets, or sewn-in chain weights along the bottom edge. Tiebacks and holdbacks let you secure panels neatly when breezes pick up. Some people install a bottom cable or rod to anchor the fabric at both ends. These simple solutions keep your curtains looking tidy while still allowing easy movement when you want airflow.
Can I Hang Porch Curtains Without Drilling?
Absolutely. If you rent or prefer not to drill, tension rods, adhesive hooks, and clamp-on brackets offer a damage-free alternative. Outdoor command strips and S-hooks paired with existing beams also work well for lighter panels. Just confirm your chosen method supports the weight of your fabric, especially in wind. No-drill options let you enjoy a beautifully styled porch without committing to permanent holes.
Conclusion
Transforming your porch into a shaded, private, and stylish retreat is well within your reach. By choosing weather-ready fabrics, measuring carefully, mounting sturdy hardware, and adding thoughtful finishing touches, you set yourself up for results that look professionally done. Each step builds on the last, so taking your time with measurements and level brackets truly pays off in the final look.
Now that you know how to hang curtains on a porch with confidence, there is nothing stopping you from creating your own breezy outdoor escape. Gather your tools, pick the panels that match your vision, and enjoy the satisfying process of seeing your space come together. With a little patience and these beginner-friendly tips, your porch will soon become the favorite spot in your home for relaxing, entertaining, and soaking up the season.

About
Outdoor Fixes is a distinguished figure in the world of Diy design, with a decade of expertise creating innovative and sustainable Diy solutions.
His professional focus lies in merging traditional craftsmanship with modern manufacturing techniques,
fostering designs that are both practical and environmentally conscious. As the author of diy,
outdoorfixes delves into the art and science of outdoorfixes-making, inspiring artisans and industry professionals alike.
Education RMIT University
(Melbourne, Australia) Associate Degree in Design (Outdoor Fixes) Focus on sustainable design, industry-driven projects,
and practical craftsmanship. Gained hands-on experience with traditional and digital manufacturing tools, such as CAD and CNC software.
Nottingham Trent University
(United Kingdom) Bachelor’s in outdoorfixes.com and Product Design (Honors) Specialized in product design with a focus on blending creativity with production
techniques. Participated in industry projects, working with companies like John Lewis and Vitsoe to gain real-world insights.
Publications and Impact
In diy, Outdoor Fixes his insights on indoor design processes, materials, and strategies for efficient production.
His writing bridges the gap between artisan knowledge and modern industry needs, making it a must-read for both budding designers and seasoned professionals.