
To safely sharpen a garden hoe, secure the tool in a workbench vise. Use a flat mill bastard file to stroke the factory-beveled edge at a 30- to 45-degree angle, always pushing away from your body. Stop when the edge shines, then apply lubricating oil to prevent rust.
We often accept exhaustion as a natural byproduct of yard work. When a dull blade meets compacted soil, the resulting struggle feels like an unavoidable part of gardening. Yet this resistance typically suggests a failure of equipment rather than a physical inevitability.
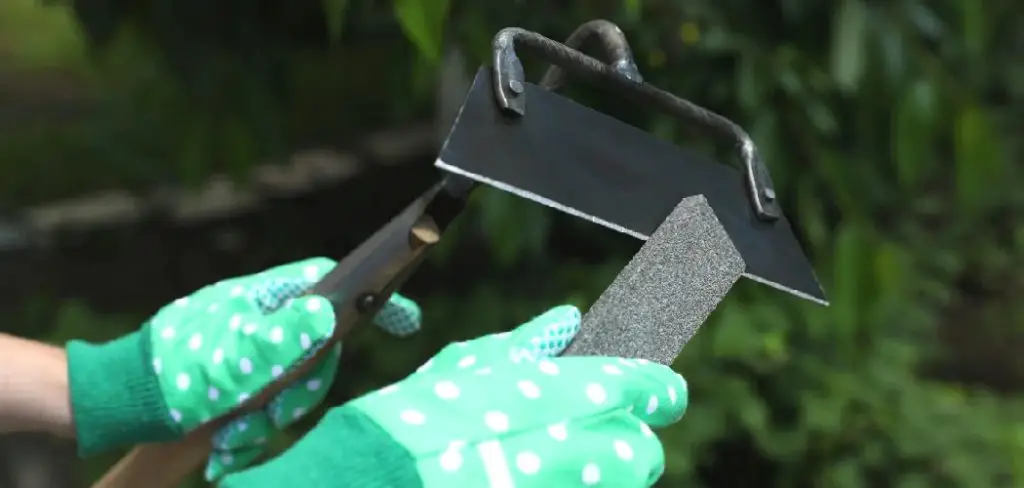
Operating a blunt tool forces your body to compensate for degraded metal geometry. You end up tearing at stubborn roots instead of cleanly severing them. This brute-force approach may indicate a broader cultural tendency to replace tools rather than maintain them.
Dedicating a few quiet minutes to proper file work could drastically shift how you experience an afternoon in the dirt. A sharp edge slides beneath the soil crust with surprising ease. Weeds fall away at the base. You might actually finish the job with fewer blisters and a lingering sense of mechanical satisfaction. In this guide on how to sharpen garden hoe, we’ll discuss the importance of maintaining your gardening tools and provide step-by-step instructions on how to sharpen a garden hoe.
How Do You Identify When Your Garden Hoe Needs Sharpening?
Catching early signs of metal fatigue prevents unnecessary physical strain. You might notice the blade glancing off thick roots. It bounces. A properly tuned edge should bite into the plant fibers immediately.
Look closely at the bottom edge. A well-maintained blade flashes a crisp silver line. When that line rounds over or darkens with micro-nicks, the cutting geometry has failed. You might find yourself chopping vertically into the soil bed. Garden hoes are designed for smooth pulling motions. Chopping appears to indicate that the tool can no longer slice horizontally. A quick visual inspection before the spring season could save you hours of unnecessary labor.
What Tools And Materials Do You Need To Sharpen A Garden Hoe?
There are several tools and materials that you will need to sharpen your garden hoe. These include:
- A File or a Grindstone
- A Vice or a Clamp
- Protective Gear: Gloves, Safety Glasses, and Dust Mask (optional)
- Cleaning Cloth
- Lubricant such as oil

7 Simple Step-By-Step Guidelines On How To Sharpen Garden Hoe
Step 1: Clean The Blade Thoroughly Before Sharpening
Filing dirty steel is a futile exercise. Moisture and soil bake onto the metal, creating a thick crust that traps rust. This debris will immediately pack into the teeth of your file.
Scrub the metal vigorously with a wire brush. Expose the bare steel. Wipe the head down with a damp rag to catch the lingering dust. If heavy rust remains, soaking the edge in white vinegar for an hour may help loosen the oxidation. A clean surface allows the file to bite into the steel predictably.
Step 2: Secure The Hoe Safely In A Workbench Vise
Holding a wooden handle between your knees while pushing a file is a classic mistake. It is dangerous. It also guarantees a sloppy edge.
Clamp the metal blade into your bench vise. Position the tool so the beveled edge faces up toward the ceiling. The long handle should rest on the floor. Tighten the jaws firmly, but be mindful of older, brittle steel. Give the wood a sharp tug. It should not shift. Complete immobilization protects your hands from slipping files and ensures the cutting angle remains strictly consistent.
Step 3: Identify And Match The Original Factory Bevel
Look at the cutting edge. You will see a distinct sloped angle on the side facing the handle. The back side is entirely flat.
Garden hoes require a single-sided bevel to maintain their specific soil-cutting dynamics. This angle usually sits between 30 and 45 degrees. Place your file flat against this slope. Adjust your wrist until the file sits perfectly flush. Tilting too high creates a blunt wedge. Dropping the angle too low produces a fragile edge that will fold under pressure. Finding this original geometry is perhaps the single most important part of the process.
Step 4: File The Edge Using Proper Pushing Motions
Grip the file handle with your dominant hand. Rest your other hand on the tip. Push the file diagonally across the blade.
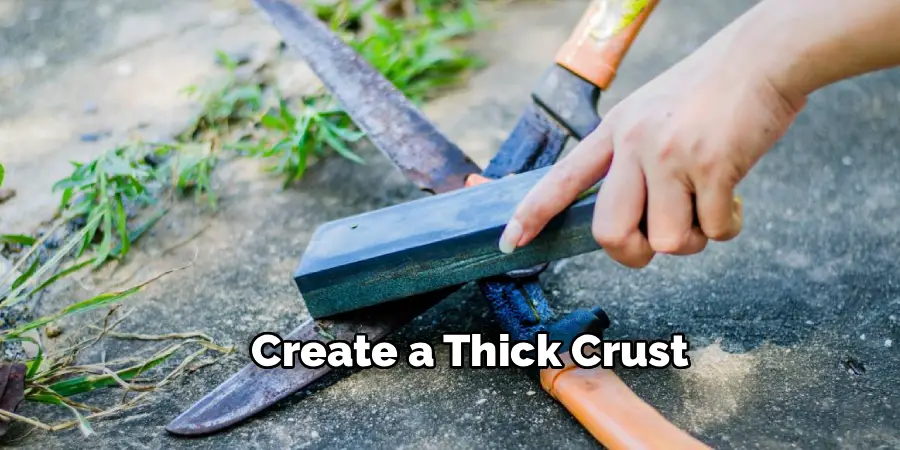
Apply steady pressure as you move away from your body in one deliberate stroke. Lift the tool entirely off the steel before resetting. Never drag a file backward. Dragging crushes the directional teeth and leaves a ragged finish on the hoe. Work systematically across the width of the blade, overlapping your strokes. You will hear a sharp scraping noise. Slowly, a bright line of fresh steel will emerge.
Step 5: Check The Edge Consistency And Sharpness
Stop and evaluate your progress. The newly exposed metal should form a straight, continuous line. Watch for dips or lingering dark spots.
If one section looks uneven, concentrate a few light passes over that exact area. Test the edge cautiously. Run your thumb gently across the blade—perpendicular to the edge, never parallel. The steel should feel crisp. It will catch the ridges of your skin. It does not need to shave hair, but it should be refined enough to slice through a tensioned piece of paper.
Step 6: Remove The Metal Burr From The Flat Side
Aggressive filing pushes microscopic steel fibers over the back of the blade. This creates a lip known as a burr.
Leaving the burr intact is a mistake. It folds over the moment it hits the dirt, instantly dulling the tool. Flip the hoe in the vise so the flat side faces upward. Lay your file perfectly flat against the back. Give it one sweeping push. This gentle friction shears the burr away cleanly, leaving a strong, unified edge.
Step 7: Apply A Protective Oil Coating To Prevent Rust
Freshly filed steel reacts to humidity immediately. Oxidation begins the moment you put the file down.
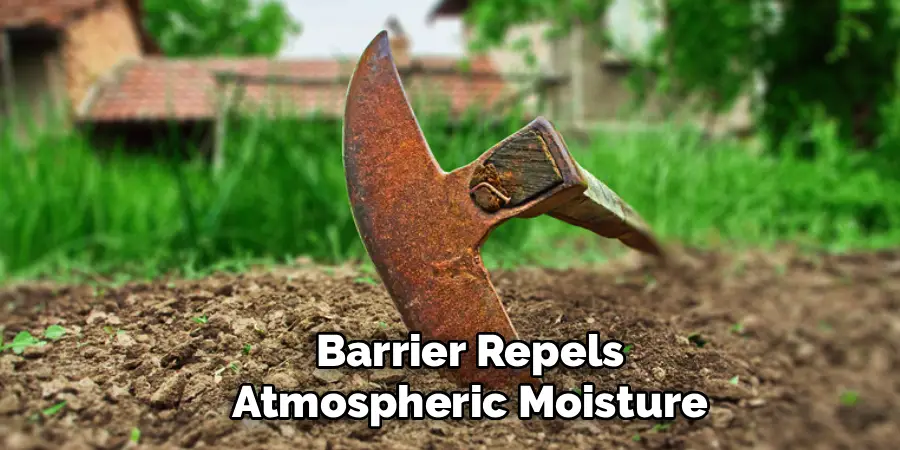
Spray a clean rag with mineral oil or WD-40. Wipe the entire metal head, pressing the oil deeply into the sharpened bevel and the socket joint. This thin barrier repels atmospheric moisture. Store the hoe inside a dry shed. Leaving it leaning against the side of the house invites rapid corrosion.
Following these steps on how to sharpen garden hoe will not only ensure that your hoe is ready for use whenever you need it, but also prolong its lifespan.
What Safety Precautions Should You Take When Sharpening Garden Tools?
Working with exposed edges demands strict attention. Leather gloves protect your knuckles if the file abruptly slips off the steel.
Safety glasses prevent airborne metal dust from scratching your cornea. Always verify that your vise is firmly bolted to the table. A shifting workpiece is a severe liability.
What Are The Common Mistakes To Avoid When Sharpening A Hoe?
Certain errors can permanently alter the function of your equipment.
- Pulling the file backward destroys the file’s cutting teeth.
- Filing both sides of the hoe ruins its flat-backed slicing action.
- Taking a high-speed grinder to thin steel often destroys the temper.
- Ignoring caked-on dirt renders your sharpening tools useless.
- Attempting to file a loose tool invites deep lacerations.
Do You Need To Hire Professionals To Sharpen A Garden Hoe?
For basic carbon steel garden tools, paying a professional is rarely necessary. These implements are forged from relatively soft steel. They respond beautifully to hand files.
The required file costs less than a single professional sharpening fee. You can learn the technique in ten minutes. However, we might consider professional restoration if a rare heirloom piece sustains massive chipping. In those rare edge cases, a metalsmith’s precision could salvage the tool’s lifespan.
What Are The Best Maintenance Tips For Long-Term Hoe Sharpness?
Routine care mitigates the need for heavy filing. Hose the mud off your blade after every afternoon in the garden. Wipe it completely dry.
Hang your tools on a wall bracket. Resting a sharp edge directly on wet garage concrete promotes rapid dulling. Rub a lightly oiled rag over the steel before storing it for the winter. During peak growing seasons, a few quick swipes with a file every month will keep the blade biting aggressively into the soil.
Frequently Asked Questions
Q1: Can I Use An Angle Grinder To Sharpen My Garden Hoe?
You could, but it is highly discouraged. Angle grinders spin at extreme velocities. The resulting friction can turn thin steel blue in seconds, completely destroying its heat treatment. Once the temper is gone, the metal becomes too soft to hold an edge. Hand filing offers superior control and eliminates this risk.
Q2: How Often Should I Sharpen My Weeding Tools?
This relies heavily on your local soil composition. Rocky, dense ground may require monthly touch-ups. For typical suburban loam, a deep sharpening in the spring followed by a quick pass mid-summer usually suffices.
Q3: What Is The Difference Between A Mill File And A Bastard File?
These terms describe different aspects of the same tool. “Mill” indicates a single-cut tooth pattern designed for bladed edges. “Bastard” describes the coarseness level. A bastard cut removes material aggressively but still leaves a functional, smooth finish behind.

Next Steps For Maintaining Your Garden Tools
Mechanical sympathy transforms gardening from a chore into a highly efficient practice. With your hoe freshly tuned, you might evaluate the rest of your shed. Spades, flat shovels, and edgers all benefit from these exact filing principles.
Cultivating a rack of precisely maintained steel could be the most effective strategy for minimizing physical strain in the yard. Thanks for reading this guide on how to sharpen garden hoe.

About
Outdoor Fixes is a distinguished figure in the world of Diy design, with a decade of expertise creating innovative and sustainable Diy solutions.
His professional focus lies in merging traditional craftsmanship with modern manufacturing techniques,
fostering designs that are both practical and environmentally conscious. As the author of diy,
outdoorfixes delves into the art and science of outdoorfixes-making, inspiring artisans and industry professionals alike.
Education RMIT University
(Melbourne, Australia) Associate Degree in Design (Outdoor Fixes) Focus on sustainable design, industry-driven projects,
and practical craftsmanship. Gained hands-on experience with traditional and digital manufacturing tools, such as CAD and CNC software.
Nottingham Trent University
(United Kingdom) Bachelor’s in outdoorfixes.com and Product Design (Honors) Specialized in product design with a focus on blending creativity with production
techniques. Participated in industry projects, working with companies like John Lewis and Vitsoe to gain real-world insights.
Publications and Impact
In diy, Outdoor Fixes his insights on indoor design processes, materials, and strategies for efficient production.
His writing bridges the gap between artisan knowledge and modern industry needs, making it a must-read for both budding designers and seasoned professionals.