
To unscrew a stuck garden hose nozzle, first turn off the water supply to relieve internal pressure. Apply a specialized penetrating oil to the threads to loosen mineral deposits. If the nozzle remains stuck, use a hairdryer to induce gentle thermal expansion, then twist carefully using cloth-wrapped locking pliers.
Anyone who spends time maintaining a yard likely knows the specific irritation of a seized hose nozzle. You intend to quickly water the garden, but instead find yourself locked in a frustrating wrestling match with a stubborn piece of metal. Mineral deposits, rust, and oxidation naturally accumulate over time. These elements effectively lock the threaded connections together, sometimes so tightly they appear permanently welded.
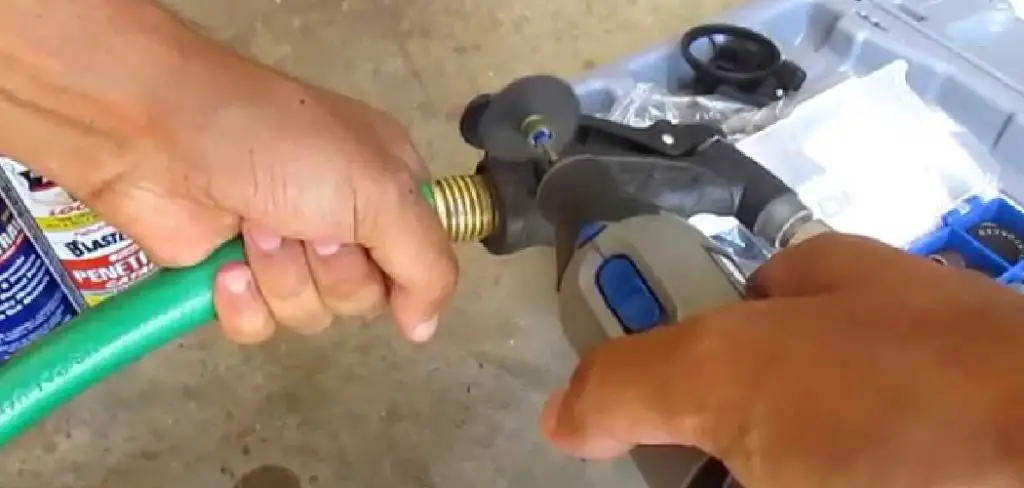
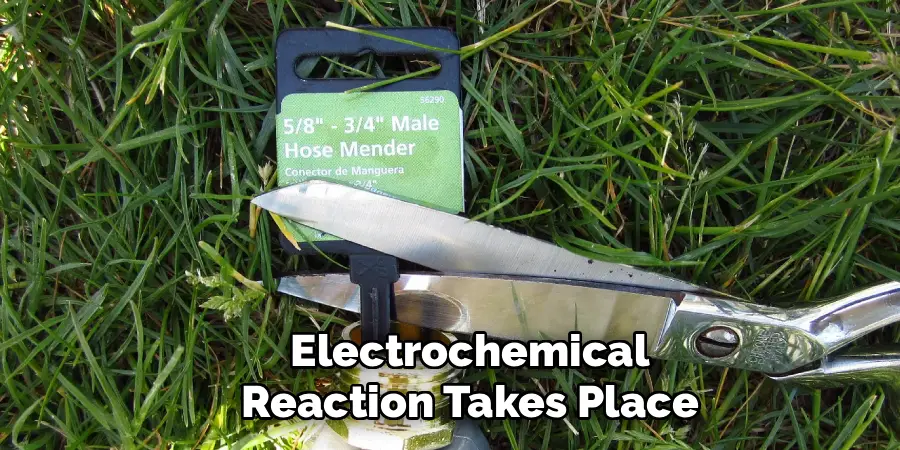
This fusion isn’t just bad luck; it typically results from a distinct chemical process. When two different metals remain in contact while exposed to water, they often undergo an electrochemical reaction. The resulting bond is incredibly strong, which explains why basic twisting rarely solves the problem.
Understanding the mechanics of this issue might suggest better ways to approach it. By examining the materials involved and applying a few methodical techniques, you can break the chemical bonds holding the pieces together. Learning how to navigate this process safely will save you from having to replace your watering equipment prematurely. In this guide on how to unscrew nozzle off hose, we’ll explain the key concepts you need to know and provide some helpful tips to make the process easier.
How Do You Identify the Hose and Nozzle Materials?
Before reaching for a toolbox, it helps to pause and identify the exact materials you are dealing with. Garden hoses typically feature brass, aluminum, or heavy-duty plastic fittings. Nozzles are generally manufactured from these same materials. When an aluminum nozzle attaches to a brass hose fitting for an extended period, the two metals undergo a reaction known as galvanic corrosion. This chemical process causes the distinct metals to fuse.
Recognizing your equipment’s material composition dictates the safest removal strategy. Plastic fittings require a very gentle touch to avoid cracking the fragile threads. Brass components are generally durable but can easily warp if squeezed too tightly with steel tools. If you are dealing with aluminum fixtures, penetrating oils and temperature changes are usually necessary to break the severe oxidative bonds without tearing the soft metal apart.
7 Steps on How to Unscrew Nozzle Off Hose
Step 1: Turn Off the Water Supply and Relieve Hose Pressure
Shutting off the main water supply at the spigot should always be your first move. Even a minimal amount of trapped water pressure pushing against the internal threads creates unnecessary friction. This friction makes the nozzle significantly harder to turn. Once the spigot is tightly closed, open the valve on your nozzle to release any lingering water.
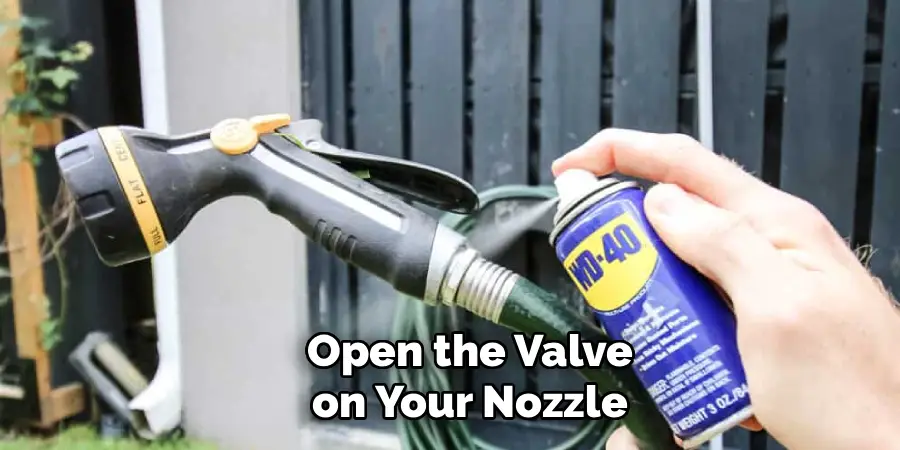
Releasing this internal pressure makes the physical twisting motion much easier. It also prevents unexpected bursts of water from spraying you once the seal finally breaks. An empty, unpressurized hose is significantly lighter and easier to maneuver, allowing you to focus your physical effort entirely on the corroded connection.
Step 2: Clean the Exterior Joint Between the Hose and Nozzle
A busy gardening season leaves behind mud, dried debris, and hard water minerals. These elements cake around the connection point of your watering tools. Use a stiff-bristled wire brush to scrub the exterior joint thoroughly. Clearing this thick outer layer of grime exposes the actual microscopic gap between the threaded connections.
Cleaning the joint is a critical preparatory measure. It clears a physical pathway for lubricants to actually reach the seized threads. Skipping this phase means any applied oils will simply soak into surface dirt rather than seeping down into the metal. Wipe the area with a dry cloth afterward to ensure a clear view of the structural seam.
Step 3: Apply a High-Quality Penetrating Oil to the Threads
Once the joint is clean, apply a liquid solution designed to break down severe corrosion. Spray a generous amount of penetrating oil directly onto the visible seam where the nozzle meets the hose connector. Standard household lubricants are often too thick to be effective. You need a dedicated penetrating fluid designed to creep into impossibly tight spaces.
As you spray the solution, gently tap the metal fitting with the plastic handle of a screwdriver. Light, rhythmic vibrations help draw the fluid deeper through capillary action. Ensure you work in a well-ventilated area and wear safety goggles, as these strong chemical compounds can irritate the eyes upon contact.
Step 4: Wait for the Lubricant to Break Down the Corrosion
Patience often does more work than muscle in these situations. Allow the chemical solution adequate time to perform its intended function. For mild sticking, waiting twenty minutes might be sufficient to loosen calcified mineral deposits.
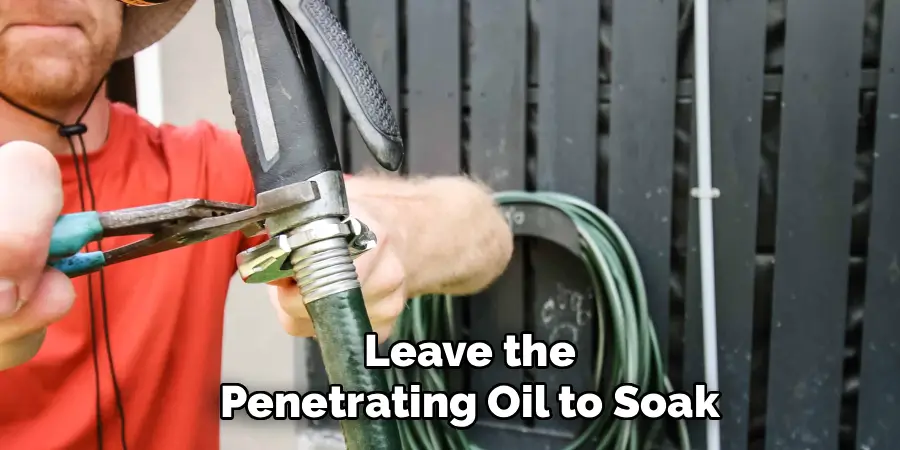
If your nozzle has been firmly attached for multiple seasons, leaving the penetrating oil to soak overnight is usually necessary. Rushing this step and forcing the metal pieces apart prematurely tends to result in stripped threads. Giving the chemistry enough time to dissolve the galvanic corrosion means the physical removal process will require significantly less exertion.
Step 5: Apply Controlled Heat to Expand the Metal Connections
If penetrating oil alone fails, introducing controlled thermal expansion is a highly effective secondary strategy. Using a hairdryer set to a low temperature, carefully warm the exterior metal collar of the nozzle for two to three minutes. Heating the outer layer of metal causes it to expand slightly faster than the inner metal threads.
This subtle expansion creates a tiny fraction of a millimeter of new clearance. That microscopic space is often exactly what is needed to break the chemical bond. You must be extremely cautious not to melt any internal rubber gaskets or the vinyl hose material itself. Open flames or high-powered blowtorches pose a severe safety hazard and will instantly destroy the fixture.
Step 6: Use Locking Pliers or Wrenches for Extra Gripping Power
When bare hands are not strong enough to generate rotational force, mechanical advantage becomes necessary. Take two adjustable wrenches—one to hold the hose fitting entirely stationary, and the other to grip the base of the nozzle securely. Wrap a scrap of leather tightly around the metal first to prevent the sharp steel teeth from gouging your expensive fixtures.
Position the wrenches facing opposite directions to maximize leverage. Ensure the jaws are locked firmly onto the solid bases of the connectors rather than their hollow midsections. Squeezing too hard on the thin center of a brass nozzle will crush it into an oval shape, permanently ruining the internal threads.
Step 7: Twist Counterclockwise Slowly to Remove the Nozzle Safely
With your tools securely positioned, begin the physical extraction. Apply steady, even pressure to turn the nozzle counterclockwise while holding the hose connector perfectly still. Avoid sudden, violent jerking motions. Rapid spikes in force are exactly what cause delicate metal threads to shear off completely.
If you encounter heavy resistance, try tightening the nozzle clockwise just a fraction of an inch before reversing back to the loosening direction. This subtle rocking technique grinds up internal rust and pushes debris out of the threaded pathway. Continue this slow twisting until the components cleanly separate.
Following these steps on how to unscrew nozzle off hose will ensure that you can easily remove the nozzle without causing any damage.
What Are the Best Ways to Prevent Future Sticking?
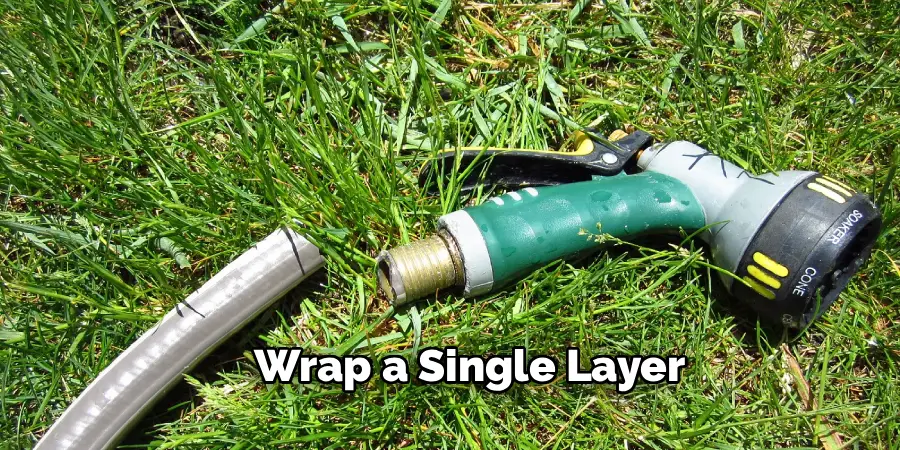
Preventing this issue requires very little effort compared to fixing it. Plumber’s tape, frequently called Teflon tape, serves as an excellent preventative measure. Wrap a single layer of this tape clockwise around the male threads of your garden hose before attaching a nozzle. This simple action creates a physical barrier that prevents dissimilar metals from touching, essentially eliminating the risk of galvanic corrosion.
Disconnect your watering tools at the end of the season. Storing nozzles separately indoors during cold months prevents freezing moisture from expanding inside the threads and locking the components together.
Common Removal Mistakes You Should Avoid
People often default to brute force when frustrated by outdoor chores. Using heavy pipe wrenches without care easily crushes delicate brass fittings into an unworkable shape. Another frequent error involves applying general-purpose lubricants instead of specialized rust-breaking fluids for severe corrosion.
Failing to use a protective rag under plier jaws guarantees deep scratches that ruin the fixture’s exterior finish. Attempting to use a blowtorch to heat the metal remains a dangerous error that will instantly melt internal rubber washers. Forgetting to turn off the water pressure makes the twisting process harder and guarantees a messy spray.
Routine Maintenance Tips for Hose Nozzles
Keeping your gardening equipment in optimal working condition requires proactive care. Regularly inspect the small rubber O-ring gasket located inside the base of the nozzle. A flattened washer causes leaks that encourage exterior rust formation.
Soaking metal nozzles in a solution of equal parts white vinegar and warm water every few months dissolves hard water calcium deposits effectively. After cleaning, applying a very light coating of silicone grease to the internal threads helps maintain smooth operation. Avoid dropping nozzles onto hard concrete, as the impact can dent the circular connector ring.
Frequently Asked Questions
Q1: How Do You Remove Heavy Calcium Buildup From A Garden Hose Nozzle?
To safely remove thick calcium buildup from watering fixtures, submerge the affected metal parts entirely in a bowl of warm, undiluted white vinegar. Allow it to soak undisturbed for at least two hours. The natural acetic acid slowly dissolves stubborn mineral deposits without causing structural damage to brass or aluminum. After the soak, scrub the softened residue away with a stiff wire brush and rinse thoroughly.
Q2: Can I Use Vinegar To Loosen A Corroded Brass Hose Nozzle?
Yes, vinegar is a highly effective alternative to commercial penetrating oils for moderate corrosion. The acidity attacks oxidized metal and dissolves the bonds holding rust together. Wrap a cloth soaked heavily in white vinegar around the seized connection joint and leave it wrapped overnight. While it may take longer to act than synthetic lubricants, it remains completely safe for your skin and surrounding plants.
Q3: Why Do Aluminum Nozzles Fuse To Brass Garden Hose Fittings?
This severe fusing occurs due to a scientific process known as galvanic corrosion. When two distinctly different types of metal remain in prolonged physical contact while exposed to an electrolyte like tap water, an electrochemical reaction takes place. The more reactive aluminum begins to rapidly corrode and chemically bond its molecules directly onto the brass threads.
Protecting Your Gardening Investment
Taking the time to safely remove a seized fixture preserves your equipment and your patience. By understanding the chemical causes of corrosion and applying methodical techniques involving proper lubrication and controlled heat, you can conquer stubbornly stuck connections.
Adopting a simple routine of applying protective tape and performing regular maintenance ensures your hoses and nozzles remain fully functional for many seasons to come. Thanks for reading this guide on how to unscrew nozzle off hose.

About
Outdoor Fixes is a distinguished figure in the world of Diy design, with a decade of expertise creating innovative and sustainable Diy solutions.
His professional focus lies in merging traditional craftsmanship with modern manufacturing techniques,
fostering designs that are both practical and environmentally conscious. As the author of diy,
outdoorfixes delves into the art and science of outdoorfixes-making, inspiring artisans and industry professionals alike.
Education RMIT University
(Melbourne, Australia) Associate Degree in Design (Outdoor Fixes) Focus on sustainable design, industry-driven projects,
and practical craftsmanship. Gained hands-on experience with traditional and digital manufacturing tools, such as CAD and CNC software.
Nottingham Trent University
(United Kingdom) Bachelor’s in outdoorfixes.com and Product Design (Honors) Specialized in product design with a focus on blending creativity with production
techniques. Participated in industry projects, working with companies like John Lewis and Vitsoe to gain real-world insights.
Publications and Impact
In diy, Outdoor Fixes his insights on indoor design processes, materials, and strategies for efficient production.
His writing bridges the gap between artisan knowledge and modern industry needs, making it a must-read for both budding designers and seasoned professionals.