
Removing a tree leaves more behind than just a memory of shade and shelter. It often leaves a messy patch of bare soil, scattered roots, sawdust, and compacted ground that looks nothing like the green lawn around it. If you have ever stared at that ugly spot and wondered where to start, you are in good company. Learning how to repair lawn after tree removal is easier than most beginners expect, and the results can be genuinely rewarding.
This guide walks you through the whole process in clear, friendly language so anyone can follow along, no matter your gardening experience. You will learn why that bare patch behaves the way it does, what tools and materials help most, and how to bring back thick, healthy grass step by step. With a little patience and the right approach, you can turn an eyesore into one of the best-looking parts of your yard. Let’s get your lawn looking whole again.
Why Repairing Your Lawn After Tree Removal Matters
A bare patch is more than just an eyesore. Exposed soil invites weeds, erodes during heavy rain, and can become a muddy mess that spreads across your yard. Old roots and leftover sawdust also throw off the balance of your soil, making it harder for new grass to take hold.
Fixing the area properly protects your investment in the rest of your lawn. Healthy, even turf resists pests, holds moisture better, and boosts your home’s curb appeal. It also gives you a fresh, usable space for play, gardening, or simply enjoying the open sky. A small effort now saves you from bigger, costlier problems later, and the payoff is a yard you feel proud to show off.
Step-by-Step Guide to How to Repair Lawn After Tree Removal
Step 1: Clear the Debris and Leftover Roots
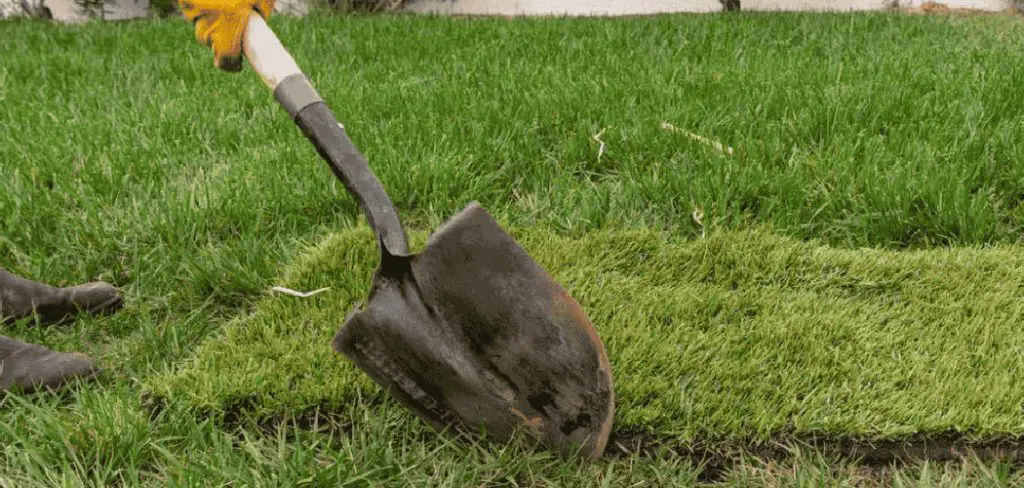
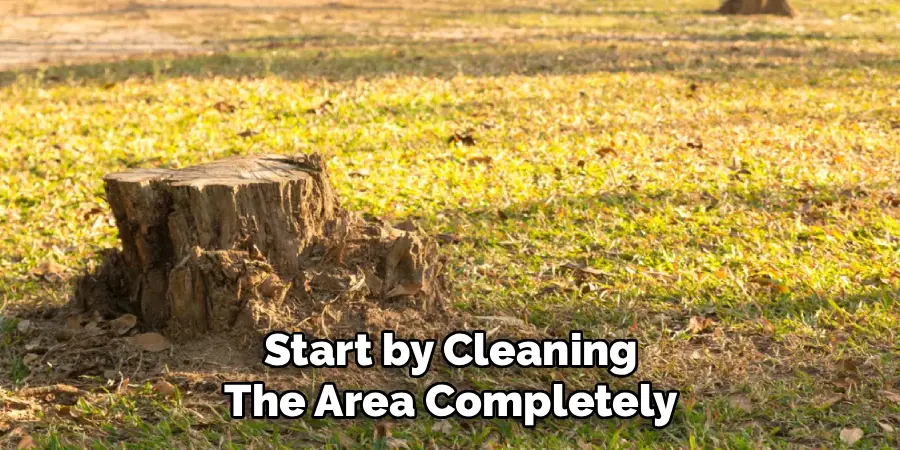
Start by cleaning the area completely. Rake away sawdust, wood chips, bark, and any loose branches the removal crew left behind. These materials rob your soil of nitrogen as they break down, which starves new grass before it has a chance. If shallow roots remain near the surface, dig them out or chop them with a sharp spade. For deeper roots, a mattock or grinder helps. Take your time here, because a clean foundation makes every later step easier. Removing this organic clutter prevents future sinkholes and stops mushrooms or fungus from taking over your fresh patch.
Step 2: Deal With the Stump Hole
If the stump was ground down, you will likely have a hole filled with shavings. Knowing how to repair lawn after tree removal really begins here, because this hole needs proper attention before anything grows. Scoop out as much of the woody grinding material as you can, since it decomposes slowly and sinks over time. Then fill the cavity with quality topsoil, tamping it down in layers to remove air pockets. Overfill slightly because the soil will settle. A firm, level base now prevents that frustrating dip that appears months later and ruins your hard work.
Step 3: Test and Improve the Soil
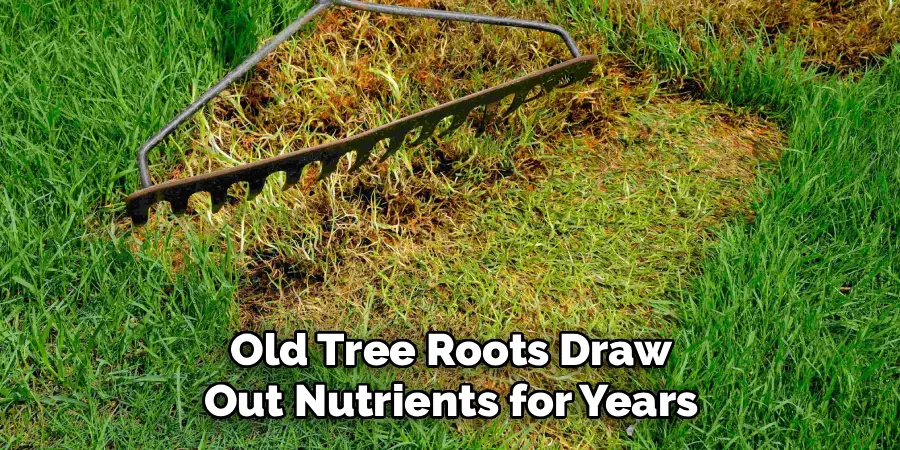
Old tree roots draw out nutrients for years, so the leftover soil is often tired and unbalanced. Grab an inexpensive soil test kit from a garden center to check pH and nutrient levels. Most grasses thrive in slightly acidic to neutral soil, so adjust with lime or sulfur if the reading is off. Mix in compost or aged manure to restore organic matter and feed the soil’s living network. Work these amendments into the top several inches with a garden fork. Healthy soil is the secret to grass that fills in quickly and stays green through tough weather.
Step 4: Level and Loosen the Ground
Compacted soil is the enemy of new roots, and the ground around a removed tree is usually packed hard. Use a garden fork or tiller to break up the top four to six inches, creating a loose bed that water and roots can penetrate. As you work, rake the surface smooth and check that it blends evenly with the surrounding lawn. Avoid leaving high spots or low dips, since these cause uneven watering and patchy growth. A flat, crumbly surface gives your seed or sod the perfect place to settle in and thrive.
Step 5: Choose the Right Grass and Plant It
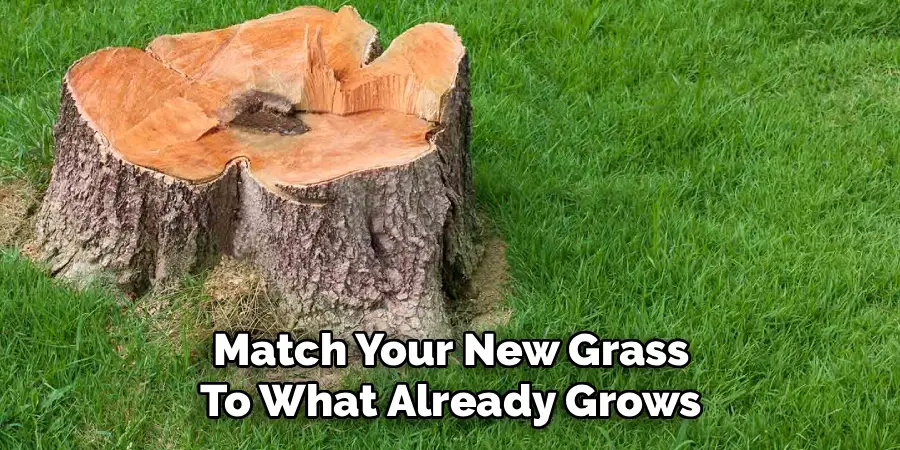
Match your new grass to what already grows in your yard so the repair blends in naturally. Cool-season types like fescue and ryegrass suit northern climates, while Bermuda and zoysia handle southern heat. You can lay sod for instant results or spread seed for a budget-friendly fix. If seeding, scatter evenly, rake lightly to cover, and press the surface so seeds make solid contact with the soil. This is the heart of how to repair lawn after tree removal, because the right grass planted well sets the stage for everything that follows.
Step 6: Water Wisely and Consistently
Fresh seed and sod need steady moisture to establish strong roots. Water lightly two or three times a day for the first couple of weeks, keeping the surface damp but never soggy. Morning and early afternoon are the best times, since the grass dries before nightfall and avoids fungal disease. As the grass matures, switch to deeper, less frequent watering to encourage roots to grow down rather than out. Consistency matters more than volume here, so set a reminder or use a timer if your schedule is busy. Patience during this phase pays off quickly.
Step 7: Maintain the New Growth
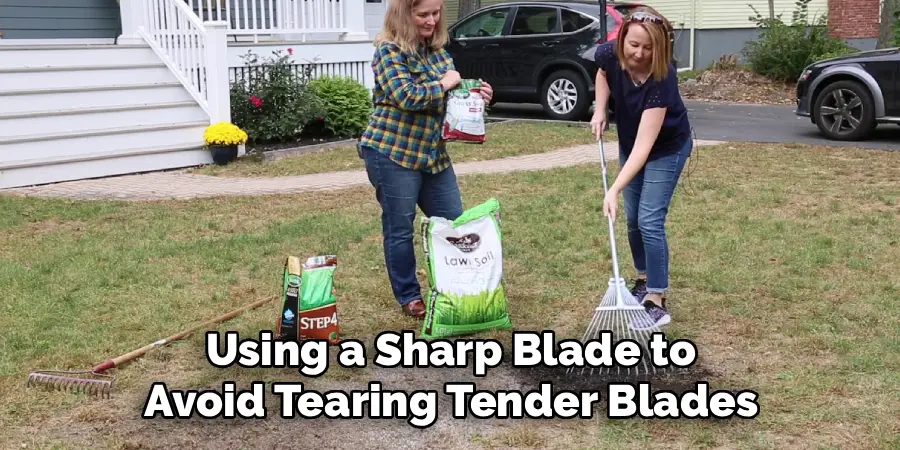
Once your grass reaches about three inches tall, it is ready for its first mow. Cut only the top third, using a sharp blade to avoid tearing tender blades. Apply a starter fertilizer to fuel steady growth, then follow a regular feeding schedule suited to your grass type. Keep weeds in check by hand-pulling early invaders rather than reaching for harsh chemicals near young grass. Continue watering and mowing on a routine, and within a few weeks your repaired patch will be nearly impossible to spot. Ongoing care turns a quick fix into a lasting result.
Frequently Asked Questions
How Long Does It Take for New Grass to Fill In After Tree Removal?
Most new grass begins sprouting within seven to twenty-one days, depending on the type and weather. Sod blends in almost immediately, while seed takes longer to mature. Expect a fully established, durable patch within six to twelve weeks. Warm, consistent conditions and steady watering speed things up, so timing your project for spring or early fall gives you the fastest, healthiest results.
Can I Plant Grass Directly Over a Ground-Down Stump?
Planting directly over leftover grindings is not a good idea. The woody material decomposes slowly, sinks over time, and steals nitrogen that your grass needs. Instead, scoop out as much shaving as possible and replace it with fresh topsoil. This gives your grass a stable, nutrient-rich foundation and prevents the frustrating dip that often forms when buried wood breaks down beneath the surface.
Why Does Grass Struggle to Grow Where a Tree Once Stood?
Old tree roots drain nutrients from the soil for years, leaving the area depleted and often compacted. Leftover sawdust and roots also tie up nitrogen as they decay. On top of that, the spot may now get far more sun than before, changing the conditions your grass faces. Testing and enriching the soil, then choosing a grass suited to the new light, solves most of these problems.
Should I Use Seed or Sod for the Best Results?
Both work well, and the right choice depends on your budget and patience. Sod delivers instant green coverage and resists weeds while it roots, making it ideal for quick, visible results. Seed costs much less and offers more grass variety, but it needs careful watering and several weeks to fill in. For small patches, many beginners find sod the easiest and most reliable option.
How Do I Stop Mushrooms From Growing in the Repaired Area?
Mushrooms usually appear when buried wood and roots decay underground, feeding fungal growth. The best prevention is removing as much woody debris as possible before you plant. Improving drainage, avoiding overwatering, and keeping the area well aerated also discourage fungi. If mushrooms do pop up, simply pluck them and rake the surface. They are mostly harmless and fade once the leftover organic matter finishes breaking down.
Conclusion
Bringing a bare, scarred patch back to life is one of the most satisfying projects a homeowner can tackle. By clearing debris, filling the stump hole, refreshing the soil, leveling the ground, planting the right grass, watering wisely, and maintaining your new growth, you give that tired spot everything it needs to flourish. Each step builds on the last, and none of them require expert skills or expensive equipment.
The real secret to how to repair lawn after tree removal is patience paired with consistent care. Take it one stage at a time, follow the guidance above, and you will watch a once-ugly patch blend seamlessly into your yard. So grab your tools, get started this weekend, and enjoy the pride of a lush, even lawn you restored with your own hands. Your green, healthy yard is closer than you think.

About
Outdoor Fixes is a distinguished figure in the world of Diy design, with a decade of expertise creating innovative and sustainable Diy solutions.
His professional focus lies in merging traditional craftsmanship with modern manufacturing techniques,
fostering designs that are both practical and environmentally conscious. As the author of diy,
outdoorfixes delves into the art and science of outdoorfixes-making, inspiring artisans and industry professionals alike.
Education RMIT University
(Melbourne, Australia) Associate Degree in Design (Outdoor Fixes) Focus on sustainable design, industry-driven projects,
and practical craftsmanship. Gained hands-on experience with traditional and digital manufacturing tools, such as CAD and CNC software.
Nottingham Trent University
(United Kingdom) Bachelor’s in outdoorfixes.com and Product Design (Honors) Specialized in product design with a focus on blending creativity with production
techniques. Participated in industry projects, working with companies like John Lewis and Vitsoe to gain real-world insights.
Publications and Impact
In diy, Outdoor Fixes his insights on indoor design processes, materials, and strategies for efficient production.
His writing bridges the gap between artisan knowledge and modern industry needs, making it a must-read for both budding designers and seasoned professionals.