
There’s nothing quite like gathering around a crackling fire pit on a cool evening. The warmth, the glow, the easy conversation—it all adds up to a perfect night outdoors. But when the marshmallows are gone, and everyone heads inside, you face one important task: putting that fire out the right way.
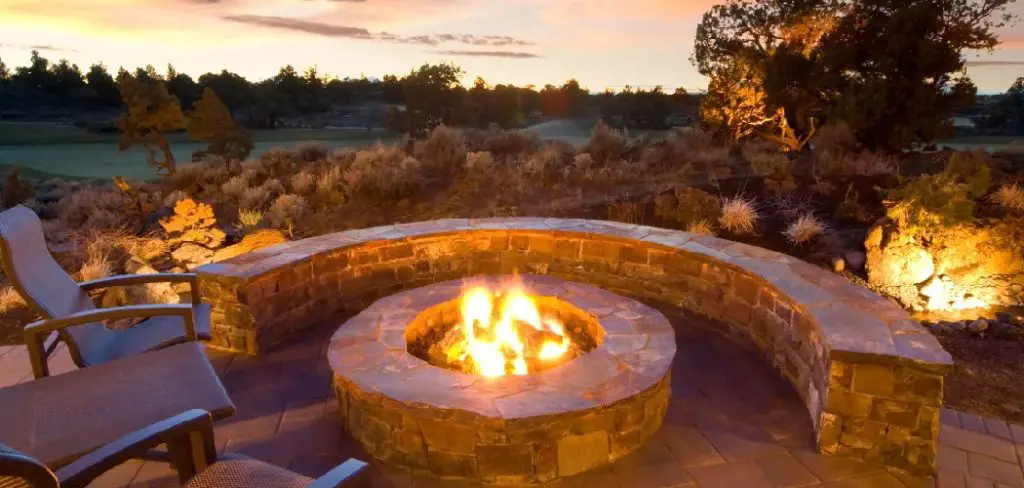
Turning off a fire pit may sound simple, but it’s a step many people rush or skip entirely. A fire that looks dead can still hold enough heat to reignite hours later. Embers can smolder under ash, and a stray gust of wind can bring flames roaring back to life. That’s how accidental fires start.
In this guide, you’ll learn exactly how to turn off a fire pit the right way. Let’s make sure your evening ends as safely as it started.
What Are the Benefits?
Properly shutting down your fire pit does more than tidy up your backyard. It comes with real, practical advantages that make the extra few minutes worth your time.
- Prevents accidental fires. This is the big one. Unattended embers cause thousands of fires every year. A complete shutdown removes that risk entirely, giving you peace of mind when you walk away.
- Protects your equipment. Letting a gas fire pit run dry or extinguishing a wood fire poorly can damage burners, valves, and metal surfaces. A careful shutdown helps your pit last longer.
- Keeps your space clean. When you put out a fire correctly, you control where the ash and debris go. That means less mess scattered across your patio and an easier cleanup the next day.
- Saves money. For gas pits, shutting off the fuel supply completely means you won’t waste propane or natural gas. Over time, those small savings add up.
- Looks after the environment. Smoldering wood releases smoke long after the flames die down. Putting the fire out fully reduces lingering pollution and keeps the air around your home fresher.
- Builds good habits. When you follow the same safe routine each time, it becomes second nature. You’ll never have to wonder whether you forgot something important.
What Will You Need?
Before you start, gather a few basic items. Having them on hand makes the process quick and safe. The exact list depends on your fire pit type.
For Wood-burning Fire Pits:
- A metal shovel or poker
- A bucket of water or a garden hose
- A pair of heat-resistant gloves
- A metal ash bucket or container with a lid
- Sand or dirt (optional, as a backup)
For Propane Fire Pits:
- Heat-resistant gloves
- Access to the propane tank valve
For Natural Gas Fire Pits:
- Access to the gas control knob and shut-off valve
For All Types:
- A flashlight if you’re working after dark
- A fire extinguisher is kept nearby, just in case
Keep these supplies stored close to your fire pit, so you’re never scrambling at the end of the night.
10 Easy Steps on How to Turn Off a Fire Pit
Follow these steps in order. They work for most fire pits, with a few notes for gas and wood models along the way.
Step 1: Stop Adding Fuel
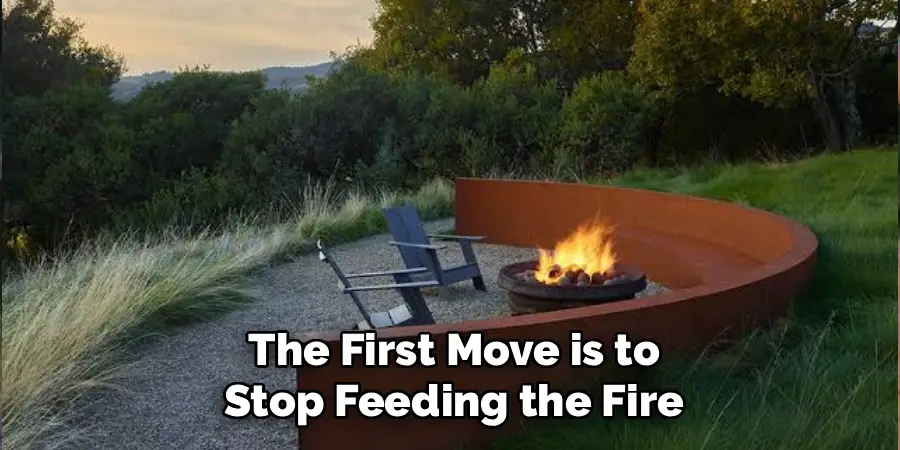
The first move is to stop feeding the fire well before you plan to leave. For a wood-burning pit, that means no more logs at least 30 to 45 minutes before bedtime. Letting the existing wood burn down to ash makes the rest of the process much easier. For a gas pit, this step simply means you’re ready to begin shutting it off. Planning here saves you time and effort later.
Step 2: Let the Flames Die Down Naturally
If you have a wood fire, give it time to burn low on its own. Resist the urge to throw water on a roaring blaze—that creates dangerous steam and scatters embers. Instead, let the larger pieces of wood break down into smaller, glowing coals. The smaller the fire, the safer and faster the full shutdown will be. Use this quiet time to gather your tools.
Step 3: Turn Off the Gas Supply (Gas Pits Only)
If you own a propane or natural gas fire pit, this is your main shutdown step. Turn the control knob to the “off” position. For propane models, go a step further and close the valve on the tank itself by turning it clockwise until it’s snug. For natural gas pits, shut off the dedicated gas line valve. Cutting the fuel at the source guarantees no gas keeps flowing.
Step 4: Spread Out the Embers
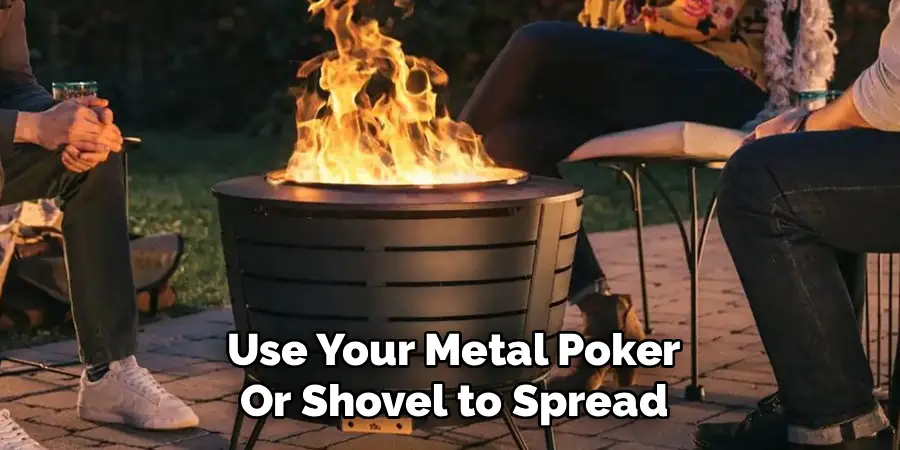
For wood-burning pits, use your metal poker or shovel to spread the remaining embers and ash across the bottom of the pit. Breaking up clumps exposes hot spots to the air and helps them cool faster. This also makes the next step—adding water—far more effective, since the moisture can reach every glowing piece instead of pooling on top.
Step 5: Add Water Slowly
Now pour water over the embers, but do it gradually. Dumping a full bucket all at once sends up a cloud of steam and ash that can burn your skin or eyes. Pour slowly and steadily, moving across the entire pit. You’ll hear a hissing sound as the water hits the coals. Keep going until the hissing stops completely. If you’re using sand or dirt instead, smother the embers fully rather than just covering the surface.
Step 6: Stir and Soak Again
Don’t stop at one pass. Use your shovel to stir the wet ashes, turning over any pieces that might still be dry underneath. Hidden embers love to hide at the bottom. Once you’ve stirred everything, add a little more water. Repeat this stir-and-soak cycle until you see no steam, hear no hissing, and spot no orange glow anywhere in the pit.
Step 7: Check for Heat
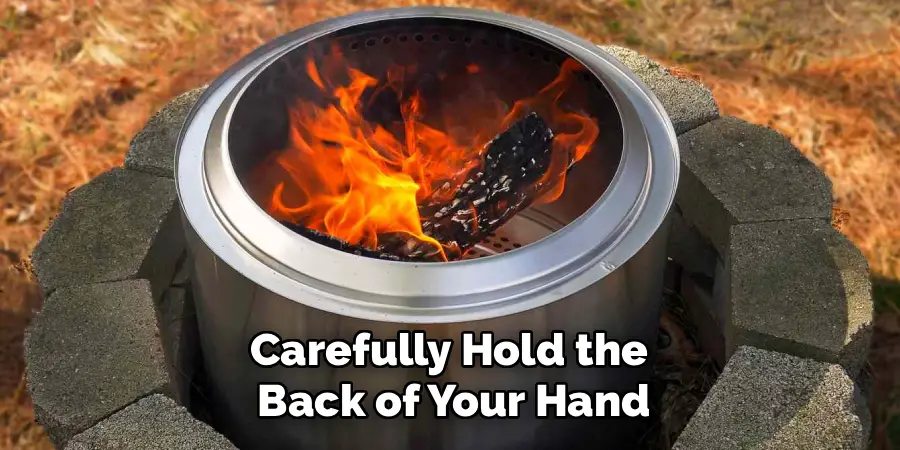
Carefully hold the back of your hand a few inches above the ashes. Don’t touch them directly. If you feel warmth radiating up, the fire isn’t out yet. Add more water and stir again. Everything should feel cool to the touch before you move on. With gas pits, wait several minutes after shutting off the fuel, then confirm the burner and surrounding metal have cooled.
Step 8: Cool and Inspect the Surfaces
Walk around the entire fire pit and look it over. Check the rim, the legs, and any nearby surfaces for lingering heat. For gas models, confirm the knob is firmly in the off position and the flame is completely gone. A quick visual inspection catches anything you might have missed and gives you confidence that the fire is truly done.
Step 9: Dispose of Ashes Safely
Once the ashes are completely cool—ideally after they’ve sat for several hours or overnight—scoop them into your metal ash container with a lid. Never put ashes in plastic bags, cardboard, or your regular trash bin, even when they seem cold. Store the metal container away from your house, deck, and anything flammable until you can dispose of the ashes properly.
Step 10: Cover and Store
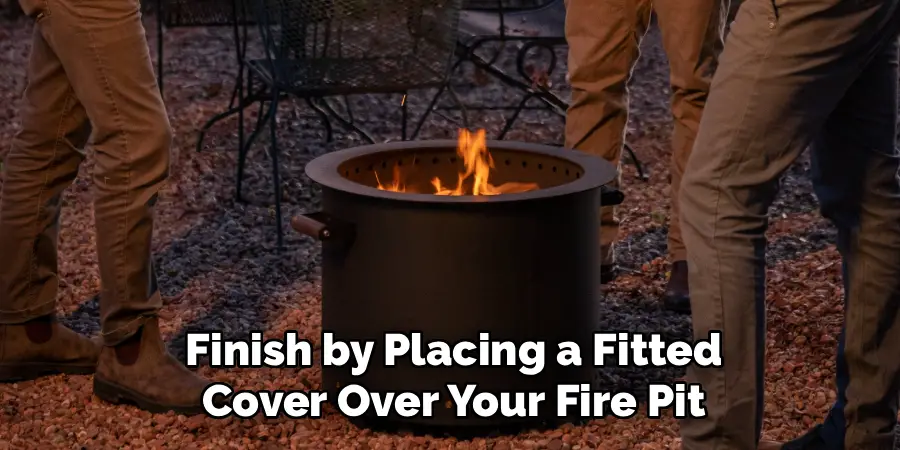
Finish by placing a fitted cover over your fire pit. A cover keeps out rain, leaves, and debris, protecting the pit between uses. For propane pits, store the tank in a well-ventilated outdoor spot, never indoors or in a closed garage. Put your tools back in their storage spot so they’re ready for next time. Now you can head inside knowing everything is secure.
5 Things You Should Avoid
Even careful people make mistakes when putting out a fire. Steer clear of these common errors.
- Walking away too soon. Never leave a fire pit until you’re certain it’s cold. “Almost out” is not the same as “out.” Give it the extra few minutes it needs.
- Dumping water on a large fire. Throwing water on tall flames creates scalding steam and scatters burning debris. Always let the fire burn down first.
- Forgetting to close the propane tank valve. Turning off the control knob isn’t enough. Leaving the tank valve open risks a slow gas leak. Always close it at the source.
- Storing hot ashes in unsafe containers. Plastic bins, paper bags, and regular trash cans can catch fire from coals that still hold heat. Use a metal container with a lid every time.
- Ignoring the wind. A breeze can fan dying embers back into flames. Always double-check that everything is fully extinguished, especially on windy nights.
Conclusion
How to turn off a fire pit takes just a few extra minutes, but those minutes make all the difference. A fire that looks dead can still hide enough heat to spark a dangerous blaze, which is why a careful, complete shutdown matters so much. By following the ten steps in this guide, you give yourself the peace of mind that comes with knowing your backyard is truly safe.
Remember the essentials: stop adding fuel early, let wood fires burn down, soak and stir the embers until they’re cold, and shut off the gas at the source for propane and natural gas pits. Avoid the common mistakes—never rush the process, never store hot ashes carelessly, and never walk away too soon.
With a little practice, this routine becomes second nature. So the next time the evening winds down, you’ll know exactly what to do. Enjoy the warmth, savor the moment, and put it out with confidence.

About
Outdoor Fixes is a distinguished figure in the world of Diy design, with a decade of expertise creating innovative and sustainable Diy solutions.
His professional focus lies in merging traditional craftsmanship with modern manufacturing techniques,
fostering designs that are both practical and environmentally conscious. As the author of diy,
outdoorfixes delves into the art and science of outdoorfixes-making, inspiring artisans and industry professionals alike.
Education RMIT University
(Melbourne, Australia) Associate Degree in Design (Outdoor Fixes) Focus on sustainable design, industry-driven projects,
and practical craftsmanship. Gained hands-on experience with traditional and digital manufacturing tools, such as CAD and CNC software.
Nottingham Trent University
(United Kingdom) Bachelor’s in outdoorfixes.com and Product Design (Honors) Specialized in product design with a focus on blending creativity with production
techniques. Participated in industry projects, working with companies like John Lewis and Vitsoe to gain real-world insights.
Publications and Impact
In diy, Outdoor Fixes his insights on indoor design processes, materials, and strategies for efficient production.
His writing bridges the gap between artisan knowledge and modern industry needs, making it a must-read for both budding designers and seasoned professionals.