
Giving your yard a fresh start can feel exciting, but the secret to lush, healthy turf lives in the groundwork. Learning how to prepare old lawn for new sod is the single most important thing you can do before that first green roll touches the soil. Skip the prep, and even premium sod will struggle to root, leaving you with patchy, sad results and wasted money.
The good news? You don’t need to be a landscaping pro to get this right. With a little patience and a clear plan, you can turn tired, weedy ground into the perfect foundation for thick, vibrant grass.
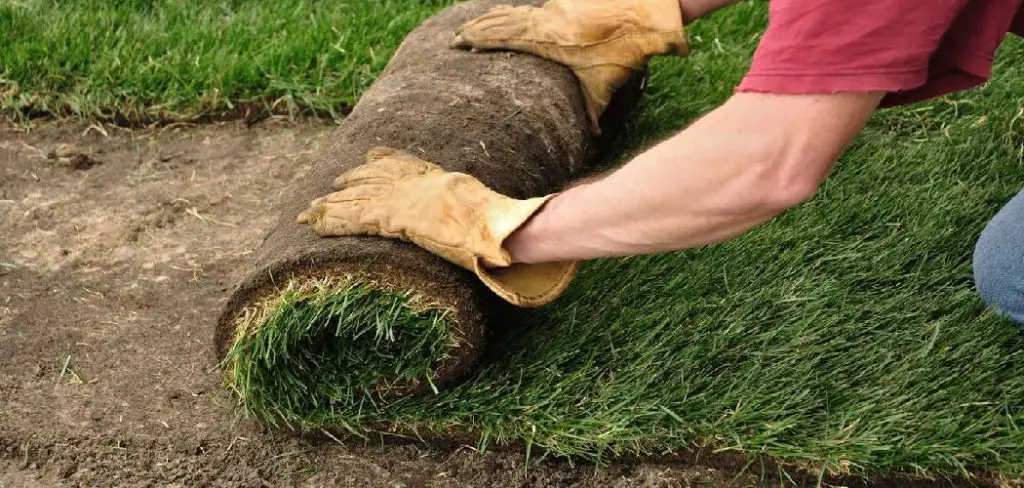
This guide walks you through every stage in plain language, so beginners and seasoned gardeners alike feel confident. We’ll cover clearing the old growth, fixing the soil, leveling the surface, and timing everything just right. By the end, you’ll know exactly what to do and why each step matters. Let’s set your new lawn up to thrive from day one.
Why Preparing Your Old Lawn Matters Before Laying New Sod
Think of soil prep as the foundation of a house. New sod can only thrive when its roots reach loose, nutrient-rich earth free from old grass, weeds, and compacted layers. When you take time to prepare properly, the sod knits into the ground faster, drinks up water more evenly, and resists disease.
Good prep also saves you cash over the long run. Rushed installs often fail within weeks, forcing costly do-overs. Beyond that, a level, debris-free surface prevents drainage problems and lumpy spots that ruin the look of your yard. You’ll see healthier color, stronger growth, and a lawn that stands up to foot traffic and summer heat. A few hours of careful work now rewards you with years of green, dense turf you’ll be proud to show off.
Step-by-Step Guide to How To Prepare Old Lawn for New Sod
Step 1: Test and Assess Your Soil
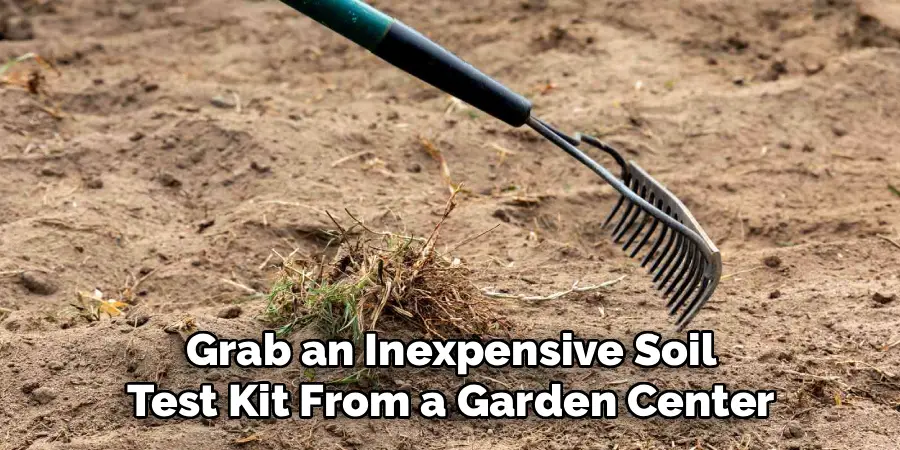
Before you touch a shovel, get to know what you’re working with. Grab an inexpensive soil test kit from a garden center or send a sample to your local extension office. This tells you the pH level and which nutrients are missing, so you can correct problems early rather than guessing.
Once you have results, walk your yard and note trouble spots like bare patches, heavy weeds, or areas that stay soggy. Press a screwdriver into the ground in a few places to check for compaction. If it won’t sink easily, you’ll need to loosen things later. This quick assessment shapes every decision that follows and keeps you from wasting effort.
Step 2: Kill and Remove the Old Grass
The existing grass and weeds must go, because they’ll compete with your new sod for water and nutrients. You have two main routes here. For a chemical approach, spray a non-selective herbicide and wait the recommended period, usually one to two weeks, until everything turns brown and dies completely.
Prefer a natural method? Smother the lawn with cardboard or thick plastic sheeting for several weeks, or rent a sod cutter to slice away the top layer entirely. Whichever you choose, the goal is the same. You want a clean slate with no living growth left to push through your fresh turf. Take your time and confirm the old grass is truly dead before moving on.
Step 3: Clear Debris and Dead Material
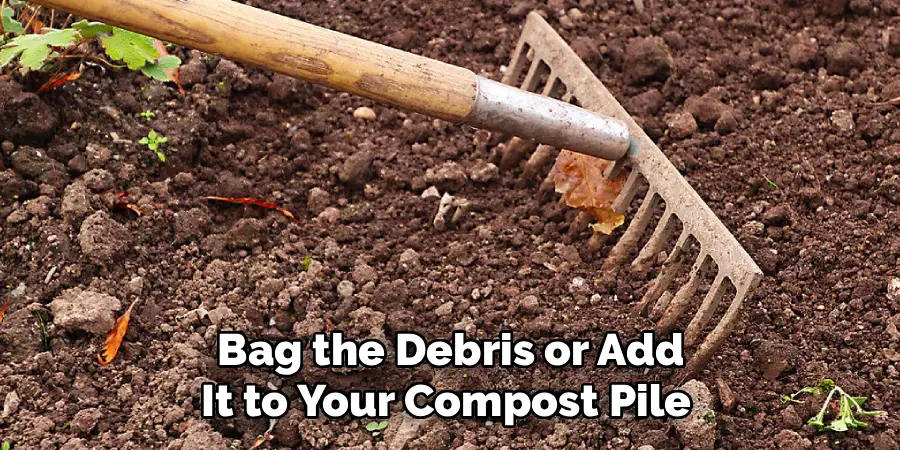
With the old grass gone, it’s time to tidy up. Rake away dead clumps, loose roots, rocks, sticks, and any leftover thatch sitting on the surface. These bits block sod from making solid contact with the soil, which is exactly what new roots need to take hold.
This stage is a big part of how to prepare old lawn for new sod the right way, so don’t rush it. Bag the debris or add it to your compost pile if it’s free of chemicals. Run a stiff rake across the entire area until the ground feels smooth and clean under your hands. A spotless surface now means fewer headaches when the sod arrives.
Step 4: Loosen and Till the Soil
Compacted earth is the enemy of healthy roots. Use a rototiller or a sturdy garden fork to break up the top four to six inches of soil across the whole space. This opens up tight ground, improves air flow, and lets water move freely down to where roots will grow.
Work slowly and overlap your passes so you don’t miss any hard pockets. If your yard is large, renting a powered tiller saves your back and a lot of time. As you go, pull out any remaining rocks or roots you uncover. The finished texture should feel crumbly and soft, almost like coarse breadcrumbs, ready to welcome fresh sod.
Step 5: Amend and Enrich the Ground
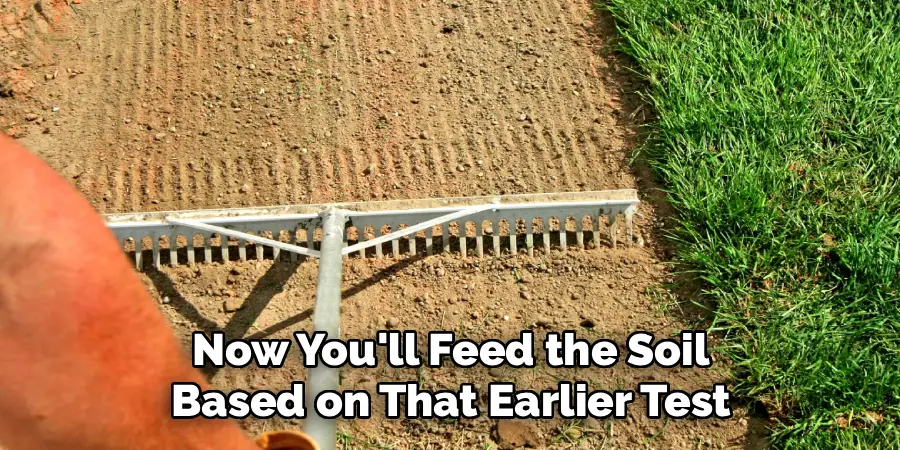
Now you’ll feed the soil based on that earlier test. Spread a layer of compost or quality topsoil across the area to boost organic matter and improve structure. If your test showed a pH imbalance, add lime to raise it or sulfur to lower it, following the label rates closely.
This is the heart of how to prepare old lawn for new sod, because rich, balanced soil gives roots everything they need to flourish. Mix a starter fertilizer into the top couple of inches to fuel early growth. Use your tiller or rake to blend these amendments evenly, so nutrients spread throughout the bed rather than sitting in clumps.
Step 6: Level and Grade the Surface
A smooth, even surface prevents puddles, dips, and uneven mowing later. Use a landscape rake to spread the soil flat, then drag a leveling tool or a long board across the top to fill low spots and knock down high ones. Aim for a gentle slope away from your home to guide water where you want it.
After raking, lightly water the area or use a lawn roller filled halfway to firm the soil slightly. This reveals hidden dips you can fix before sodding. Leave the surface about half an inch below sidewalks and driveways so the sod sits flush once installed. Patience here pays off with a flawless finish.
Step 7: Water and Prep for Installation Day
Just before your sod arrives, give the prepared bed a good soaking until the top few inches feel moist but not muddy. Damp soil helps roots make contact and prevents the underside of fresh sod from drying out the moment it lands.
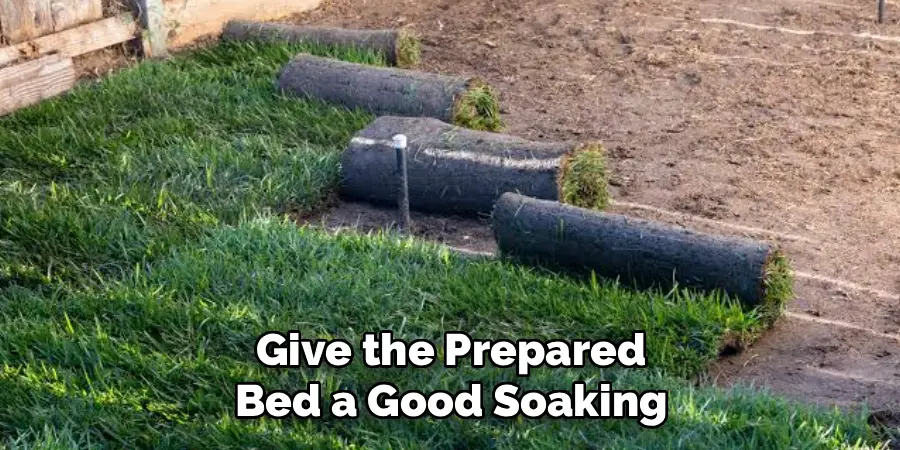
Plan your timing carefully and try to lay sod the same day it’s delivered, since it can dry out fast on the pallet. Have your tools, a sharp knife, and a hose ready to go. Walk the area one last time, checking for loose debris or uneven spots you may have missed. With everything moist and smooth, you’re set for a smooth, successful sod installation.
Frequently Asked Questions
How Long Does It Take to Prepare a Lawn for Sod?
For most yards, prep takes anywhere from a few days to two weeks. Killing old grass is usually the longest stage, often one to two weeks depending on your method. The actual clearing, tilling, amending, and leveling can be done in a weekend for an average-sized yard. Larger or weedier lawns naturally take more time, so plan ahead.
Can I Lay Sod Directly Over My Old Grass?
No, laying sod over existing grass is a recipe for failure. The old grass blocks root contact, traps moisture, and competes for nutrients, which leads to thin, dying turf. New sod needs to root into bare, loosened soil. Always remove or kill the old lawn first, then clear the debris so your fresh sod has a clean, healthy bed to grow into.
Do I Really Need to Test My Soil First?
Testing isn’t strictly required, but it’s a smart move that saves time and money. A simple test reveals your soil’s pH and nutrient gaps, letting you add exactly what’s missing. Without it, you’re guessing, which can lead to poor rooting or yellowing grass later. The kits are cheap and easy to use, so most experts recommend testing before you amend.
How Deep Should I Till Before Adding Sod?
Aim to loosen the top four to six inches of soil. This depth gives new roots plenty of soft, airy ground to spread into while improving drainage and water movement. Going much deeper isn’t usually needed and can disturb the subsoil. After tilling, mix in your compost and amendments within that same range so nutrients reach the root zone evenly.
What’s the Best Time of Year to Prepare and Lay Sod?
Spring and early fall are ideal for most regions, since mild temperatures and steady moisture help sod root quickly. Cool-season grasses thrive when laid in fall, while warm-season types do best in late spring. Avoid the peak of summer heat or freezing winter, as extreme conditions stress fresh sod. Check your local climate and grass type for perfect timing.
Conclusion
Building a beautiful new lawn really does start from the ground up. By testing your soil, removing the old grass, clearing debris, tilling, enriching, leveling, and watering, you give your fresh sod the strongest possible start. Each step builds on the last, and skipping even one can undo your hard work. Take your time, follow the process, and you’ll reward yourself with thick, healthy turf that lasts for years.
Now that you know how to prepare old lawn for new sod, you have everything you need to tackle the project with confidence. Grab your tools, set aside a weekend, and get started. Your dream lawn is closer than you think, and the effort you put in today will show in every green, vibrant blade tomorrow.

About
Outdoor Fixes is a distinguished figure in the world of Diy design, with a decade of expertise creating innovative and sustainable Diy solutions.
His professional focus lies in merging traditional craftsmanship with modern manufacturing techniques,
fostering designs that are both practical and environmentally conscious. As the author of diy,
outdoorfixes delves into the art and science of outdoorfixes-making, inspiring artisans and industry professionals alike.
Education RMIT University
(Melbourne, Australia) Associate Degree in Design (Outdoor Fixes) Focus on sustainable design, industry-driven projects,
and practical craftsmanship. Gained hands-on experience with traditional and digital manufacturing tools, such as CAD and CNC software.
Nottingham Trent University
(United Kingdom) Bachelor’s in outdoorfixes.com and Product Design (Honors) Specialized in product design with a focus on blending creativity with production
techniques. Participated in industry projects, working with companies like John Lewis and Vitsoe to gain real-world insights.
Publications and Impact
In diy, Outdoor Fixes his insights on indoor design processes, materials, and strategies for efficient production.
His writing bridges the gap between artisan knowledge and modern industry needs, making it a must-read for both budding designers and seasoned professionals.