
Making a soaker hose from PVC pipe involves drilling small holes along a standard PVC tube, capping one end, and connecting the other to a water source. The result is a low-cost irrigation system that delivers water directly to plant roots, reducing waste and potentially improving garden health.
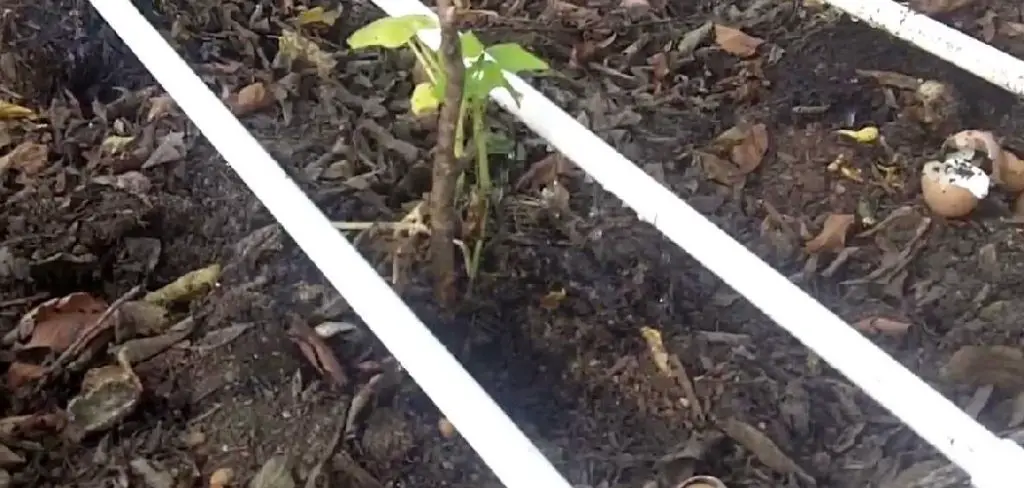
I have spent more hours than I care to admit watching municipal water spray wildly across my backyard, entirely missing the roots it was meant to nourish. Traditional sprinklers often feel like an exercise in futility. They broadcast moisture into the air, where a significant percentage simply evaporates before hitting the soil.
A DIY soaker hose addresses this inefficiency directly. By releasing moisture slowly at the root zone, it appears to limit evaporation and may discourage weed growth. You skip the erratic spray of a standard sprinkler. Instead, water seeps gently into the earth exactly where your plants actually need it.
You might assume that creating a custom irrigation setup requires specialized kits or expensive plumbing hardware. That is rarely the case. With a few accessible materials and a moderately steady hand, you could assemble a functioning PVC soaker system in a single afternoon. This guide on how to make a soaker hose from PVC pipe examines the process step by step, exploring the mechanics of the build and identifying common pitfalls you should avoid.
Understanding Soaker Hoses and PVC Pipes
A conventional soaker hose is essentially a porous tube. It weeps moisture along its entire length. Sprinklers distribute water over a wide radius, whereas soaker systems target the soil directly. This targeted approach typically conserves water and delivers hydration straight to the root systems.
Polyvinyl chloride (PVC) pipe serves as an excellent material for building a custom version of this tool. It is inexpensive, readily available, and surprisingly durable. Commercial hoses often rely on recycled rubber. PVC, by contrast, offers a rigid structure that seems particularly suited for raised garden beds or long vegetable rows. If you drill the correct hole pattern, a PVC pipe can mimic the slow-drip behavior of expensive commercial setups.
Materials and Tools
Gathering your supplies beforehand prevents frustrating interruptions once you start cutting and gluing.
Materials:
- PVC pipe (½-inch or ¾-inch diameter)
- PVC end cap
- PVC hose adapter (threaded fitting)
- PVC primer and cement
- Teflon tape
Tools:
- Power drill
- Small drill bit (1/16-inch to 1/8-inch)
- Measuring tape
- Marker
- Sandpaper
- Clamps (optional)
7 Simple Steps on How to Make a Soaker Hose From PVC Pipe
Step 1: Measure and Cut the PVC Pipe to the Right Length
Start by evaluating the specific area you plan to water. Use your measuring tape to find the exact length required. Mark the cutting point with a visible line. You can cut the PVC using a hacksaw or a specialized pipe cutter, aiming for the straightest line possible.
Crooked cuts often compromise the end cap seal. If the edge feels jagged after cutting, take a moment to smooth it with sandpaper. Establishing a clean edge here may prevent frustrating leaks later in the assembly process.
Step 2: Mark the Hole Pattern Along the Pipe
Lay the pipe on a flat workbench. Use a marker to indicate where you will drill. A standard approach involves spacing the marks every 6 to 12 inches. Placing the holes closer together generates higher water output. Wider spacing naturally conserves more water.
You might place the marks in a perfectly straight line along the bottom of the tube. Alternatively, staggering them in a slight zigzag could offer broader soil coverage. Marking the entire pattern before you touch the drill ensures your spacing remains consistent.
Step 3: Drill the Holes Carefully
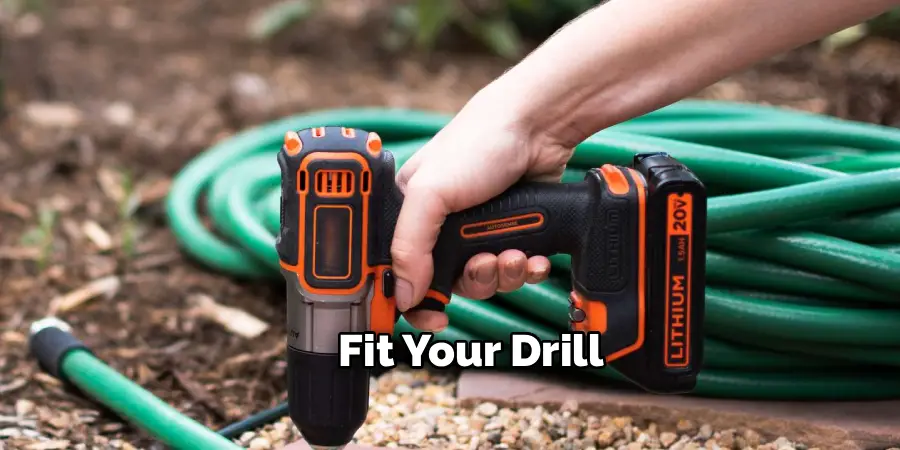
Clamp the pipe down so it does not roll. Fit your drill with a 1/16-inch or 1/8-inch bit, and carefully puncture each marked spot. Press down with moderate, steady pressure. Rushing this step might crack the plastic.
Tiny holes create a slow, fine drip. Larger holes increase the overall output. Deep-rooted vegetables might respond well to slightly larger openings, while shallow-rooted herbs usually require a finer sieve. Run a piece of sandpaper over the drilled areas afterward to clear away plastic burrs.
Step 4: Attach the End Cap to Seal One End
Brush a thin layer of PVC primer onto the outside of one pipe end and the inside of your end cap. The primer dries rapidly, usually in about 30 seconds. Next, brush PVC cement onto those same surfaces. Push the cap onto the pipe immediately. Hold it tightly for half a minute, then leave it alone to cure.
This barrier stops water from rushing out the far end. It forces the pressure back through your newly drilled holes. A weak seal here could ruin the entire mechanism.
Step 5: Attach the Hose Adapter to the Open End
Move to the other side of the tube. Attach the threaded hose adapter using the exact same primer and cement technique. This fitting bridges the gap between your custom pipe and a standard garden hose.
Before screwing anything into the adapter, wrap the threads with Teflon tape. This thin tape helps form a watertight bond. Let the cement dry completely before introducing any water pressure. Skipping the recommended curing time remains a remarkably common mistake among beginners.
Step 6: Test the Soaker Hose for Leaks and Coverage
Hook the finished assembly to your outdoor faucet. Turn the water on very low. Inspect the length of the tube to see if water seeps out evenly. Check the glued joints for unintended drips.
Some holes might produce nothing. They are likely blocked by plastic shavings. Clear them out with a sewing needle. If the water sprays violently, simply turn down the faucet pressure. You are looking for a gentle, rhythmic drip.
Step 7: Install the Soaker Hose in Your Garden
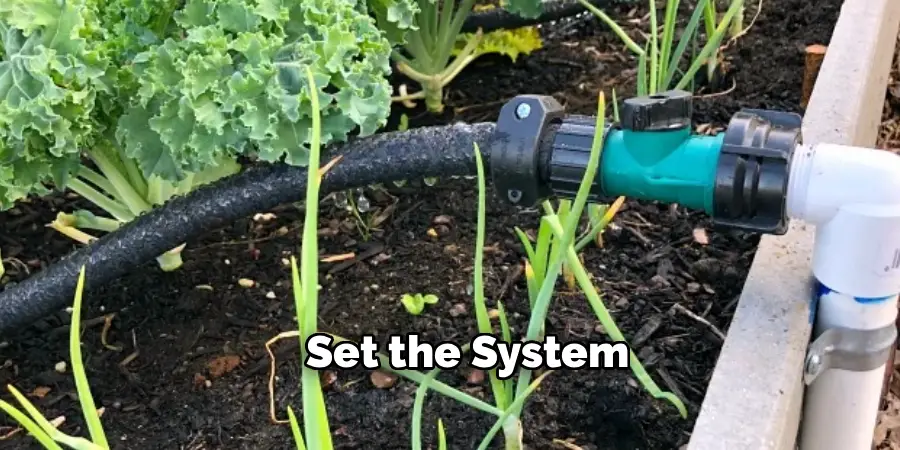
Carry the tested pipe to your garden bed. Lay it near the base of your target plants. Position the holes so they face the dirt directly. You can pin the tube down with metal garden stakes if it tries to roll.
In a raised bed, the pipe simply rests on the surface. For in-ground planting, you might bury it slightly to limit evaporation even more. Covering the exposed plastic with a thick layer of mulch could protect it from degrading under harsh ultraviolet light.
Following these steps on how to make a soaker hose from PVC pipe will help you save water, time, and money while keeping your plants healthy and hydrated.
Additional Tips for Using a Soaker Hose
- Make sure to check the pressure of your water source before attaching a soaker hose. Too much pressure can cause the hose to burst or spray water instead of dripping.
- To avoid clogging, periodically flush out any debris or buildup from the inside of the soaker hose by running clean water through it.
- If you’re using a soaker hose in a raised bed or container garden, consider adding an automatic timer to control watering frequency and duration.
- Use caution when handling a soaker hose that has been exposed to sunlight for extended periods of time,
Maintenance and Care
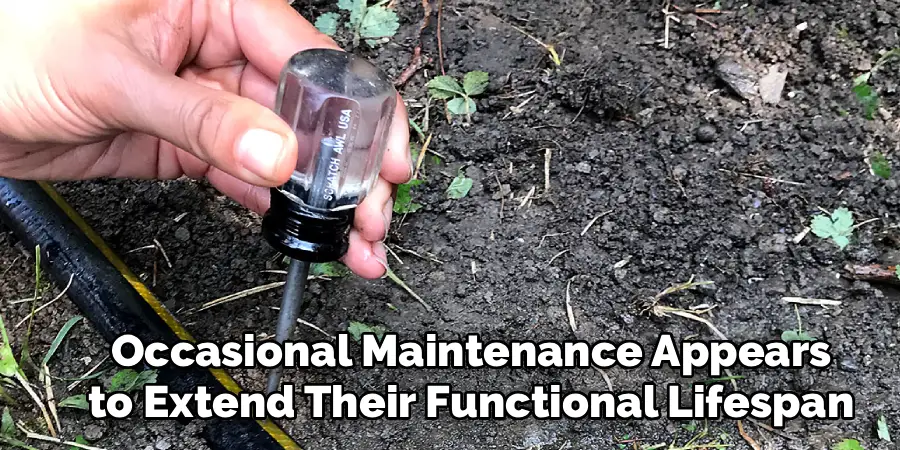
These rigid watering systems require very little upkeep. Still, occasional maintenance appears to extend their functional lifespan. Flush the system every spring. You can do this by temporarily removing the end cap and blasting water through the open pipe to clear mineral deposits. Watch for clogged holes if your local water supply contains high levels of calcium. Store the plastic tubes in a garage during winter to avoid freeze-thaw damage.
Common Mistakes to Avoid
Building this tool is a relatively accessible project. However, several minor errors can severely reduce its efficiency. Drilling massive holes inevitably leads to flooding near the water source, leaving the far end completely dry. Ignoring the PVC primer often results in brittle joints that blow apart under pressure. Leaving the white plastic completely exposed to direct summer sun may cause the material to turn brittle and shatter after a few seasons.
Benefits and Considerations
Constructing your own irrigation line presents distinct financial advantages over purchasing commercial rubber variants. It costs significantly less. You also maintain complete control over the dimensions and output volume. The rigid nature of the material makes it highly effective for straight, organized crop rows.
There are limitations, of course. PVC does not bend. It is essentially useless for curving landscape borders or irregularly shaped flower beds. Additionally, you should verify that you are using schedule-40 or food-safe pipe if you plan to water vegetables meant for human consumption.
Frequently Asked Questions
What Size PVC Pipe Is Best for Making a Soaker Hose?
For most residential gardens, ½-inch diameter PVC pipe seems to be the most practical option. It supports sufficient water flow for standard beds without demanding high municipal water pressure. If you are watering an unusually long row, a ¾-inch pipe might prevent pressure drops at the furthest end.
How Far Apart Should the Holes Be Drilled in a PVC Soaker Hose?
Spacing depends heavily on soil composition. For typical garden soil, placing holes every 6 to 8 inches usually strikes a functional balance. Sandy dirt drains rapidly and might require 4-inch spacing. Dense clay holds moisture longer, suggesting that 12-inch spacing could be perfectly adequate.
Can a PVC Soaker Hose Be Used With a Drip Irrigation Timer?
Yes, this custom pipe connects easily to standard automatic timers. You simply attach the timer to your faucet, then connect the hose adapter to the timer. Setting the system to run in the early morning may help plants absorb moisture before the afternoon sun accelerates evaporation.
Evaluate Your Watering Strategy
A custom-drilled PVC pipe could represent one of the most cost-effective adjustments you make to your yard this season. The parts cost mere dollars, and the assembly requires very little technical expertise.
The potential outcomes—lower water bills and deeply hydrated roots—are difficult to ignore. Start with a single prototype in a small garden bed. Once you observe how the system performs, you can scale the concept to fit your entire landscape. Thanks for reading this guide on how to make a soaker hose from PVC pipe.

About
Outdoor Fixes is a distinguished figure in the world of Diy design, with a decade of expertise creating innovative and sustainable Diy solutions.
His professional focus lies in merging traditional craftsmanship with modern manufacturing techniques,
fostering designs that are both practical and environmentally conscious. As the author of diy,
outdoorfixes delves into the art and science of outdoorfixes-making, inspiring artisans and industry professionals alike.
Education RMIT University
(Melbourne, Australia) Associate Degree in Design (Outdoor Fixes) Focus on sustainable design, industry-driven projects,
and practical craftsmanship. Gained hands-on experience with traditional and digital manufacturing tools, such as CAD and CNC software.
Nottingham Trent University
(United Kingdom) Bachelor’s in outdoorfixes.com and Product Design (Honors) Specialized in product design with a focus on blending creativity with production
techniques. Participated in industry projects, working with companies like John Lewis and Vitsoe to gain real-world insights.
Publications and Impact
In diy, Outdoor Fixes his insights on indoor design processes, materials, and strategies for efficient production.
His writing bridges the gap between artisan knowledge and modern industry needs, making it a must-read for both budding designers and seasoned professionals.