
To tighten lawn mower blades, disconnect the spark plug, tip the mower safely, secure the blade with a block of wood, and use a wrench or socket to tighten the center bolt clockwise. Always wear gloves, check the torque, and reconnect the spark plug before testing.
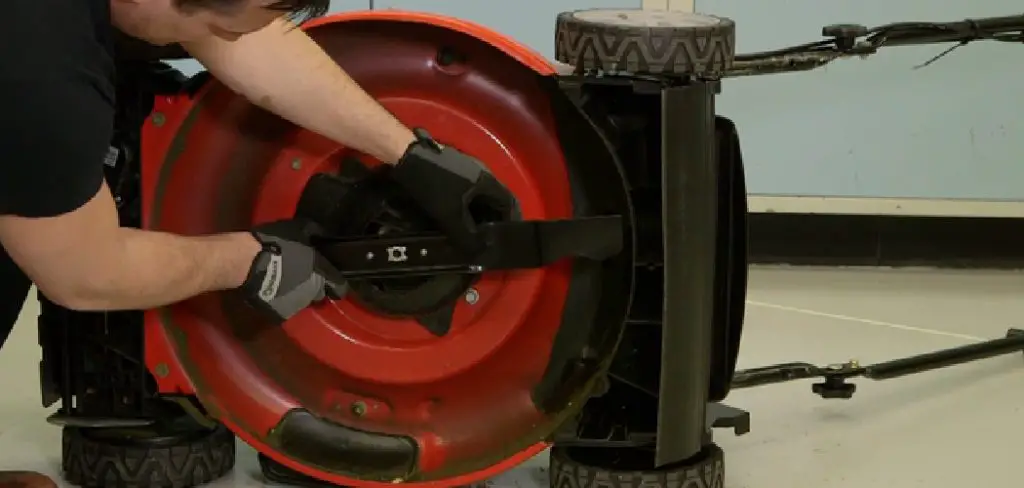
A loose lawn mower blade is more than a minor annoyance. It tears through grass rather than slicing it, leaving ragged edges that brown within days. And beyond the cosmetic damage, a wobbling blade puts real strain on the engine—the kind of strain that quietly shortens its lifespan.
Here’s what’s reassuring: this is a fix you can handle at home, in under 30 minutes, with tools you likely already own. No mechanic needed. In this guide on how to tighten lawn mower blades, we’ll walk you through the process step by step.
Why a Properly Tightened Blade Actually Matters?
When a blade spins at the right tension, it cuts cleanly. That clean cut is what gives lawns that neat, manicured look. A loose blade, by contrast, bruises and tears—and stressed grass is far more susceptible to disease and pest damage than grass that’s been cut properly.
There’s a safety angle here too, and it’s worth taking seriously. A blade vibrating at high speed accelerates wear on the spindle and bearings. Left long enough, that vibration can escalate into something more alarming: a blade that detaches mid-operation. That’s not a theoretical risk. Keeping the bolt snug is genuinely one of the more important maintenance habits a homeowner can build.
7 Simple Step-By-Step Guidelines on How to Tighten Lawn Mower Blades
Work through each step carefully. There’s no prize for speed here.
Step 1: Gather Your Tools and Prepare Your Workspace
Before anything else, get organized. You’ll need thick work gloves, a socket wrench or combination wrench sized to your blade bolt, and a block of wood. A torque wrench is optional but useful for the final tightening.
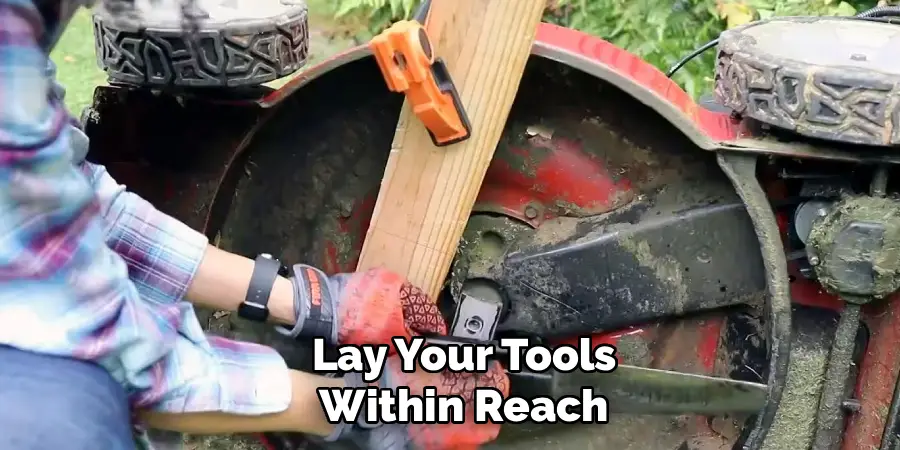
Work on a flat, well-lit surface—a driveway or garage floor works well. Clear any clutter around the mower so you can move freely. Lay your tools within reach. It sounds obvious, but having to hunt for a wrench halfway through the job is exactly the kind of interruption that leads to careless mistakes.
Step 2: Disconnect the Spark Plug
This step is non-negotiable. Disconnecting the spark plug ensures the engine cannot start accidentally while your hands are near the blade. It takes ten seconds and could prevent a serious injury.
Find the spark plug—usually at the front or side of the engine, attached to a thick rubber wire. Grip the boot firmly and pull it straight off. Tuck the wire somewhere it can’t swing back and reconnect. For gas mowers, draining or removing the fuel before tipping the machine is also worth the extra few minutes. Electric or battery-powered mowers? Remove the battery entirely before continuing.
Step 3: Tip the Mower the Right Way
To reach the blade, the mower needs to go on its side. The direction you tip it matters more than most people realize. Always tilt so the air filter and carburetor face upward. Tip it the other way and oil or fuel can seep into the air filter, which may cause starting problems and smoke the next time you run it.
With the mower on its side, the underside of the deck and blade are exposed. Before grabbing for your wrench, take a moment to look. Note the bolt position. If there’s a thick layer of compacted grass clippings around the blade, scrape that away so you can see clearly and get a solid grip.
Step 4: Secure the Blade in Place
A blade that spins freely can’t be tightened effectively. Wedge a sturdy block of wood between the blade and the mower deck, positioned so the blade presses into it when you turn the bolt. Simple, and it works.
Don’t use your hands to hold the blade. Even a dull blade has enough of an edge to cause cuts, and the pressure you’ll apply with the wrench makes this riskier than it sounds. The wood block should be firmly jammed before you apply any force. If it slips, reset it before continuing.
Step 5: Tighten the Center Bolt
Fit your socket or wrench onto the center bolt and turn clockwise to tighten. Apply steady, even pressure—not sudden jerks, which can strip the bolt or send your wrench skidding.
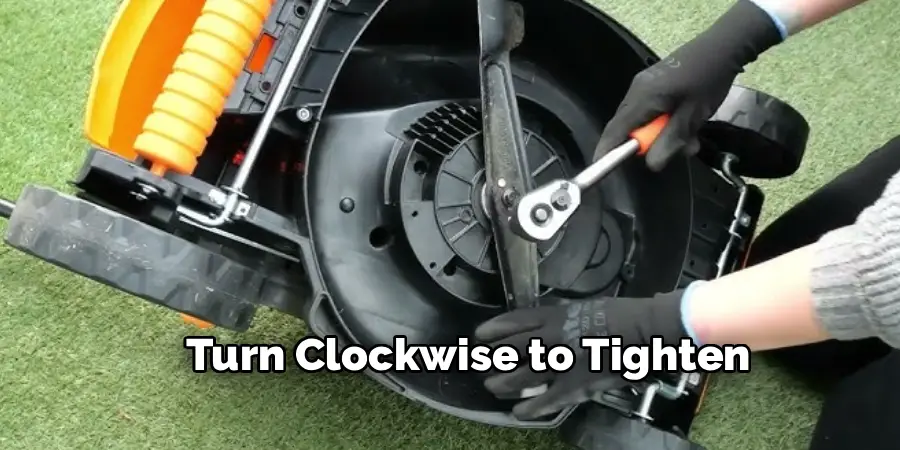
Tighten until the blade no longer wobbles and the bolt feels genuinely snug. Resist the urge to crank it as hard as possible. Overtightening can damage the threads or crack the spindle, which creates a far bigger problem than the one you started with. If you have a torque wrench, consult your mower’s manual for the recommended setting—manufacturers typically specify somewhere between 35 and 50 foot-pounds, though this varies by model. Once you’re there, give the blade a gentle tug to confirm it’s locked.
Step 6: Double-Check Your Work
Remove the wood block and, with gloves still on, try to move the blade by hand. There should be no wobble, no side-to-side play. If it still shifts, tighten the bolt incrementally until it holds.
While you’re down there, inspect the blade itself. Look for visible cracks, deep nicks, or any bending. A damaged blade won’t cut well no matter how tight the bolt is—and in some cases, running a bent blade could cause further damage to the spindle. Also confirm the blade is facing the correct direction. Installing it upside down is a surprisingly common mistake, and it means the mower will run without actually cutting anything.
Step 7: Reassemble and Test
Return the mower to its upright position. Push the spark plug boot firmly back onto the plug until it seats properly. Replace the battery or refuel if applicable, and do a quick sweep to make sure no tools or components have been left under the deck.
Before tackling the whole lawn, run a brief test. Start the mower on open ground and listen. The engine should sound even, without rattling or heavy vibration. Mow a small patch and check the result. An even, clean cut means the blade is correctly tightened. Unusual noise or a rough, torn-looking cut? Shut the mower off and recheck the bolt before going further.
Following these steps on how to tighten lawn mower blades can ensure a smooth and efficient mowing experience.
Safety Precautions
Working around mower blades calls for a certain level of respect for the equipment. Always disconnect the spark plug or remove the battery before you begin—the engine starting unexpectedly is a real possibility, not a remote one. Wear thick gloves throughout, and consider safety glasses to guard against debris. Drain the fuel tank when possible, and always tip the mower in the correct direction.
Keep children and pets out of the workspace. And perhaps most importantly: take your time. Rushing through this job is where injuries tend to happen.
Common Mistakes to Avoid
The most frequent and most dangerous error is skipping the spark plug disconnection step. People assume the engine won’t start. It can. Beyond that, overtightening the bolt ranks as the next most common mistake—the threads strip more easily than expected, and the damage can be expensive to fix. Installing the blade upside down is another issue that trips up first-timers, as is tipping the mower in the wrong direction, which causes oil leaks.
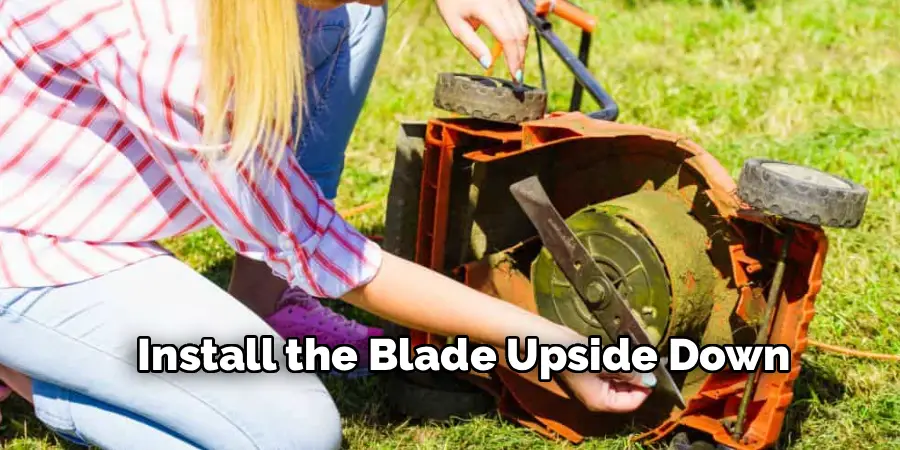
Finally, some people complete the tightening without inspecting the blade itself, missing cracks or damage that should prompt a replacement rather than a retightening.
Frequently Asked Questions
How Often Should I Tighten My Lawn Mower Blade?
Check blade tightness at the start of every mowing season and again roughly every 25 hours of use. Standard mowing vibration can gradually work the center bolt loose over time. Any time you sharpen or clean the blade, take an extra minute to check the bolt while you’re already down there.
Can I Tighten the Blade Without Removing It?
In most cases, yes. Providing the blade is undamaged and correctly positioned on the spindle, wedging it with a block of wood and tightening the bolt clockwise is sufficient. If the blade appears bent, cracked, or heavily rusted, removing it for a closer inspection—or outright replacement—may be the more sensible call.
What Happens If I Overtighten the Blade Bolt?
Too much force strips the bolt threads and can crack the spindle or warp the blade mounting surface. These aren’t minor inconveniences—they’re the kind of repairs that cost real money. Aim for firm and snug rather than maximum torque. If you have a torque wrench, use your manufacturer’s specified setting (often between 35 and 50 foot-pounds) to take the guesswork out of it.
How Do I Know If My Blade Needs Replacing Rather Than Tightening?
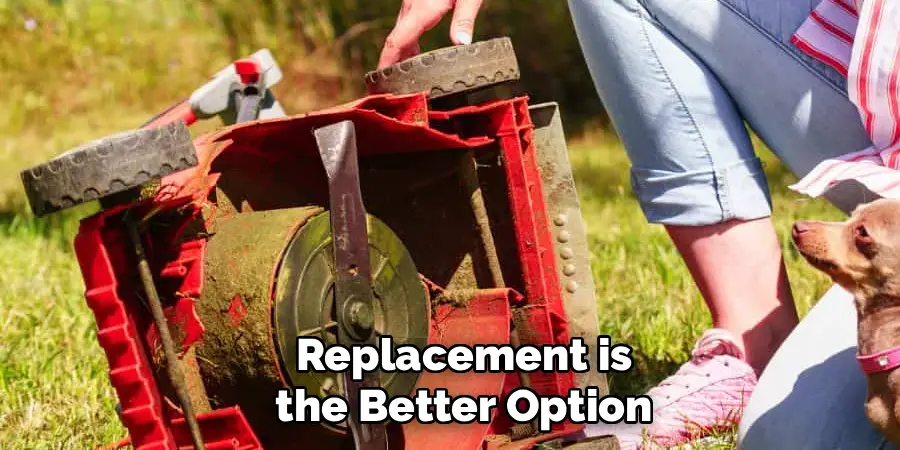
Visible cracks, significant bending, or chips deep enough to affect the blade’s balance all suggest replacement is the better option. A blade that’s simply loose but otherwise intact can be tightened and returned to service. One that’s structurally compromised won’t cut cleanly regardless of how tight the bolt is—and running it risks further damage to the mower.
Keep Your Lawn Looking Its Best
Tightening a lawn mower blade is about as low-effort as maintenance gets—yet few things have a more immediate effect on how your lawn looks and how long your mower holds up.
Build this check into the start of each mowing season, repeat it every 25 hours of use, and you’ll likely avoid most of the wear-related issues that send mowers to the repair shop early. Half an hour of attention now is worth considerably more than an expensive service call later. Thanks for reading this guide on how to tighten lawn mower blades.

About
Outdoor Fixes is a distinguished figure in the world of Diy design, with a decade of expertise creating innovative and sustainable Diy solutions.
His professional focus lies in merging traditional craftsmanship with modern manufacturing techniques,
fostering designs that are both practical and environmentally conscious. As the author of diy,
outdoorfixes delves into the art and science of outdoorfixes-making, inspiring artisans and industry professionals alike.
Education RMIT University
(Melbourne, Australia) Associate Degree in Design (Outdoor Fixes) Focus on sustainable design, industry-driven projects,
and practical craftsmanship. Gained hands-on experience with traditional and digital manufacturing tools, such as CAD and CNC software.
Nottingham Trent University
(United Kingdom) Bachelor’s in outdoorfixes.com and Product Design (Honors) Specialized in product design with a focus on blending creativity with production
techniques. Participated in industry projects, working with companies like John Lewis and Vitsoe to gain real-world insights.
Publications and Impact
In diy, Outdoor Fixes his insights on indoor design processes, materials, and strategies for efficient production.
His writing bridges the gap between artisan knowledge and modern industry needs, making it a must-read for both budding designers and seasoned professionals.