
Getting the most out of your garden often comes down to the tools you reach for—and, just as importantly, whether you actually know how to use them. A sprayer looks simple enough. Pump, point, spray. But that surface simplicity hides a few traps. Use one carelessly and you might waste expensive product, leave half your beds untreated, or scorch the very plants you were trying to feed. Fertilizer, pesticide, herbicide—it almost doesn’t matter which. The technique can make or break the result.
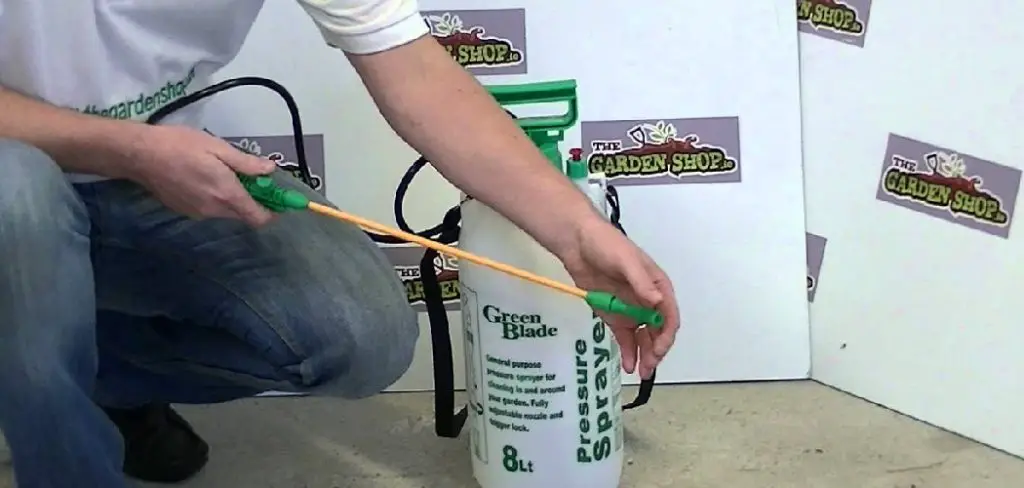
What follows is a fairly complete walkthrough. We’ll start with the different types of sprayers and what each one does best, then move into a step-by-step process you can follow on your next garden session. Along the way, I’ve added some efficiency tips, a few mistakes worth sidestepping, and answers to the questions gardeners tend to ask most. In this guide on how to use sprayer for garden, you’ll also find some tips on maintenance and safety.
Understanding Garden Sprayers
Sprayers come in a handful of forms, and the right one depends largely on what you’re doing and how much ground you need to cover. Three show up most often. Handheld pump sprayers suit small gardens and spot jobs. Backpack sprayers carry more, and because the weight sits across your back and shoulders, they’re easier on the body over larger areas. Then there are hose-end sprayers, which clip onto your garden hose and dilute concentrate for you as the water flows through—handy for lawn treatments where you’d rather not mess with measuring.
It also helps to know what you’re actually holding. A sprayer breaks down into a tank, a pump, a wand, and a nozzle. That last part deserves more attention than most people give it. The nozzle shapes how the product lands, and the patterns vary quite a bit. A fine mist works for feeding foliage; a coarser stream gives you the control you want for targeted weed work. Match the nozzle to the task and your results may improve more than you’d expect.
7 Simple Step-by-step Guidelines on How to Use Sprayer for Garden
Step 1: Choose the Right Sprayer for the Job
Begin by matching the sprayer to what you’re trying to do. A small handheld unit handles spot-treating weeds or feeding a few potted plants without any fuss. Larger beds or a full lawn? That’s where a backpack sprayer earns its keep. Think about the volume of liquid involved, the area you’re covering, and whether the product calls for a particular spray pattern before you commit to one tool.
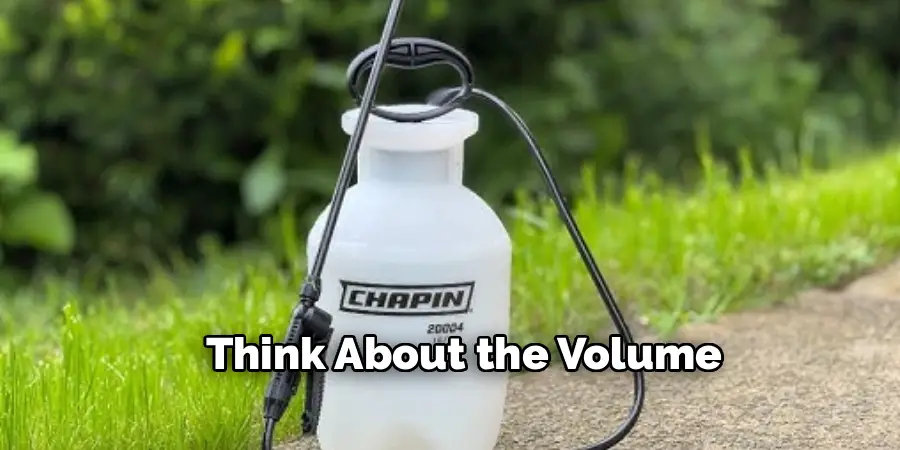
Pick the wrong sprayer and you’ll likely end up with patchy application or burning through more product than you needed. A couple of minutes spent sizing up the job upfront tends to pay back across the whole process, and you’ll get more predictable coverage to boot.
Step 2: Read the Product Label Carefully
Before you mix or spray a single drop, read the label all the way through. It carries the details that matter—dilution ratios, application rates, safety warnings, and which plants or surfaces the product is actually cleared for. Skip this or skim it, and you’re looking at one of the most common reasons treatments fail or plants end up damaged.
Watch especially for notes on temperature and wind. Some products simply shouldn’t go on during a heat spike or when there’s a breeze pushing things around. Sticking to the label also keeps you on the right side of any local rules covering pesticide use, which is worth bearing in mind.
Step 3: Put on Protective Gear
Safety comes first—before you fill the tank, not after. Pull on chemical-resistant gloves, safety goggles, and long sleeves so your skin and eyes stay clear of accidental splashes. Working with something stronger, like a concentrated pesticide or herbicide? Add a face mask or respirator to the list.
Don’t let the word “natural” lull you into skipping this. Even organic-labeled products may irritate skin with repeated handling. Once you’re suited up, give the sprayer a quick check. It should be clean and free of residue from whatever you ran through it last, because leftover traces can do unexpected harm to a fresh batch of plants.
Step 4: Mix and Fill the Tank Correctly
Mix your solution with clean water, following the ratio the label specifies. Order matters here: water into the tank first, then the concentrate. Doing it this way cuts down on foaming and helps everything blend evenly. Resist the urge to fill to the brim—most sprayers need a pocket of air to build pressure when you pump.
Keep a measuring cup set aside just for garden chemicals so your amounts stay accurate, and give the tank a gentle stir or shake once it’s filled. When the ratio leaves you guessing, lean toward the weaker side. A solution that’s too strong can burn foliage or wash off as runoff that reaches plants and soil you never meant to treat.
Step 5: Pressurize the Sprayer
Tank filled and sealed, work the handle until you feel resistance start to build. Most models want somewhere between 10 and 20 pumps to hit a workable pressure, though that figure shifts depending on the sprayer. Enough pressure gives you a steady, even spray rather than a dribble.

The pressure won’t hold forever. As you go, it’ll taper off and you’ll need to top it up with a few more pumps. Keep half an eye on the pattern—if the spray starts sputtering or coming out uneven, that’s usually pressure dropping, and a quick pump or two should sort it before you carry on.
Step 6: Apply the Solution Evenly
Hold the wand a steady distance from the plant, roughly 12 to 18 inches, and move in a slow, deliberate sweep so coverage stays consistent. Don’t forget the undersides of leaves. A lot of pests and fungal problems take hold there first, out of sight. At the same time, you don’t want the foliage so drenched that liquid runs off—that’s wasted product and a route to soil contamination.
Working in sections keeps you from missing patches or doubling back over ground you’ve already covered. On something big like a lawn, string lines or stakes can mark your passes so they overlap in straight, even rows. Honestly, steady technique beats speed every time on a job like this.
Step 7: Clean and Store the Sprayer After Use
When you’re done, don’t walk away with the solution still sitting in the tank. Rinse it out thoroughly with clean water, then pump that rinse water through the wand and nozzle to clear any residue trapped inside. Certain products ask for several rinses or a particular cleaning agent—the label will tell you, so check it again.
Once rinsed, bleed off any pressure left in the tank and tuck the sprayer somewhere cool and dry, out of direct sun and well away from children. Cleaning it regularly stretches the life of the equipment and keeps residue from hardening into blockages or eating away at the parts over time.
Following these steps on how to use sprayer for garden will help you keep your plants healthy and happy, while also maintaining the longevity of your sprayer. Remember to always clean your equipment after each use and store it properly to ensure its effectiveness for future use.
Common Mistakes to Avoid
Even seasoned gardeners slip into habits that quietly undercut their results. Skipping the cleaning step ranks high on the list—it clogs nozzles and throws off the spray pattern over time. Getting the concentration wrong, whether too strong or too weak, causes its own trouble, either harming plants or simply not working.
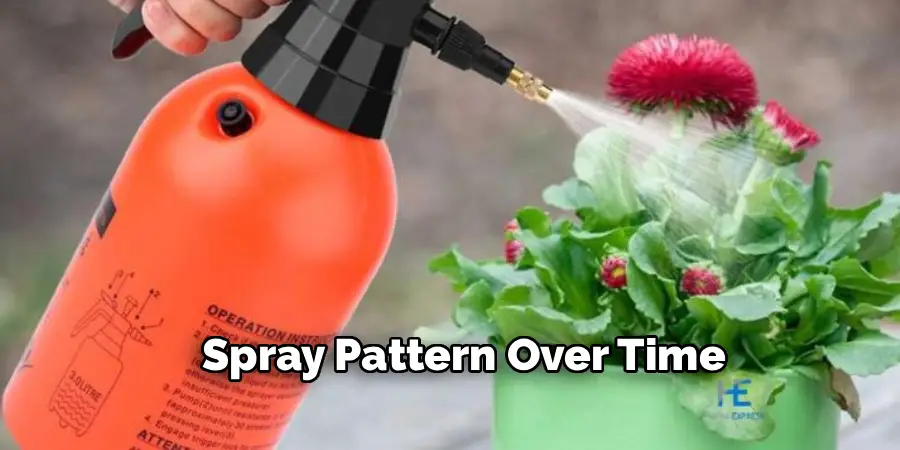
Spraying in wind or heat is another one. The solution drifts off target or evaporates before it ever settles where you wanted it. Plenty of people also overlook the nozzle itself, reaching for a fine mist when a coarse spray would do the job, or the reverse. None of these takes much effort to dodge, and avoiding them saves real time and money down the line.
Frequently Asked Questions
How Often Should I Clean My Garden Sprayer?
Cleaning after every use is the safest habit, especially when you’re switching between different products. Herbicide residue can harm plants if the sprayer later carries fertilizer without a proper rinse. At the very least, flush the tank, wand, and nozzle with clean water once you’ve finished. For a deeper clean, reach for a dedicated sprayer cleaning solution or a mild detergent, then rinse everything out before you store it.
What Type of Nozzle Should I Use for Applying Pesticides?
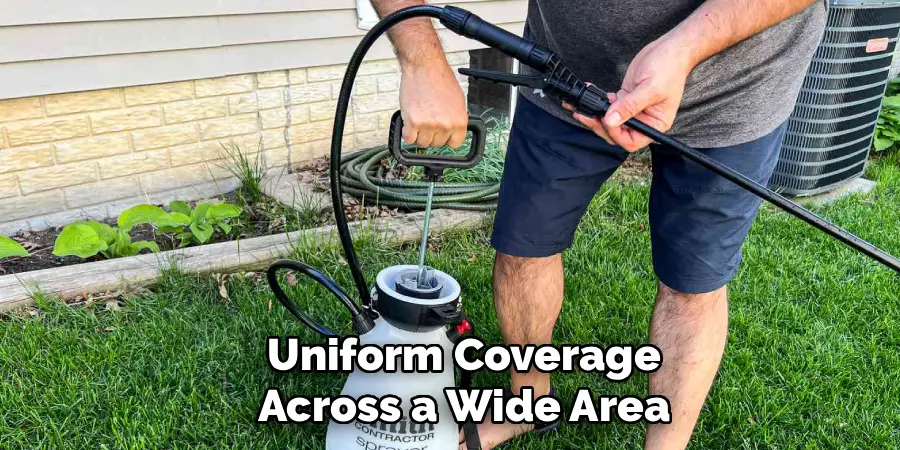
For pesticides, a flat-fan nozzle is usually your best bet. It lays down uniform coverage across a wide area while keeping drift to a minimum. A cone nozzle does better when you’re reaching leaf undersides or treating individual plants. Steer clear of jet or stream nozzles here—they throw large droplets that don’t cling well to foliage and tend to run off. And as always, the pesticide label may name a specific nozzle for that product, so check.
Can I Use the Same Sprayer for Herbicides and Fertilizers?
It’s risky, and most growers would advise against it. Herbicide residue is stubborn stuff, hard to clear out completely, and even faint traces may cause real damage to plants you’re trying to feed. The safer route is keeping two dedicated sprayers—one for herbicides, one for fertilizers or pesticides—each labeled clearly so there’s no chance of a mix-up.
Get More From Your Garden, One Spray at a Time
A garden sprayer ranks among the most versatile tools you’ll own, but that’s only true when it’s handled well. Choose the right sprayer, follow the label, apply with a bit of care, and keep the equipment maintained—do those things and you’ll see better results with less waste and far less effort.
Put these steps to work on your next session in the garden. A little consistency and the right technique go a long way, and your plants will show the difference soon enough. Thanks for reading this guide on how to use sprayer for garden.

About
Outdoor Fixes is a distinguished figure in the world of Diy design, with a decade of expertise creating innovative and sustainable Diy solutions.
His professional focus lies in merging traditional craftsmanship with modern manufacturing techniques,
fostering designs that are both practical and environmentally conscious. As the author of diy,
outdoorfixes delves into the art and science of outdoorfixes-making, inspiring artisans and industry professionals alike.
Education RMIT University
(Melbourne, Australia) Associate Degree in Design (Outdoor Fixes) Focus on sustainable design, industry-driven projects,
and practical craftsmanship. Gained hands-on experience with traditional and digital manufacturing tools, such as CAD and CNC software.
Nottingham Trent University
(United Kingdom) Bachelor’s in outdoorfixes.com and Product Design (Honors) Specialized in product design with a focus on blending creativity with production
techniques. Participated in industry projects, working with companies like John Lewis and Vitsoe to gain real-world insights.
Publications and Impact
In diy, Outdoor Fixes his insights on indoor design processes, materials, and strategies for efficient production.
His writing bridges the gap between artisan knowledge and modern industry needs, making it a must-read for both budding designers and seasoned professionals.