
A beautiful yard often starts with the right tools—and few are as underrated as the landscaping rake. Useful for leveling soil, spreading mulch, or prepping a new lawn, this workhorse tool can make outdoor projects faster and far less frustrating. Most homeowners own one. Far fewer use it well.
Learning the correct technique saves time and spares your back from strain you didn’t need in the first place. This guide on how to use landscaping rake breaks down what a landscaping rake actually is, how to use it across eight practical steps, and which mistakes to sidestep so your next project goes smoothly from start to finish.
Understanding the Landscaping Rake
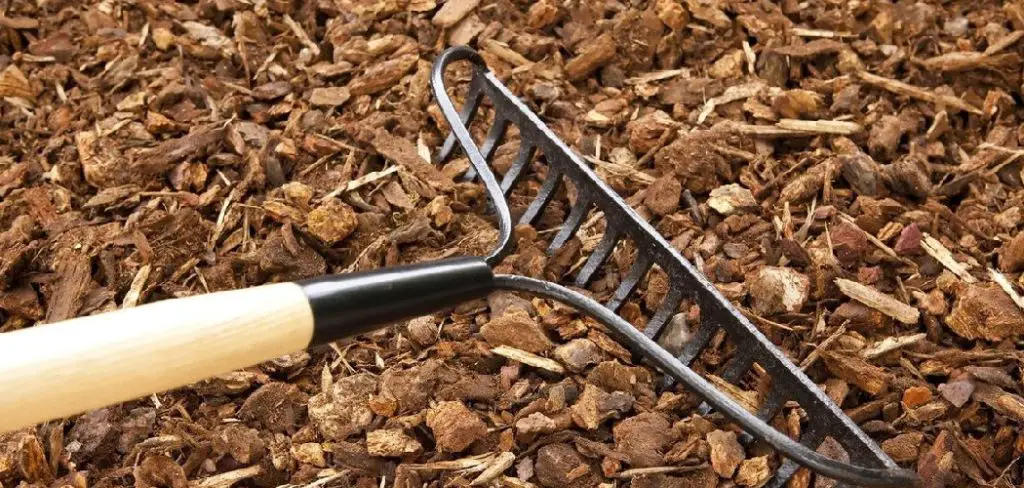
A landscaping rake—sometimes called a level head rake or bow rake—is a heavy-duty garden tool built for moving and smoothing soil, gravel, and other coarse materials. Where a leaf rake has long, flexible, fan-shaped tines designed for lightweight debris, a landscaping rake features short, rigid metal teeth on a flat, wide head. That design gives it the strength to break up clumps, spread material evenly, and create a level surface.
Most models have a long handle made from wood, fiberglass, or aluminum. The flat back edge of the head is just as useful as the toothed side, letting you push and grade material with precision. Once you understand how versatile this tool is, it becomes a natural first grab for most yard projects.
8 Simple Step-by-step Guidelines on How to Use Landscaping Rake
Using a landscaping rake correctly comes down to technique and patience—two things that go a long way when you’re working with soil.
Step 1: Choose the Right Rake for the Job
Before starting, check that you have the right rake for the task at hand. Landscaping rakes come in different head widths: wider models cover more ground quickly, while narrower ones offer better control in tight spaces.
Handle material matters too. Fiberglass and aluminum handles are lightweight and resist warping over time. Wooden handles have a traditional feel and hold up well with proper care. For large open areas, go wide. For detail work around flower beds or pathways, a smaller rake gives you the precision you need.
Step 2: Inspect and Prepare the Work Area
Walk the area before you start raking. Pull out any large rocks, branches, or debris that could snag the teeth or slow your rhythm. Clearing obstacles first saves interruptions later.
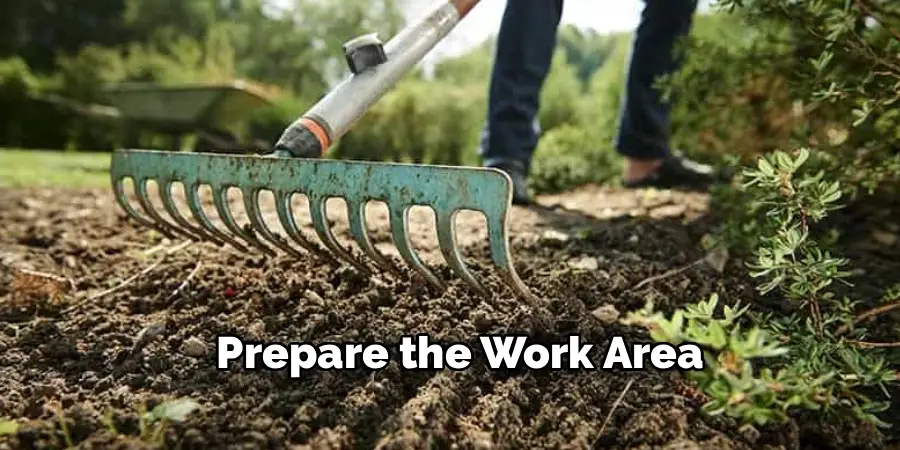
It also helps to mark project boundaries with stakes or spray paint—a simple visual guide that keeps the work tidy. If the soil is dry and compacted, lightly watering it the day before may make raking noticeably easier.
Step 3: Hold the Rake Correctly
Grip placement changes everything. Place one hand near the top of the handle and the other about halfway down. This gives you control and leverage while reducing strain on your wrists and shoulders.
Keep your back straight and bend slightly at the knees rather than hunching forward. Let your legs and core carry the effort instead of your arms alone. Good posture protects you from injury and extends how long you can work before fatigue sets in.
Step 4: Break Up the Soil
Use the toothed side of the rake to break up compacted soil or clumps. Drag the teeth firmly through the ground with short, controlled strokes—this loosens the surface and creates a workable texture, which matters most when preparing a seedbed.
Work in one direction first, then come back over the area at a slight angle. That crosshatch pattern tends to break down stubborn clods more evenly. Rushing this step is a common mistake; well-loosened soil makes every stage that follows easier.
Step 5: Level the Surface
Once the soil is loose, flip the rake over to the flat back edge. Push and pull the material to fill low spots and knock down high points, working toward a smooth, even surface across the whole area.
Move slowly and step back often to check your progress from a wider view. Overlapping passes ensure you don’t leave any uneven patches. For larger areas, long sweeping motions cover ground efficiently while keeping the surface consistent.
Step 6: Spread Mulch or Gravel
This is where a landscaping rake genuinely earns its place in the shed. Dump small piles of mulch, gravel, or compost across the area, then use the flat side of the rake to push them out evenly. Aim for consistent depth throughout.
Use smooth, steady strokes and avoid pressing too hard, which tends to create grooves in the material. When spreading mulch around plants, keep it a few inches away from stems to prevent rot. Taking your time here gives garden beds and pathways a clean, finished look that holds up well.
Step 7: Refine the Edges and Details
With the main work done, the finer details are what separate a decent result from a polished one. Use the corner of the rake head to define edges along walkways, flower beds, and borders—crisp lines do a lot for the overall appearance.
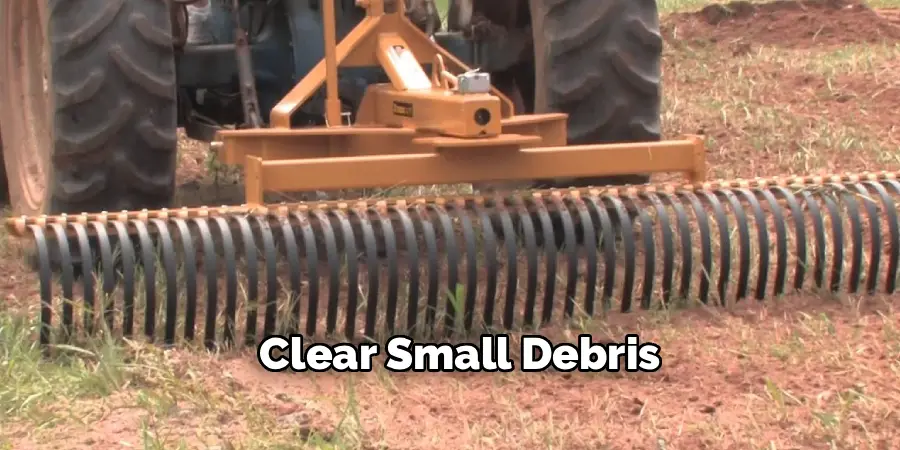
Smooth out any remaining uneven patches and clear small debris that surfaced during raking. Check that mulch or gravel sits at a uniform level throughout. A bit of extra attention at this stage is almost always worth it.
Step 8: Clean and Store Your Rake
After finishing, take a few minutes to care for the tool itself. Knock off clinging soil and rinse the head if it’s caked with mud. Dry it thoroughly, particularly if you have a metal head combined with a wooden handle—moisture is the main culprit behind rust and handle rot.
Store the rake in a dry spot, ideally hung on a wall or hook rather than left flat on the ground. Keeping the teeth off the floor prevents bending and extends the life of the tool considerably.
Following these steps on how to use landscaping rake will help you achieve clean and leveled yards, making your outdoor space more presentable and enjoyable.
Common Mistakes to Avoid
Even with a straightforward tool, a few habits can undercut your results. Raking wet, muddy soil is one of the most common errors—it clumps together and creates an uneven surface that’s harder to fix than the original problem. Skipping the preparation step often leads to damaged teeth and unnecessary stops mid-project.
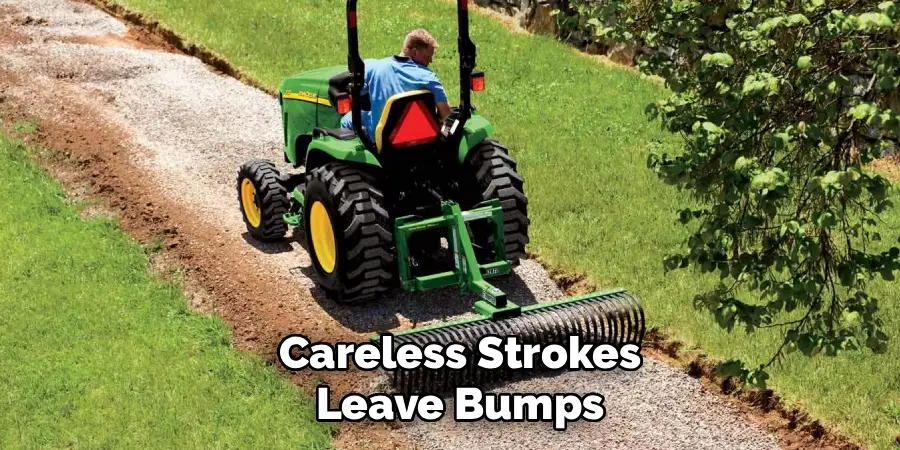
Poor grip matters too. Holding the handle too tightly or hunching over the rake causes fatigue and, over time, back pain. And finally: don’t rush. Quick, careless strokes leave bumps and grooves that take longer to correct than simply slowing down would have.
Frequently Asked Questions
Q1: What Is the Difference Between a Landscaping Rake and a Leaf Rake?
A leaf rake has long, flexible tines in a fan shape, suited for gathering lightweight debris like leaves and grass clippings. A landscaping rake has short, rigid metal teeth on a flat head built for heavier work—breaking up soil, leveling ground, and spreading materials like mulch or gravel. The two tools may look similar at a glance, but they serve distinct purposes.
Q2: Can I Use a Landscaping Rake on Gravel?
Yes—a landscaping rake handles gravel well. The sturdy teeth move and spread gravel across driveways, paths, and garden beds with reasonable ease, while the flat back edge levels the surface evenly. Use steady, consistent strokes and check your depth regularly. For both installing and maintaining gravel areas, it’s one of the more practical tools available.
Q3: How Do I Maintain My Landscaping Rake?
After each use, clear any soil or debris from the head and rinse it if needed. Dry the rake fully to prevent rust on the teeth. Check the handle periodically for cracks or splinters—wooden handles benefit from occasional sanding and a light coat of linseed oil. Store the rake in a dry, sheltered area, preferably hanging rather than resting on the ground. With basic upkeep, a quality rake holds up for many seasons.
Q4: What Are Some Benefits of Using a Landscaping Rake?
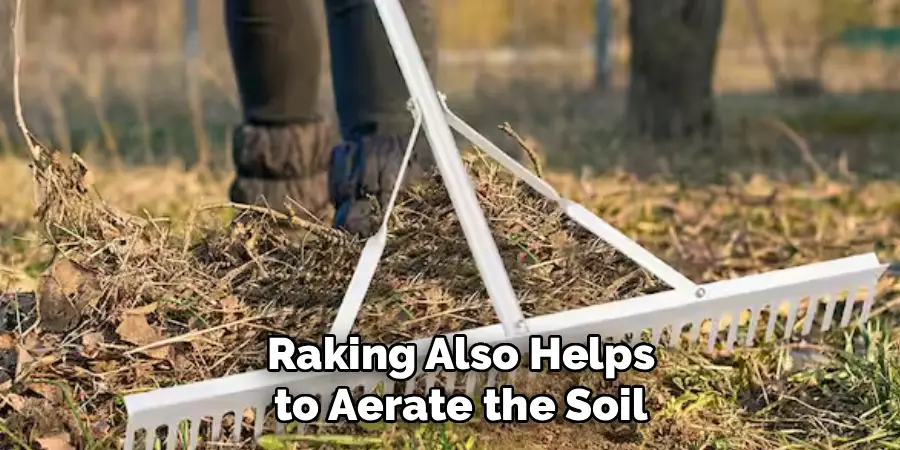
Using a landscaping rake has several benefits for maintaining your outdoor space. It helps to remove debris and leaves from your lawn, making it look cleaner and more manicured. Raking also helps to aerate the soil, allowing oxygen and nutrients to reach plant roots for healthier growth. Additionally, removing thatch and dead grass with a landscaping rake can improve water absorption and prevent disease in your lawn.
Get the Most Out of Your Landscaping Rake
A landscaping rake is one of the more practical tools you can own for yard work—and using it well makes a real difference in the results. Choosing the right model, preparing the space, and working through the eight steps above can help you achieve smooth, even outcomes without wearing yourself out in the process.
Avoid the common pitfalls—rushing, poor posture, wet soil—and take care of the tool when you’re done. With a bit of practice, ranking stops feeling like a chore and starts feeling like something you’re actually good at. Thanks for reading this guide on how to use landscaping rake.

About
Outdoor Fixes is a distinguished figure in the world of Diy design, with a decade of expertise creating innovative and sustainable Diy solutions.
His professional focus lies in merging traditional craftsmanship with modern manufacturing techniques,
fostering designs that are both practical and environmentally conscious. As the author of diy,
outdoorfixes delves into the art and science of outdoorfixes-making, inspiring artisans and industry professionals alike.
Education RMIT University
(Melbourne, Australia) Associate Degree in Design (Outdoor Fixes) Focus on sustainable design, industry-driven projects,
and practical craftsmanship. Gained hands-on experience with traditional and digital manufacturing tools, such as CAD and CNC software.
Nottingham Trent University
(United Kingdom) Bachelor’s in outdoorfixes.com and Product Design (Honors) Specialized in product design with a focus on blending creativity with production
techniques. Participated in industry projects, working with companies like John Lewis and Vitsoe to gain real-world insights.
Publications and Impact
In diy, Outdoor Fixes his insights on indoor design processes, materials, and strategies for efficient production.
His writing bridges the gap between artisan knowledge and modern industry needs, making it a must-read for both budding designers and seasoned professionals.