
For many homeowners, outdoor entertaining is an important way to bring family and friends together. It is important to know how to build a backyard pavilion. When the sun begins to set, however, it can be difficult to spend time outdoors due to a lack of shade.

A backyard pavilion can provide the perfect solution by creating a shady spot to relax while also adding character and value to your property.
In this blog post, we’ll go over all the steps you need to take to build your very own backyard pavilion! From planning and assessing your space to gathering materials and completing construction, let’s get started on making your outdoor entertainment area as comfortable (and stylish!) as possible.
Tools You Will Need
Before you start building your pavilion, you must ensure you are equipped with the right tools. Depending on the size and shape of your pavilion, you will need a variety of materials including
- Lumber,
- Nails,
- Screws, and
- Shingles.
You’ll also need to have certain power tools such as a drill, saws, and hammers. It’s a good idea to review the instructions for your particular pavilion before you purchase any materials to make sure that you have everything you need.
6 Steps Guide on How to Build a Backyard Pavilion
1. Plan Ahead:
Before you begin building your pavilion, it’s essential to plan and assess your space. How large do you want your pavilion to be? How far away from the house should it be? Do you want it constructed on a level area or would you prefer a slight incline? All of these are essential considerations to make before you start building.
Planning is the key to building a successful backyard pavilion. Make sure to assess the total size of your space before you begin construction, including considering any slopes, inclines, or other features that would affect the overall design.
The distance from your house should also be taken into account; it’s best if you decide on this early on, as discovering too late that a pavilion doesn’t fit comfortably in your yard may require altering the plan a substantial amount throughout its construction process.
All these factors will help make sure that whatever design you choose for your pavilion looks and functions great in its intended spot while providing years of enjoyment.
2. Digging the Foundation:
The next step is to dig the foundation for your pavilion. Depending on the type of soil in your area, this could include digging a 4-6 inch deep trench around the perimeter of your planned pavilion, ensuring that it is level, and filling it in with gravel or sand.
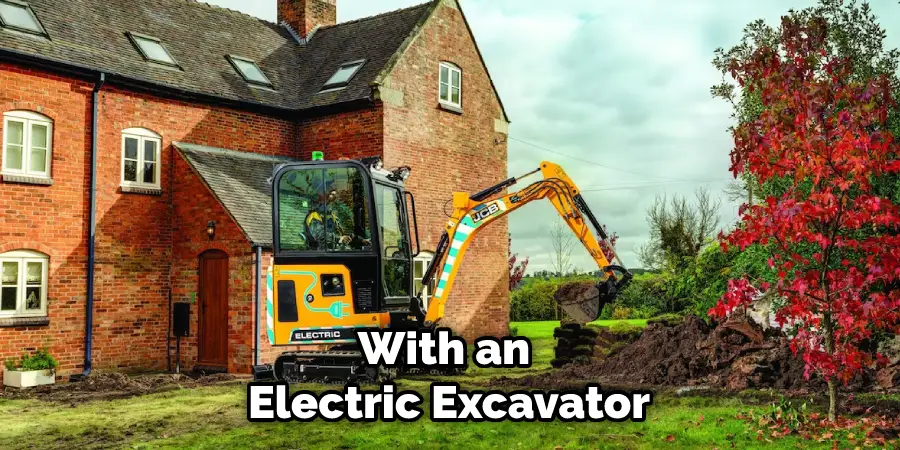
Digging the foundation for your pavilion is a crucial step in building it. Depending on the kind of soil you have in your area, it may require digging a 4-6 inch deep trench around the perimeter of where you want it and ensuring that all sides are level. Once completed, fill the trench with gravel or sand to maintain levelness and stability.
This can be done by hand or with an electric excavator if the area is large enough. Finishing this step will ensure that you have laid down a strong foundation on which to start constructing your backyard pavilion.
3. Installing Footings:
Building a pavilion in your backyard is an excellent way to enhance the appearance and usability of your outdoor space. To ensure that your backyard pavilion stands tall and strong for years to come, it is essential, to begin with properly installing footings.
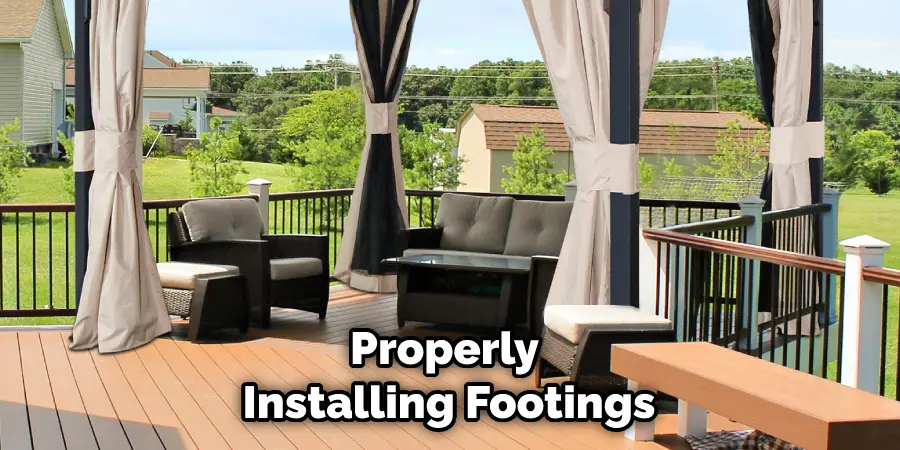
Footings are structural elements placed below ground level that is used to provide a steady, stable foundation on which to build the pavilion.
It will be necessary to dig several feet into the soil before installing the footings, which in turn will require pouring concrete or laying bricks and stones around rebar set in holes. Once complete, the pavilion’s framework can be secured on top of it so you can enjoy your beautiful new addition in no time!
4. Building the Frame:
Next, it’s time to build the frame of your pavilion. You will need pressure-treated timber and galvanized nails or screws to complete this step. Depending on the size and type of gazebo you are building, you may also need additional materials such as rafters or crossbeams for extra support.
Building a backyard pavilion can be an exciting task if you have the right tools. Starting with the frame will provide the basic shape that you need to continue building your structure.
First, having the proper size of wood and know-how is helpful when constructing the frame. Depending on where you live you may also need to check what regulations apply to your local area; this might also influence other building decisions like roof structures and wall sizes.
Using nails or bolts and clamping your pieces together will help ensure that everything is secure for the construction process. If it is windy in your area, consider using special anchors for additional security of your structure. Furthermore, if it’s going to block out some sun taking into account how much shade or light that you may want should be considered too!
5. Roofing and Shingling:
Once the frame is built, you can begin installing the roof of your pavilion. This will involve placing shingles onto the roof as well as any additional trim pieces that are necessary for a finished look.
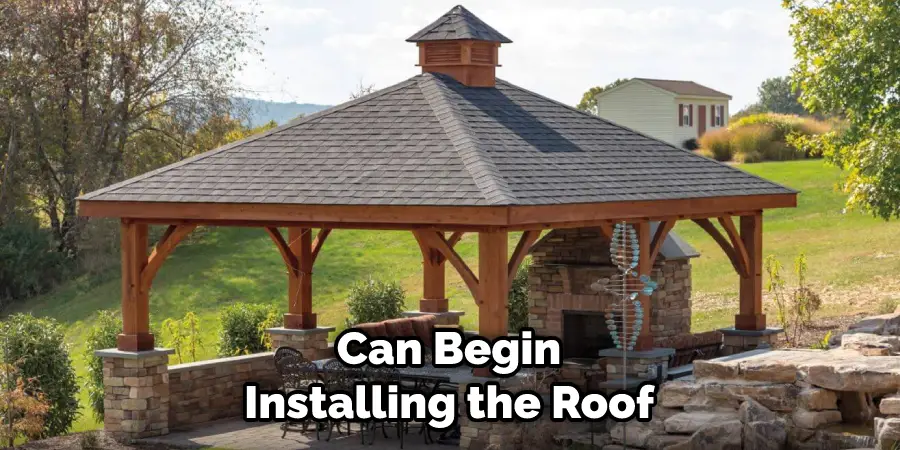
Building a backyard pavilion is a great way to add extra outdoor living space and increase the value of your home. While it may sound intimidating, roofing and shingling your pavilion are straightforward with the right materials and setup.
Preparing the pavilion correctly is key – make sure to get lumber that’s suitable for outdoor use, safely secure the wood in place, and then nail the shingles on tight. After installation, you can rest easy knowing you have created a long-lasting roost in your backyard that’s protected from the elements.
6. Finishing Touches:
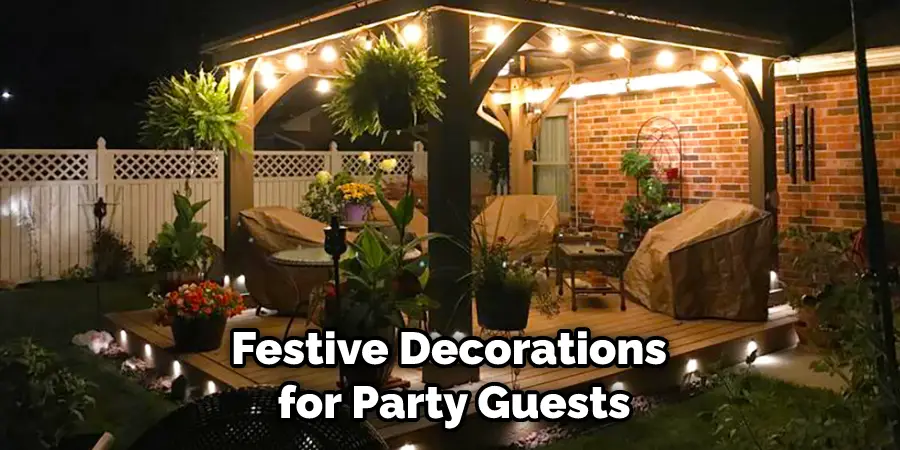
Finally, it’s time to finish your pavilion. This could include adding furniture, landscaping around the edges, or even installing lighting to illuminate the area at night.
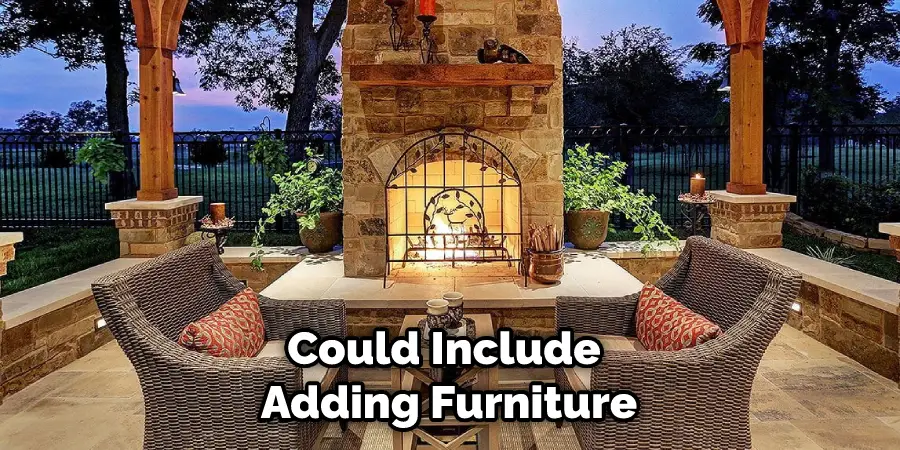
Adding a backyard pavilion to your outdoor oasis gives the perfect finishing touch, making it truly your own. The possibilities with a pavilion are endless, creating an open-air space for parties and family get-togethers or even simply functioning as stylish shade during those long summer afternoons.
They range from classic colonial styles to more modern takes, allowing you to tailor your backyard’s look and feel exactly to what you want.
Depending on the size desired and the type of Pavillon, materials like wood or metal could be used for lasting durability or plastic for a temporary yet attractive enhancement.
Whether you’re knocking out that last DIY project yourself or having professional help from a carpenter, selecting the right materials for this investment means that your backyard’s view will be complete for years of relaxation ahead.
By following these steps, you should now have a sturdy and attractive outdoor entertainment area! Plus, with any luck, you’ll have some extra time to enjoy it too. Thanks for reading and happy building!
Tips to Build a Backyard Pavilion
- The first step in building a backyard pavilion is to choose the right location. You’ll want to pick a spot that is level and has good drainage. Additionally, you’ll want to make sure that the location is far enough away from your house so that it doesn’t block any views.
- Once you’ve chosen the perfect location for your pavilion, it’s time to start planning. You’ll need to decide on the size, shape, and style of your pavilion. Additionally, you’ll need to determine what type of roof you want and what kind of flooring you prefer.
- The next step in building a backyard pavilion is to select the right materials. For the frame, you’ll want to choose lumber that is resistant to rot and insect damage. For the roof, you can choose between shingles, metal, or tile. And for the flooring, you can choose from a variety of options such as concrete, pavers, or decking boards.
- If you’re not comfortable tackling the project yourself, then you may want to hire a contractor. A contractor will be able to help you with every step of the process, from choosing the right location to selecting the right materials. Additionally, a contractor will be able to handle any permits that may be required.
- Once you’ve selected all of the materials for your project, it’s time to purchase them. When buying lumber, make sure to get enough for both the frame and the flooring. For the roofing material, you’ll need enough for both the main roof and any overhangs. And for the flooring material, make sure to get enough for both the main area and any stairs or ramps that you plan on adding.
- The next step in building your backyard pavilion is to cut and assemble the frame. If you’re hiring a contractor, they will likely do this step for you. However, if you’re doing it yourself, then you’ll need to use a saw and drill to cut all of the lumber according to your plans. Once everything is cut, use nails or screws to assemble the frame.
- The next step is to install the roofing material on top of the frame. If you’re using shingles, start at one end of the pavilion and work your way up. If you’re using metal or tile, start at the bottom and work your way up.
How to Create the Perfect Outdoor Entertainment Area with a DIY Backyard Pavilion?
Creating the perfect outdoor entertainment area doesn’t have to be hard. With the right materials and a little bit of know-how, you can build a DIY backyard pavilion that will stand the test of time. To get started, first decide on the size and location of the pavilion you want to build—your climate and soil type should factor into where you place it.
Then purchase your supplies: cedar wood (preferably pressure-treated) for the walls, posts, rafters, and beams; galvanized or stainless steel hardware; and a water-resistant shingle or metal roofing material.
Follow your pre-determined measurements for assembly and make sure to finish with a protective sealant to keep out rain and moisture. With your DIY pavilion in place, all that’s left is furnishing it with comfortable chairs and cushions for summer lounging or festive decorations for party guests!
Conclusion
Luckily, it’s not as complicated or expensive as it looks. You should carefully determine how to build a backyard pavilion. By following the steps above, you can easily build your backyard pavilion on a budget that suits your needs.
With a little bit of time and effort, you can enjoy all the benefits of having a pavilion in your backyard. Do you have any tips for building a pavilion? Let us know in the comments below!
About
Outdoor Fixes is a distinguished figure in the world of Diy design, with a decade of expertise creating innovative and sustainable Diy solutions.
His professional focus lies in merging traditional craftsmanship with modern manufacturing techniques,
fostering designs that are both practical and environmentally conscious. As the author of diy,
outdoorfixes delves into the art and science of outdoorfixes-making, inspiring artisans and industry professionals alike.
Education RMIT University
(Melbourne, Australia) Associate Degree in Design (Outdoor Fixes) Focus on sustainable design, industry-driven projects,
and practical craftsmanship. Gained hands-on experience with traditional and digital manufacturing tools, such as CAD and CNC software.
Nottingham Trent University
(United Kingdom) Bachelor’s in outdoorfixes.com and Product Design (Honors) Specialized in product design with a focus on blending creativity with production
techniques. Participated in industry projects, working with companies like John Lewis and Vitsoe to gain real-world insights.
Publications and Impact
In diy, Outdoor Fixes his insights on indoor design processes, materials, and strategies for efficient production.
His writing bridges the gap between artisan knowledge and modern industry needs, making it a must-read for both budding designers and seasoned professionals.