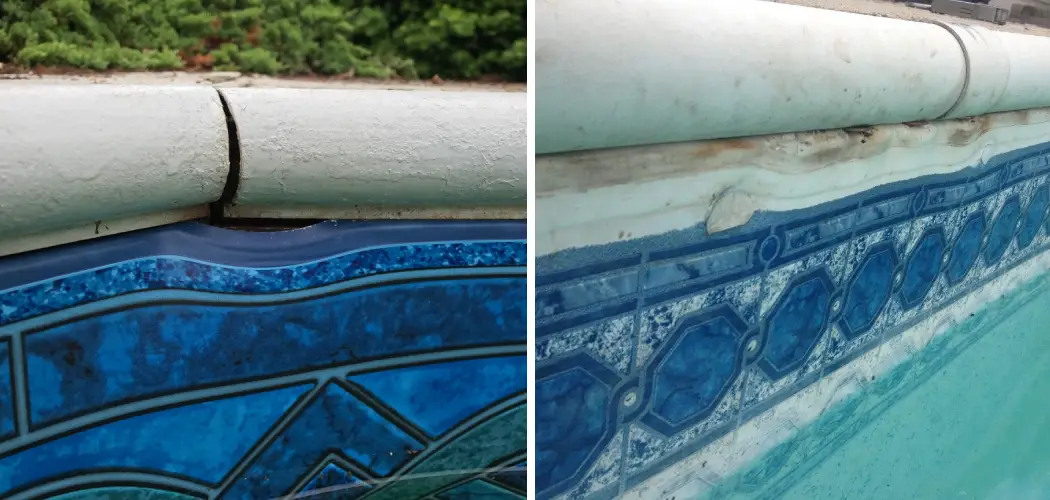
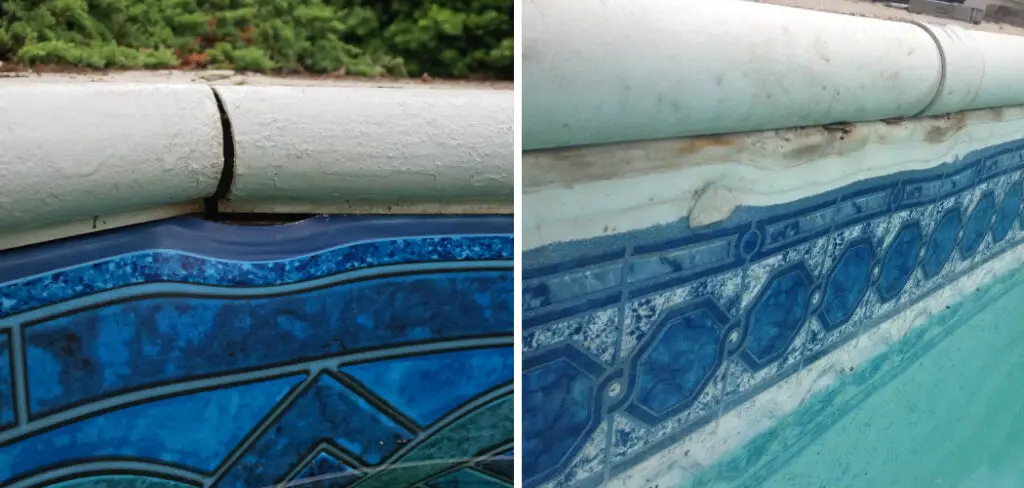
Are you noticing that the vinyl liner of your above-ground pool has started to slip? A properly fitted pool liner helps maintain structural integrity and keeps debris from getting stuck in the sides or bottom. Not only does a loose liner look unsightly, but it can also lead to costly repair bills if not addressed as soon as possible.
In this blog post, we’ll discuss how to fix above ground pool liner that has slipped. We’ll explain why liners slip in the first place and provide step-by-step instructions on fixing them with minimum fuss and disruption.
So, whether you are trying to tackle a minor issue or have had problems for some time already, rest assured that this guide will help you get back into swimming shape safely!
What Causes an Above-Ground Pool Liner to Slip?
There are a few common causes of a slipped pool liner, such as improper installation, shifts in weight distribution due to water level changes and usage, or even ground movement. The most likely cause is that the liner was not fitted correctly when originally installed. This can lead to uneven tension on the walls, resulting in a loose fit that can eventually cause to slip.
Why Do You Need to Fix Above Ground Pool Liner That Has Slipped?
It’s essential to fix a slipped pool liner as soon as possible. Without immediate attention, it can lead to further problems down the line, such as water loss, mildew build-up, and even damage to the underlying structure of your above- ground pool. In some cases, the entire liner may need replacing if left unchecked for too long.
Needed Tools
Before you start the process of fixing your pool liner, make sure to have the following tools on hand:
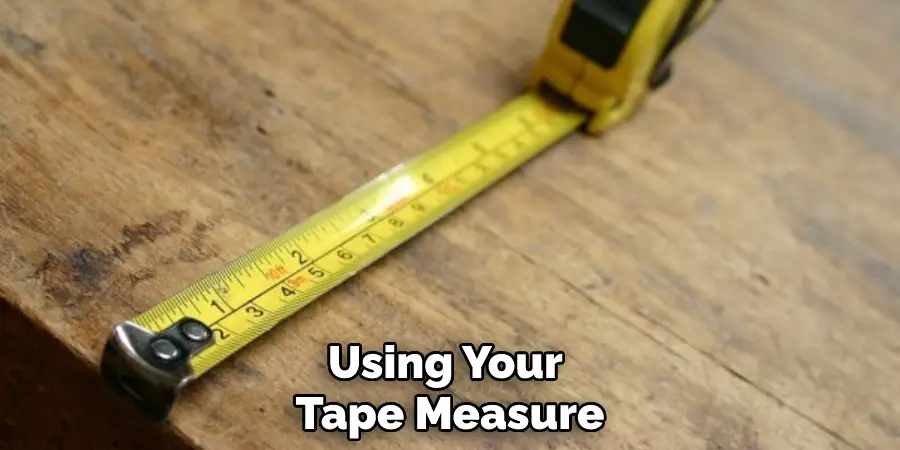
- Tape measure
- Utility knife
- Reaming tool or screwdriver
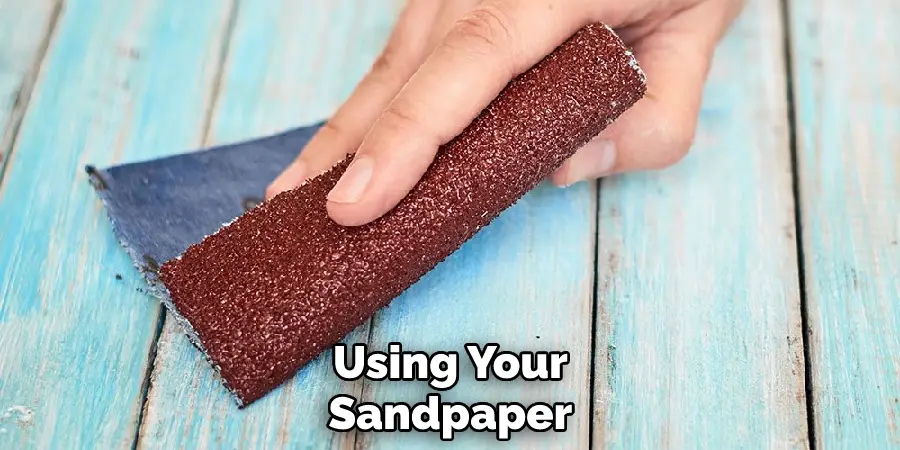
- Sandpaper
- Vinyl adhesive patch kit
- Replacement liner (if necessary)
Now that you have the tools needed, here’s a step-by-step guide on how to fix a slipped pool liner
10 Steps on How to Fix Above Ground Pool Liner That Has Slipped
Step 1: Measure the Pool.
Using your tape measure, check the circumference of the pool walls and note any discrepancies in height or width. This will help you identify which sections of the liner have slipped and by how much.
Step 2: Trim Excess Material.
If there is excess material around the sides of the pool, use your utility knife to trim it away carefully. Trimming would also help you identify and address uneven tension points in the liner. Then excess material can be thrown away.
Step 3: Ream Out the Slip Areas.
Using your reaming tool or screwdriver, gently push and pull along the sides of each slipped area. This will remove any wrinkles that are causing tension and make it easier for you to re-attach the liner in place.
Step 4: Sand Away Unwanted Material.
Using your sandpaper, lightly abrade the edges of the liner where it has come away from the pool walls. This will help create a smooth and even surface for adhesion. A smooth surface is key to making sure the liner stays in place.
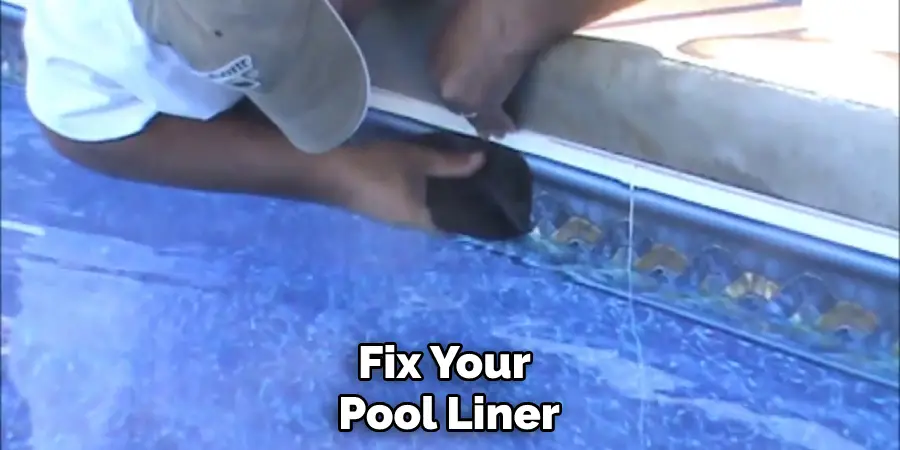
Step 5: Apply Vinyl Adhesive Patch Kit.
Once you have sanded down the surface, use a vinyl adhesive patch kit to attach the liner back into place. Make sure to read and follow all instructions included with your patch kit for the best results.
Step 6: Let It Dry.
Once you have applied the adhesive patch kit, allow it to dry for 24 hours before refilling your pool with water. Letting it dry properly will ensure that the liner is securely attached.
Step 7: Refill with Water.
After 24 hours, it’s time to refill your pool with water to check for any further issues. Keep an eye out for any additional slips or wrinkles that may have occurred during the re-attachment process. If everything looks good, your pool is ready to be used again.
Step 8: Monitor the Pool Closely.
Even after your initial fix, it’s important to keep an eye on your pool liner for any further signs of slipping. Regular checks can help you spot and address problems before they worsen, so don’t forget to give it a periodic once-over.
Step 9: Replace the Liner if Necessary.
If you’ve done everything possible to fix your pool liner and it still continues to slip, then it may be time to consider a full replacement. It’s always best to work with a professional when replacing the liner so that it is installed correctly and securely.
Step 10: Enjoy!
Once you’ve completed all the necessary steps, it’s time to enjoy your pool once again! Keeping an eye on the liner and regularly checking for any signs of damage can help ensure that your repairs will last.
By following these steps, you can quickly and easily fix an above-ground pool liner that has slipped. With the right tools and maintenance, you can keep your pool in top condition for years to come.
10 Safety Precautions to Take
1. Shut Off the Power to the Pool Pump
Be sure to shut off any electrical power associated with the pool pump before beginning repairs. This will ensure your safety and prevent electric shock.
2. Put on Protective Gear
Wear protective clothing when handling chemicals and pool liners, such as rubber gloves, eye protection, and a long-sleeved shirt.
3. Remove Any Debris From the Pool
Any leaves, dirt, or other debris should be removed from the pool before attempting to fix a slipping liner. This will help prevent further damage to the liner and make it easier to work with when making repairs.
4. Check the Ground Around the Pool
Make sure that there are no roots, rocks, or other debris that could cause the liner to slip further. Debris can cause damage to the liner and make it difficult or impossible to repair.
5. Determine the Cause of the Slipping
If you can determine what caused the liner to slip, then you can take steps to prevent it from happening again in the future. Common causes include ground movement, water levels that are too low, or incorrect installation of the pool.
6. Dry the Area Where the Liner is Slipping
Be sure to dry the area that has slipped in order to ensure a better bond between the pool wall and liner when making repairs.
7. Apply Adhesive to the Area
There are various types of adhesives available for repairing pools, so be sure to read the instructions carefully before using one. Apply the adhesive to the area where the liner is slipping and then press down firmly.
8. Use a Patch Kit if Necessary
If there is a tear or other damage to the liner, you may need to use a patch kit in order to repair it properly. Follow instructions carefully when using these kits, and be sure to apply them as directed.
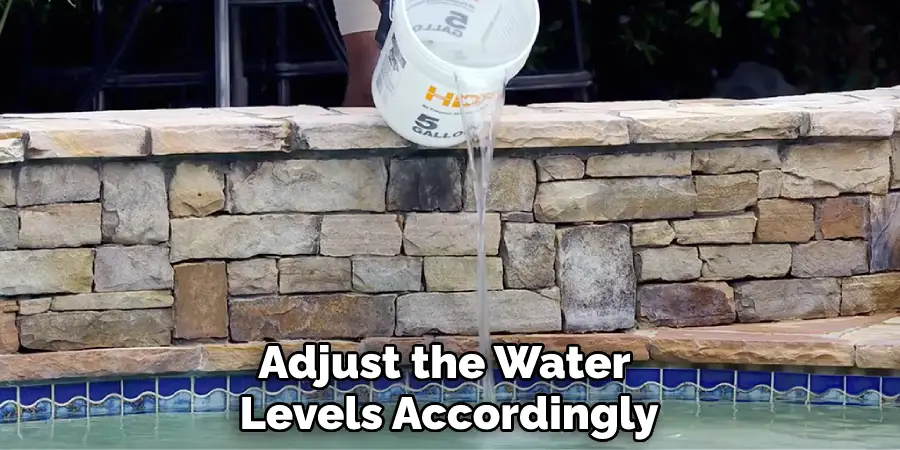
9. Adjust the Water Level
Make sure that the pool has enough water in it to keep the liner from slipping. If necessary, adjust the water levels accordingly in order to ensure a good fit for all areas of the liner.
10. Test for Leaks
Once repairs have been made, test for any leaks by running a garden hose over the area. If there are any leaks, you will need to make further repairs in order to ensure that the liner does not slip or tear again.
Taking these 10 safety precautions before and during repairs can help keep you safe while fixing a slipping above-ground pool liner. Be sure to read instructions carefully and take all necessary steps to ensure a secure and successful repair.
Maintenance Tips on Above-Ground Pool Liner
Although it’s important to know how to fix a slipping above-ground pool liner, it’s also helpful to learn maintenance tips that can help keep the liner secure in the first place. Here are some steps you can take to maintain your pool liner:
- Inspect your pool walls and ground for any damage or debris on a regular basis.
- Clean the entire pool regularly with a pool vacuum or brush. Cleaning helps maintain the pool’s filter system and can prevent debris from collecting on the liner.
- Check the water levels of your pool regularly, ensuring that they stay at a level high enough to keep the liner secure against the walls.
- Repair any tears or damage to the liner as soon as possible after it occurs. Repairing minor damage before it turns into a major problem can save you time and money in the long run.
- Make sure to use pool chemicals properly, as overuse or misuse of chemicals can cause damage to the liner and other parts of the pool.
Follow these steps on a regular basis to keep your above-ground pool in top condition and ensure that the liner remains secure.
Conclusion
It is important to fix a slipping above-ground pool liner as soon as possible to prevent further damage. Fixing a liner can be a difficult task, but it is possible with the right tools and knowledge. Be sure to take all necessary safety precautions and follow instructions carefully when repairing your pool.
Also, remember to maintain your pool regularly in order to keep the liner secure and prevent future problems. By following the steps in this blog post on how to fix above ground pool liner that has slipped, you can easily fix a slipping liner yourself without having to call a professional. Do you have any tips for fixing a pool liner? Share them in the comments below!
About
Outdoor Fixes is a distinguished figure in the world of Diy design, with a decade of expertise creating innovative and sustainable Diy solutions.
His professional focus lies in merging traditional craftsmanship with modern manufacturing techniques,
fostering designs that are both practical and environmentally conscious. As the author of diy,
outdoorfixes delves into the art and science of outdoorfixes-making, inspiring artisans and industry professionals alike.
Education RMIT University
(Melbourne, Australia) Associate Degree in Design (Outdoor Fixes) Focus on sustainable design, industry-driven projects,
and practical craftsmanship. Gained hands-on experience with traditional and digital manufacturing tools, such as CAD and CNC software.
Nottingham Trent University
(United Kingdom) Bachelor’s in outdoorfixes.com and Product Design (Honors) Specialized in product design with a focus on blending creativity with production
techniques. Participated in industry projects, working with companies like John Lewis and Vitsoe to gain real-world insights.
Publications and Impact
In diy, Outdoor Fixes his insights on indoor design processes, materials, and strategies for efficient production.
His writing bridges the gap between artisan knowledge and modern industry needs, making it a must-read for both budding designers and seasoned professionals.