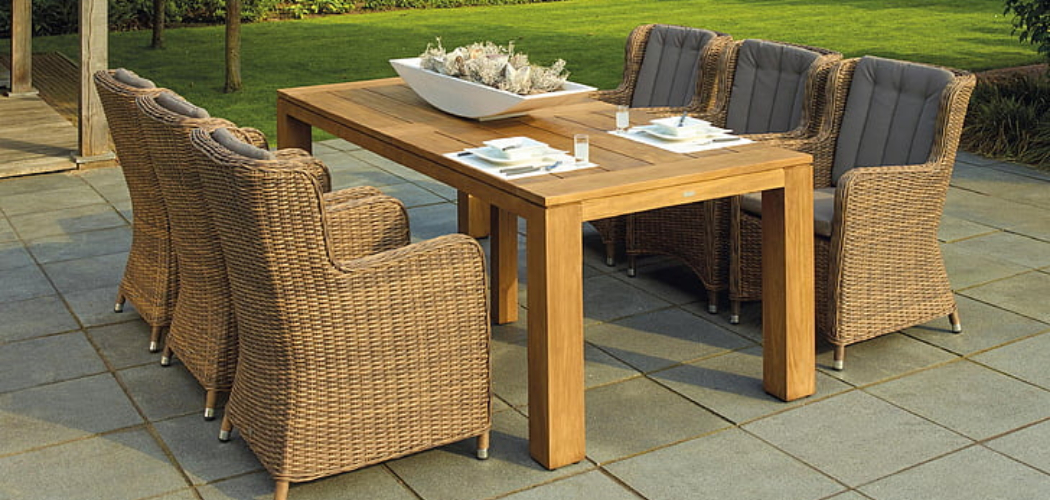
If you’re looking for a great way to spruce up your patio or garden, why not take matters into your own hands and make a statement with a custom patio table? It is important to know how to make patio table.
A patio table is a perfect place to gather family and friends together for outdoor entertaining, whether it’s an intimate dinner with just two people or hosting a big summer bash.
Not only will it be uniquely yours, but if you choose to DIY this project the overall cost should be significantly lower than purchasing one from the store. In this post, we will walk through all of the steps you need to follow to create a beautiful customized outdoor living space.
Tools You Will Need
- Saw
- Hammer
- Screwdriver
- Tape measure
- Level
- Drill
- Clamps
Materials You Will Need
- Wood (for the tabletop, legs, and frame)
- Deck screws or nails (to attach pieces)
- Outdoor paint or stain
- Outdoor sealant (for extra protection)
6 Steps Guide on How to Make Patio Table
1. Measuring the Space
Measuring the space is key when you’re ready to make your patio table. Before you start building, you should outline a plan based on the size of the area that you want to cover and the people who will be sitting around the table. Giving yourself a few extra inches to work with ensures that it will fit within your desired space.
Because so many variables come into play: such as shape, height, and size– knowing whether or not it will properly fit ahead of time is vital. Make sure to take these measurements carefully when deciding on the measurements for your patio table.
2. Cut Your Wood Pieces
Once you have all the measurements figured out, it’s time to begin cutting your wood pieces. For a patio table, you’ll need at least three boards for the tabletop and four boards for the legs.
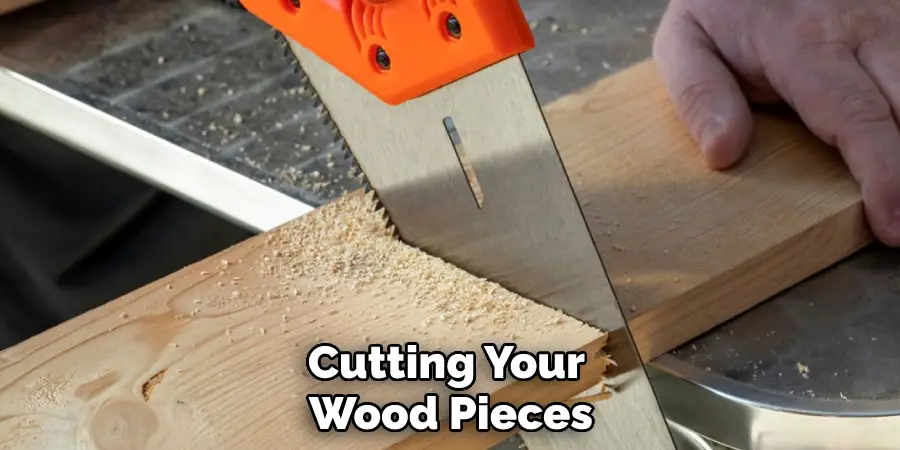
Creating a frame around the perimeter of your table will add additional support and also give it a decorative touch – use four more boards to do this. After everything is cut and measured correctly, you are well on your way to assembling a beautiful outdoor piece of furniture!
3. Secure the Boards Together
Making a patio table can be a rewarding and relatively easy project, although it does require careful attention to detail. To ensure the project is successful, secure the boards together by either screwing or nailing them in place. If this is done correctly, your table should be structurally sound for many years to come!
For best results, use clamps to align the boards while you are fastening them in place. This will help ensure that everything lines up properly and that your table will look its best when finished. A quality patio table makes a great addition to any outdoor living space – so make sure to take your time with this step when constructing yours!
4. Paint or Stain It
Making a table for your patio is a great way to extend your living space and create an inviting area for family and friends to gather. Now that you have completed constructing the tabletop and frame, it’s time to choose the right paint or stain that will last outdoors.
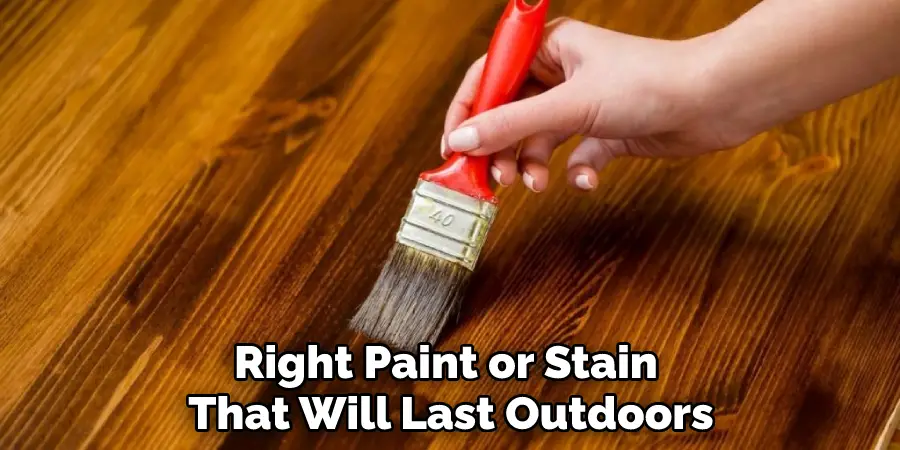
You want to make sure you use an outdoor-grade coating as this will be able to withstand the changing temperatures, UV rays of the sun, and moisture from rain or morning dew. There are lots of options available, from quick-drying paint sprays to alkyd oil-based stains.
Choose one of these products to ensure your table stays looking great over many seasons both for aesthetic value and for protection against future damage.
5. Seal the Wood
To make sure your patio table stands up against all weather conditions, apply a quality outdoor sealant to the wood. Not only will the sealant create an extra barrier of protection, but it will also help to preserve the natural look of the wood. A water-based outdoor sealant is best for preventing UV damage and paint peeling and protecting its finish from mold growth.
Many waterproof sealants are available in clear or colored versions so you can choose the one that best suits your style preferences. Make sure to follow the manufacturer’s instructions and give it at least 48 hours before using as contact may break down its protective coating.
Once you have applied a sealant, take extra caution about its contact with hot surfaces; use coasters when serving warm plates.
6. Attach the Legs to the Frame
Once you have constructed the main table frame, the last step is to attach the legs for increased stability. To ensure a firm and secure base, drill holes into both the frame and the legs before inserting screws or nails to hold them together.
These small but essential steps complete your patio table project and ensure that your outdoor entertaining can begin in no time at all. So don’t forget to check twice before attaching the legs so that your DIY masterpiece can impress friends and family alike!
And that’s it! After following these steps, you should have your very own custom-made patio table perfect for outdoor entertaining. Have fun decorating it with plants, flowers, and other decorative pieces – let your creativity be your guide!
Tips to Make Patio Table
- When choosing materials for your patio table, it is important to consider the climate in your area. If you live in an area with a lot of sun and heat, you will want to choose materials that will not fade or warp in the sun and heat. Some good options for materials include teak, cedar, and eucalyptus.
- When choosing the size of your patio table, you will need to consider the size of your patio or deck. You will also need to consider how many people you want to be able to sit at the table. If you have a small patio or deck, you may want to choose a smaller table. If you have a large patio or deck, you may want to choose a larger table.
- The shape of your patio table should also be considered when making your purchase. The most common shapes for patio tables are rectangular, square, and round. You will need to decide which shape will best fit your patio or deck space.
- When choosing the height of your patio table, you will need to consider how tall you and your guests are. You will also need to consider if you want a table that is the standard height or bar height. Standard-height tables are typically 28 inches tall, while bar-height tables are typically 36 inches tall.
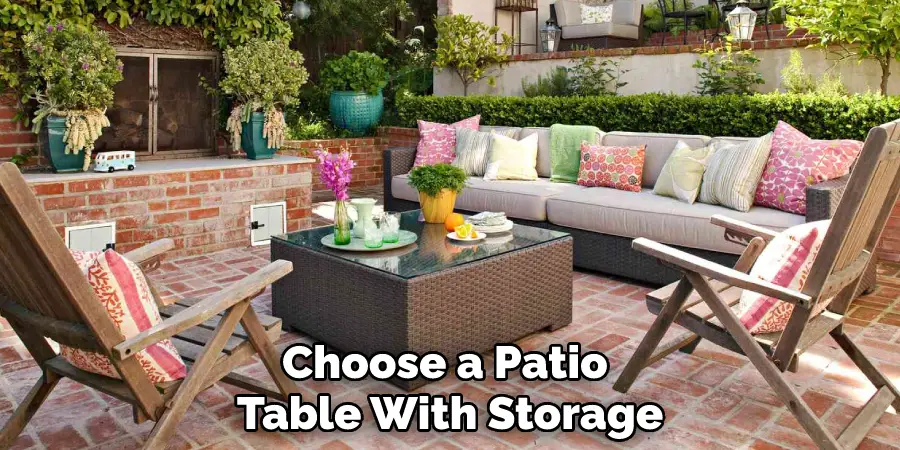
- If you are limited on space in your patio or deck, you may want to choose a patio table with storage. There are many different types of storage tables available including those with shelves, drawers, and cabinets. Storage tables are a great way to keep your patio or deck organized and tidy.
- When choosing a patio table, it is important to consider your budget. Patio tables can range in price from a few hundred dollars to several thousand dollars depending on the materials, size, shape, and features that you choose.
How to Make an Insta-Worthy Patio Table?
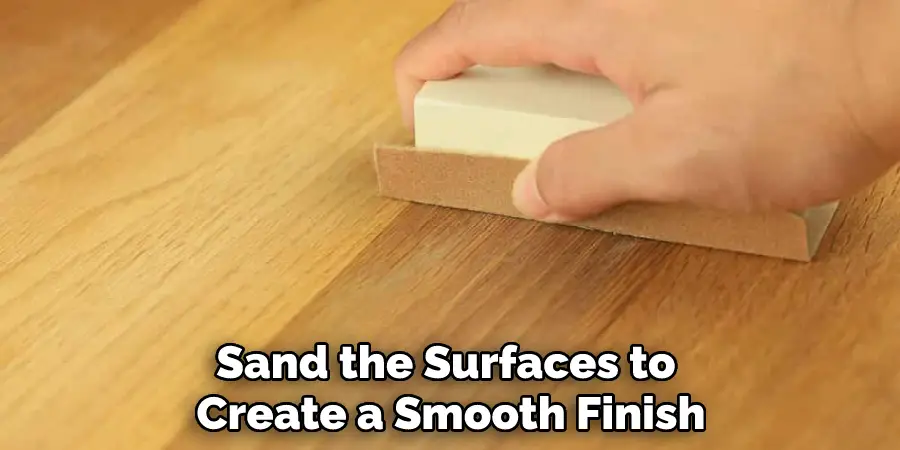
Creating an Insta-worthy patio table is easier than you think! Just grab a few pieces of your favorite lumber and sand the surfaces to create a smooth finish. Then, stain or paint the wood to match your outdoor aesthetic.
Choose four furniture legs that fit the desired height and attach them securely with screws. Depending on the style, add simple accents like a corner bracket or wood finials on each leg. Finally, seal the wood with an outdoor polyurethane to help protect against weather damage.
With these easy steps, you’ll have both a beautiful outdoor centerpiece and plenty of likes from your followers!
How to Craft the Perfect Patio Table
Having a patio table can be the perfect way to make the most of your outdoor space. DIY-ers of all skill levels will find crafting the perfect patio table quick and easy. To get started, you’ll need a saw, drill, paintbrush, ruler, measuring tape, and any other standard tools you need for fabrication.
You can also find premium wood and aluminum supplies at local hardware stores to build your project—or take home an already-made item.
Next, decide on the material for your frame as well as the size you’d like it to be before getting down to work. When choosing colors for your table please consider how often you plan to use them; light colors will require more frequent touch-ups whereas darker colors may last longer against weathering.
With that in mind, be sure to design around the climate where this piece will live. Once built, add decorations like scatter cushions and pot plants for a finished look that’s inviting and pleasant to relax in!
How to Make a Sturdy and Beautiful Patio Table?
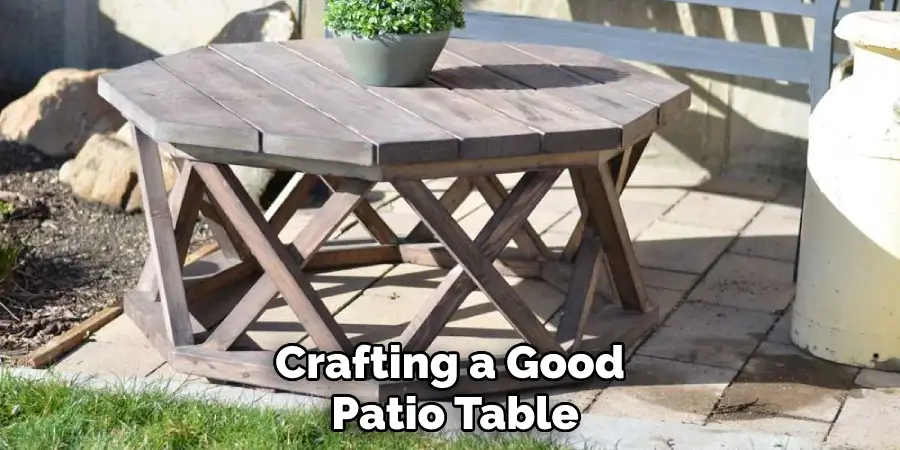
Crafting a good patio table is both an art and a skill. To make one that is both robust and attractive, start by selecting the right materials for your project. For example, rust-resistant metal or hardwood makes a great choice for sturdy legs, while durable tiles or painted surfaces can complete the aesthetic of your table.
Next, turn to hardware such as nuts and bolts to ensure your table will stay together during inclement weather. Finally, use sandpaper to lightly buff out any rough edges and seal the entire piece with waterproofing lacquer to prevent water damage over time.
With these tips in mind, you should have no trouble fashioning yourself an exquisite patio table that will last many years to come!
Conclusion
Now that you know how to make patio table, you can enjoy your outdoor space while saving money. This project is perfect for beginner woodworkers or anyone who wants to furnish their outdoor space on a budget.
With just a few supplies and some time, you can create a beautiful and functional piece of furniture that will last for years to come. So what are you waiting for? Get started building your patio table today!
About
Outdoor Fixes is a distinguished figure in the world of Diy design, with a decade of expertise creating innovative and sustainable Diy solutions.
His professional focus lies in merging traditional craftsmanship with modern manufacturing techniques,
fostering designs that are both practical and environmentally conscious. As the author of diy,
outdoorfixes delves into the art and science of outdoorfixes-making, inspiring artisans and industry professionals alike.
Education RMIT University
(Melbourne, Australia) Associate Degree in Design (Outdoor Fixes) Focus on sustainable design, industry-driven projects,
and practical craftsmanship. Gained hands-on experience with traditional and digital manufacturing tools, such as CAD and CNC software.
Nottingham Trent University
(United Kingdom) Bachelor’s in outdoorfixes.com and Product Design (Honors) Specialized in product design with a focus on blending creativity with production
techniques. Participated in industry projects, working with companies like John Lewis and Vitsoe to gain real-world insights.
Publications and Impact
In diy, Outdoor Fixes his insights on indoor design processes, materials, and strategies for efficient production.
His writing bridges the gap between artisan knowledge and modern industry needs, making it a must-read for both budding designers and seasoned professionals.