
Have you ever dreamed of having a horse farm? Having your own horses will bring countless memories and moments of joy, but with owning these amazing animals comes the responsibility to provide them with all the amenities they need. One important thing you’ll need is a fence that won’t just keep them safe, but also enable them to roam freely within its confines.
Building a horse fence can seem daunting at first, but don’t worry – it’s actually easier than you think! In this post, we’ll share everything you need to know about how to build a horse fence on your property so that your horses remain secure and content in their new home.
Necessary Materials
Given below is a list of necessary materials you’ll need to build a horse fence, make sure you have them all before diving into the project:
- Wooden Posts
- Fence Rails
- Electric Tape or Wire
- Fence Staples/nails
- Gate(S)
- Post Hole Digger
- Spade/shovel
- Leveler
- Saw
10 Step-by-step Guidelines on How to Build a Horse Fence
Step 1: Plan the layout
Before you start building your fence, it’s important to plan out its layout. This includes measuring the perimeter of your property and deciding where you want to place your gate(s). Make sure to mark the corners of your fence with stakes. It’s also important to check with your local zoning authorities for any regulations or restrictions on fence height or placement. You’ll want to make sure your fence is within your property lines as well.
Step 2: Clear the area
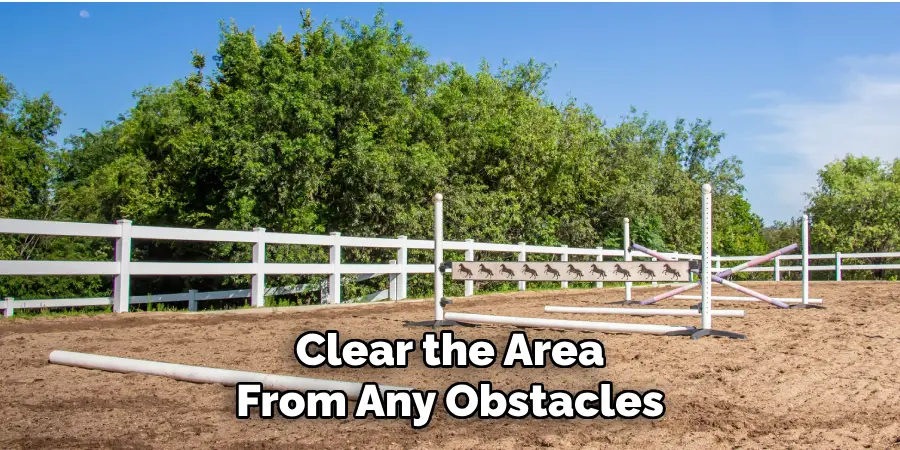
Once you have your layout planned out, clear the area from any obstacles such as rocks or trees that may interfere with building the fence. It’s important to have a clear and even surface for the fence to be built on. But make sure to save any large trees that can provide shade for your horses. This will not only benefit your horses but also reduce the amount of fencing you’ll need to build. It’s a win-win! These trees can also serve as sturdy posts for your fence.
Step 3: Dig post holes
Using a post hole digger, dig holes for the posts at least 2 feet deep. Keep in mind that the closer your post holes are to each other, the more secure your fence will be. It’s recommended to have a post every 8-10 feet. Make sure to also dig deeper holes for the gate posts, around 3 feet deep. Otherwise, the weight of the gate may cause it to lean over time. You can also use a leveler to ensure the holes are even and straight.
Step 4: Install wooden posts
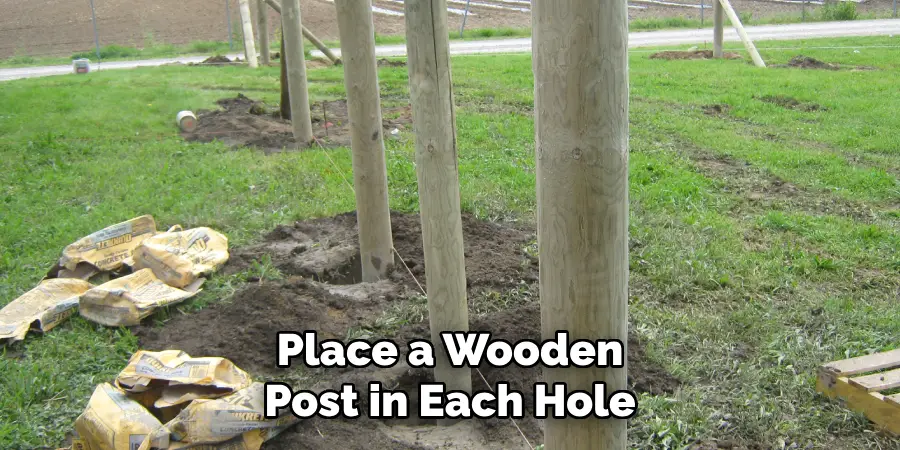
Place a wooden post in each hole and make sure they are straight using a leveler. Fill the hole with soil or concrete and pack it firmly around the post. You can also secure the post with braces until the concrete dries for added stability. It’s important to let the concrete dry completely before moving on to the next step. You can also add a top rail to your fence for added stability. But make sure to leave some room at the top for the electric tape or wire.
Step 5: Attach fence rails
Once the posts are secured, attach the horizontal fence rails to them. This is usually done with nails or fence staples. This will provide a framework for the fence to be built on. Make sure to use at least two rails, one near the top and one near the bottom of the posts. But you can also add more rails for added security. It’s important to make sure the rails are evenly spaced and level. If you’re using electric wire or tape, you can attach insulators to the posts and wrap the wire/tape around them.
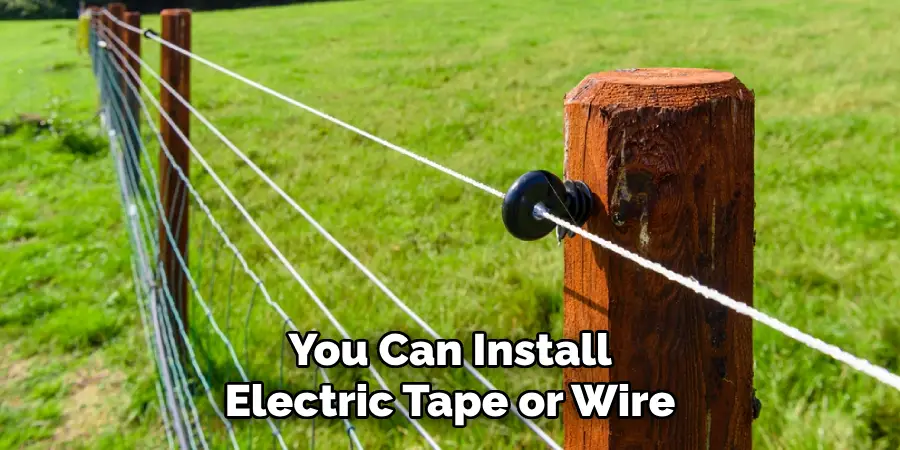
Step 6: Install electric tape or wire
To make your fence even more secure, you can install electric tape or wire around the perimeter of your fence. This will prevent your horses from leaning or chewing on the fence. It’s important to follow the manufacturer’s instructions for proper installation and safety measures. It’s also recommended to install the electric tape or wire at a height of 48 inches for horses. However, for foals or ponies, you can lower the height to 36 inches.
Step 7: Add gates
Install gates at designated areas, making sure they are securely attached to your fence posts. But make sure to leave enough space for your horses to comfortably walk through. You can also install a gate latch for added security. This will prevent your horses from accidentally opening the gate. It’s important to have at least two gates for easier access and in case one fails or needs repairing. You can also install a gate at the end of your fence for easier access to larger equipment.
Step 8: Check for safety
Before letting your horses into the fenced area, make sure to check for any potential hazards such as sharp edges or loose wires that may harm your horses. You can also add padding around the fence posts or use plastic caps to cover any sharp edges. Safety should always be a top priority when building a horse fence. It’s also important to regularly check and maintain the fence for any damages or repairs needed.
Step 9: Test the electric fence
If you have installed an electric tape or wire, test it to make sure it is functioning properly and not overcharged. But make sure to do this when your horses are not in the area as it can cause them discomfort. It’s also important to regularly check the electric fence and replace any faulty components. It’s recommended to turn off the electric fence when doing maintenance or repairs.
Step 10: Maintain your fence
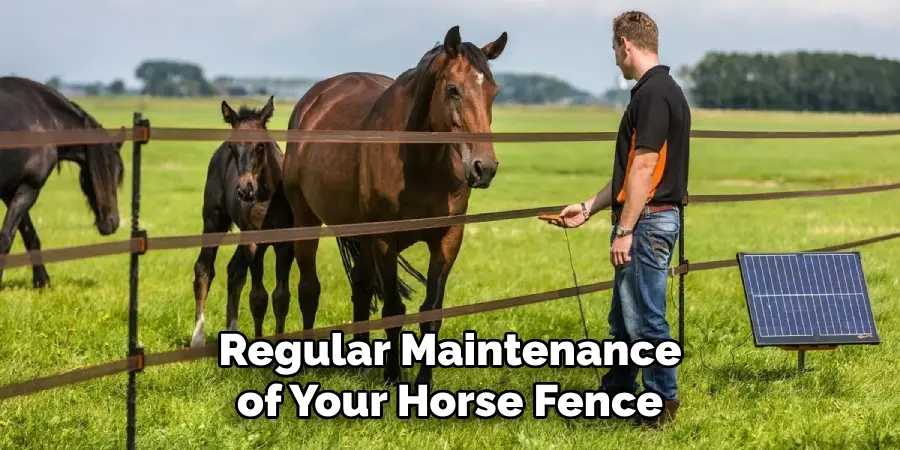
Regular maintenance of your horse fence is crucial for its longevity. Make sure to check for any damages or weak spots on a regular basis and fix them immediately. Otherwise, your horses may escape or get injured. You can also repaint the fence every few years to keep it looking new and prevent the rotting of wooden posts. With proper maintenance, your horse fence will last for many years to come.
Now that you know how to build a horse fence, you can confidently start your project and give your beloved horses a safe and secure home. Remember to plan carefully, use high-quality materials, and regularly maintain your fence for the safety and well-being of your horses. Happy building!
Frequently Asked Questions
Q1: What Type of Wood is Best for a Horse Fence?
A1: The most common and recommended options are pressure-treated pine or cedar. These types of wood are durable, resistant to rot and insects, and can withstand harsh weather conditions. It’s important to avoid using chemically-treated wood as it can be harmful to your horses.
Q2: How High Should a Horse Fence Be?
A1: The recommended height for a horse fence is at least 5 feet tall. This will prevent most horses from jumping over the fence and also discourage them from trying to escape by leaning or pushing on it. But make sure to check with your local authorities as some areas may have different regulations.
Q3: Do I Need to Install an Electric Fence?
A1: It’s not necessary, but it can provide added security and prevent your horses from damaging or escaping the fence. If you choose to install an electric fence, make sure to follow safety measures and regularly check for any malfunctions. Remember to turn off the electric fence when doing maintenance work.
Q4: How Far Apart Should I Space the Posts?
A1: The recommended distance between posts is 8-10 feet. This will provide enough support for the fence and prevent it from sagging or leaning over time. But you can also add more posts for added security, especially around corners or gates.
Conclusion
Building your own horse fence can be challenging, but it pays off in the long run. With creativity and innovation, you can construct a durable and attractive horse fence that will last for generations. Research carefully to make sure the material you choose for your fence line, posts, and fencing boards is suitable for horses. Additionally, use paint or stain to give your fence an extra personal touch.
No matter what type of materials you decide to use, building your own horse fences will cost significantly less than having one professionally installed. In addition to its affordability and custom design options, it’s easy to see why so many equine enthusiasts are making their own fences instead of relying on expensive professional services.
If done properly with diligence and focus—building your own horse fence can be a fun, rewarding experience for years into the future! Thanks for reading this article on how to build a horse fence.
About
Outdoor Fixes is a distinguished figure in the world of Diy design, with a decade of expertise creating innovative and sustainable Diy solutions.
His professional focus lies in merging traditional craftsmanship with modern manufacturing techniques,
fostering designs that are both practical and environmentally conscious. As the author of diy,
outdoorfixes delves into the art and science of outdoorfixes-making, inspiring artisans and industry professionals alike.
Education RMIT University
(Melbourne, Australia) Associate Degree in Design (Outdoor Fixes) Focus on sustainable design, industry-driven projects,
and practical craftsmanship. Gained hands-on experience with traditional and digital manufacturing tools, such as CAD and CNC software.
Nottingham Trent University
(United Kingdom) Bachelor’s in outdoorfixes.com and Product Design (Honors) Specialized in product design with a focus on blending creativity with production
techniques. Participated in industry projects, working with companies like John Lewis and Vitsoe to gain real-world insights.
Publications and Impact
In diy, Outdoor Fixes his insights on indoor design processes, materials, and strategies for efficient production.
His writing bridges the gap between artisan knowledge and modern industry needs, making it a must-read for both budding designers and seasoned professionals.