
Fencing projects can be daunting, but when equipped with the right tools and techniques, anyone can handle the job. Whether you’re a novice DIY-er looking to take on your first fencing project or a seasoned pro just needing to refresh your memory of corner post bracing installation, this article has got you covered!
In it, we’ll walk through everything on how to brace a fence corner post you need to know about how best to brace a fence corner post—from the materials and supplies required to step-by-step instructions plus helpful tips from experienced industry pros. Read on for all the details!
Tools and Materials
Given below are the essential tools and materials you will need for this project:
- Wooden Posts
- Concretes and Gravels
- Electric Drill With Screwdriver Bits
- Hammer
- Tapes and Markers (to Help Mark Out Your Fence Line)
- Gravel
- String Line
The materials listed above are readily available at most hardware stores or fencing supplies outlets. Make sure you have everything ready before you start working on the project to avoid interruptions.
11 Step-by-step Guidelines on How to Brace a Fence Corner Post
Step 1: Find the Exact Location
Use a string line to determine the exact location of your corner post. This can be done by marking out your fence lines on either side of the proposed corner post using tape. It is important to ensure that the corner post is in line with your fence lines for a perfect and straight fence. But if you intend to make a corner with a gate, mark out the area of your fence where the gate will be. You
Step 2: Digging the Post Holes
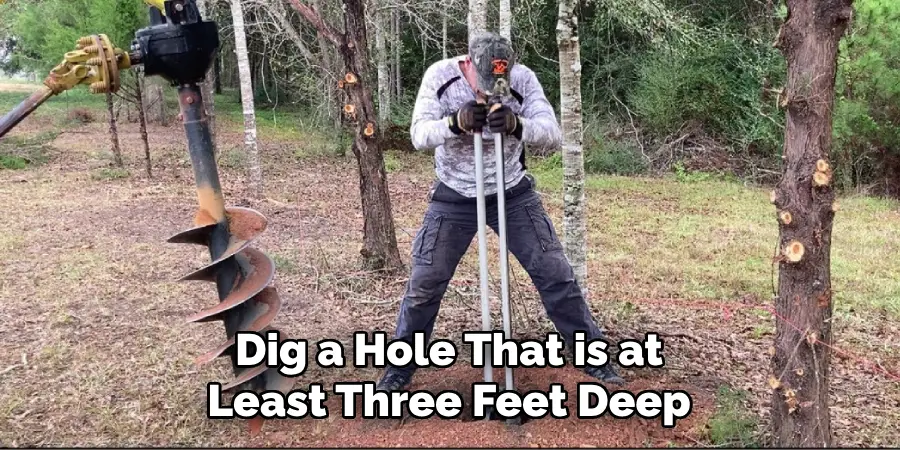
After finding the exact location for the corner post, dig a hole that is at least three feet deep. The width of your hole should be approximately three times wider than your fence post. You can use a post-hole digger or an auger to make the work easier. This will make it easier to secure the corner post in place. This step is crucial as it provides a strong foundation for your fence.
Step 3: Add Gravel
Add gravel into the hole to create a stable base for your corner post. This is important as it helps with drainage and prevents water from pooling around the post, which can eventually lead to rot and weaken the post. It is recommended to use three or four inches of gravel at the bottom of the hole. But if the ground is already hard, you can skip this step. You can also use gravel as a substitute for concrete.
Step 4: Set the Post
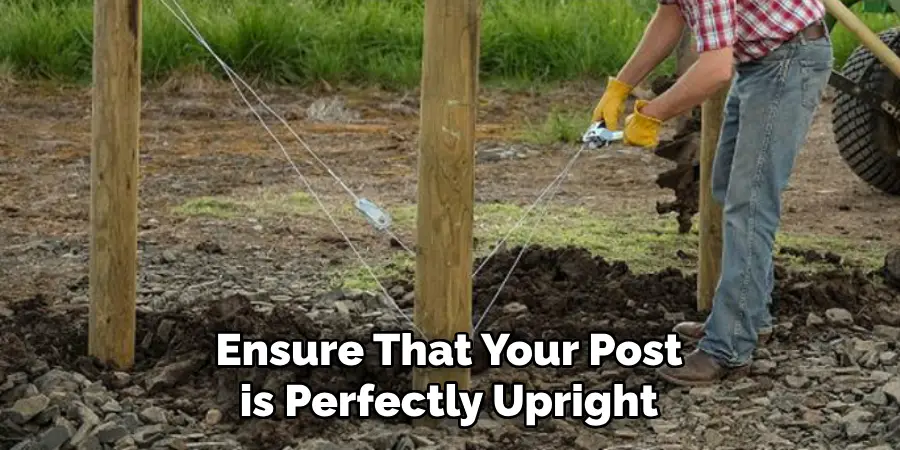
Place the corner post in the hole, making sure it is straight and plumb. You can use a level to ensure that your post is perfectly upright. Once in position, fill the hole with gravel or pour concrete around the base of the post to secure it in place. If using concrete, make sure to follow the manufacturer’s instructions and allow sufficient time for it to dry before proceeding.
It is essential to ensure that the post is sturdy and level before moving on. You may also use temporary bracing to hold the post in place while the concrete cures.
Step 5: Add Bracing Materials
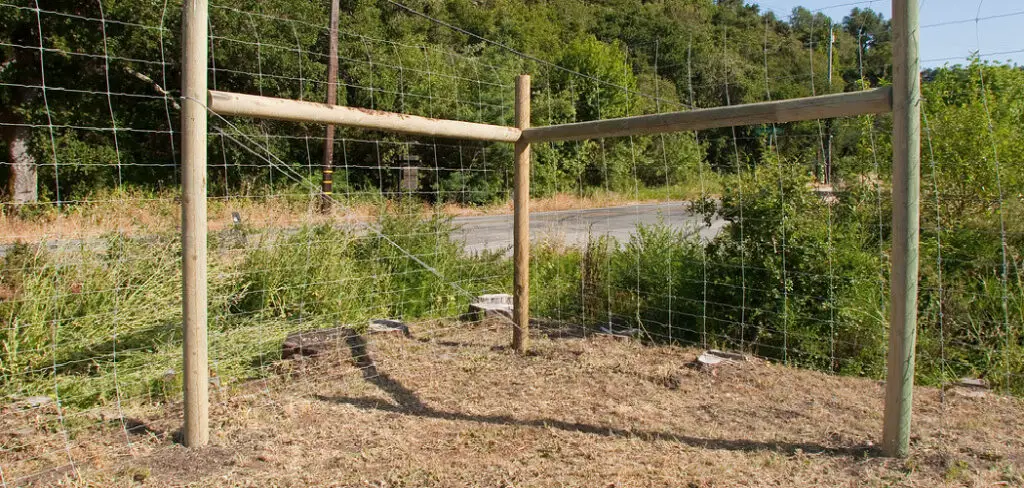
Attach a metal brace band around your corner post at about 12 inches up from the ground. Then, cut two wooden braces that will run diagonally between the top of your post and the bottom of your brace band. Make sure the braces are long enough to overlap by at least 18 inches on each end. But if you prefer, you can also use wire for more flexibility. You can also add a horizontal rail between the wooden braces for extra support.
Step 6: Install Braces
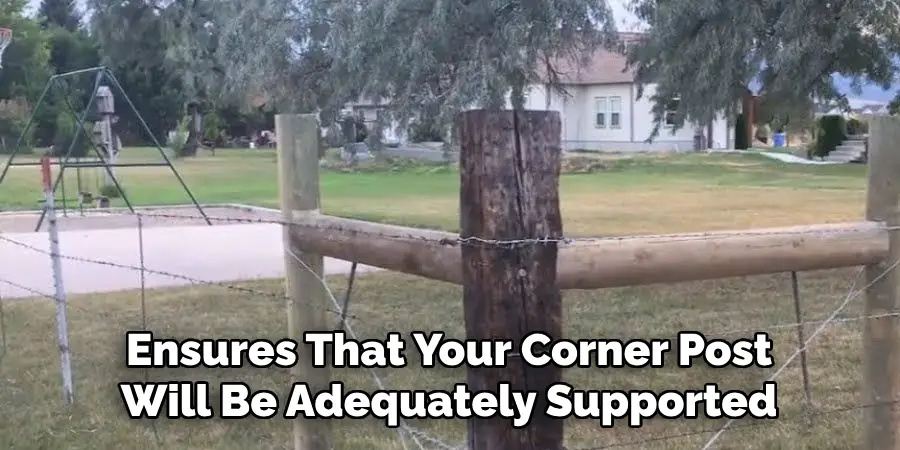
Attach the braces to your corner post and brace the band using screws or nails. It is important to make sure they are firmly secured in place, as this will provide added support for your fence. It is also recommended to pre-drill the holes before attaching the braces to avoid splitting wood.
This is a critical step in the bracing process as it ensures that your corner post will be adequately supported and can withstand strong winds or any other force acting against it.
Step 7: Add Another Brace Band
At about 12 inches below the top of your post, attach another brace band parallel to the first one. This will provide additional stability and support for your corner post. You can also cut and add another brace diagonally between the two bands for extra reinforcement. Although this step is optional, it is highly recommended, especially for fences that are taller than six feet.
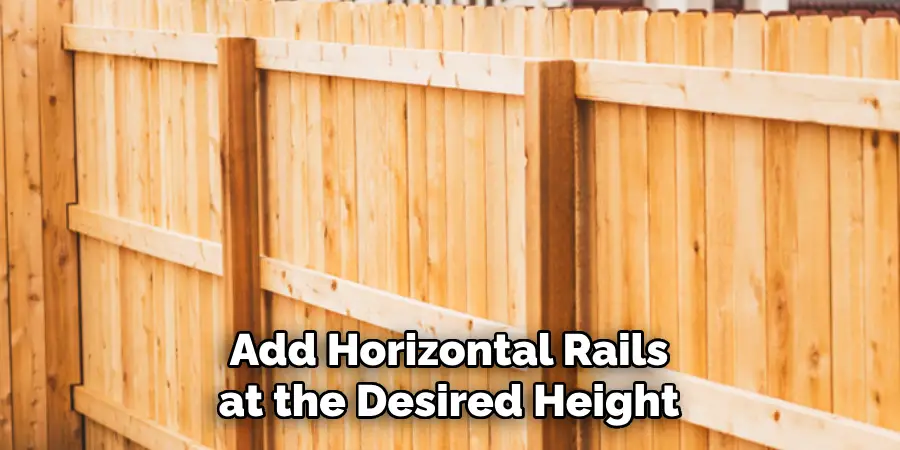
Step 8: Add Horizontal Rails
Add horizontal rails at the desired height of your fence, attaching them to the corner post and running along the length of your fence line. These rails will help strengthen your fence and provide a frame for your panels or pickets. It is advisable to leave a small gap between the bottom rail and the ground to prevent moisture from accumulating. But if your fence is in an area that is prone to flooding, you may attach the rail directly to the corner post.
Step 9: Secure Rails
Make sure to secure the rails firmly in place, using nails or screws as needed. This step is crucial, as it ensures that your fence panels are properly supported and prevents them from falling or sagging. This is especially important for longer fences that may require additional rails for extra support. You can also use temporary bracing to hold the rails in place while they are attached.
Step 10: Repeat Process
Repeat the entire process for each corner post along your fence line. Make sure to follow the same steps and use the same materials to maintain consistency and ensure a sturdy fence. Otherwise, your fence may end up being uneven or weak in some areas. It is also important to double-check that each corner post and brace band are properly secured before moving on to the next one.
Step 11: Finishing Touches
After all corner posts are set and braced, you can add your desired fencing material (such as panels or pickets) to complete your project. Once installed, make sure to check for any loose screws or nails and tighten them to ensure the stability of your fence.
You can also add any desired finishing touches, such as painting or staining, to protect your fence and give it a polished look. Now you can sit back and enjoy your newly braced fence corner posts that will provide a strong foundation for your fence for years to come.
Following these steps on how to brace a fence corner post will ensure that your fence corner posts are sturdy and secure, making your entire fence more durable and long-lasting. It is important to take the time and effort to properly brace your corner posts as it will save you from potential problems in the future. With a well-braced fence, you can have peace of mind knowing that your property is protected and your fence will stand
Helpful Tips from Industry Professionals
- Use Pressure-treated Wood for Your Corner Posts, as It is More Durable and Resistant to Rot and Decay.
- Consider Adding an Extra Horizontal Rail for Added Strength, Especially if Using Heavier Materials Like Wooden Panels.
- Allow the Concrete to Dry Completely Before Continuing with the Fence Installation Process, to Avoid Any Shifting or Unevenness in Your Corner Post.
- Double Check That All Screws and Nails Are Firmly Secured to Prevent Potential Swaying of Your Fence.
- Always Wear Protective Gear (such as Gloves and Eye Protection) When Handling Tools and Materials for Safety Purposes.
Frequently Asked Questions
Q1: Can Corner Post Bracing Be Done With Wooden Braces Instead of Metal?
A1: Yes, wooden braces can also be used for corner post bracing. However, it is important to make sure they are securely attached and properly treated to prevent rot and decay. It is recommended to use metal braces for added strength and durability.
Q2: How Deep Should I Dig My Post Holes for a Corner Post?
A2: It is recommended to dig post holes at least three feet deep for added stability. However, the exact depth may vary depending on the type of soil in your area and the height of your fence. Consult with a professional for more specific guidelines.
Q3: What Type of Concrete Should I Use to Secure My Corner Post?
A3: It is best to use quick-setting concrete or a mix specifically designed for fence post installation. Make sure to follow the manufacturer’s instructions and allow enough time for it to dry completely before continuing with your fence project. Overall, take your time and follow these guidelines carefully for a strong and sturdy fence corner post. Happy fencing!
Q4: Do I Need to Brace All Corner Posts on My Fence?
A4: While bracing all corner posts will provide additional stability and support for your fence, it is not always necessary. If you have a shorter fence or are using lightweight materials, you may be able to skip bracing the corner posts. Consult with a professional for specific recommendations based on your individual fencing project.
Conclusion
All in all, supporting a fence corner post is a simple yet important task that must be done correctly. With the correct preparation and materials, anyone can master the basics of bracing a fence corner post—properly reinforcing posts will help support and protect your fence.
If you still feel like you need more help with this DIY project, it might be worth consulting with a specialist or carpenter who has experience working on fences. Now that you are armed with the necessary information to brace your fence, why wait? Roll up your sleeves and get to work! Thanks for reading this article on how to brace a fence corner post.
About
Outdoor Fixes is a distinguished figure in the world of Diy design, with a decade of expertise creating innovative and sustainable Diy solutions.
His professional focus lies in merging traditional craftsmanship with modern manufacturing techniques,
fostering designs that are both practical and environmentally conscious. As the author of diy,
outdoorfixes delves into the art and science of outdoorfixes-making, inspiring artisans and industry professionals alike.
Education RMIT University
(Melbourne, Australia) Associate Degree in Design (Outdoor Fixes) Focus on sustainable design, industry-driven projects,
and practical craftsmanship. Gained hands-on experience with traditional and digital manufacturing tools, such as CAD and CNC software.
Nottingham Trent University
(United Kingdom) Bachelor’s in outdoorfixes.com and Product Design (Honors) Specialized in product design with a focus on blending creativity with production
techniques. Participated in industry projects, working with companies like John Lewis and Vitsoe to gain real-world insights.
Publications and Impact
In diy, Outdoor Fixes his insights on indoor design processes, materials, and strategies for efficient production.
His writing bridges the gap between artisan knowledge and modern industry needs, making it a must-read for both budding designers and seasoned professionals.