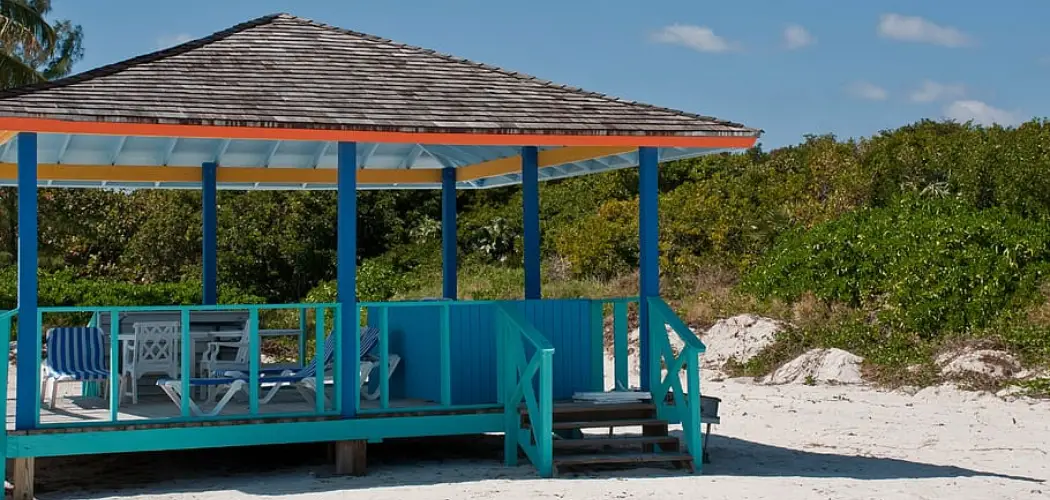
Crafting a pavilion roof is a journey that melds structural prowess with architectural finesse, resulting in an iconic crown for your outdoor sanctuary. A pavilion’s roof serves as both a protective shield against the elements and a defining aesthetic element that captures the essence of your design vision.

This guide explores how to build a pavilion roof, unraveling the multifaceted process that spans from meticulous planning and material selection to the skilled execution of construction techniques.
Whether you envision a classic gable roof, an elegant hip roof, or a modern flat roof, we delve into the essential steps and considerations that pave the way to a durable, weather-resistant, and visually captivating pavilion roof. Join us in this architectural odyssey as we unveil the mastery required to elevate your pavilion from a mere structure to a stunning focal point that embodies both form and function.
Importance of a Well-Constructed Pavilion Roof
A well-constructed pavilion roof is essential for providing shade and shelter from the elements. When building a pavilion roof, it’s important to ensure that you use quality materials and build in accordance with local codes and regulations.
In addition to protecting from rain, wind, and sun exposure, an effective pavilion roof can also provide insulation and energy savings. An insulated roof will minimize heat transfer from the outside to your pavilion structure, helping keep it cooler in the summer and warmer in the winter. Proper ventilation also helps prevent condensation buildup and rot over time.
Before you begin constructing a pavilion roof, make sure to consult with an experienced contractor or local building department to ensure that your project is compliant with local codes and regulations. When selecting materials, consider factors such as durability, weather resistance, insulation properties, and cost-effectiveness.
Once you’ve chosen the right materials for your pavilion roof construction project, it’s important to measure and mark out the area where the roof will be placed. This will help you determine the size of the necessary materials and plan for any additional supports that may need to be added. By taking the time to measure accurately, you can ensure a sturdier roof and better protection from weathering.
Determining the Roof Style for Your Pavilion
Once you have decided on the size of your pavilion, the next step is to determine what type of roof style best suits your needs. There are many different styles available including sloped roofs, gable roofs, hip roofs and gambrel roofs.
It’s important to consider both aesthetics and practicality when making this decision; a sloped roof will look great but may be harder to build or require more materials, while a gambrel roof is easier to construct but may not match the style of your home or garden.
Another factor to consider when choosing a roof style for your pavilion is durability; some styles are better suited for areas that experience heavy winds or varying weather conditions.
For example, gabled roofs are not as effective at withstanding strong gusts of wind and may need additional support in order to remain safe. It’s important to choose a roof style that will stand up to the unique conditions of your area.
Finally, you should also bear in mind what other features you want incorporated into your pavilion when selecting a roof style. If you plan on adding skylights, for example, a sloped roof will create the perfect angle for maximum illumination.
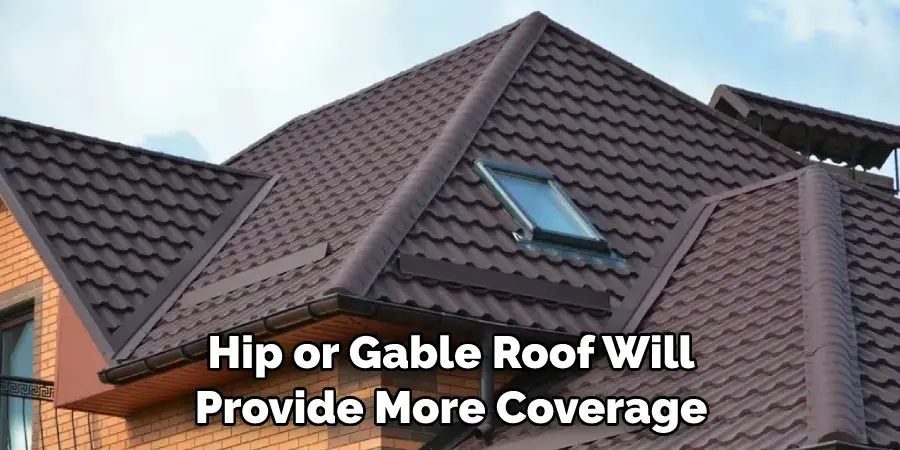
If you prefer to have your pavilion open on one side, a hip or gable roof will provide more coverage and protection from the elements. Think carefully about all of these factors before making your decision.
Once you’ve figured out which style is best for your needs, you’ll be ready to begin building your pavilion. Start by gathering all the necessary materials; this may include lumber or metal beams, shingles or tiles, and other items depending on the type of roof chosen. Once these have been collected, it’s time to start constructing!
Calculating Roof Dimensions and Pitch
Having a accurate plan for dimensions and pitch of your pavilion roof is paramount when it comes to the success of your project. For most pavilion roofs, you’ll want a minimum pitch of 1/12, which means that each foot of horizontal distance should rise one inch in vertical height.
The next step is to calculate the exact measurements needed for your roof. This requires calculating the ridge board length, how many rafters you need, and what lengths those rafters should be cut to (these can all vary depending on your roof size). To do this, measure the distance between the outside walls of your pavilion. This will give you the total span that you have to work with.
With your total span, you can determine how many rafters you need. To do this, divide the span by 16 and round up, as most rafters are spaced 16 inches apart. You’ll also want to subtract one from your total number of rafters – that’s for the ridge board which will eventually be attached to two end rafters.
Once you know the number of rafters that you need, it’s time to measure the length of each rafter. To do this, divide your total span (in inches) by the number of rafters plus one – then subtract 3 inches from that number for overhang at the ends. This will give you the exact length each rafter needs to be cut to.
10 Steps How to Build a Pavilion Roof
Step 1: Meticulous Design and Vision
Preliminary planning forms the cornerstone of any successful pavilion roof construction project. Conceptualize your vision, considering factors such as the pavilion’s size, layout, and purpose. Determine the ideal roof style – whether a classic gable, the elegance of a hip roof, or the modern simplicity of a flat roof. This foundational step sets the stage for every subsequent decision.
Step 2: Navigating Regulatory Waters
Before breaking ground, navigate the administrative currents by obtaining the necessary permits and approvals from local authorities. Adhering to building codes and regulations ensures a smooth and lawful construction process. Take time to understand zoning requirements and engage with relevant officials to secure the green light for your project.
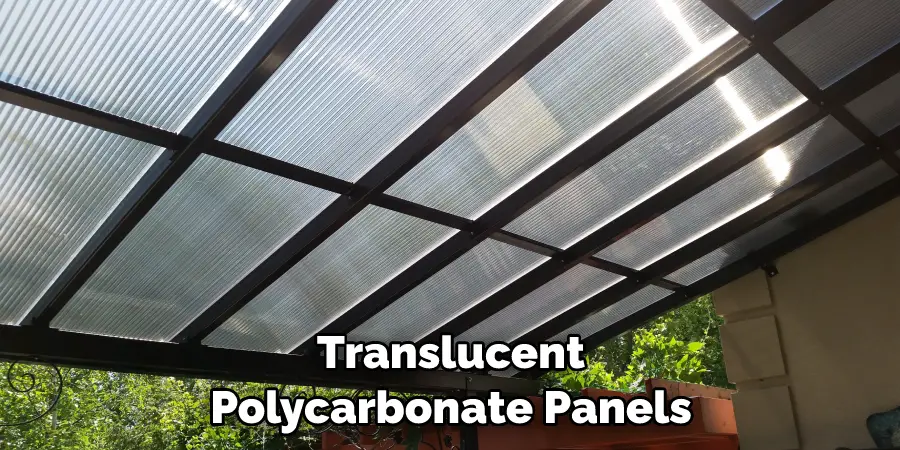
Step 3: A Symphony of Roofing Materials
The choice of roofing materials is a crucial decision that marries functionality with aesthetic appeal. Delve into a diverse array of options, from traditional asphalt shingles to durable metal roofing, translucent polycarbonate panels, or even the rustic charm of thatch. Factor in weather resistance, longevity, and visual harmony with the pavilion’s architectural style.
Step 4: Laying the Groundwork with a Solid Foundation
Creating a robust foundation is paramount for the stability and longevity of your pavilion roof. Depending on soil conditions and local regulations, consider options such as concrete footings, piers, or anchored posts. The foundation must provide steadfast support to bear the weight of the roof structure above.
Step 5: Artful Framing and Truss Assembly
The art of framing and truss assembly comes into play, forming the skeleton that supports the pavilion roof. Whether crafting trusses on-site or employing pre-fabricated ones, meticulous attention to engineering guidelines and local codes is essential. The truss system not only offers structural integrity but also influences the aesthetic silhouette of the roof.
Step 6: Raising the Roof Decking
Elevate your project by installing the roof decking, the foundation upon which the roofing material will rest. Employ materials like plywood or oriented strand board (OSB), ensuring secure fastening to the trusses. The roof decking provides a stable platform for the subsequent layers of the roof assembly.
Step 7: Ventilation and Thermal Comfort
Integrate ventilation and insulation to establish a thermally comfortable and well-ventilated pavilion. Adequate ventilation prevents heat buildup and minimizes condensation, while insulation enhances energy efficiency. Ridge vents, soffit vents, and gable vents facilitate air circulation, contributing to a comfortable interior climate.
Step 8: The Elegance of Roofing Installation
With the foundation prepared, embark on the exquisite process of roofing installation. Methodically lay down your chosen roofing material – whether it’s arranging shingles in precise patterns, fastening metal sheets, or meticulously placing transparent polycarbonate panels. Precise installation guarantees water resistance, aesthetics, and enduring durability.
Step 9: The Artistry of Finishing Touches
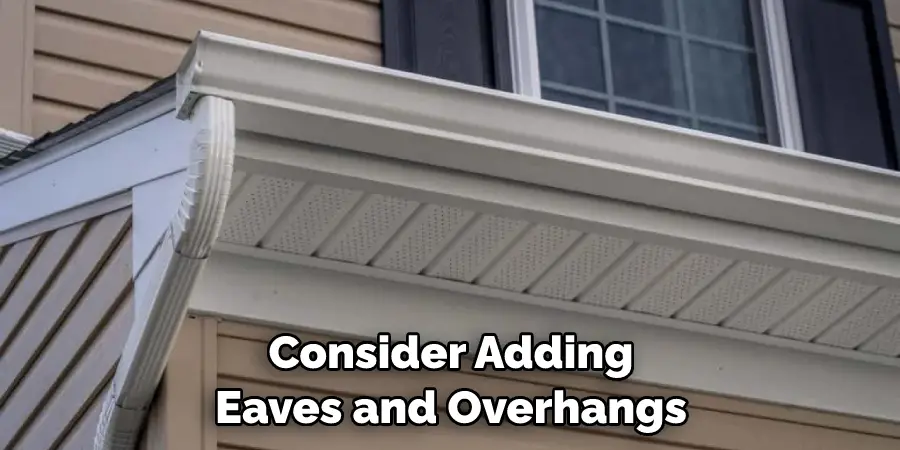
Elevate your pavilion roof with intricate finishing touches that enhance both form and function. Integrate gutters and downspouts to channel rainwater away from the foundation, preventing erosion. Consider adding eaves, overhangs, or decorative fascia elements that not only protect but also contribute to the pavilion’s overall aesthetic charm.
Step 10: Thorough Inspection and Assurance
Before declaring your pavilion roof complete, subject it to a comprehensive inspection. Verify its structural integrity, weatherproofing, and alignment with design specifications. Conduct a meticulous review of roofing materials, flashing details, and junctions to ensure every element is precisely integrated.
Conclusion
To sum it up, building a pavilion roof is a complex process that requires the right tools and materials for success. It may seem like a daunting task, but with some research and careful planning, anyone can create a beautiful pavilion roof for their outdoor space.
Overall, creating the perfect pavilion roof is within reach thanks to these simple steps and tips! So don’t put off your dreams of creating an enchanting outdoor oasis any longer – get started on your project today! And don’t forget to check out our blog post about how to build a pavilion roof for all the helpful information you need to complete your project with ease.
About
Outdoor Fixes is a distinguished figure in the world of Diy design, with a decade of expertise creating innovative and sustainable Diy solutions.
His professional focus lies in merging traditional craftsmanship with modern manufacturing techniques,
fostering designs that are both practical and environmentally conscious. As the author of diy,
outdoorfixes delves into the art and science of outdoorfixes-making, inspiring artisans and industry professionals alike.
Education RMIT University
(Melbourne, Australia) Associate Degree in Design (Outdoor Fixes) Focus on sustainable design, industry-driven projects,
and practical craftsmanship. Gained hands-on experience with traditional and digital manufacturing tools, such as CAD and CNC software.
Nottingham Trent University
(United Kingdom) Bachelor’s in outdoorfixes.com and Product Design (Honors) Specialized in product design with a focus on blending creativity with production
techniques. Participated in industry projects, working with companies like John Lewis and Vitsoe to gain real-world insights.
Publications and Impact
In diy, Outdoor Fixes his insights on indoor design processes, materials, and strategies for efficient production.
His writing bridges the gap between artisan knowledge and modern industry needs, making it a must-read for both budding designers and seasoned professionals.