Pit firing pottery is an ancient and captivating technique that harks back to humanity’s early artistic endeavors. As a method rooted in tradition and creativity, pit firing offers potters a unique way to produce pottery pieces with distinct rustic charm and unpredictable patterns.
Unlike modern kiln firing, pit firing involves using an open pit or trench as a makeshift kiln, harnessing the power of fire, heat, and various organic materials to transform clay into art.
The process not only requires skill but also a deep connection to the elements as potters relinquish some control over the outcome, yielding beautifully uneven finishes that showcase the primal allure of the craft.
In this article, we delve into how to pit fire pottery, exploring the essential steps, necessary materials, safety considerations, and the mesmerizing results that can emerge from this elemental and hands-on approach. Whether you’re a seasoned potter or an art enthusiast curious about traditional techniques, pit firing offers a journey back in time and a chance to create truly one-of-a-kind ceramic treasures.
The Ancient Art of Pit Firing Pottery
Pit firing pottery is an ancient technique with roots dating back to the Neolithic period. It involves placing unglazed ceramic pieces into a large pit or trench filled with fuel and allowing them to bake in the heat of a fire. While the kiln-firing process is much more efficient and widely used today, pit firing remains a popular choice amongst potters for its unique results.
The best part about pit firing is that it does not require any complicated equipment or special know-how in order to achieve a beautiful finish. All you need is some clay, fuel (such as sawdust, dried leaves, twigs or pine cones), and a large pit.
Unique Characteristics and Appeal of Pit-Fired Pottery
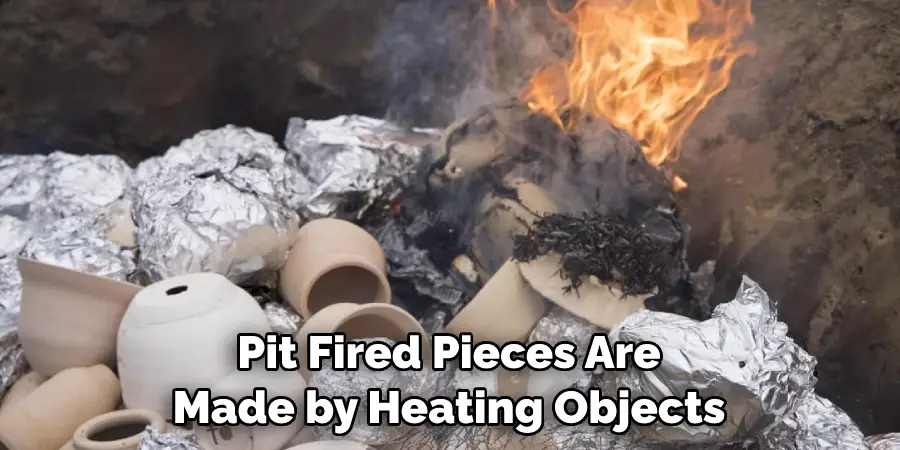
Pit-fired pottery is an ancient form of ceramics that offers unique characteristics and a rustic, natural appeal. Pit-fired pieces are made by heating objects in a shallow, open pit called a “firing” or “kiln.” The heat breaks down the clay and creates one-of-a-kind patterns and textures that can’t be reproduced in other methods of firing. The objects are also exposed to smoke during the firing process, which gives the pieces a distinctive smokiness.
Pit-fired pottery has been used by cultures around the world for centuries, including ancient Greek and Roman civilizations. It is still practiced today by many artisans who appreciate the traditional methods of firing and the unique designs it produces.
The appeal of pit-fired pottery lies in its unpredictable nature: no two pieces are exactly alike, as each firing yields different results due to the placement of objects within the “kiln” and how they interact with the smoke and heat.
Pit-fired pieces can also take on a variety of colors, from the expected black and grey to more unexpected hues of blues, greens, and yellows. This gives artisans the chance to create unique pieces that are truly one-of-a-kind.
The process of pit-firing pottery can be challenging due to its unpredictable nature, but it is also incredibly rewarding for those who appreciate handmade pieces and the rustic beauty of a naturally fired piece. Whether you’re looking to create something for your home or just curious about this ancient form of ceramics, pit-firing is sure to make a statement in any pottery collection.
Clay Selection and Preparation
An important step in the pit-firing process is selecting a clay. Not all clays are suitable for this type of firing, and it’s generally best to choose one that has been specifically designed for pit-firing. Low-fire clays are ideal, as they fuse easily with oxygen when heated in the pit fire. High-fire clays such as porcelain are not recommended, as they may crack when heated.

Once you’ve chosen your clay, it needs to be prepared for pit-firing. Slab work is ideal for this type of firing, especially if you plan on creating large pieces or plates. If you want to make more complex shapes, coil building can be used. It’s important to keep the pieces as thin as possible, as thick pieces may take too long to fire in the pit. If you wish to add texture or color, it’s best to do so before firing.
Before loading your vessel into the pit fire, you should also remember to dry it completely. Damp clay can cause the piece to explode during firing. Allow the vessel to dry in a warm, dry place for several days before loading it into the pit. Taking these steps will ensure that your pottery pieces turn out perfect after pit-firing.
10 Methods How to Pit Fire Pottery
Method 1: Sculpting and Preparing Pottery
Begin by creating pottery pieces suited for pit firing. Use clay with a high-temperature tolerance, such as earthenware or raku clay. Sculpt, coil, or hand-build your forms, keeping in mind the final visual effects you wish to achieve through the firing process.
Method 2: Drying and Bisque Firing
Allow your pottery to dry completely before firing. This step is crucial to prevent cracking during the firing process. Once dry, bisque fire the pieces in a kiln to a low temperature (around 1650°F or 900°C). Bisque firing removes organic materials and water from the clay, making it more receptive to the pit firing process.
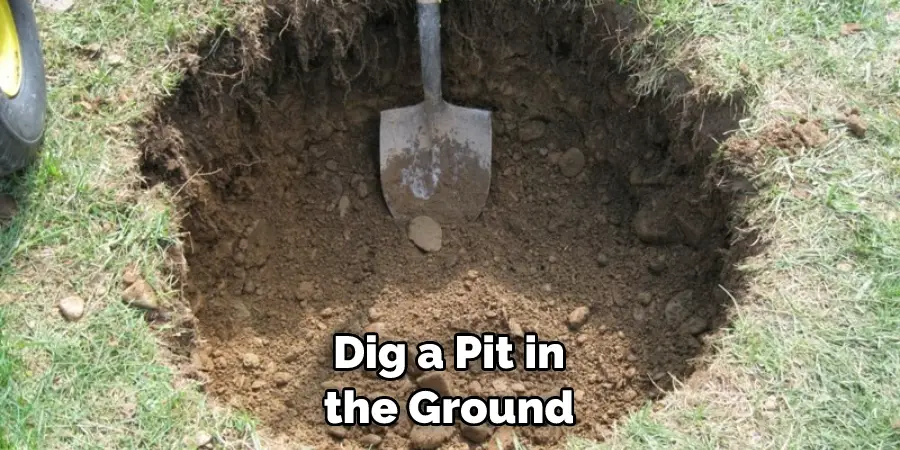
Method 3: Preparing the Pit
Select a suitable outdoor location for the pit firing. Dig a pit in the ground, ensuring it is large enough to accommodate your pottery pieces, combustible materials, and sufficient airflow for the firing process. Line the pit with firebricks or flat stones to protect the ground and enhance insulation.
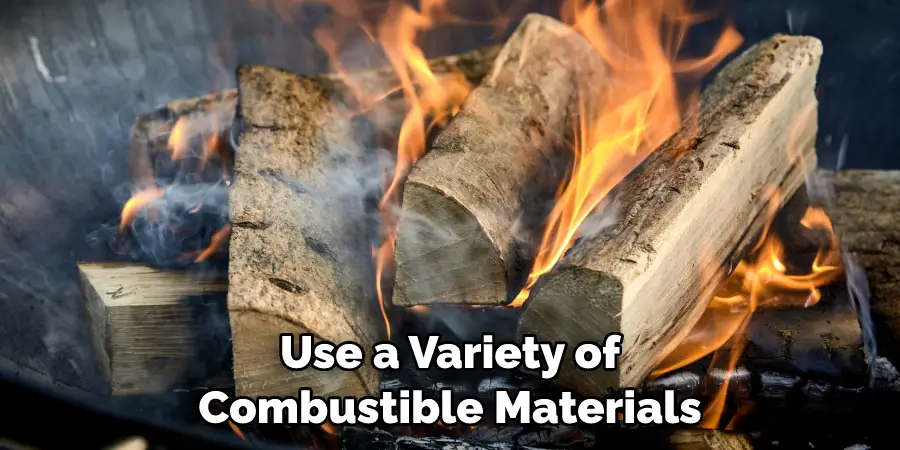
Method 4: Building Layers of Combustibles
Layer the pit with combustible materials, such as sawdust, straw, leaves, and wood chips. Arrange the materials strategically to allow airflow and even distribution of heat during firing. These materials will create smoke and carbon-rich atmospheres that influence the pottery’s surface colors and effects.
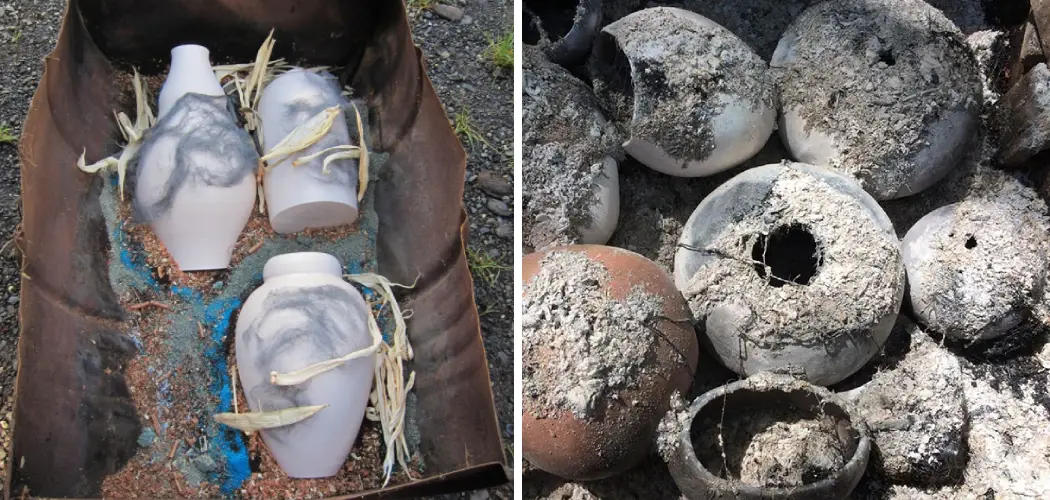
Method 5: Placing Pottery and Covering with Combustibles
Position the bisque-fired pottery within the pit, ensuring they are not touching to avoid glaze fusion. Cover the pottery with additional combustible materials, creating a protective cocoon. Incorporate organic materials like banana peels, seaweed, or copper wire to introduce unique colors and effects.
Method 6: Igniting the Fire
Carefully ignite the pit’s combustible materials using a torch, kindling, or paper. Monitor the fire as it spreads through the pit. The fire’s progression is a critical aspect, as it affects the surface effects and color variations on the pottery. Controlling the rate of combustion is key to achieving desired outcomes.
Method 7: Firing and Oxidation
As the fire burns, oxidation and reduction reactions occur within the pit. Oxygen availability, temperature fluctuations, and materials present in the pit contribute to the final appearance of the pottery. Observe the color changes in the flames – the pottery’s exposure to flames, smoke, and reduction will influence the surface effects.
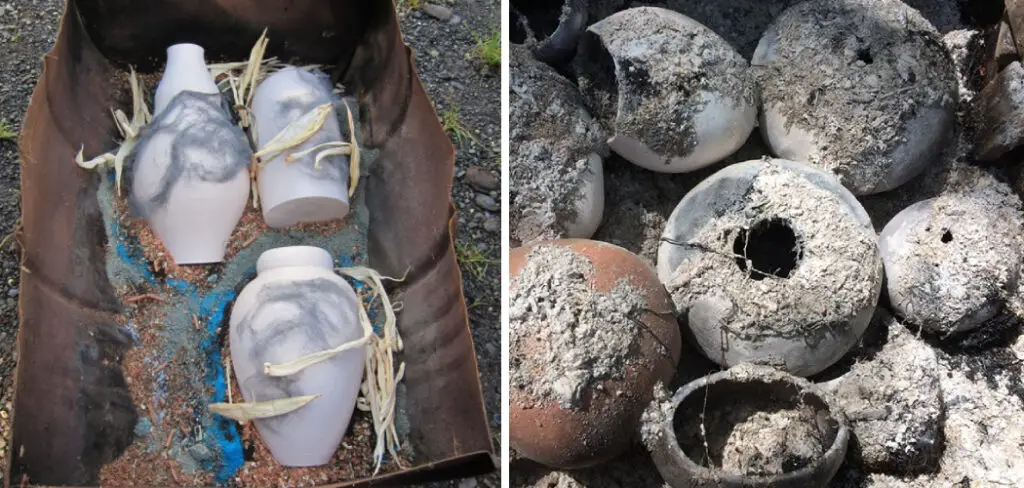
Method 8: Cooling and Uncovering
Allow the pit to burn for several hours until it reaches its peak temperature. Once this is achieved, carefully extinguish the fire using water, sand, or dirt. Allow the pit to cool for an extended period, ideally overnight. The cooling process is critical to stabilizing the pottery and avoiding cracks due to rapid temperature changes.
Method 9: Cleaning and Sealing
Uncover the cooled pottery and clean off the soot and ash using water and a soft brush. Some surface effects may be delicate, so exercise care during this step. Once cleaned, you can choose to seal the pottery with a clear glaze to enhance the surface’s durability and preserve the unique pit-fired appearance.
Method 10: Reflecting and Adapting
Reflect on the results of your pit firing experience. Each firing is a blend of technique and serendipity, yielding distinctive and often unpredictable outcomes. Experiment with different types of clay, combustible materials, and firing durations to fine-tune your technique and achieve the desired visual effects.
Things to Consider When Pit Firing Pottery
Pit firing is a great way to add interesting and unique textures and colors to your pottery. However, it’s important to be aware of the risks associated with this type of firing method in order to ensure that your pieces come out looking their best. Here are some key tips for successful pit firing:
- Make sure you use materials that are safe and non-toxic when constructing your pit. You do not want any chemicals leaching into the pottery during firing.
- Make sure to adequately insulate your pit with firebricks, sand, or other materials that can withstand high temperatures. This will help ensure that the heat of the fire is evenly distributed throughout your pieces.
- Test a few pieces to make sure that the temperature of the fire is not too high or low. The ideal temperature for pit firing pottery is between 1000 and 1350 degrees Fahrenheit.
- Use a variety of combustible materials like sawdust, leaves, wood chips, and herbs to create smoke during firing.
Concluion
Pit firing pottery is an art form with a lot of potential for creative expression. Not only can you create beautiful pieces of pottery, but also you can fire them to achieve even more fascinating results. The process requires patience and careful study but is worth the effort.
As with any art form, practice makes perfect and there is no better way to expand your skills in pottery then indulging in an exploration with pit firing!. Now that you understand the basics of how to pit fire pottery, why not give it a try? It will be time well spent as you learn the ins and outs and ultimately gain control and confidence through experimenting.
About
Outdoor Fixes is a distinguished figure in the world of Diy design, with a decade of expertise creating innovative and sustainable Diy solutions.
His professional focus lies in merging traditional craftsmanship with modern manufacturing techniques,
fostering designs that are both practical and environmentally conscious. As the author of diy,
outdoorfixes delves into the art and science of outdoorfixes-making, inspiring artisans and industry professionals alike.
Education RMIT University
(Melbourne, Australia) Associate Degree in Design (Outdoor Fixes) Focus on sustainable design, industry-driven projects,
and practical craftsmanship. Gained hands-on experience with traditional and digital manufacturing tools, such as CAD and CNC software.
Nottingham Trent University
(United Kingdom) Bachelor’s in outdoorfixes.com and Product Design (Honors) Specialized in product design with a focus on blending creativity with production
techniques. Participated in industry projects, working with companies like John Lewis and Vitsoe to gain real-world insights.
Publications and Impact
In diy, Outdoor Fixes his insights on indoor design processes, materials, and strategies for efficient production.
His writing bridges the gap between artisan knowledge and modern industry needs, making it a must-read for both budding designers and seasoned professionals.